How to Disable Cortana on Windows
Microsoft put a lot of time and effort into creating Cortana for Windows 10 – a personal assistant for Windows users capable of doing a lot. Unfortunately, Cortana was not as well received a Windows 10 feature as Microsoft hoped it would be, which was in part due to just how nosy and integrated into the system Cortana is. Seeing as it’s a personal assistant (those are meant to be really integrated into the systems they are designed for), the fact that Cortana was basically everywhere should not have come as a surprise. However, some Windows 10 users disliked Cortana (and Bing as well) to the point where they wanted to get rid of it, and they did – back when Windows 10 came out, users came up with ways to disable cortana windows 10.
However, the ways users discovered and later used to disable Cortana were half-baked, which is why while they did disable Cortana, they also totaled Windows 10’s Search feature, rendering users unable to search for anything on their computers. Search is an immensely important feature of the Windows 10 Operating System. Without Search working, you’ll either have to refrain from searching any area of your computer or resort to using third-party applications to do something that Windows 10 already has a dedicated utility for.
It has been quite a bit of time since Windows 10 first came out, and as more work has been put into the Cortana situation, methods capable of disabling Cortana and getting rid of all of its pesky features without breaking anything else have been developed. Instead of changing the name of Cortana’s system folder so that Windows 10 has no idea where to look for Cortana and Cortana’s components, Windows 10 users can simply disable the Cortana-like parts of Cortana (if that even makes sense), effectively getting rid of everything about Cortana that annoys them and free whatever computer resources Cortana was using.
Windows 10 users can go about disabling Cortana on their computers two different ways, and here are both of them.
1. Disable Cortana in the Local Group Policy Editor
On every Windows 10 computer, there exists a local group policy that determines whether or not Cortana is allowed on that device. If this group policy is enabled or not configured, Cortana is allowed to function freely on the computer. If the same policy is disabled, however, all the ugly bits of Cortana are disabled with Windows Search remaining intact. To disable Cortana on Windows 10 using the Local Group Policy Editor on a Windows 10 computer, you need to:
- Press the Windows Logo key + R to open a Run dialog.

- Type gpedit.msc into the Run dialog and press Enter to launch the Local Group Policy Editor.

- In the left pane of the Local Group Policy Editor, navigate to Local Computer Policy > Computer Configuration > Administrative Templates > Windows Components > Search.
- In the right pane of the Local Group Policy Editor, locate the policy named Allow Cortana and double-click on it to modify it.
- Disable the Allow Cortana local policy by selecting the Disabled radio button.
- Click on Apply and then on OK.
- Close the Local Group Policy Editor.
- Restart your computer.
When the computer boots up, you will see that both Cortana and Bing are disabled, and there is nothing left to annoy you now. You will also see that Search has been left untouched and you can still search both your local computer and the internet without any issues.
2. Disable Cortana in your computer’s Registry
Apart from the Local Group Policy Editor, a setting for enabling or disabling Cortana also exists in the Registry of every single Windows 10 computer. This setting can also be used to turn Cortana off on Windows 10. If method 1 doesn’t work for you are if you’re simply not confident in your familiarity with the Local Group Policy Editor, you can simply achieve the same results by editing your computer’s registry. If you would like to use this method to disable Cortana on your computer, you need to:
- Press the Windows Logo key + R to open a Run dialog.
- Type regedit into the Run dialog and press Enter to launch the Registry Editor.

- In the left pane of the Registry Editor, navigate to the following directory:
HKEY_LOCAL_MACHINE > Software > Policies > Microsoft > Windows - In the left pane of the Registry Editor, click on the Windows Search sub-key under the Windows key to have its contents displayed in the right pane.
Note: If you don’t see a Windows Search sub-key under the Windows key, simply right-click on the Windows key, hover over New, click on Key and name the newly created registry key Windows Search.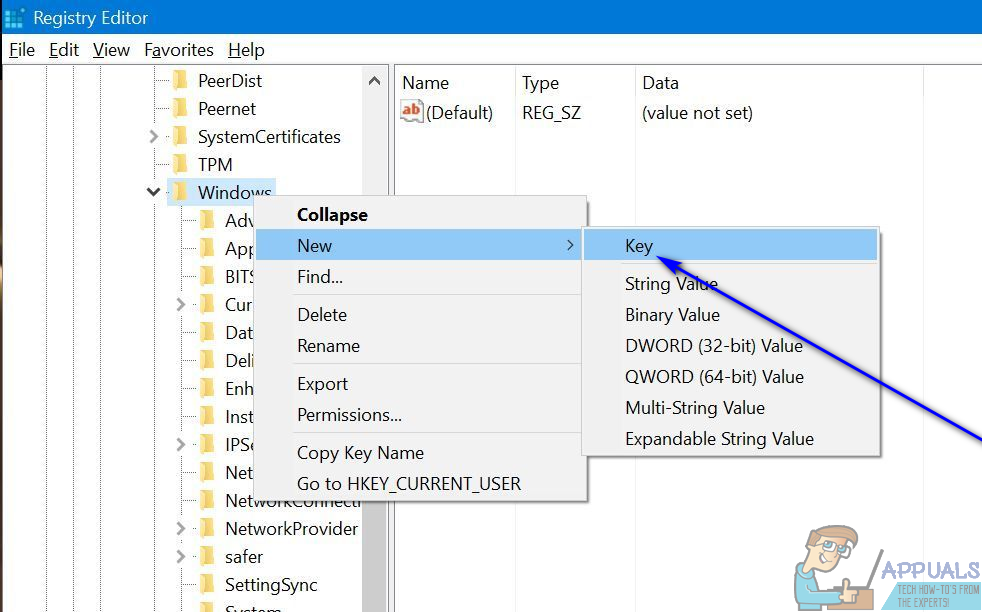
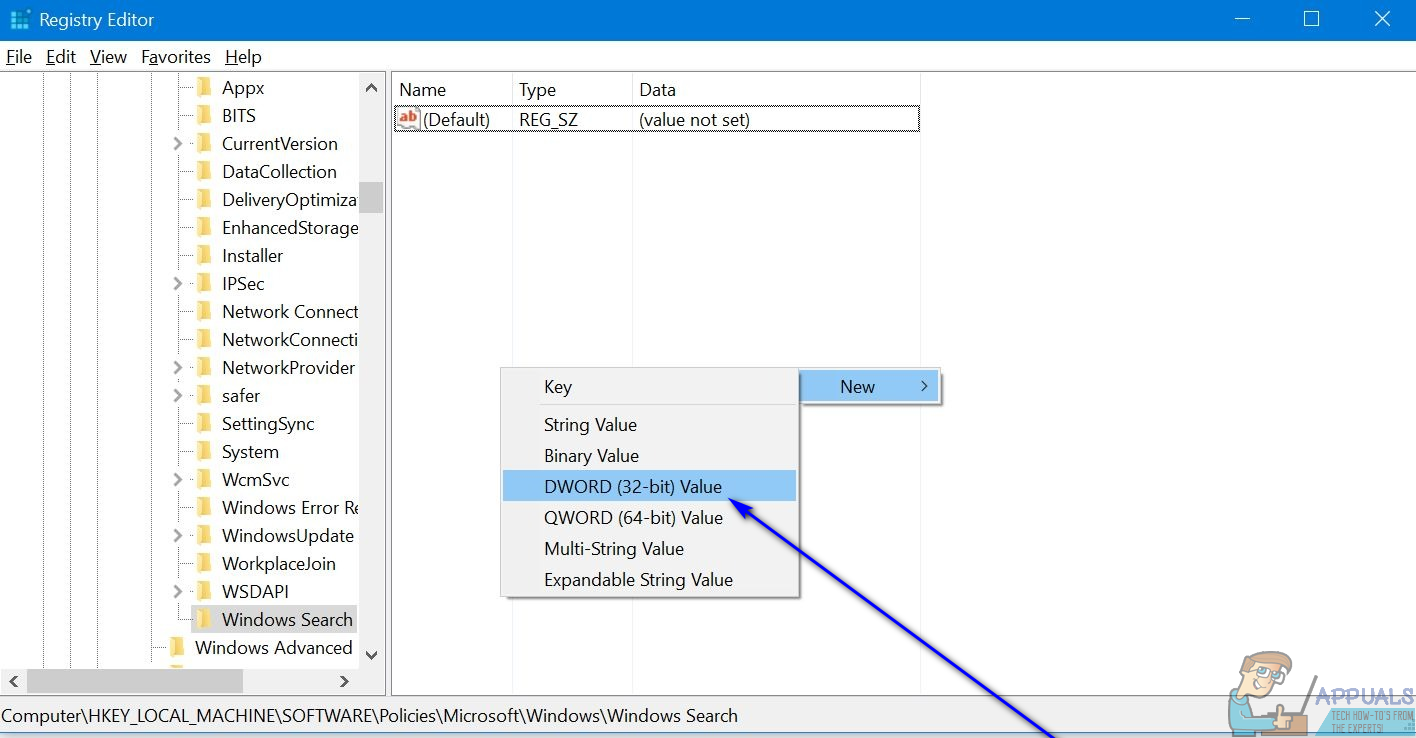
- In the right pane of the Registry Editor, right-click on an empty space, hover over New and click on DWORD (32-bit) Value.
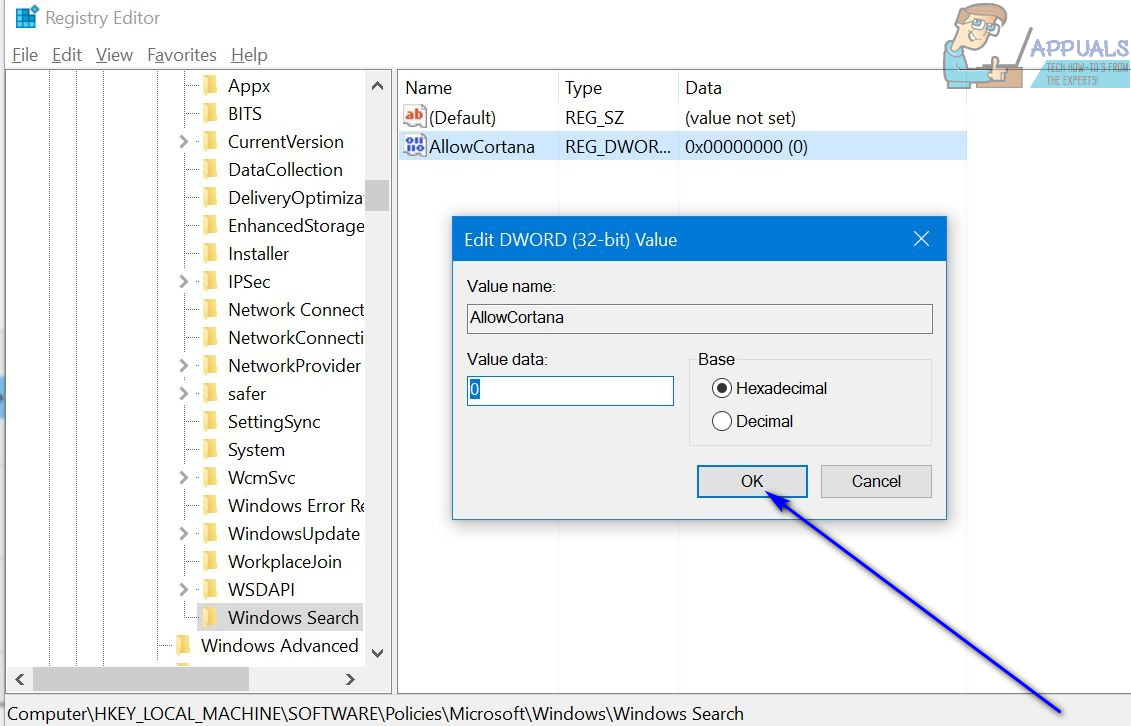
- Name the new registry value you just created AllowCortana.
- Double-click on the newly created AllowCortana registry value to modify it.
- Replace whatever is in the registry value’s Value data field with 0 and click on OK. Setting the registry value to 0 tells the Registry to disable Cortana, whereas setting it to 1 tells the Registry to enable Cortana.
- Close the Registry Editor and restart your computer.
- When your computer boots up and you log in, you’ll see that Cortana is gone but Windows Search is still there, functioning exactly as it should be (minus all of Cortana’s added features, of course). The digital assistant’s former residence in your taskbar will now also read Search Windows instead.

Regardless of which method you use to disable Cortana without breaking Windows Search, at the end you will still see a process titled Cortana running in your task manager. This is the same process that was running before when Cortana was enabled on your computer, but it will now be using relatively less computer resources than it used to. The reason why Cortana still has a presence in your task manager is because the process titled Cortana is basically Windows’ SearchUI.exe process (named Cortana by Microsoft for the sake of simplicity?).
3. Disable Cortana by Renaming Program Path
In this method we will be disabling cortana by renaming the the program path for Corana, so now Windows will not be able to run it. If you decide to enable it then re-do the steps and remove the .bak from the end.
- Hold the Windows Key and Press R
- Type taskmgr and Click OK.
- Choose More Details in the Task Manager.
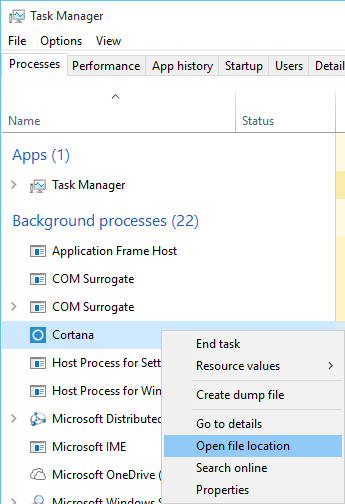
- Right click on Cortana from the Processes tab and select Open File Location
- This should take you to C:\windows\systemapps and you will see the list of folders.
- Locate the folder which contains the word Cortana and has resemblance to the following:
- Microsoft.Windows.Cortana_cw5n14920u
- The key is to see the first three names with dots, Microsoft.Windows.Cortana
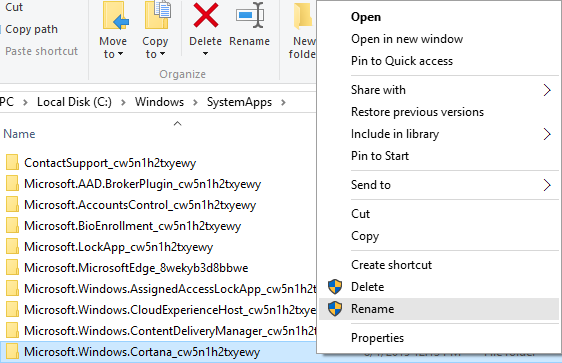
- Right click on it and select Rename and add .bak at the end of it, eg: Microsoft.Windows.Cortana_cw5n1h2txyewy.bak
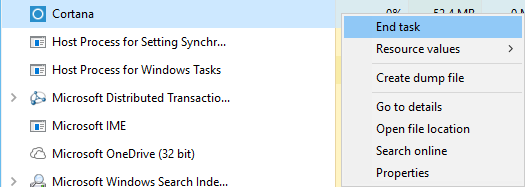
- If it tells you that it’s in use; while keeping this window open (go back to Task Manager), right click Cortana and select End Task
- Now go back to C:\Windows\Systemapps and right click Cortana, then add .bak at the end or Click Try Again on the pop-up.
What we’ve done is, renamed the program path, so now Windows will not be able to run it. If you decide to enable it then re-do the steps and remove the .bak from the end.
The Cortana process in your task manager doesn’t mean Cortana still has a hold over your computer – the fact that the process now uses less resources is proof that Cortana and all of its annoying features have been successfully disabled. The only reason why you’re seeing the Cortana process in your task manager is because Cortana is closely tied to Windows Search, and the running process actually belongs to Windows Search, not Cortana. You can simply chalk the process’ presence in the task manager up to it having a misleading name and rest assured – you have indeed disabled Cortana.