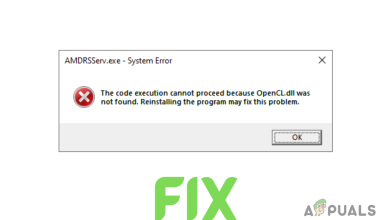
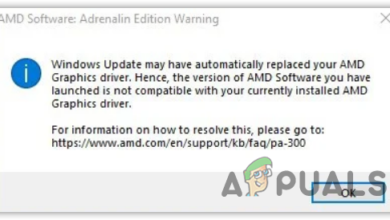
AMD Installer Shows Error 195 (Oops! Something Went Wrong)? Here is how to fix it
Radeon Software Installer suddenly stops during installation with the message “Oops! Something went wrong” and shows Error 195. This usually happens when the installer can’t reach AMD’s servers. Error 195 means the installer couldn’t connect to the internet resources it needs to finish setting up.
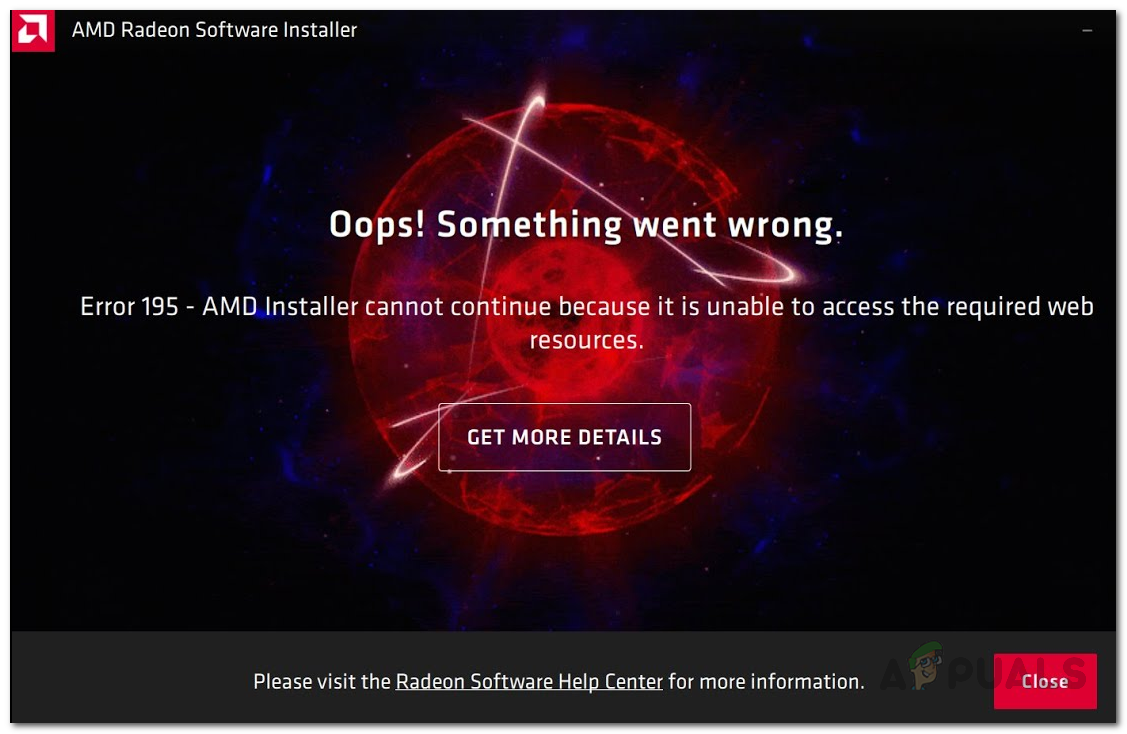
The most common reason for this is antivirus, Windows Defender, or firewall software blocking the connection. Sometimes, a weak internet connection or temporary issues with AMD’s servers can also cause this error.
Now that you know what’s behind the issue, let’s look at some simple steps to fix it.
1. Turn Off Windows Defender and Windows Firewall
The first thing you should try when facing AMD Error 195 is to make sure Windows Defender and Windows Firewall aren’t blocking the installer. As mentioned earlier, these tools sometimes stop the AMD installer from working as it should. Temporarily turning them off can often solve the problem.
1.1. Windows Defender
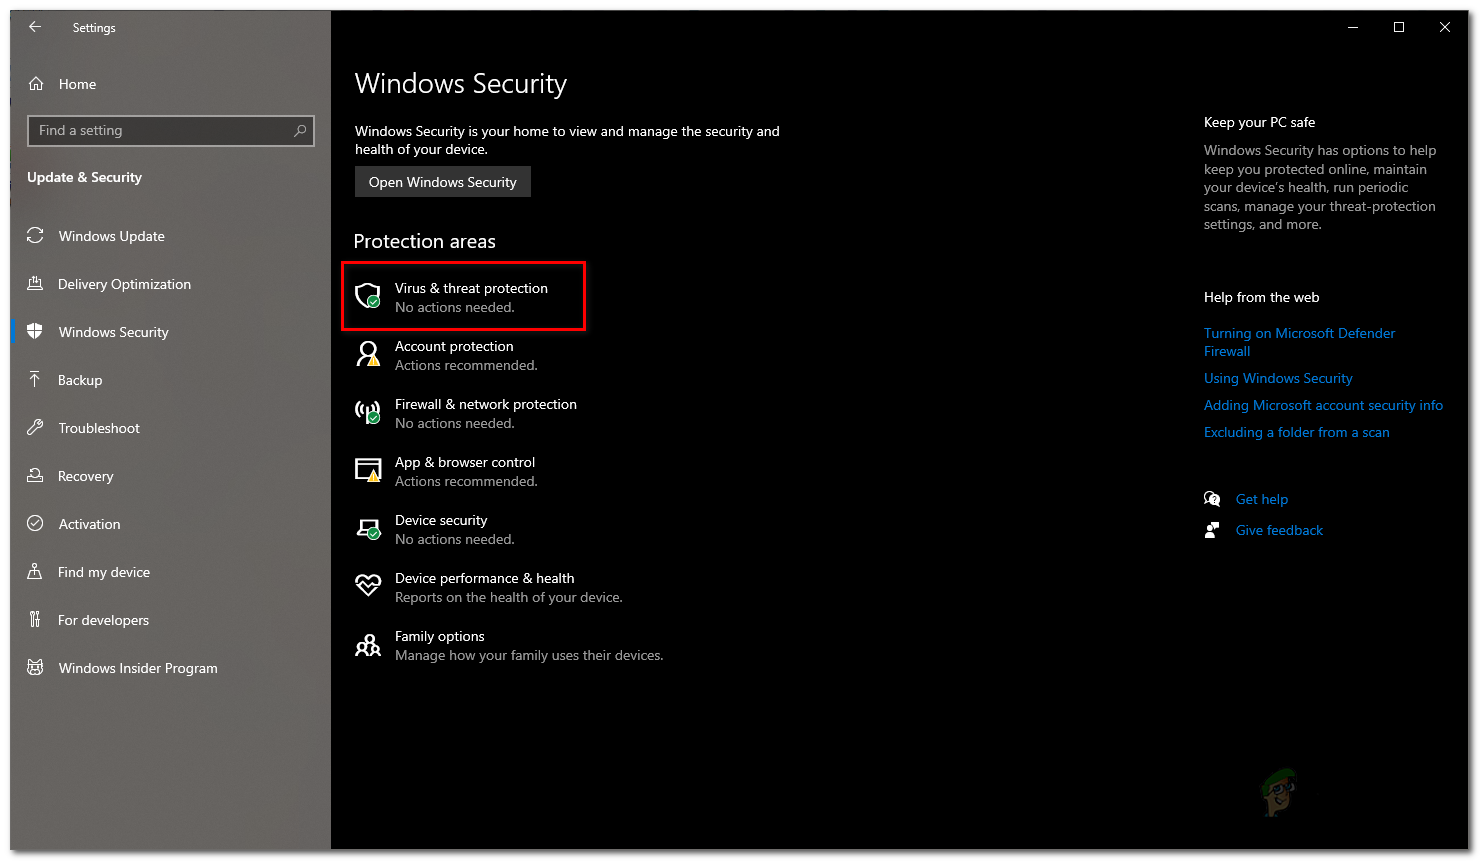
- Press the Windows key + I to open Settings. Go to Update & Security > Windows Security. You can also search for Windows Security in the Start Menu and open it from there.
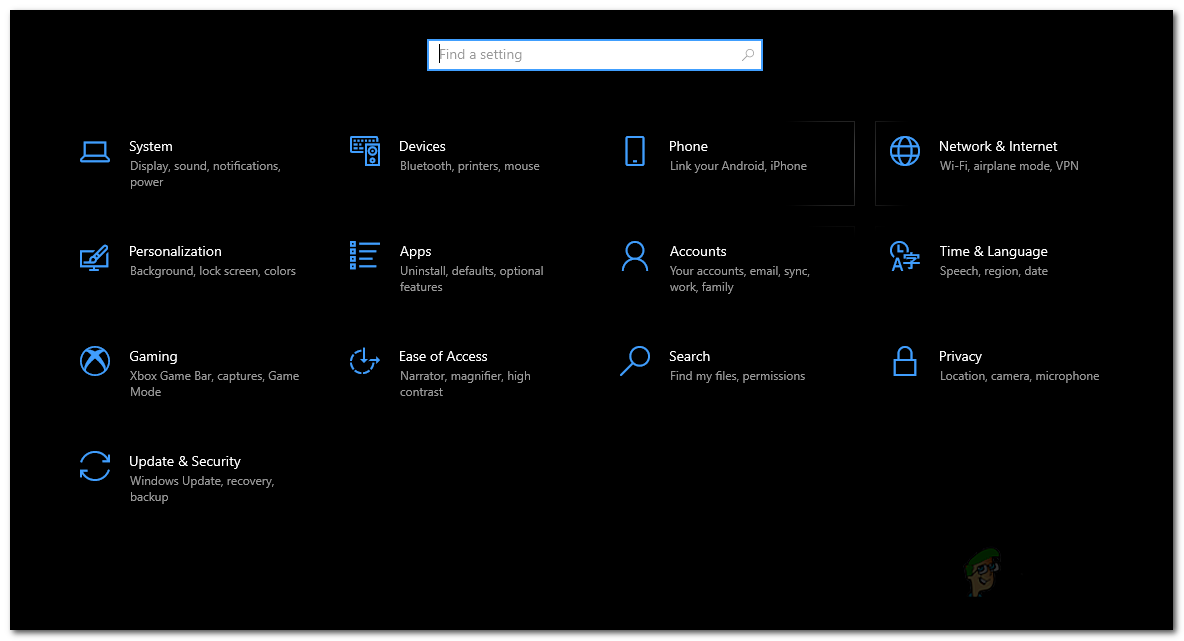
Windows Settings - In the Windows Security window, click on Virus and Threat Protection. A new window will open.
Windows Security - Click on the Virus and Threat Protection settings option and turn off Real-time protection.
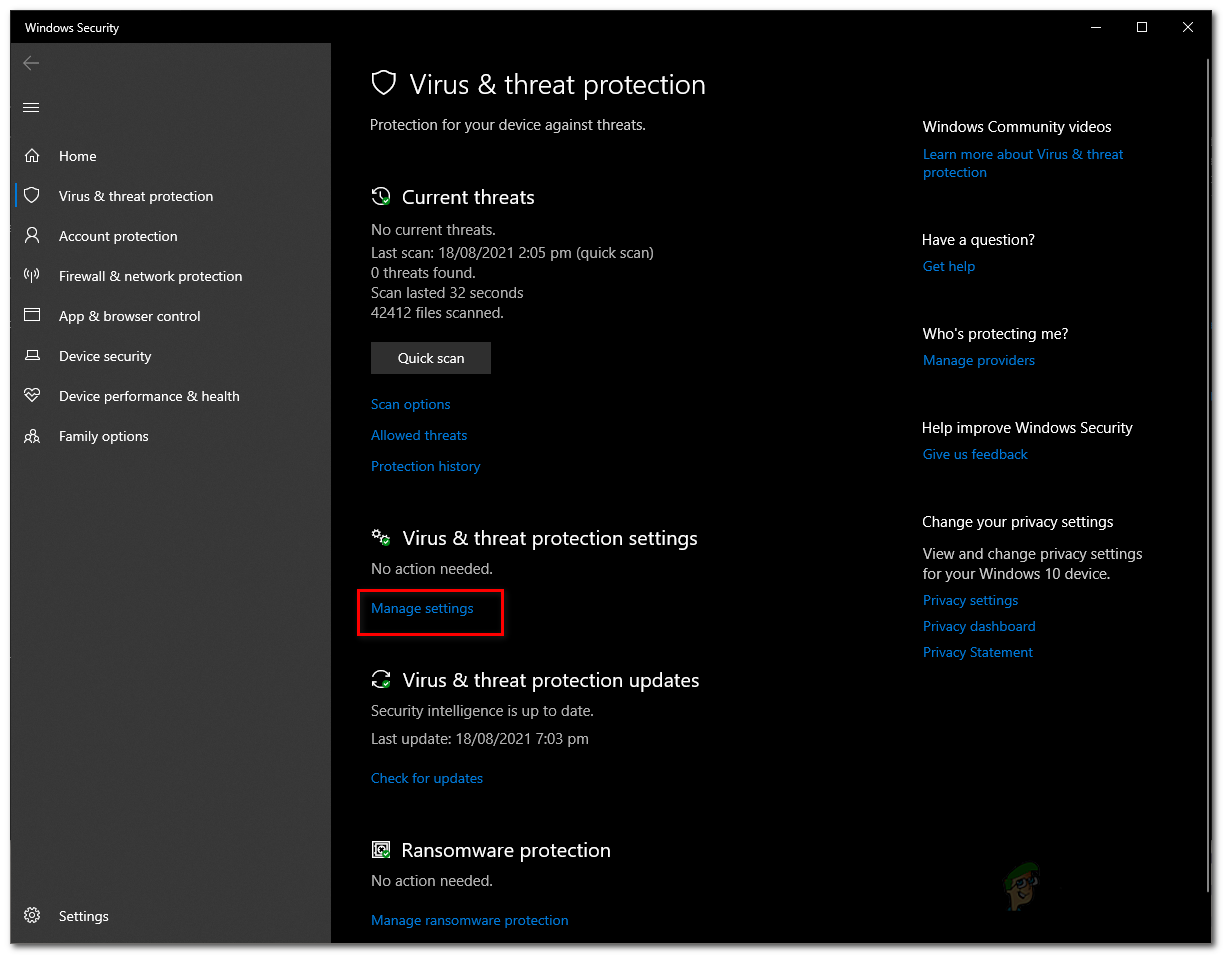
Virus and Threat Protection - If a User Account Control dialog box appears, click Yes.
1.2. Windows Firewall
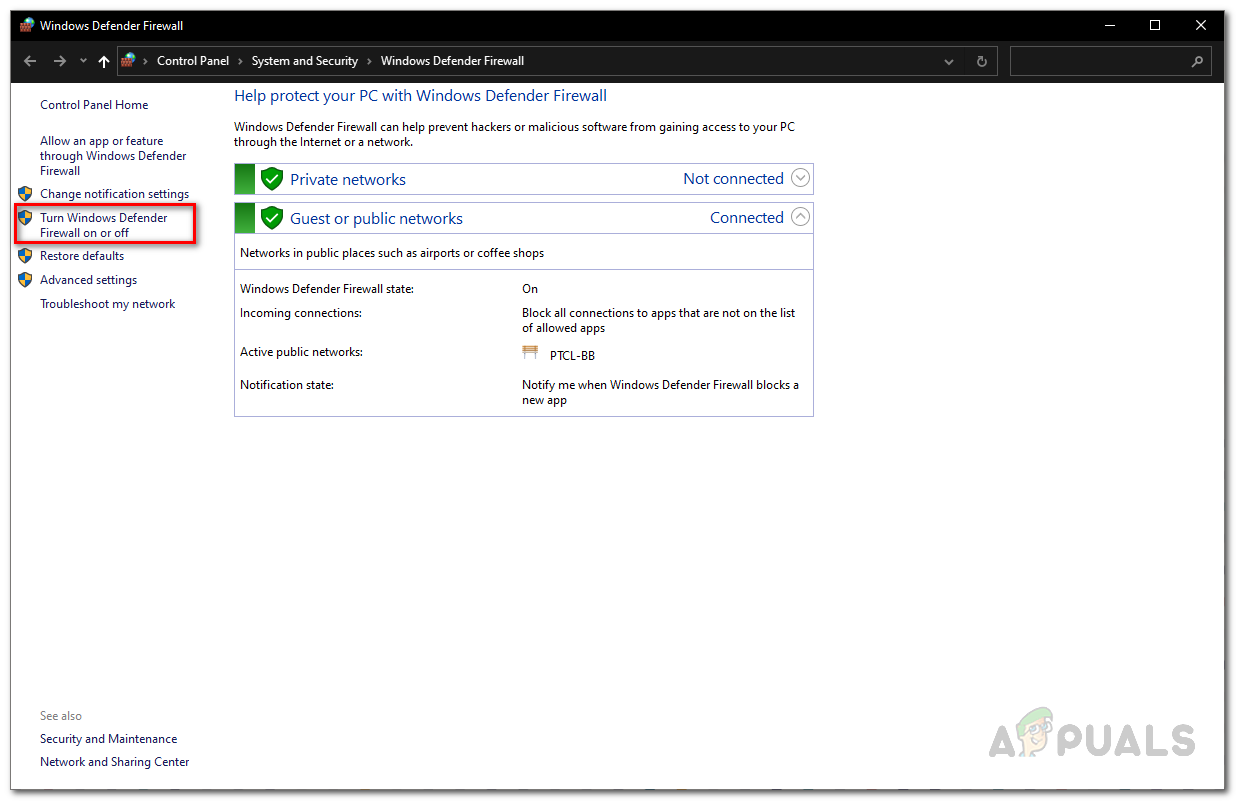
- In the Settings window, type Windows Defender Firewall and click on it. You can also search for Windows Defender Firewall in the Start Menu and open it from there.
- Click on Turn Windows Defender Firewall on or off on the left side.
Windows Defender Firewall - Select Turn off Windows Defender Firewall for both Private and Public network settings.
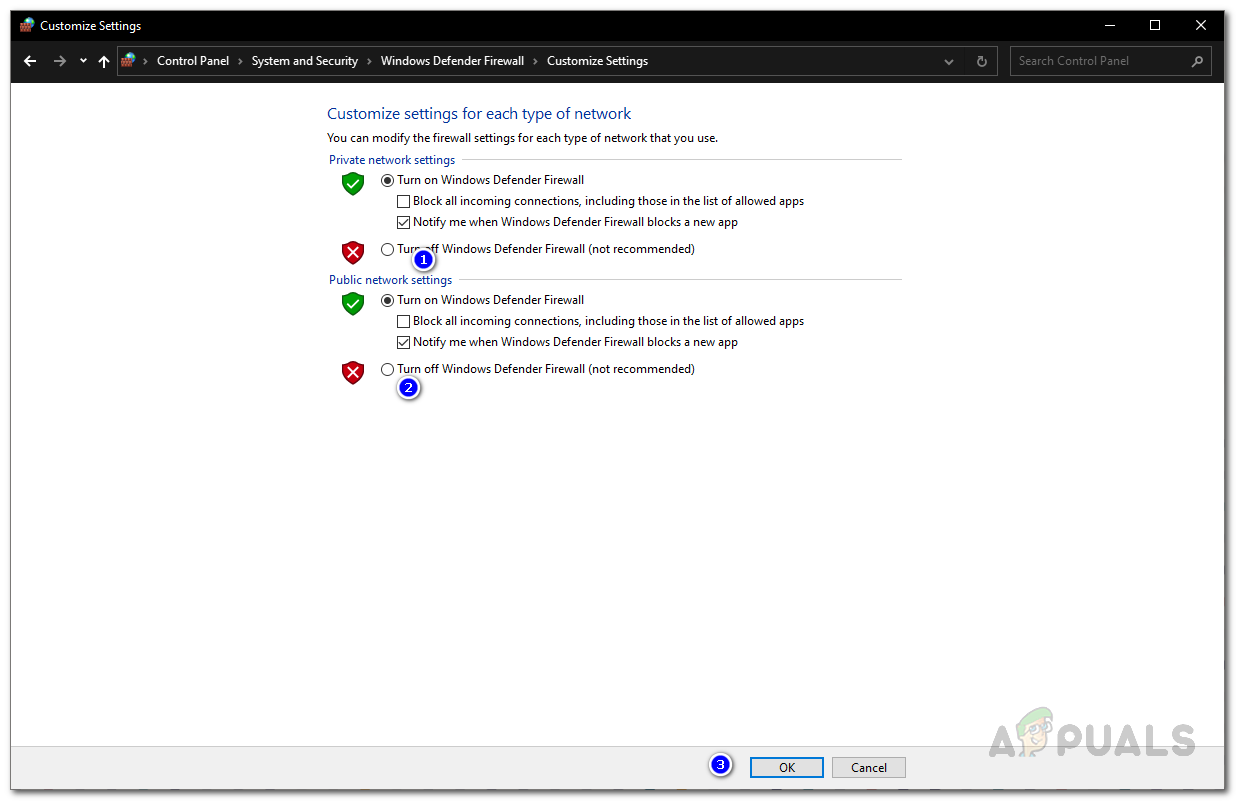
Turning off Windows Defender Firewall - Click OK to confirm.
Once you have disabled both of these features, try running the AMD installer again. Remember to turn Windows Defender and Firewall back on after the installation is complete—these tools are essential for keeping your system secure.
2. Disable Third-Party Antivirus
If you use third-party antivirus software to protect your system, it might be getting in the way of the AMD installer. Sometimes, these antivirus tools mistakenly block or interfere with legitimate applications. You can fix this by temporarily disabling your antivirus program through its settings.

Once your antivirus is turned off, try running the AMD installer again. When you’re finished installing the drivers, don’t forget to turn your antivirus protection back on.
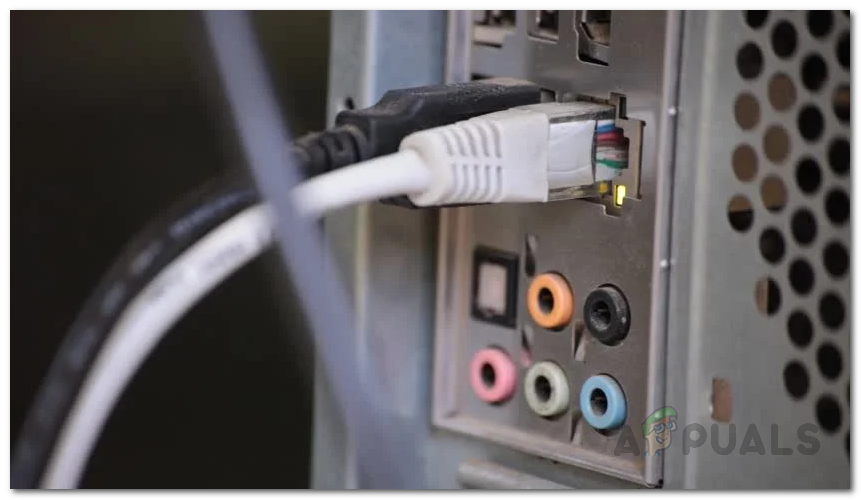
3. Use an Ethernet Connection
Sometimes, using a wireless connection can cause issues with the installation. The reason isn’t always clear—it could be due to weak Wi-Fi signals or other interference—but it’s a common complaint among users. If you have an Ethernet cable available, try connecting your PC or laptop directly to your router or modem, then run the installer again.
4. Manually Download the Driver
If none of the above methods work, don’t worry—you can still install the drivers manually. Here’s how:
- Go to the AMD Drivers Support website.
- Instead of using the Auto-Detect Installer, use the search box to find your specific graphics card model.
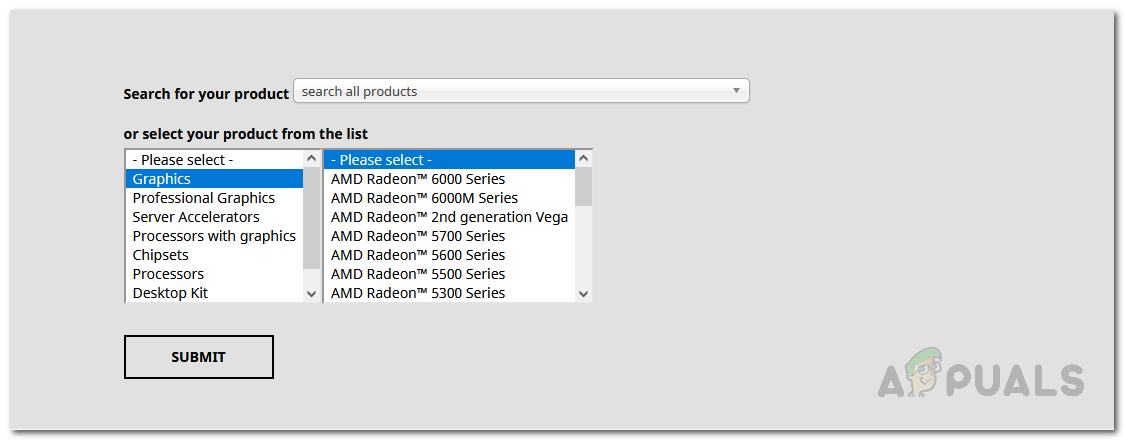
Downloading AMD Driver - If you’re not sure which graphics card you have, don’t worry—we have a helpful guide on this topic. Check out this article on our website to find out how to check your graphics card model.
- After you’ve found your product, click the Submit button.
- On the next page, look for drivers compatible with your operating system. Click Download next to the driver you need.
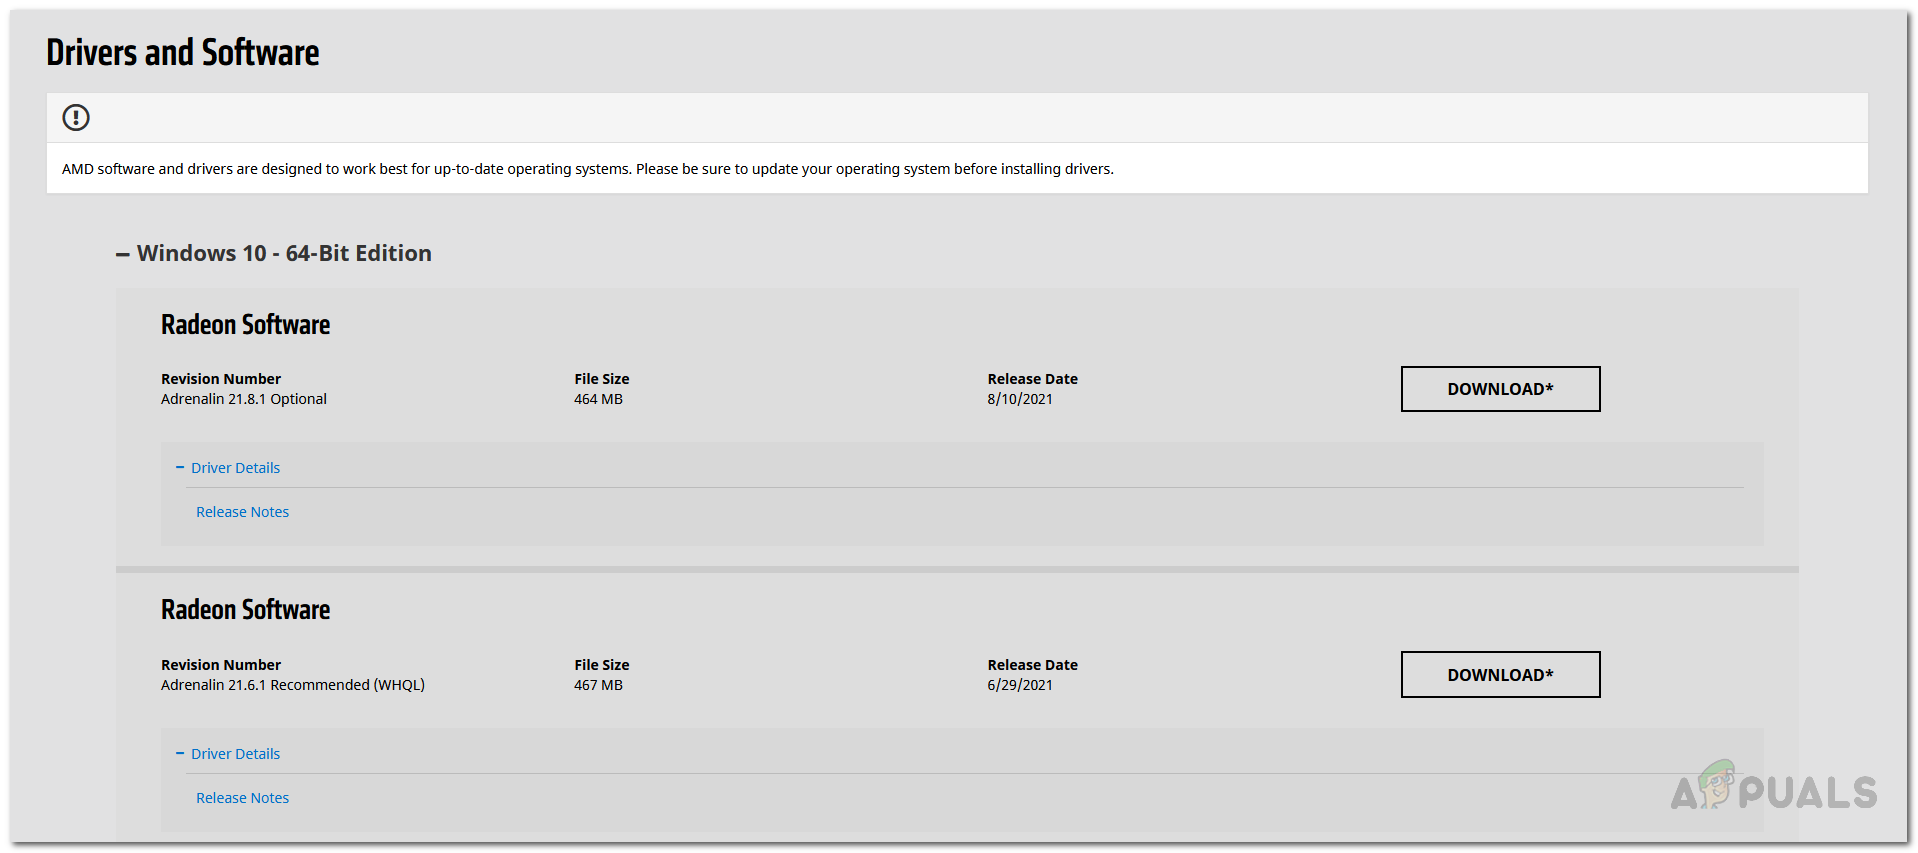
Downloading AMD Drivers - After the download finishes, run the installer file and follow the prompts to complete the installation.

