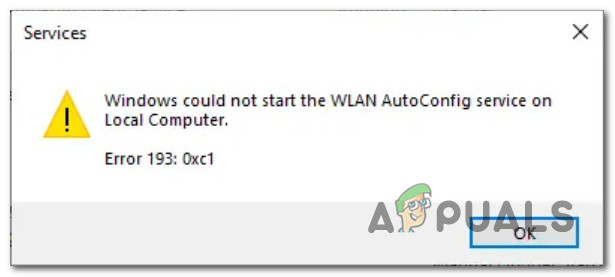
Fix: Windows could not start the WLAN AutoConfig Service
This error appears on your computer when attempting to connect to the wireless internet connection. When this error occurs, you won’t be able to connect to the internet using your WLAN adapter. This service is essential for setting up the WLAN configurations of your adapter, and if it doesn’t start, your network adapter won’t work as intended.
The following error occurs when you install an incompatible network driver on your Windows; this causes the service to malfunction because it doesn’t know what to do with the driver. Incompatible drivers cannot communicate with the service and adapter properly.
Here are some easy fixes that can help you resolve this problem:
Workarounds:
It’s likely that the error is caused by a minor mistake on your part. So, before you delve into executing the other solutions, try ensuring the following elements:
- Disable Airplane Mode (if applicable) – Ensure that your Airplane Mode is not turned on. A device’s Airplane Mode disables all communication functions, including Wi-Fi, mobile data, and Bluetooth. This mode is designed for use during flights to avoid interference with the plane’s communication systems.
- Restart your router/modem – Restarting your internet router/modem could also fix this error, but if the error persists, then follow the other solutions mentioned below.
If the problem persists even after ensuring this, then carry out the following steps:
Solution 1: Ensure that the wireless adapter is enabled.
If your wireless adapter is disabled, the WLAN configuration service will not be able to communicate with the driver to set it up. You can enable the wireless adapter by performing the following steps:
- Press the “Win + X” keys and in the menu click Device Manager.
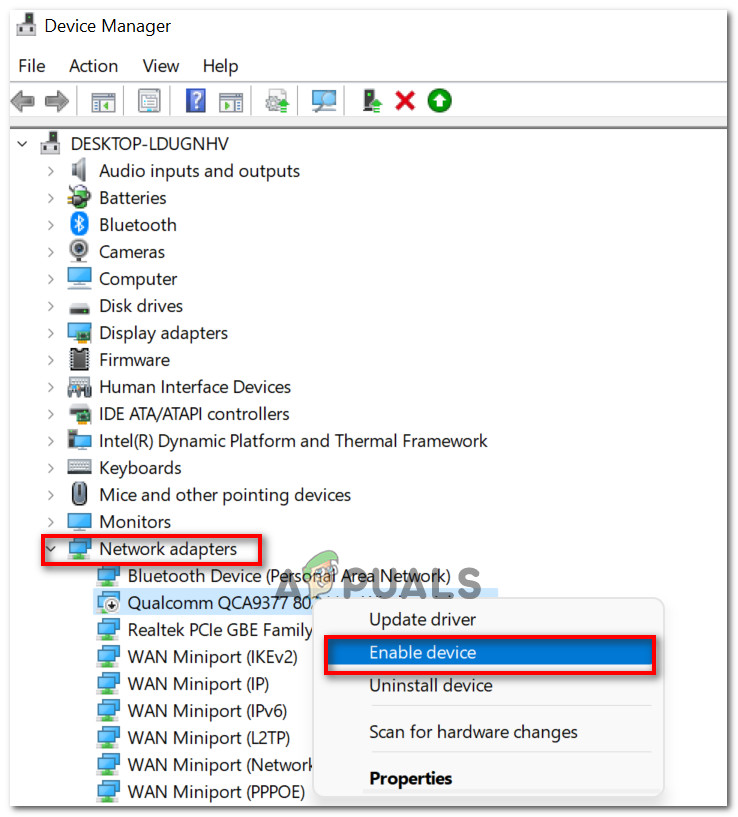
Enabling Network Adapters - Now navigate to the Network Adapters section.
- Right-click on the relevant network adapter and select “Enable”.
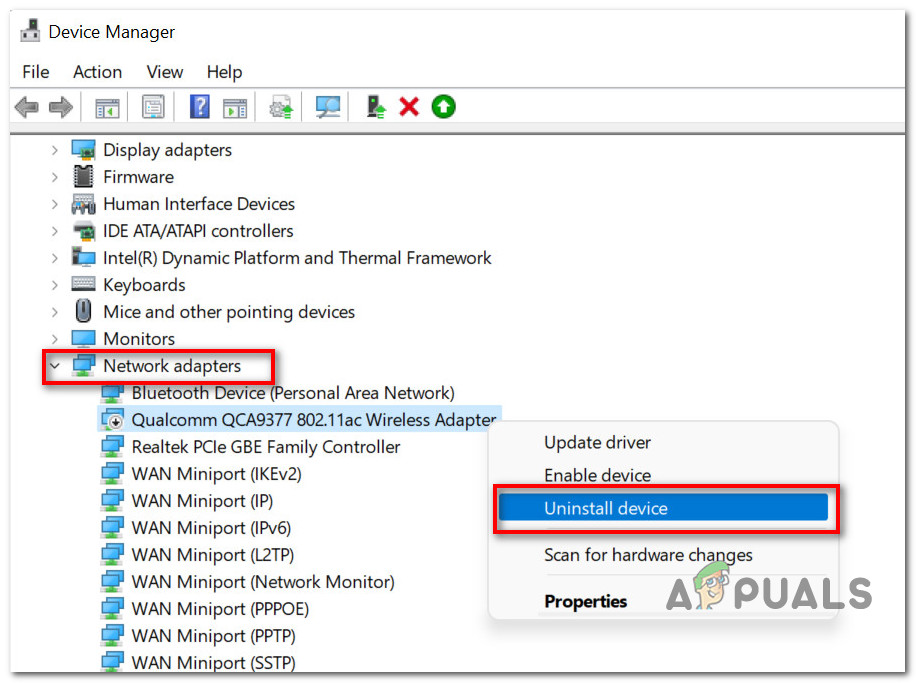
Solution 2: Reinstalling the wireless adapter driver.
If the driver is corrupted or outdated, then the network adapter may not function properly. This means that the WLAN configuration service won’t be able to communicate with the driver to set it up. Reinstalling the wireless adapter driver could also solve this error. To do so:
- Open Device Manager.
- In the “Device Manager” double click on “Network adapters” to expand it.
- Right-click on your wireless driver, and in the drop-down menu select “Uninstall device”.
Uninstalling the network adapter. - After that, restart your PC. The driver will automatically be installed as you restart.
- Now, Click the Start button and go to Settings > Windows Update > Check for Updates. This way you can check for any driver updates.
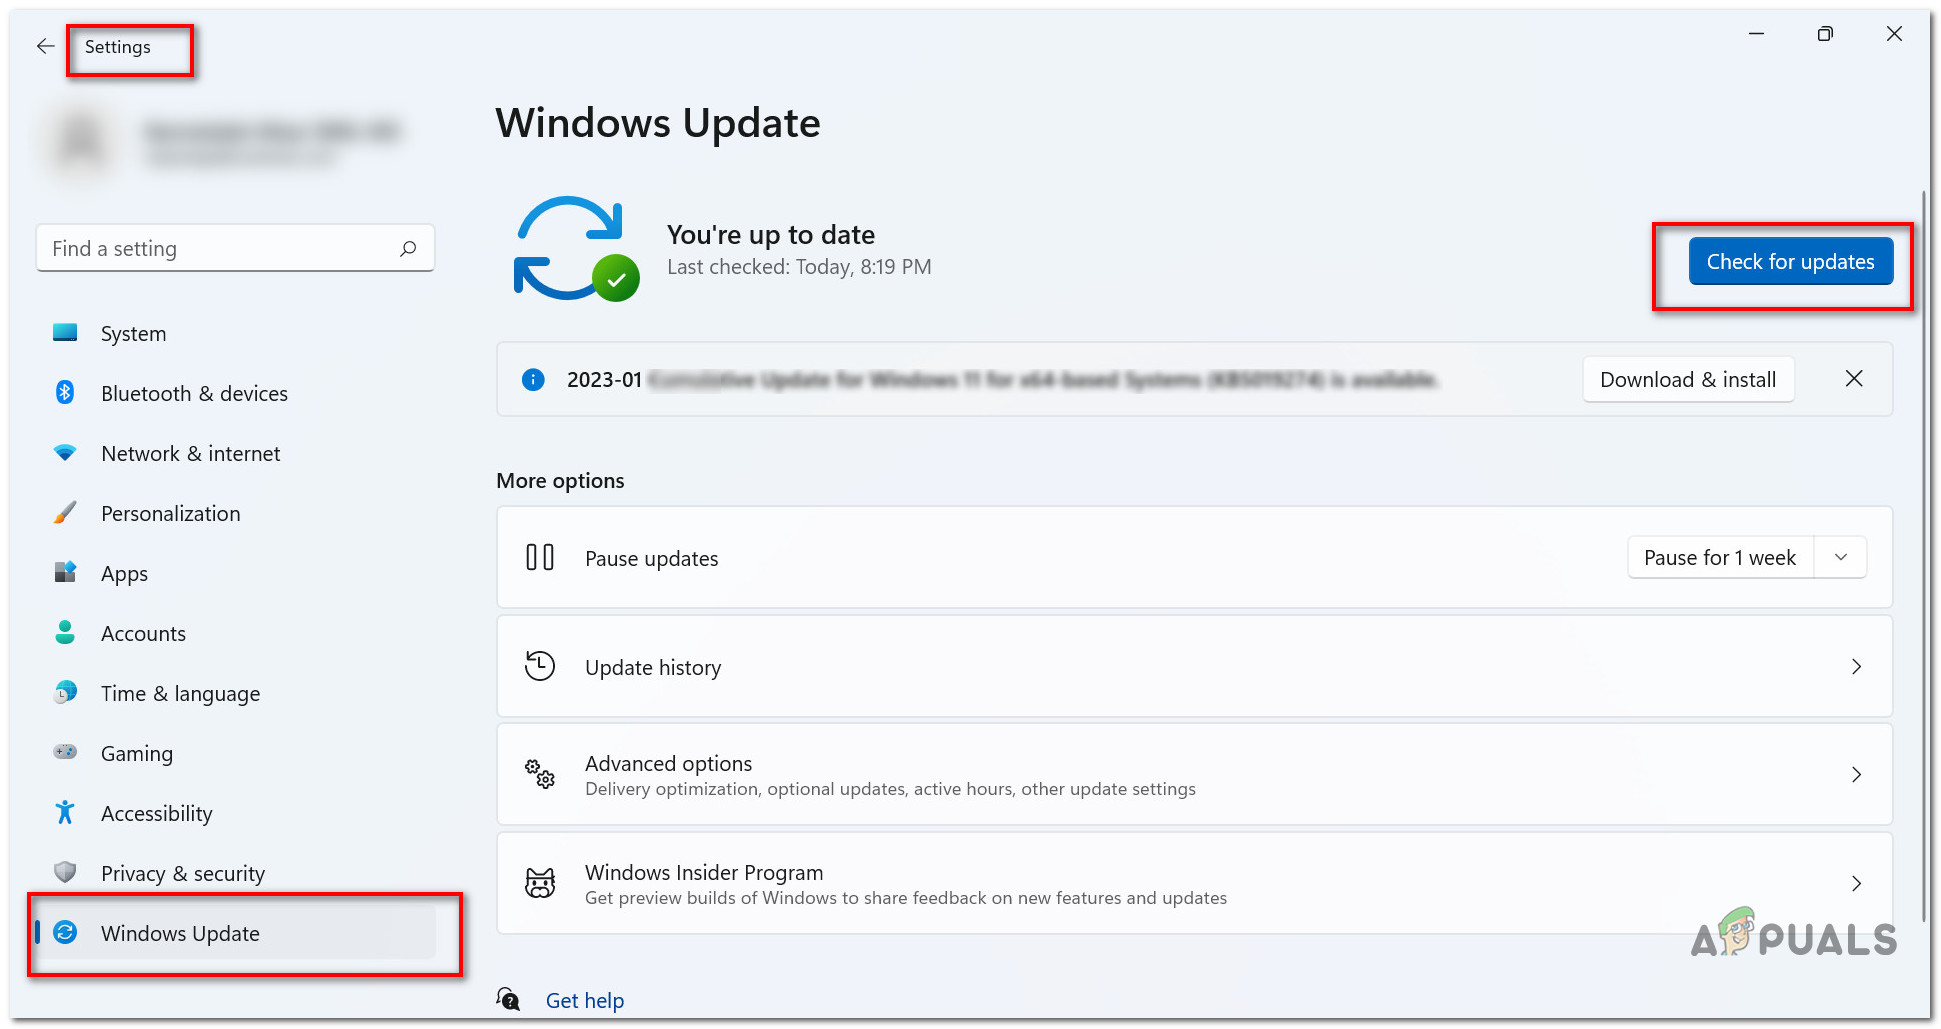
Checking for Window Updates - Finally, go to ‘Device Manager‘ again and double-click on ‘Network adapters‘ to expand it. Confirm that the wireless driver, which you previously uninstalled, is available there. Alternatively, you can visit the manufacturer’s website and download the latest driver.
Solution 3: Run a Network Troubleshooter.
The problem, “Windows could not start the WLAN AutoConfig service on Local Computer,” can be solved by running a network troubleshooter, as it can help in pinpointing the main issue and suggesting relevant steps to fix it. This can be done by:
- Click the Windows Start Button and go to “Settings”.
- Then, go to System > Troubleshoot > other troubleshooters.
- Then Select “Run” in the “Internet Connections” bar.
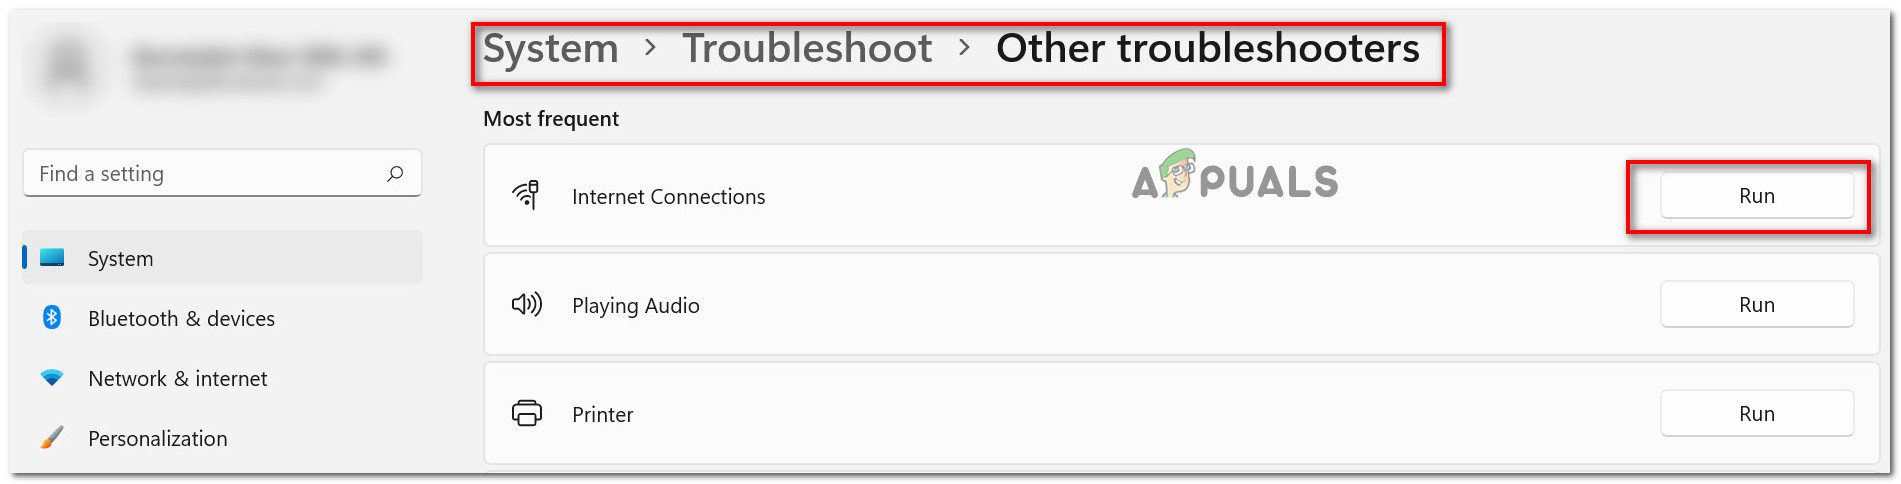
Follow the instructions on the screen and complete the method.
Solution 4: Ensure that the WLAN AutoConfig is set to “Automatic.
When the WLAN AutoConfig service is running with the Startup Type set to “Automatic”, it ensures that it is always operating in the background and can connect to the wireless network when accessible. Follow these steps to confirm it:
- Click on the Windows search box > Services > WLAN AutoConfig.
- Double-click on the “WLAN AutoConfig” service to open its properties.
- A new window will open. Ensure that in the “General” tab the “Startup Type” is set as “Automatic”.
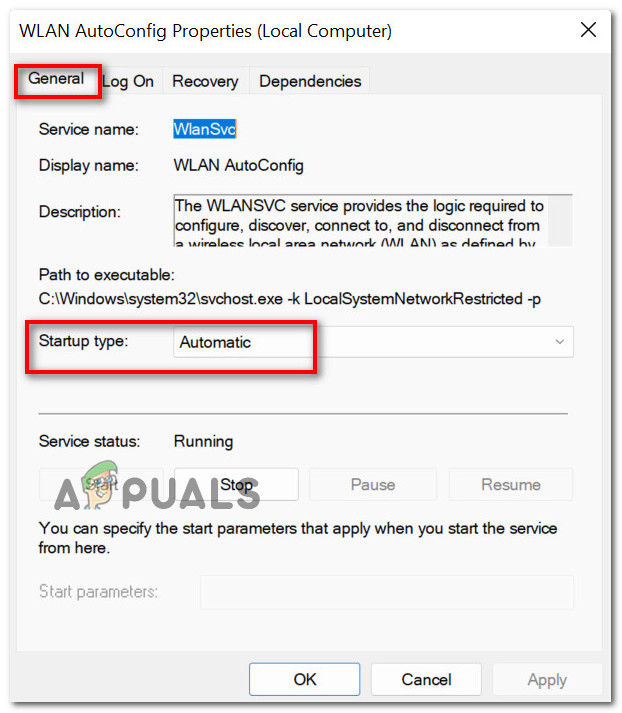
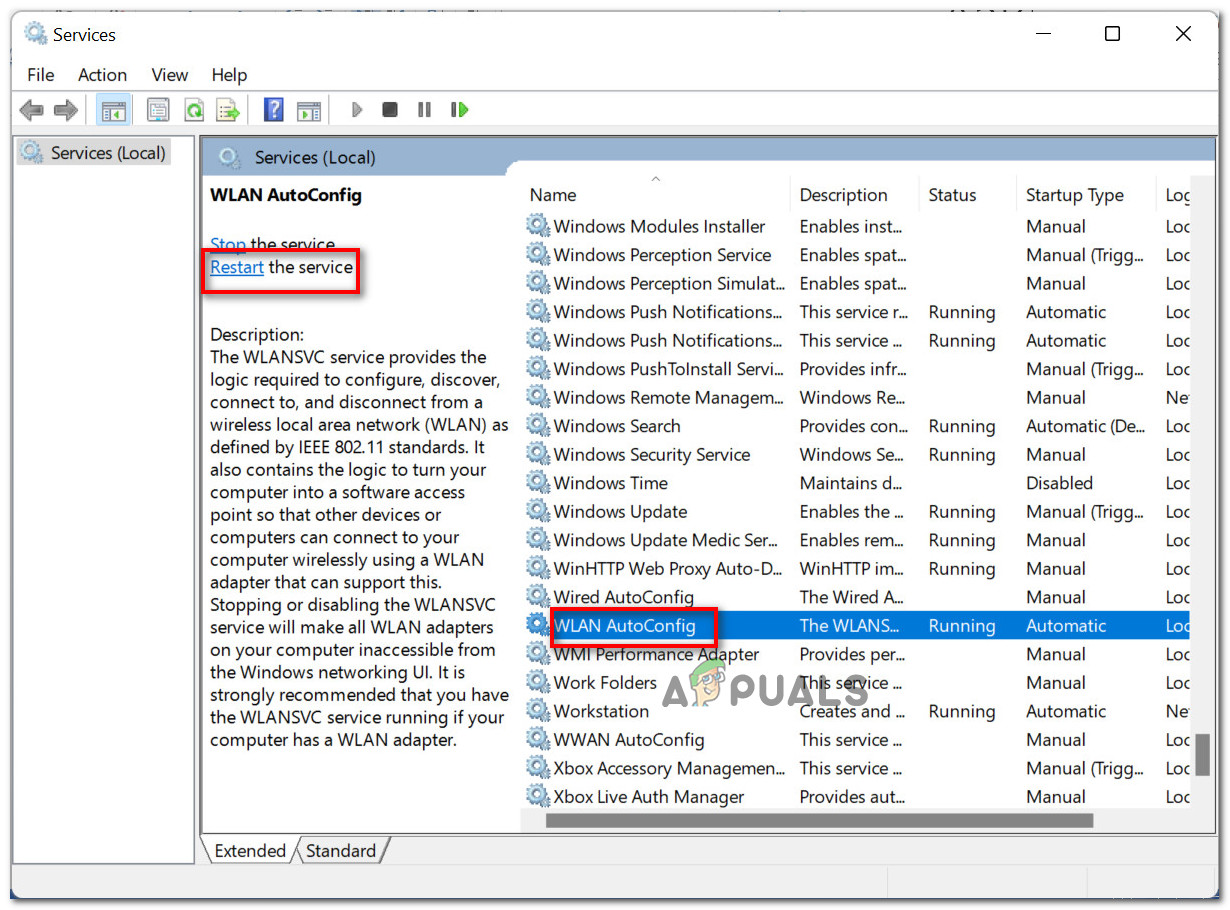
Setting the Startup Type as “Automatic” - After that, click on Start > Apply > OK
- Now go back to the enlisted services and click on “Restart the service” (on the left panel) while “WLAN AutoConfig” is selected.
Restarting WLAN AutoConfig Service
Solution 5: Repair the WLAN using an SFC scan.
If the error persists, it could be because the file WLanSvc.dll has become corrupted. That, in turn, can cause WLAN configuration errors or prevent the system from connecting to a wireless connection. It can be repaired using System File Checker.
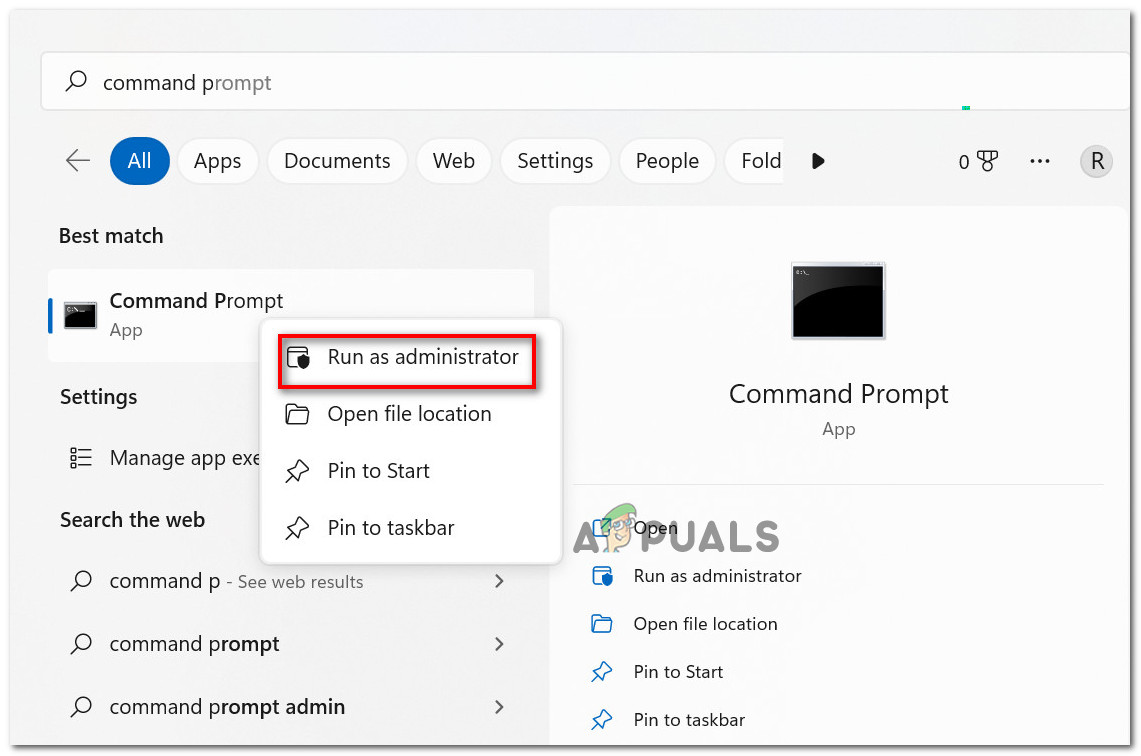
- Click the Windows Start button and search for “Command Prompt.” Right-click on it and select “Run as Administrator.
Right-click on the command prompt and select “Run as Administrator. - On the command prompt window, type “sfc /scannow” or “sfc /scanfile=c:\windows\system32\wlansvc.dll”.
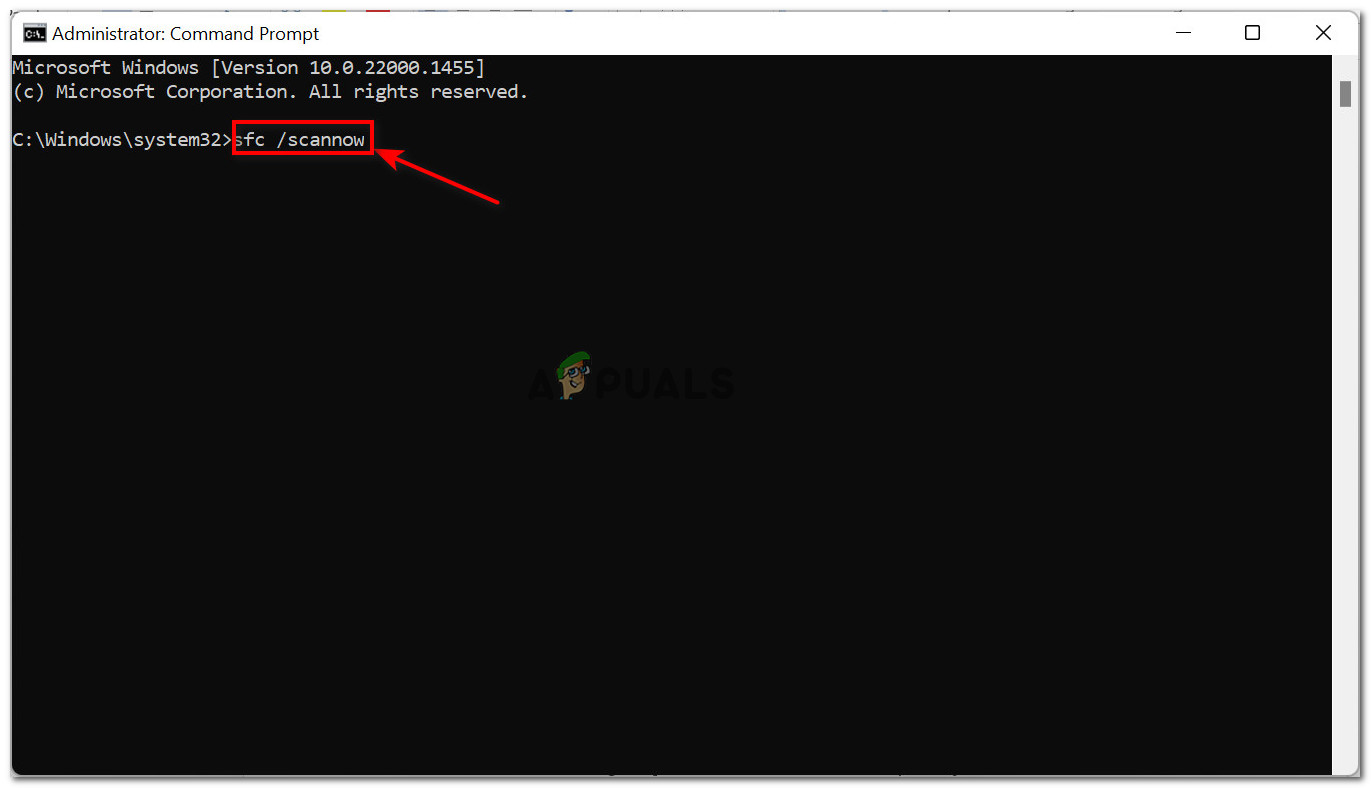
Run the “sfc /scannow” command
Note: In order to repair all system files run the command “sfc /scannow”, but if you want to only repair file WLanSvc.dll then run the command “sfc /scanfile=c:\windows\system32\wlansvc.dll”
If the message, ‘Windows Resource Protection found corrupt files and successfully repaired them,’ appears on your screen, it means that the file has been successfully restored.
Restart your device and check if the error has been resolved.


