How to Fix ‘Error: 0x803F8001’ in Windows Store
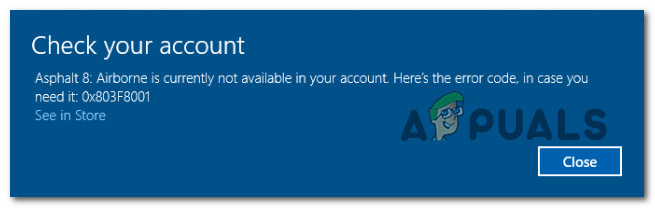
Early Windows 11 adopters are facing a recurring issue where apps downloaded from the new Windows Store interface hang before eventually showing the 0x803F8001 error. In most cases, the error message accompanied by the error code is ‘*App* is currently not available in your account.
We’ve investigated this issue thoroughly and analyzed various user reports and it turns out that several common scenarios might be triggering this Windows 11 error code. Here’s a list of possible culprits that might cause the 0x803F8001 error code:
- Microsoft account glitch – As it turns out, this particular error is sometimes related to an inconsistency related to the Microsoft account that is currently connected to the Windows Store. In some cases, you can resolve the problem simply by signing out of your Microsoft account before rebooting your Windows 11 PC and signing back in.
- Generic inconsistency – It’s not uncommon to see this problem occurring due to an inconsistency that Microsoft is already aware of and has already developed an automated repair method for it. To test this theory, you should run the Windows Store Troubleshooter and see if one of the automated fixes can resolve the issue for you.
- Corrupted Windows Store temporary files – Temporary files that the Windows Store keeps accumulating as you install new apps and games from the store can also lead to this issue. In certain circumstances, you can fix the error code by triggering a repair or reset procedure using the Advanced Settings menu of the Windows Store.
- Corrupted Windows Store installation – If you tried installing the old version of Windows Store on a Windows 11 computer, this might have the unexpected consequence where the installation of this component might become corrupted. In this case, you can run a PowerShell command from an elevated Windows Terminal prompt to force the reinstallation of the Windows Store.
- System File Corruption – In more serious circumstances, you can expect to see this problem occurring due to certain dependencies used by Windows Store having become affected by system corruption. In this case, you can try doing SFC and DISM scans and even think about doing an in-place upgrade if it comes to it.
Now that you are familiar with every potential scenario that might cause this problem with the new Windows Store version on Windows 11, let’s go over the various methods that other affected users have successfully used to fix the issue:
Sign Out and back in again from Windows Store
As it turns out, one of the most common scenarios that will cause this particular issue is an account sync problem. There’s no official explanation on why this is occurring, but some affected users have discovered that in their case, the issue was produced by a Microsoft account glitch.
So before trying anything else, our recommendation is to take the time and temporarily disconnect your Microsoft account from the Windows Store.
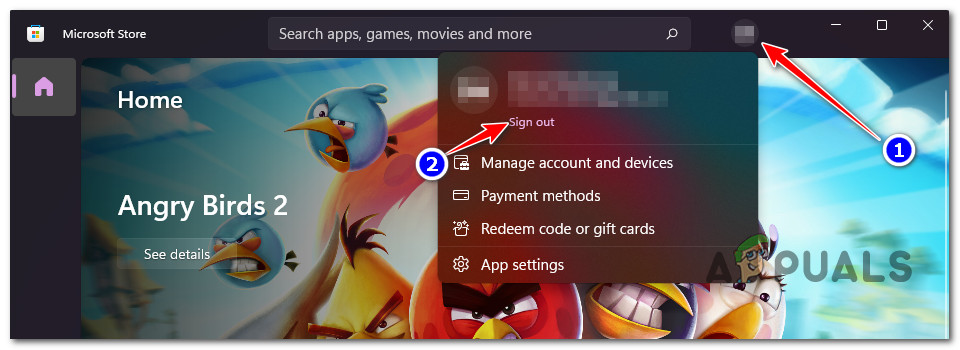
You can do this by opening the new Microsoft Windows interface and clicking on your account icon on the top-right screen. Next, click on the Sign Out hyperlink from the context menu that just appeared.
Once you have successfully signed out of your account, reboot your computer and wait for the next startup to complete.
After your PC boots back up, open the Windows Store once again and click on the same account icon (top-right corner), but this time click on Sign in from the context menu.

Next, provide the required credentials to sign in with the same account that you were previously using and see if the 0x803F8001 error is now fixed.
In case you’re still dealing with the same kind of problem, move down to the next potential fix below.
Run the Windows Store Troubleshooter
Keep in mind that the suite of built-in troubleshooting utilities available on Windows 11 is much more efficient than they were on previous versions of Windows.
If you’re dealing with a common glitch or inconsistency related to the Windows Store that Microsoft is already aware of, you can assume that the Windows Store Troubleshooter is capable of automatically resolving certain instances where this 0x803F8001 error code appears.
Note: The Windows Store Troubleshooter contains a selection of automated repair strategies (most of them can be applied with one click) that the utility is capable of deploying if a recognizable malfunctioning scenario is found.
If you haven’t tried to fix this issue by running the Windows Store Troubleshooter yet, follow the instructions below:
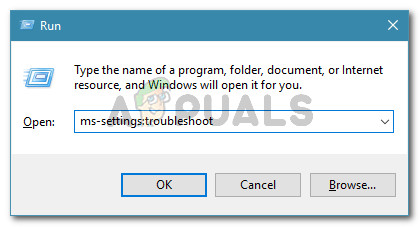
- Open up a Run dialog box by pressing Windows key + R. Inside the dialog box, type ‘ms-settings:troubleshoot‘, then press Enter to open up the Troubleshooting tab of the Settings app.
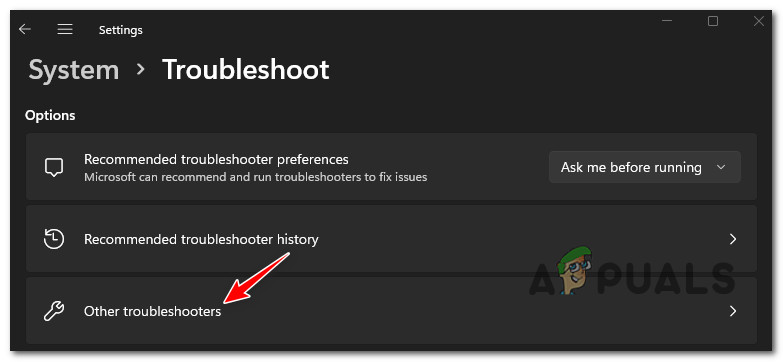
Accessing the Troubleshooting tab - Once you’re inside the Troubleshoot tab, click on Other troubleshooter from the bottom of the screen.
Open up the other troubleshooter first - Once you’re inside the Other Troubleshooters page, scroll down to the bottom of the screen and click on the Run button associated with Windows Apps Troubleshooter (under Others).
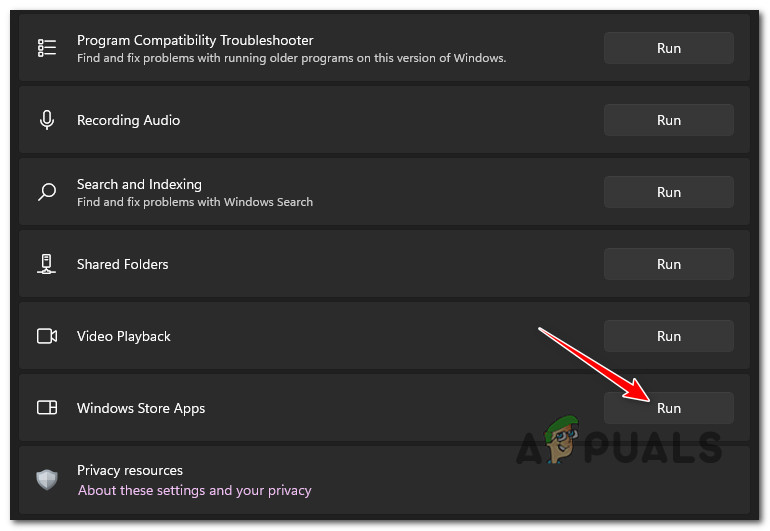
Running the Windows Store apps troubleshooter - Wai until the initial scan is complete – the tool will begin analyzing the entire Windows Store component to figure out if any of the repair strategies included with the Windows Store Apps troubleshooter are applicable.
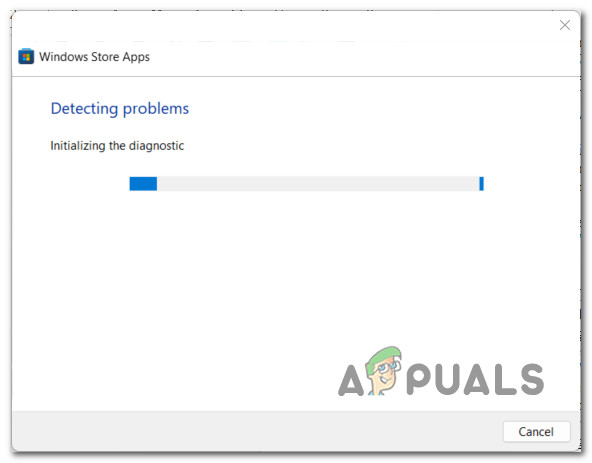
Running the Windows Store App troubleshooter - If a viable scenario is identified, click on Apply this fix and wait until the repair strategy is applied.
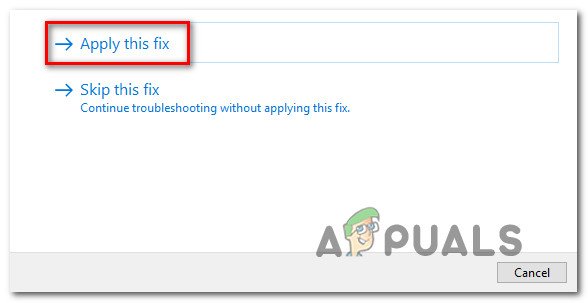
Applying the fix Note: Keep in mind that certain repair strategies will require you to do some manual steps. If this happens, follow the on-screen instructions to enforce the recommended fix.
- After the recommended Windows Store Apps troubleshooter fix has been applied, reboot your Windows 11 computer and see if the problem is now fixed.
In case you’re still encountering the 0x803F8001 error code, move down to the next potential fix below.
Repair or Reset the Windows Store app
As it turns out, this particular issue can also be related to some kind of corrupted temporary files or dependencies that the Windows Store has been accumulating. Remember that Windows 11 features a new version of the Windows Store app, so inconsistencies, glitches, and malfunctions are to be expected.
Generally, if the root cause of the 0x803F8001 error is caused by temporary file data or a corrupted dependency, the way to fix both is to initially try and repair the entire suite before moving down to a reset procedure.
If you’re looking for step by step instructions on enforcing both of these procedures, follow the guide below:
- Press Windows key + I to open up the Settings menu on Windows 11.
- Once you’re inside the root directory of the Settings menu, use the search function in the top-left corner to search for ‘apps’, then click on Add and Remove Programs from the suggestion context menu.
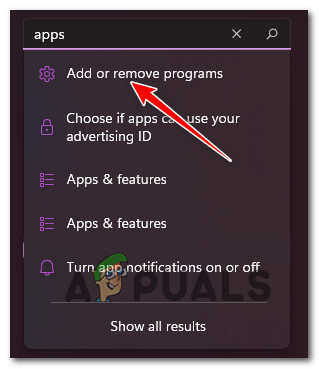
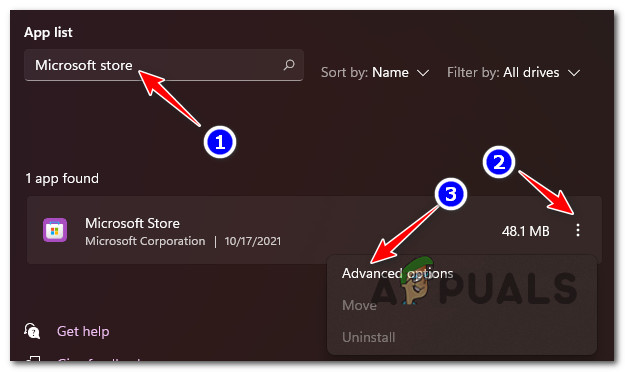
Access the Add and Remove Programs window - Once you’re inside the correct window, move over to the right-hand side menu and use the search function (under App List) to search for ‘Microsoft Store’.
- Next, from the list of results, click on the action button associated with Microsoft Store and select Advanced Settings from the context menu.
Accessing the Advanced Options menu - Next, scroll down to the Reset section and click the Repair button. When asked to confirm, click on Repair once again.
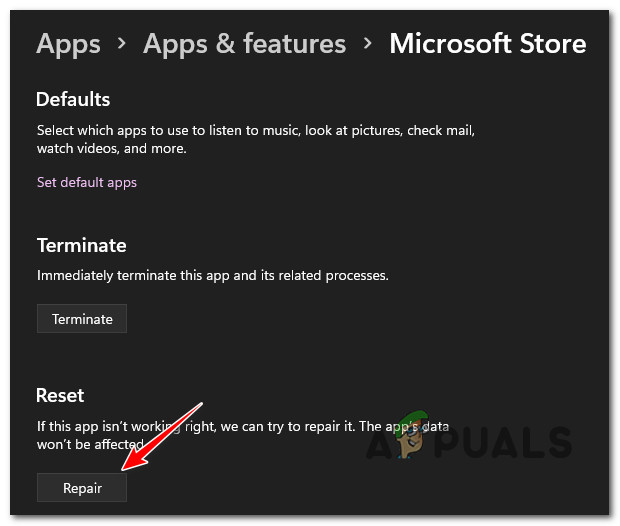
Repairing the Windows Store component Note: This operation will scan all system files and dependencies belonging to the Microsoft Store component and figure out whether any replace any file corruption with healthy file equivalents.
- Once the operation is complete, recreate the scenario in which you were previously seeing the 0x803F8001 error and see if the problem is now fixed.
- In case the same error is still popping up, return to the Advanced Settings menu of Microsoft Store and click the Reset button.

Reset the Windows Store component Note: Resetting the Windows Store app will not make you lose any library item or any type of other data related to your account. All it does is it will clear every temp folder that the Windows Store uses.
- At the confirmation prompt, click Reset once again to initiate the reset procedure.
- After this second procedure is complete, reboot your computer and see if the problem is now resolved.
In case the 0x803F8001 error is still occurring even after you tried repairing and resetting the Windows Store component, move down to the next method below for a different way of ensuring that the store component is not dealing with the system file corruption.
Reinstall the Windows Store via Windows Terminal
There are also situations where the corrupted file dependencies of the Windows Store will persist although you just tried resetting the utility. In this case, the best course of action is to reinstall the entire Windows Store component.
However, keep in mind that you won’t be able to reinstall the component conventionally – Windows 11 won’t allow you to do this from the Programs and Features menu.
You will have to do this from an elevated Windows Terminal app to make sure that you have the necessary permissions.
Follow the instructions below to reinstall the entire Windows Store component using a command that will perform the re-installation via the Windows Terminal:
- Press Windows key + R to open up a Run dialog box. Next, type ‘wt’ and press Ctrl + Shift + Enter to open up a Windows Terminal window with admin access.
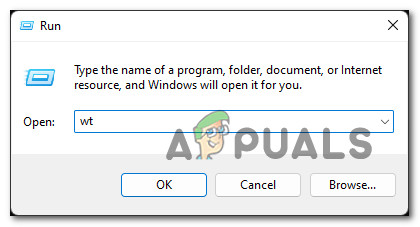
Opening up a Windows Terminal app - When you’re prompted by the User Account Control, click Yes to grant admin access.
- Once you’re inside the elevated Windows Terminal app, paste the following command and press Enter to initiate a reinstallation procedure of the entire Windows Store component using Powershell:
Get-AppxPackage -allusers *WindowsStore* | Remove-AppxPackage
Note: This command will essentially uninstall Windows Store functionality from your PC. But you will need to restart your PC to complete the process.
- After the operation is complete, reboot your PC and wait for the next startup to complete.
- Once your computer boots back up, follow step 1 again to open another elevated Windows Terminal window, then paste the following command to reinstall the Windows Store component:
Get-AppxPackage -allusers *WindowsStore* | Foreach {Add-AppxPackage -DisableDevelopmentMode -Register “$($_.InstallLocation)\AppXManifest.xml”} - Once the command is processed successfully and the Windows Store component is reinstalled, reboot your PC one final time and see if the problem is now resolved.
In case the same 0x803F8001 error is still occurring, move down to the next potential fix below.
Run SFC and DISM scans
If you’ve come so far without a resolution, it’s almost certain that you’re dealing with some kind of system file corruption that is somehow affecting the functionality of the Windows Store.
Given the interconnected nature of the Store component on Windows 11, there are a lot of dependencies that might be indirectly causing the 0x803F8001 error.
With this in mind, you should also take the time to run a couple of built-in utilities capable of scanning for corrupted system files and replacing them with healthy equivalents – SFC (System File Checker) and DISM (Deployment Image Servicing and Management).
Our recommendation is to start with an SFC scan performed from an elevated CMD prompt.
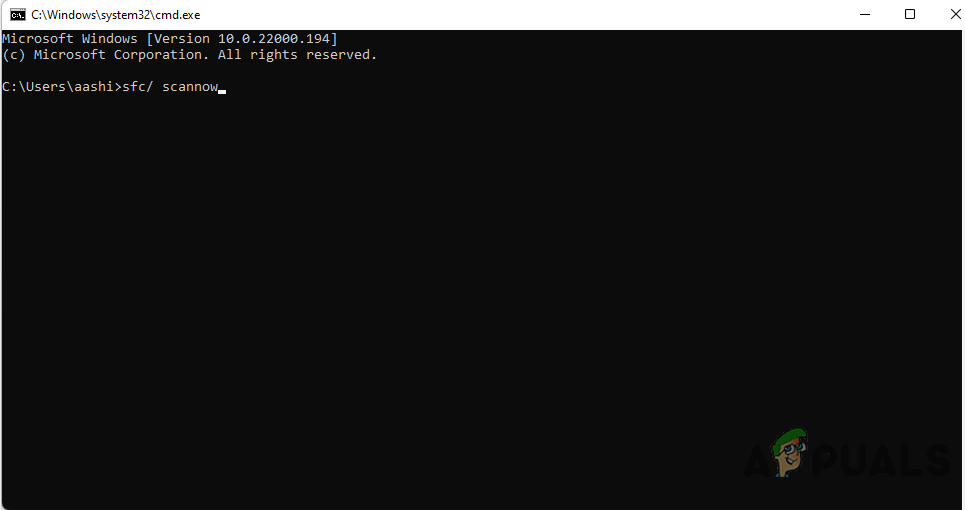
Once the SFC operation is complete, reboot your PC and wait for the next startup is complete.
Note: This operation will scan your system for corrupted files and replace any corrupted file or dependency with a healthy equivalent using a locally stored cache.
After your PC boots back up, you should follow up with a DISM scan (even if you don’t see the error occurring again).

Note: Keep in mind that before you launch a DISM scan, you’ll need to ensure that you have a stable connection to the internet. This is required because DISM is using a sub-component of Windows Update to download healthy files to replace the corrupted ones.
Once you’ve performed both types of scans, replicate the scenario that was previously causing the 0x803F8001 error and see if the problem is now fixed.
If the same problem is still occurring, move down to the final method below.
Perform a Repair install
If none of the methods features so far in this article have proven to be effective in your case, one last thing you can try before going for a clean install (and possibly think about moving away from an insider build), is to perform a repair install procedure.
This operation will allow you to reinstall every component of your current Windows 11 installation without losing any personal data that you might be currently storing on the OS drive. If you want to give it a go, follow these instructions to perform a repair install (in-place repair) on Windows 11.


