Fix: ‘Windows Might Be Installed in an Unsupported Directory’ Error
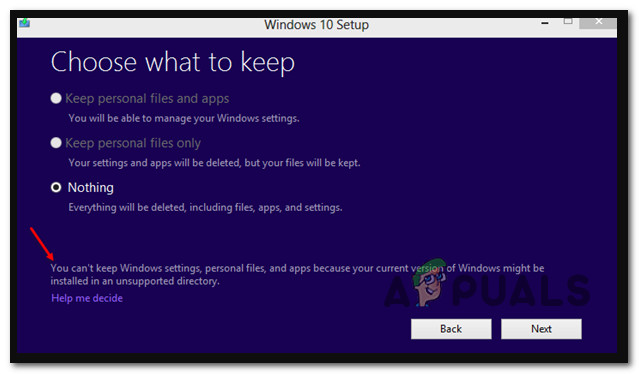
When attempting to clean install, upgrade or reinstall Windows 10 or Windows 11, some users see a subtle but concerning message saying, ‘You can’t keep Windows settings, personal files, and apps because your current version of Windows might be installed in an unsupported directory‘. This problem is confirmed to occur on both Windows 10 and Windows 11.
After investigating this particular issue, we realized that there are actually multiple potential causes that will ultimately trigger this behavior on the two most recent Windows versions. Here’s a list of scenarios that you should investigate:
- Broken Windows Update component – As it turns out, you can expect to deal with this issue when there’s an underlying problem with the Windows Update component (which is needed during the clean install or upgrade procedure). If this scenario is applicable, you can most likely fix the issue by running the Windows Update troubleshooter.
- Program Files Location is different – You can also expect this problem to occur in a situation where the upgrade wizard can’t find the default Windows 10 app folders (either because it’s incorrectly specified or because the location has been manually changed). In this case, you can fix the issue by using Registry Editor to change the expected location of Program Files.
- Corrupted Windows Update component – Since the upgrade or the reinstall procedures both rely on the Windows Update component, it’s very important to ensure that Windows Update is working as it should. If there’s an underlying problem with the subcomponent or associated dependencies, you can get the issue fixed by presenting every Windows Update component (or subcomponent).
- Windows Update & Windows Installer services are misconfigured – Another place where you should look when troubleshooting this error message is the current status and set the behavior of the Windows Update & Windows Installer service. Make sure both of these services are running and that both are set to Automatic.
- Incorrect system locale – According to several affected users, this type of issue often occurs if you have the language for non-Unicode programs set to a different language than the one you have configured as the default system language. In this case, you can fix the issue by adjusting the system locale to match your default system language.
- Antivirus interference – According to several affected users, you can expect to deal with this particular issue in a scenario where a 3rd party antivirus is actually interfering with the upgrade or reinstall attempt. Just for good measure, try disabling the 3rd party antivirus before repeating the action that was causing the error.
- The ‘user’ folder is not in the expected location – Unless the ‘user’ folder is not in the expected location, the upgrade procedure of Windows 10 or Windows 11 will not be able to locate the files that need to be used in the recovery process. If you manually moved the user folder (or an optimization program moved it for you), you can fix the issue by moving the ‘user’ folder to the correct location.
- Recent system change – According to various user reports that we read regarding this error, the problem typically occurs after a system change that ended up interfering with the Windows Update component. If you have a viable System Restore Snapshot, you can easily fix this issue by reverting your PC back to a state in which this problem is not occurring.
- System file corruption – As in most Windows errors, one scenario that is always on the table is some type of system file corruption that affects the upgrade operation. In this case, the ideal place to start is with a DISM or SFC scan. If this fails, move to an automated repair procedure and consider a repair install operation if that fails too.
Now that we have gone over every potential reason why you might see this problem occurring, let’s get to the actual fixing part. Below you have a collection of methods that other users have successfully used to get to the bottom of the issue.
1. Run the Windows Update Troubleshooter
As it turns out, you may anticipate dealing with this issue whenever there is a fundamental Windows Update component issue (which is needed during the clean install or upgrade procedure). If this situation applies, running the Windows Update troubleshooter will probably help you resolve the problem.
If the error’s root cause is already covered by a Microsoft repair plan provided by the Windows Update Troubleshooter, fixing the problem only requires running the program and applying the suggested fix.
The Windows Update Troubleshooter is intended to automatically identify and resolve common problems, even if you’ve never used it before.
Notably, Windows 11 users are in luck as the tool is far more thorough than earlier iterations. Microsoft has included a number of new automated repair methods that can be launched in a matter of seconds if an identified cause is discovered.
If you haven’t already, follow the steps below to launch the Windows Update Troubleshooter and have the proposed remedy automatically applied:
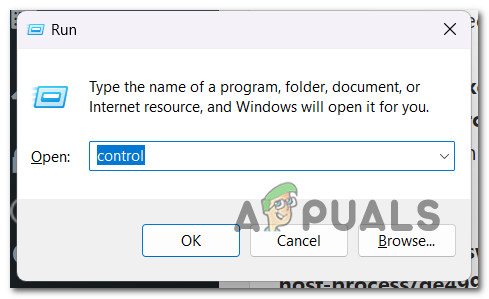
- Press the Windows key + R to launch the Run dialog box, and then try to repair the Windows Update component.
- To open the Control Panel interface, type “control” into the text box in the recently appeared dialog box and hit Enter.
Accessing the Control tab Note: Remember to choose Yes when the User Account Control asks you to allow administrative access.
- To find “troubleshoot,” utilize the search bar in the Control Panel window.
- From the results list, pick all of the Troubleshooting subcategories.
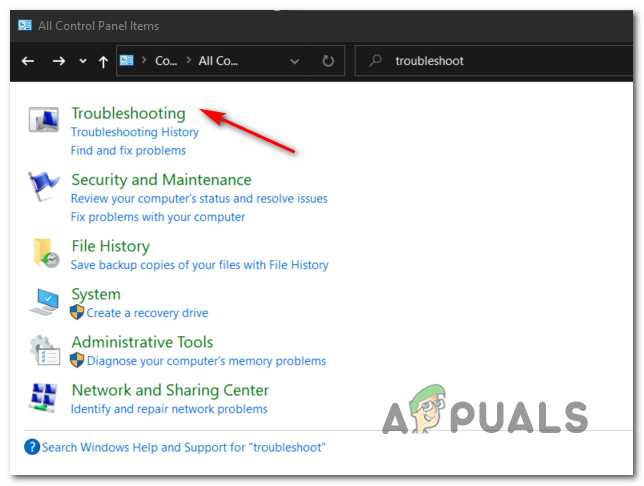
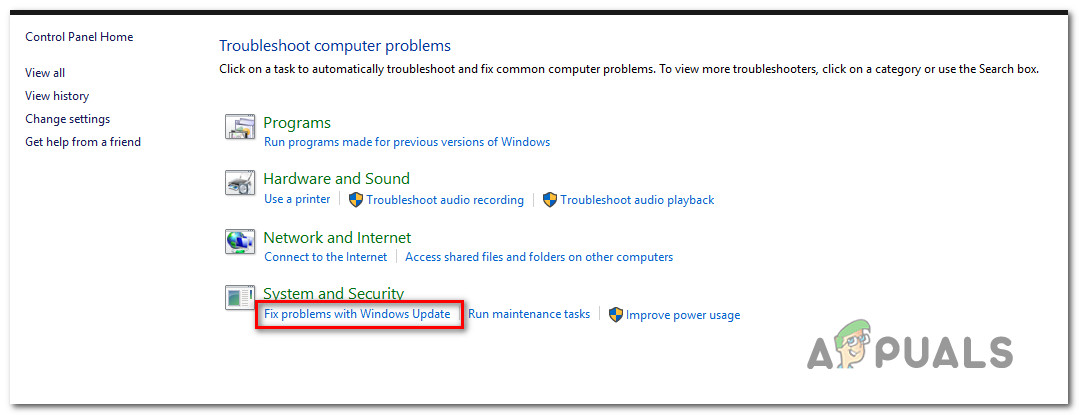
Accessing the Troubleshooting tab - Once you’ve reached the Troubleshooting tab, click Fix problems with Windows Updates under System and Security.
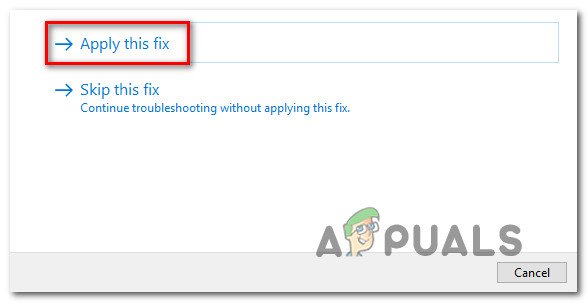
Fixing problems with Windows update - Click Next when the Windows Update Troubleshooter prompts you to do so, then wait for the preliminary scan to be finished.
- After you’ve found a fix that functions, click Apply this Fix to apply it to the current circumstance.
Applying this fix - A number of manual tasks would need to be carried out with some proposed solutions.
- Restart your computer after doing the patch, then try installing the failed update once more.
Continue to the following possible solution below if you are still unable to install or complete the upgrade procedure.
2. Change the specified location of Program Files via Registry Editor
Additionally, you can anticipate this issue to arise if the upgrade wizard is unable to locate the default Windows 10 program directories (either as a result of wrongly supplied or manually modified location). In this scenario, you can resolve the problem by modifying the intended location of Program Files in the Registry Editor.
Note: It’s important to open Registry Editor with admin access in order to carry on these commands. For good measure, we also recommend backing up your Registry before you start following the instructions below.
If you suspect that this method might be applicable to your particular scenario, follow the instructions below to change the specified location of Program files via Registry Editor:
- Press Windows key + R to open up a Run dialog box.
- Once you’re inside the Run dialog box, type ‘regedit’ and press Ctrl + Shift +Enter to open up an elevated Registry Editor window.
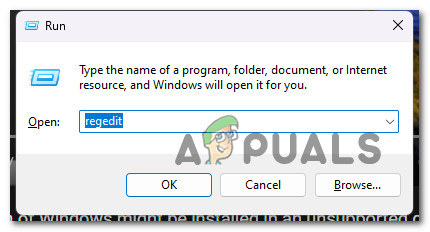
Open a Registry Editor - At the User Account Control (UAC), click Yes to grant admin access.
- When you’re finally inside the Registry Editor, use the menu on the left to navigate to the following location:
HKEY_LOCAL_MACHINE/SOFTWARE/Microsoft/Windows/CurrentVersion
Note: You can either get to this location manually or you can paste the location above directly into the navigation bar at the top and press Enter to get there instantly.
- Once you arrive in the correct location, move over to the right-hand side section and double-click on ProgramFilesDir.
- Next, change the value data of ProgramFilesDir to the following and click on Ok to save the changes:
C:\Program FIles
Note: If your OS drive letter is different, modify the path above accordingly.
- Once the change has been enforced, close the elevated Registry Editor window and reboot your PC.
- After your PC boots back up, see if the problem is now fixed by attempting to carry on the same operation that was previously triggering the ‘Windows Might Be Installed in an Unsupported Directory’ error.
If the problem is still not fixed, move down to the next method below.
3. Resetting all Windows Update components
Since both the upgrade and reinstall processes rely on the Windows Update component, it’s crucial to make sure that it is operating properly. By displaying each Windows Update component, you can resolve the issue if there is a fundamental issue with the subcomponent or related dependencies (and the in-use folders).
If you’ve reached this point in the upgrade process without finding a solution, it’s likely that you’re dealing with corruption in the WU component or one of its related dependencies.
In this situation, we advise using a series of CMD commands to reset every WU component as well as the WU management folders.
The majority of the time, one or more WU (Windows Update) components that are presently stuck in limbo are the root cause of this kind of problem (neither open nor closed). If so, you can resolve the issue by resetting every WU component engaged in the update procedure.
In this case, reset each Windows Update component by following the instructions listed below:
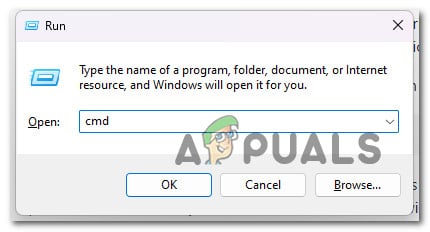
- To open the Run dialog box, press the Windows key + R.
- To open an elevated Command Prompt, type “cmd” in the text box and hit Ctrl + Shift + Enter.

Open a CMD window - Click Yes to provide administrator privileges when the UAC (User Account Control) screen appears.
- To stop any WU-related services, type the following commands in the correct order, pressing Enter after each command:
net stop wuauserv

net stop cryptSvc

net stop bits

net stop msiserver
Note: To be sure you know what you’re telling the terminal to do, keep in mind that these commands will stop the Windows Update Services, MSI Installer, Cryptographic Services, and BITS Services.
- After stopping all necessary services, empty and rename the SoftwareDistribution and Catroot2 directories using the instructions below:
ren C:\Windows\SoftwareDistribution SoftwareDistribution.old
ren C:\Windows\System32\catroot2 Catroot2.old
Note: These are the locations where the WU component’s changed files are kept. If you rename these directories, your operating system will be compelled to build new, healthy ones that won’t be corrupted.
- After the directories have been cleaned out, issue the following commands to activate the previously disabled services once more:
net start wuauserv

net start cryptSvc

net start bits

start msiserver
- After all of these commands have been properly executed and you have essentially restarted each dependent process, try to start the upgrading process once more to see if the issue has been resolved.
Move on to the next potential solution below if you continue to receive the same issue.
4. Set Status of Windows Update & Associated Dependencies to Automatic
Contrary to popular opinion, Windows Update depends on a lot of different services. These services must be set up so that the WU component can get in touch with them whenever necessary.
If you’re employing performance-optimizing technologies, some of these service requirements might have been altered to remain disabled in order to increase the effectiveness of your system.
To ensure that Windows Update has all it needs to finish the upgrading process, you must set the following services to AUTO:
• BITS (Background Intelligent Transfer Service)
• CryptSvc ( Cryptographic Services)
• TrustedInstaller
By using an elevated Command Prompt to make sure that the beginning type of each of these services is set to Auto, you are effectively guaranteeing that every WU service requirement is available.
Follow the steps below to set these services’ behavior to AUTO so that the upgrading process is successful without the “Windows Might Be Installed in an Unsupported Directory” warning:
- Press Windows key + R will open the Run dialog box.
- To open an elevated Command Prompt window, type “cmd” into the newly displayed run prompt and press Ctrl + Shift + Enter.
Open a CMD window - When prompted by User Account Control, select Yes to give admin access.
- To alter the startup type of each necessary dependent, type or paste the following commands into the elevated CMD prompt, then hit Enter after each one:
SC config wuauserv start=auto

SC config bits start=auto

SC config cryptsvc start=auto

SC config trustedinstaller start=auto
- When all of the commands have been successfully carried out, restart your computer as usual. When the subsequent startup has finished, try to install the unsuccessful update.
If the problem is still not resolved, move down to the next method below.
5. Adjust the system locale (if applicable)
Many Windows users who have experienced this problem claim that it frequently happens if the language for non-Unicode programs is set to a language other than the one that is set as the default system language.
If this is the case, you can resolve the problem by changing the system locale to reflect your installed language.
If this scenario is applicable and your default language is different than the language set for non-Unicode programs, follow the instructions below to adjust the system locale accordingly:
- Press Windows key + R to open up a Run dialog box.
- Next, type ‘control’ inside the Run dialog box and press Ctrl + Shift + Enter to open the classic Control Panel menu with admin access.

Access the control menu - At the User Account Control (UAC), click Yes to grant admin access.
- Once you’re inside the classic Control Panel interface, click on Clock and Region, then click on Region from the underlying menu.
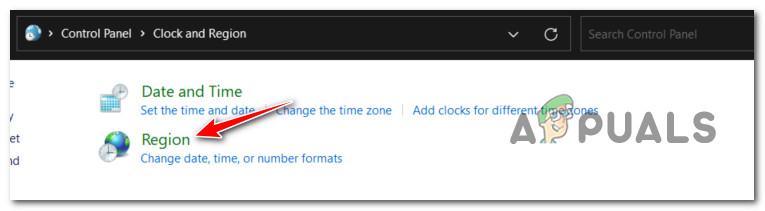
Access the Region menu - Once you’re inside the Region settings, select the Administrative tab from the horizontal menu at the top, then click on the Change system locale… button under Language for non-Unicode programs.

Change the system locale menu - From the Region Settings menu, change the Current system locale to your default system language and click Ok to save the changes.
- Reboot your PC and see if the problem is now fixed.
If you’re still experiencing the same ‘Windows Might Be Installed in an Unsupported Directory’ error when attempting to carry over the upgrading procedure, move down to the next method below.
6. Disable or Uninstall antivirus
It’s possible that a false positive is genuinely hurting the transferring procedure and causing the error if you’re using a third-party security suite or firewall.
Most impacted customers using both third-party firewalls and third-party security suites have confirmed that this issue occurs.
Note: There is no proof that Windows Defender can conflict with the service in charge of moving or copying files on Windows 10 or 11, therefore avoid utilizing this method entirely if you’re using it.
If you’re using a third-party security option, you should disable it first before launching Windows Backup. You can usually disable a third-party security option straight from the security suite’s tray icon.
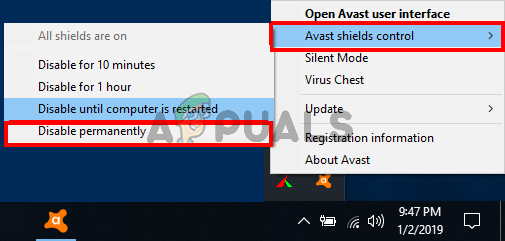
The majority of third-party security solutions allow you to off real-time protection by simply right-clicking on the icon in the tray bar of your third-party antivirus program.
IMPORTANT: Remember that if a firewall is the root of the problem, stopping the third-party security suite won’t likely solve the problem because the firewall will continue to function even after the third-party security suite is off.
If you’re using a firewall or merely turning off real-time protection does not resolve the issue, try uninstalling the third-party firewall using the steps below to see if that resolves your situation:
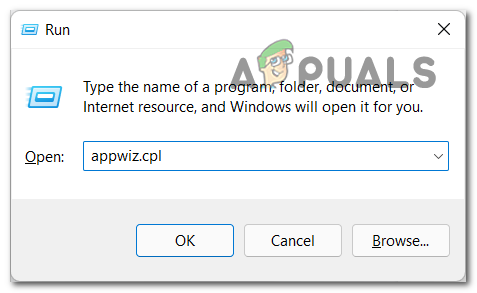
- To bring up the Run dialog box, press Windows key + R.
- Then, enter “appwiz.cpl” to launch the Programs and Features menu. Click Yes to provide admin access if the UAC (User Account Control) prompts you to do so.
Accessing the Programs and Features menu - After entering the Programs and Files menu, choose the third-party firewall suite you wish to delete by scrolling down the list of installed programs.
- Once you’ve located the correct entry, right-click on it and select Uninstall from the newly shown context menu. This action will remove any third-party firewall or antivirus software from your computer.
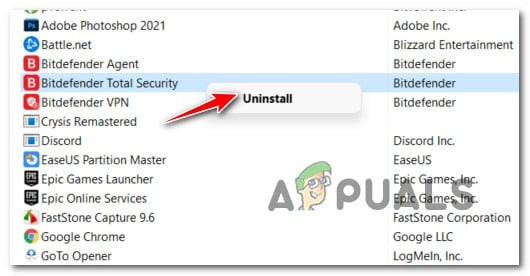
Uninstall the 3rd party antivirus - To finish the uninstallation, follow the on-screen instructions after you’ve done this.
- Restart your computer, and after the subsequent startup is finished, try copying a file to determine if the issue has been resolved.
If this approach didn’t work for you or you’re still getting the same error when attempting to initiate an upgrade process, scroll down to the next possible solution below.
7. Move the User folder back to its place
The upgrading process of Windows 10 or Windows 11 will be unable to identify the files required for the recovery process unless the ‘user’ folder is not in the anticipated place.
You can resolve the problem by relocating the “user” folder to the appropriate location if you accidentally moved it (or if an optimization program relocated it for you).
If this scenario seems like it could be applicable, follow the instructions below to move the User folder back to the correct location:
- Press Windows key + E to open up File Explorer.
- Navigate to the location where the Users folder is saved, right-click on it and choose Cut from the context menu that just appeared.
- Next, navigate to the root directory of the OS drive (C:\), right-click on an empty space, and choose Paste.
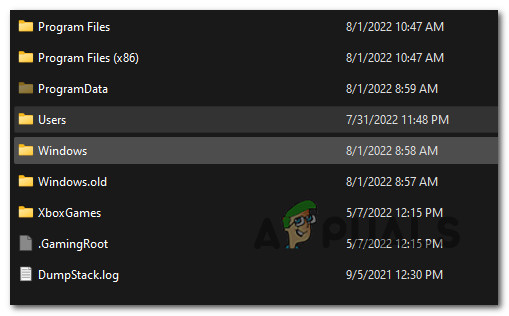
Moving the Users folder to the correct location - Now that the Users folder is established in the default location, repeat the action that was causing the ‘Windows Might Be Installed in an Unsupported Directory’ error and see if the problem is now fixed.
If the issue is still not fixed, move down to the next method below.
8. Using the System Restore
Several user’s reports that we received about this error indicate that it frequently happens following a system change that ended up interfering with the Windows Update component. You can quickly resolve this problem by returning your PC to a time when it was operating normally if you have a working System Restore Snapshot.
According to numerous afflicted users, you may expect to deal with this issue after a recent system modification (like the installation of an infrastructure update, a driver update, or a cleanup procedure performed by an antivirus).
By utilizing System Restore to return your system to a functioning state before attempting to restart the upgrading process, the majority of the harm, in this case, can be minimized.
Important: Keep in mind that executing this operation would nullify all changes made after the system restore point was created. All installed apps, changed system preferences, and anything else will all be gone.
If you decided to restore your system, take the following actions:
- To start the System Restore wizard, open a Run dialog box and type “rstrui”.
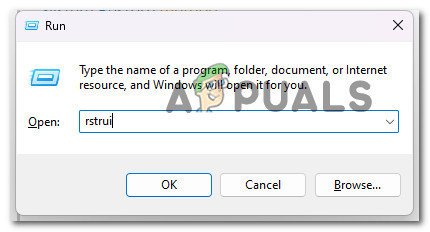
Open the RSTRUI utility - If the User Account Control asks you to provide admin access, choose Yes.
- On the first screen of the System Restore procedure, click Next to continue.
- Check the box next to it to enable Show more restore points, then select an appropriate restore point before clicking Next.
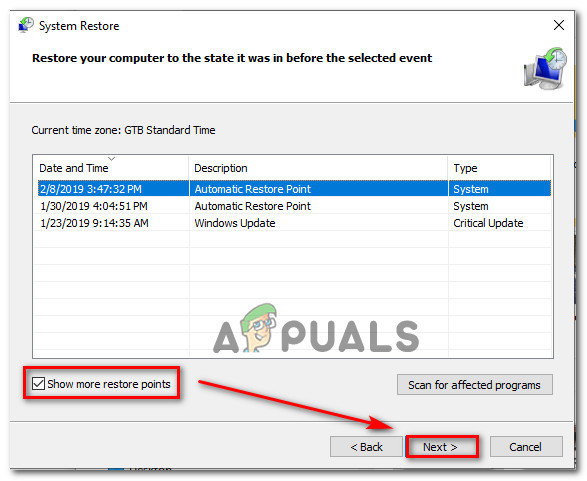
Deploy a System Restore operation - Click Finish to start recording. Your computer will reboot and return to its initial setting.
- Try installing the update that was previously failing when this process is finished to see if the issue has been fixed.
Try the following approach if the issue is still not resolved.
9. Perform DISM and SFC scans
As it turns out, a system file corruption that affects the auto-updating function of Windows installation is one of the most frequent reasons for this problem when the upgrade procedure fails with the “Windows Might Be Installed in an Unsupported Directory” error.
System File Checker (SFC) and Deployment Image Servicing and Management (DISM) are two built-in tools that can be used to do a scan if this condition appears to be relevant.
Although SFC and DISM have certain similarities, we advise running them both quickly after one another to increase your chances of recovering corrupted system files.
If so, begin with a straightforward SFC scan.
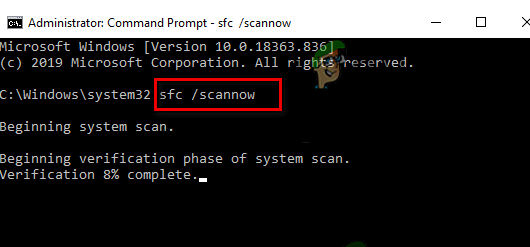
Remember that you can use this tool without an internet connection at all times because it is completely local.
IMPORTANT: DO NOT CLOSE THE CMD WINDOW AFTER BEGINNING THIS PROCEDURE, EVEN THOUGH THE UTILITY SEEMS TO HAVE FROZEN. Interrupting the operation could result in logical errors on your HDD or SSD, wait for it to finish without interfering.
Once the SFC scan has been completed successfully, restart your computer, and after the next startup is complete, deploy a DISM scan.
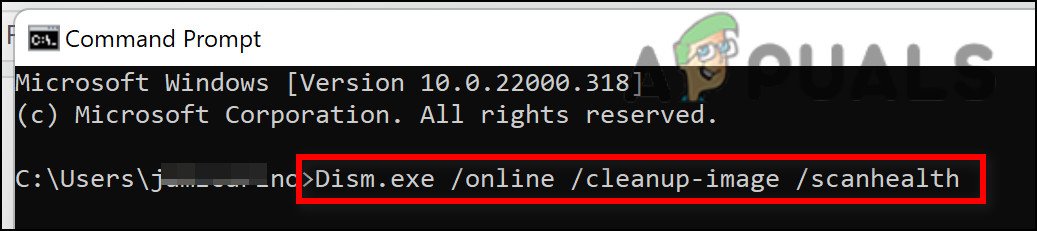
Be aware that SFC does not download healthy replacements to replace corrupt system files, but DISM does use a component of Windows Update. So, before beginning this step, make sure your Internet connection is steady.
After the DISM scan has been successfully completed, see if the upgrade operation still prompts the same kind of issue. If the problem persists, move down to the next potential fix below.
10. Perform an automated repair
In rare instances, file corruption in your system files can lead to this kind of issue. To see if the issue has been resolved in this case, you need to do a startup repair first.
In this situation, a starting repair ought should be able to fix the issue.
A Windows recovery tool called Automated Startup Repair can fix the vast majority of common system problems that prevent your Windows installation from booting. Like any other Windows automated troubleshooter, this one offers a number of automatic repair options that can be used if a problem is found.
You won’t likely be able to start up normally, therefore you’ll need to use the Recovery Menu to launch a Startup Repair operation.
If this describes you, follow the procedures listed below to start a Startup Repair operation:
- After turning on your computer, wait until you see the error on the login screen.
- Next, select Restart after clicking the power icon while continuing to hold down the Shift key.
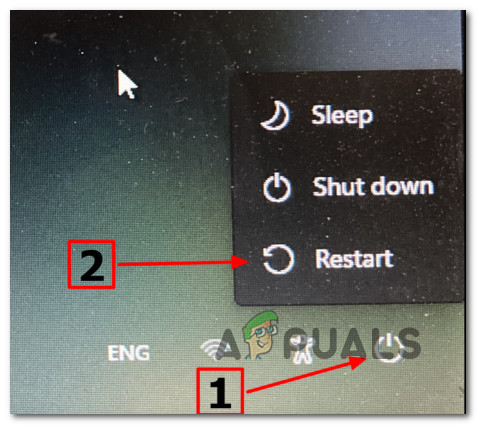
Restarting your PC in the recovery menu Note: Remember that in order for this to function, your computer must be restarted in recovery mode.
- From the context menu that displays when your Windows 11 computer restarts from the Recovery Menu, choose Troubleshoot.
- After navigating to the Troubleshoot menu, choose Startup Repair from the available options.
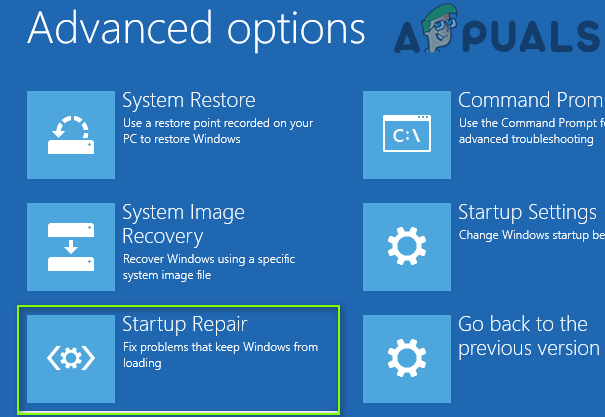
Deploy a Startup Repair operation - Visit the Startup Repair page and follow the on-screen directions to start and finish a Startup Repair procedure.
- After the procedure is finished, restart your computer to see if the issue has been fixed.
Try the next technique below if you’re still experiencing the “Windows Might Be Installed in an Unsupported Directory” issue.
11. Reset every Windows component
There’s a good probability that you’re genuinely dealing with a system file corruption that can’t be fixed conventionally if none of the other methods listed above have been able to remedy the “Windows Might Be Installed in an Unsupported Directory” error.
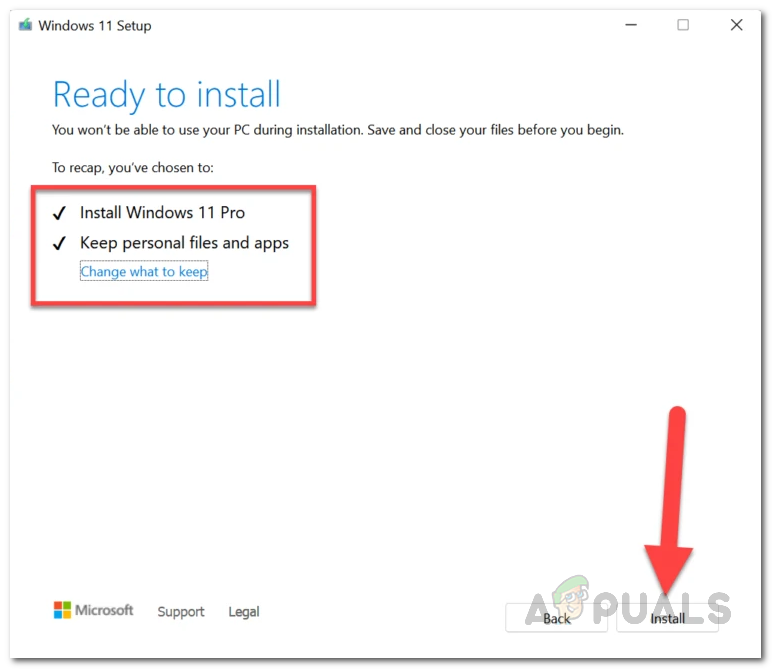
If you reach this stage, your best chance of resolving the problem conventionally is to perform a clean install or install repair on every Windows component (in-place repair).
A clean installation is a process that is the simplest of the bunch. The main benefit of this method is that you won’t need to utilize appropriate installation media, but bear in mind that unless you back up your data first, you will lose all of your personal data that is currently on your OS driver.
Start a repair install if you prefer the concentrated method. But keep in mind that you’ll need suitable installation discs (in-place repair procedure).
Note: Refreshing every potentially corrupted component without losing data from your programs, games, papers, and personal material that is now saved on your OS drive is the main benefit of this operation, which is noticeably more time-consuming.