How to Fix Windows Could not Start the Windows Audio Service on Local Computer?
It is really annoying when you boot up your Windows machine to find out that there’s no audio. Upon booting up, you will notice a red cross on the volume mixer that is located on the right corner of the taskbar. The reason you are seeing a red cross on the volume mixer is because the Windows Audio service has stopped. Windows services ensure the functionality of different aspects of your operating system and therefore, if the Windows Audio service is not running, you won’t have any audio on your system.
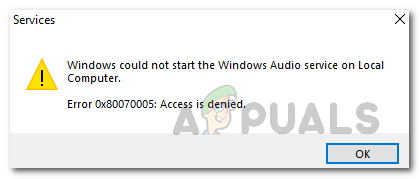
You might think the workaround here would be fairly easy and as simple as turning on the Windows Audio service. That’s correct, however, if you try simply starting the Windows Audio service through the Windows Services window, you will stumble upon the “Windows could not start the Windows Audio service on Local Computer” error message. This happens when the Audio service does not have enough permissions to run on your machine which can be really weird. Since this is a system service, it requires proper permissions to be able to work properly. Therefore, in case the permissions are denied, the service won’t be able to start and as a result, you will be left with no sound in your system.
With that said, there are actually really easy workarounds to the error message in question that you can implement to get the audio service back up and running. The essence of all these solutions is to simply provide the service with enough permissions so that it can start and stay running without any problems. So, without further ado, let us get right into it.
Change Windows Audio Service Log On Settings
As it turns out, one way of circumventing the error message is to change the log on settings of the service. These settings define which user account is used by the service to start as. In essence, it reflects how the service is running on your system. Here, we will be configuring the service to log on as the local system account which should help in resolving the issue for you. To do this, follow the instructions given down below:
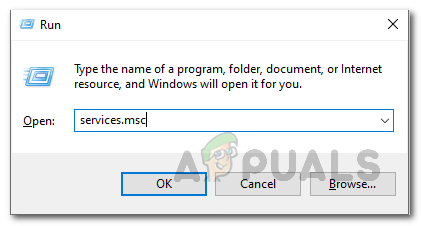
- First of all, open up the Run dialog box by pressing the Windows key + R combination.
- Once the Run dialog box has opened up, type in services.msc and hit the Enter key. This shall bring up the Services window.
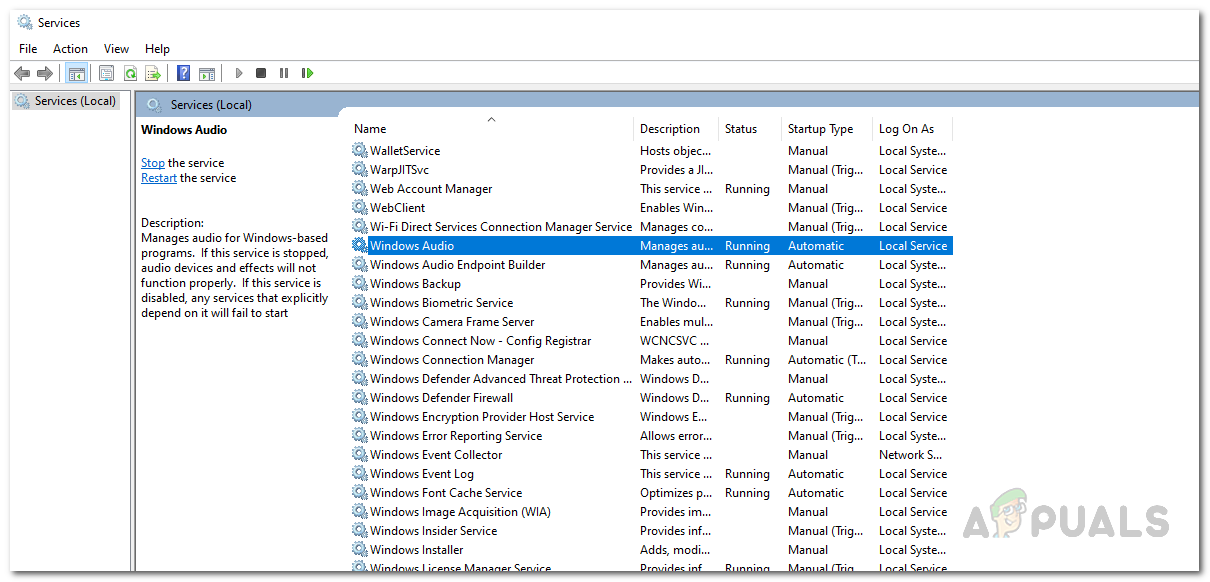
Opening Windows Services - On the Services window, you will be able to see a list of all the services that are on your system. Here, you will have to find the Windows Audio service. To do that, press the W key to jump to the Windows services and then look for Windows Audio.
Windows Audio Service - Once you have located the Windows Audio service, open up its Properties window by either double-clicking it or right-clicking the service and choosing the Properties option from the drop-down menu.
- On the Properties window, switch to the Log On tab. By default, the This account option should be selected.
- Here, you want to select the Local System account option. Also, make sure to tick the Allow service to interact with desktop option.

Changing Log On User - Finally, click the Apply button and then hit OK.
- Once you have done that, open up the Properties window again for Windows Audio service and click the Start button to start the service. See if the issue persists.
Change Audio Registry Permissions
If changing the log on account for the service does not fix the issue for you, it is possible that your user account does not have the proper permissions for the audio registry. In such a scenario, you will have to change the permissions of the audio registry by giving your user account full control permissions. Making changes to the Windows Registry is normally not recommended because incorrect modifications can cause various system problems. Therefore, make sure to follow the given instructions carefully and you should be good to go. Let us get started.
- First of all, open up the Run dialog box by pressing Windows key + R.
- Then, in the Run dialog box, enter regedit and hit the Enter key. When prompted with the User Access Control screen, click the Yes option.
Opening Windows Registry - This will bring up the Windows Registry window. Now, navigate to HKEY_LOCAL_MACHINE\SOFTWARE\Microsoft\Windows\CurrentVersion\MMDevices by simply copying this and pasting it in the address bar of the Windows Registry.
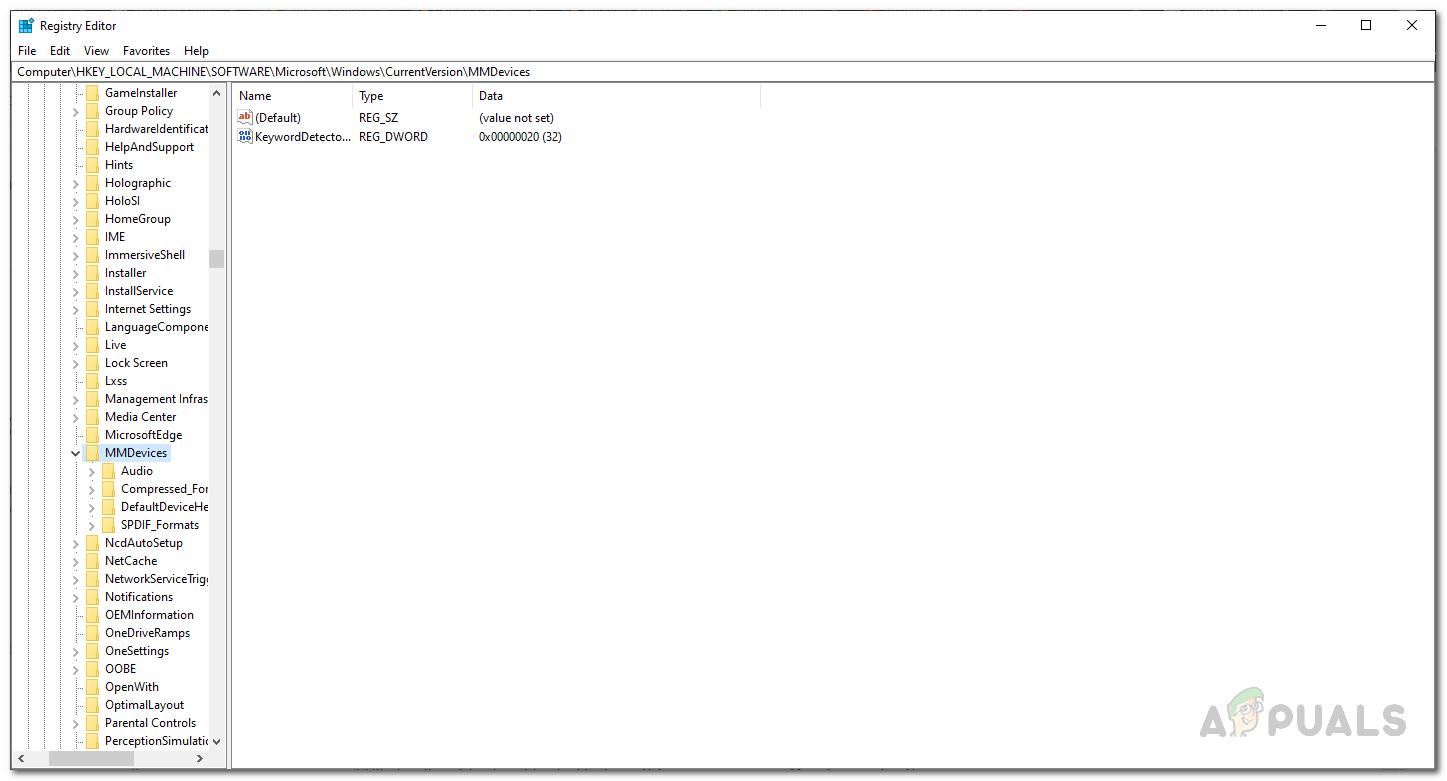
Windows Registry - This will take you to the MMDevices folder. Right-click on the folder and then choose Permissions from the drop-down menu.
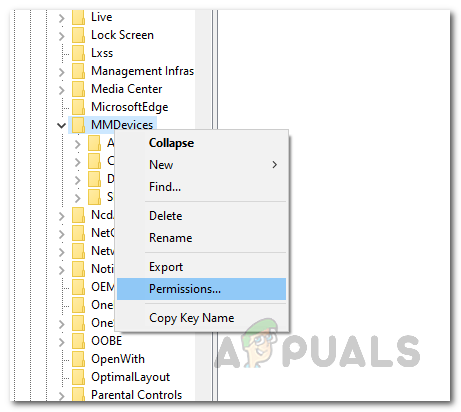
Changing MMDevices Permissions - Here, we will have to give Full Control permissions to Everyone. For that, we first have to add it. Click the Add button.
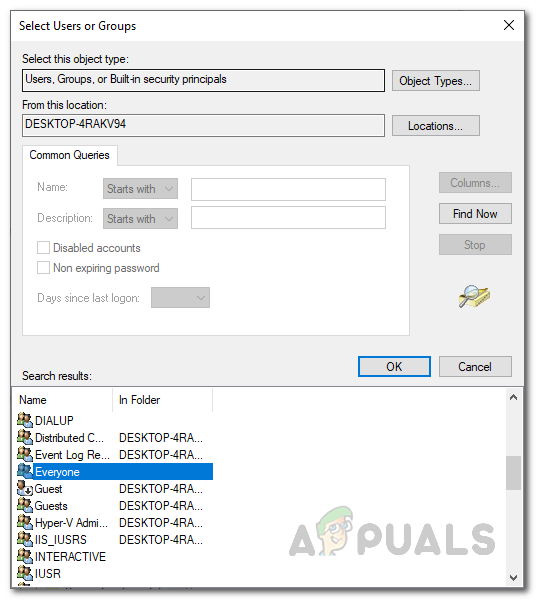
- After that, click on the Advanced button and then click the Find Now button.
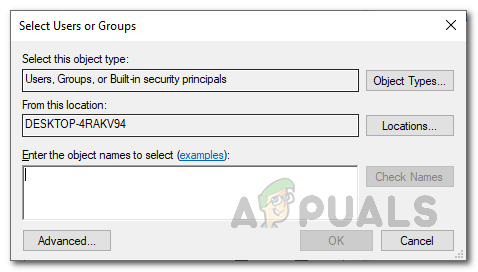
Selecting User Group - This will list all the users and groups on your system. From the list, choose Everyone and click OK. Click OK once again.
Adding Everyone - Then, on the Permissions window, choose Everyone under Group or user names and allow it Full Control by clicking the checkbox under Allow.

Allowing Full Control Permission - Once you have done that, click the Apply button and then hit OK.
- Now, close the Windows Registry window and open up the Services window by searching for it in the Start Menu.
- Locate the Windows Audio service again and try to start it to see if the issue persists.