Windows 11 Reboots Automatically? Here’s How to Fix It
Users that have already made the upgrade to Windows 11 are currently reporting a weird issue where the PC engages in random restarts that have no apparent trigger. This problem is confirmed to occur with all the Insider Preview builds of Windows 11 as well as with the latest stable release.
After investigating this particular issue thoroughly, it turns out that this problem can have more than one potential cause. In fact, there are several different culprits that might be responsible for causing this behavior on Windows 11. Here’s a list:
- Inconsistent group policies – As it turns out, it’s not uncommon to face this issue immediately after upgrading due to some incorrectly migrated WU group policies. This issue should eventually get rectified as WU performs this task automatically at some point, but you can speed up the process by running a Gpupdate command from an elevated CMD prompt.
- Failing storage sectors – Another potential cause that might be behind these random restarts is a scenario in which you’re actually dealing with failing hardware storage that’s preventing your OS from accessing certain parts of its system files. In this case, the long-term solution is to change the failing HDD or SSD, but you might be able to get a bit more life out of your current storage device by running a CHKDSK scan and replacing the failing sectors with unused equivalents.
- Overclocked or underclocked components – If you previously overclocked the voltages of your components to get a power boost or underclocked them to make your hardware usable with an insufficient PSU, keep in mind that both of these scenarios can produce random restarts. If you can’t find a stable configuration, the best course of action, in this case, is to revert the custom frequencies and voltages back to their default values.
- Auto reboot is caused by WU – The Windows Update component on Windows 11 is much more aggressive with restarts than it was with previous interactions of Windows. If you feel like these WU-induced restarts happen with not enough warning, you can make some modifications via Registry Editor to ensure that no auto-reboots will occur while the user is logged into Windows 11.
- Restart trigger due to system failure – Every recent Windows version includes a failsafe mechanism that will automatically trigger a restart in every situation where a system failure occurs (this is to protect hardware components). If the issue is software-related, you should be able to fix the issue by running SFC and DISM scans. Additionally, you can disable this failsafe mechanism altogether to prevent the restarts from occurring.
- Restart is caused by Power Management settings – If you’re experiencing this issue on a laptop or ultrabook, you should also consider the fact that this issue might be caused by one or two power management settings meant to prevent unnecessary battery drain. You can rectify this issue by adjusting the minimum processor state and link-state from your current power plan.
Now that you are familiar with every potential issue that might determine your Windows 11 computer to restart itself randomly, here’s a list of verified fixes that other users finding themselves in a similar situation have successfully used to fix this issue permanently:
Update the group policies via CMD
If you’re starting to encounter this issue immediately after upgrading to Windows 11 from an older Windows version, the first thing you should do is ensure that the issue is not being caused by some incorrectly migrated group policies.
This is fairly common with insider builds of Windows 11, so if this scenario is applicable the first thing you should do is update all your group policies from an elevated Windows Terminal prompt.
Note: Windows Update should eventually update these group policies automatically – this method will speed up the process.
Follow the instructions below to use an elevated Windows Terminal prompt to update all your group policies via a CMD command:
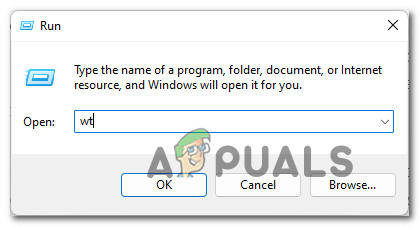
- Press Windows key + R to open up a Run dialog box. Next, type ‘wt’ inside the text box and press Ctrl + Shift + Enter to open up a Windows Terminal app with administrative access.
Opening up a Windows Terminal app - When you’re prompted by the User Account Control prompt, click Yes at the User Account Control prompt to grant administrative privileges.
- Inside the elevated Windows Terminal window, type the following command and press Enter to reset every relevant group policy using a CMD command:
gpupdate
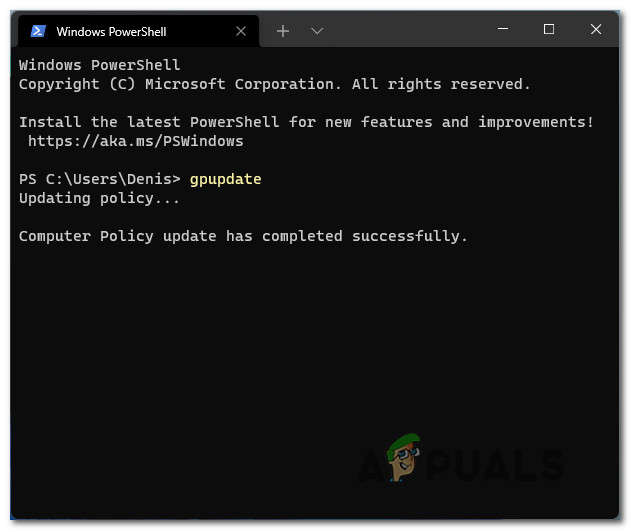
Updating the Gpolicy - After you run this command, wait patiently until you get the Computer Policy update has completed successfully message, then type the following command:
cls
- After the second command is processed, close the Windows Terminal app and restart your computer.
- Once the next Windows 11 startup is complete, use your computer normally and see if the random restarts are still occurring.
If the same kind of issue is still affecting your PC as you’re still dealing with random restarts, move down to the next potential fix below.
Running a CHKDSK scan
Another potential reason why you should expect to be experiencing these random restarts is a situation where you’re actually dealing with failing storage sectors that are preventing your operating system from accessing certain sub-components.
A failing drive usually means you will have to replace it at some point, but you might be able to prolong the life of your current storage device by running a CHKDSK scan from an elevated Command prompt.
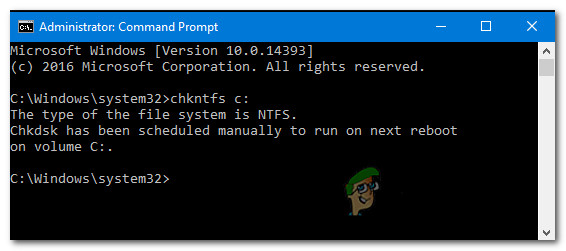
After you run this scan and the CHKDSK utility successfully replaces the failing sectors with unused equivalents, reboot your PC and see if the problem is fixed once the next startup is complete.
In case you’re still experiencing the same kind of unexpected system restarts, move down to the next potential fix below.
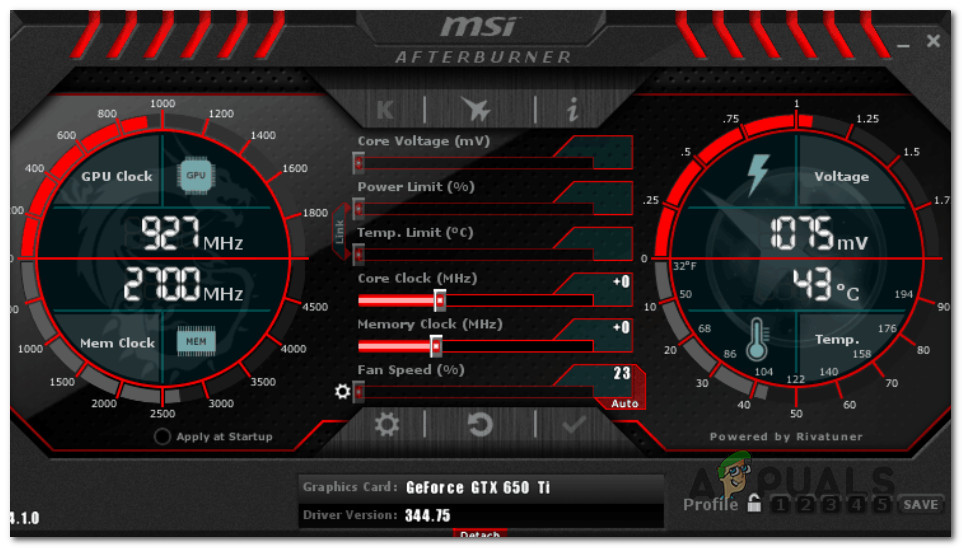
Revert overclocking or increase undervolted components (if applicable)
Another potential reason why you might see these unexpected system restarts is if you recently modified the voltages or frequencies of your RAM, CPU, or GPU – doesn’t matter if you overclocked or underclock them.
Underclocking for the sake of utilizing a sub-par PSU or overclocking in order to get an extra power boost can both affect the stability of your OS and produce unexpected restarts.
If you find yourself in this particular scenario, you will likely keep experimenting with different voltages until you find a stable build.
Note: If you are underclocked, our recommendation is to go for a more powerful PSU because the system instability is likely to continue regardless of what tweaks you make.
If you tried adjusting the values and you still can’t find a stage build, the best course of action (if possible) is to revert all overclocking or underclocking changes back to their default values.
In case this method was not applicable or you already applied it and you’re still seeing how your Windows 11 restart unexpectedly, move down to the next potential fix below.
Stop auto reboots caused by WU
I don’t know if you noticed but, Windows 11 is way more aggressive with installing pending updates and doesn’t really shy away from restarting your PC (even without your consent) when certain important updates arrive.
If this is the reason why you’re experiencing unexpected system restarts, you can ensure that the issue doesn’t occur again by using the Registry Editor utility to create a registry key that will prevent Windows 11 from restarting itself automatically when a new update is available.
Follow the instructions below for step-by-step instructions on creating the NoAutoRebootWithLoggedOnUser key via Registry Editor and prevent the unexpected restarts from occurring again on Windows 11:
- Press Windows key + R to open up a Run dialog box. Next, type ‘regedit’ inside the text box and press Ctrl + Shift + Enter to open up the Registry Editor with admin access.
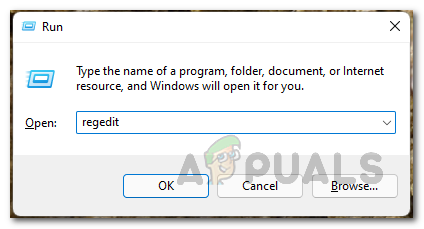
Opening up the Registry Editor Utility - Once you’re prompted by the User Account Control prompt, click Yes to grant admin access.
- Inside the Registry Editor, use the menu on the left-hand side to navigate to the following location:
Computer\HKEY_LOCAL_MACHINE\SOFTWARE\Microsoft\Windows
Note: You can either navigate to this location manually (by double-clicking on each key from the menu on the left) or you can paste the full path directly into the navigation bar at the top and press Enter to get there instantly.
- Next, right-click on the Windows key and choose New > Key from the context menu that just appeared.
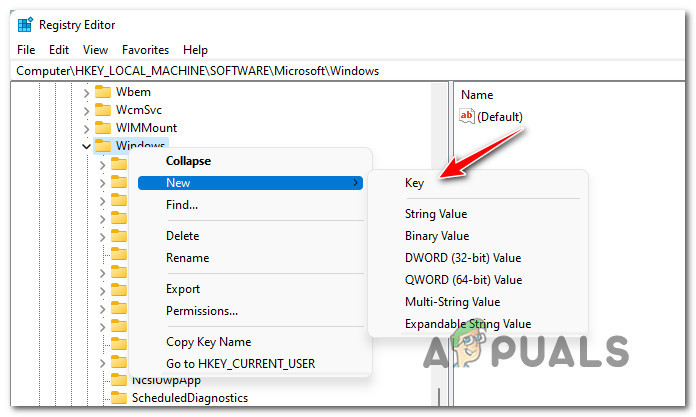
Create a new key inside the Windows folder - Next, name the newly created key to Windows Update by right-clicking on it and selecting Rename from the context menu.
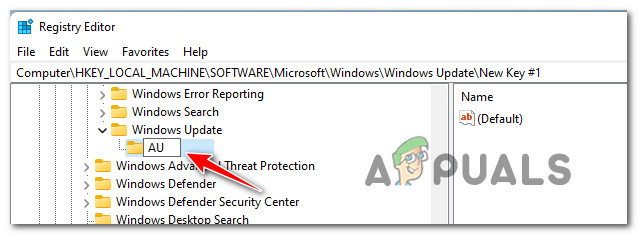
- Next, right-click on the newly renamed Windows Update key and choose New > Key once again from the context menu.
- Name this newly created key to AU using the same procedure and press Enter to save the changes.
Renaming the new key to AU - Select the AU key from the menu on the left, then move over to the right-hand menu and right-click on an empty space. From the context menu that just appeared, choose New > Dword (32-bit) Value.
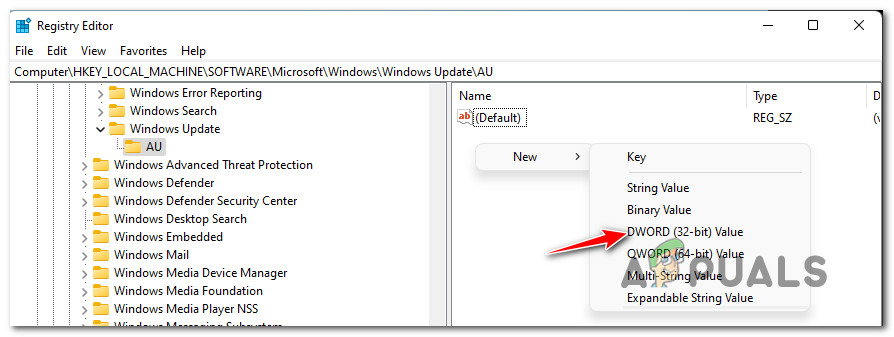
Create a new DWORD under the AU key - Next, name the newly created DWORD value to NoAutoRebootWithLoggedOnUser and press Enter to save the changes.
- Finally, double-click on the newly created NoAutoRebootWithLoggedOnUser value and set the Base to Hexadecimal, then set the value data to 1 and click Ok to save changes.
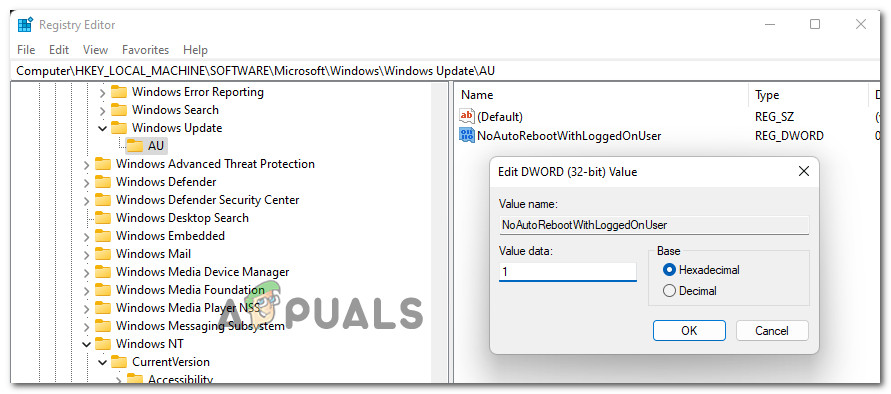
Preventing restarts caused by Windows Update - Once this modification has been operated, restart your PC to enforce these changes and monitor the situation to see if the restart issue on Windows 11 is finally resolved.
In case the same issue is still occurring, move down to the next potential fix below.
Adjust the minimum processor state and Link state Power Management (if applicable)
If you’re experiencing his issue on a laptop or ultrabook (or something with a battery), you should also consider the fact that the problem might occur due to an aggressing power management setting that will automatically switch of your PC when it’s forced to perform resource-intensive tasks while utilizing power from the battery.
In case you find yourself in this particular case, follow the instructions below for step-by-step instructions to re-configure your power management settings and ensure that the system interruption is not occurring due to an aggressive battery management setting:
- Press Windows key + R to open up a Run dialog box. Next, type ‘powercfg.cpl’ inside the text box and press Enter to open up the Power Options menu.
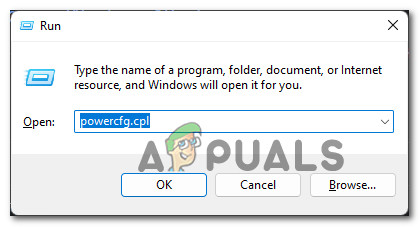
Open the Power settings menu - Inside the Power Options menu, click on the Change plan settings hyperlink associated with your active power plan.
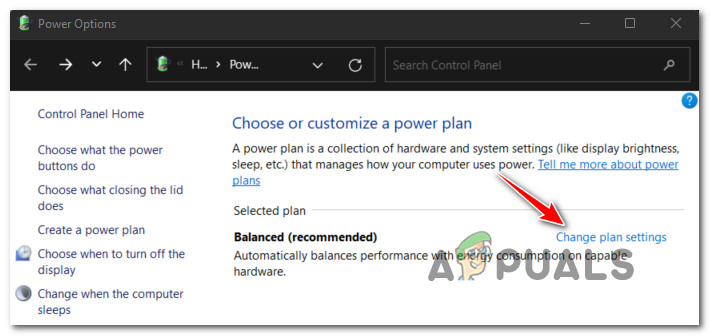
Change the Power Plan settings - Inside the Edit Plan Settings, click on Change advanced power settings.
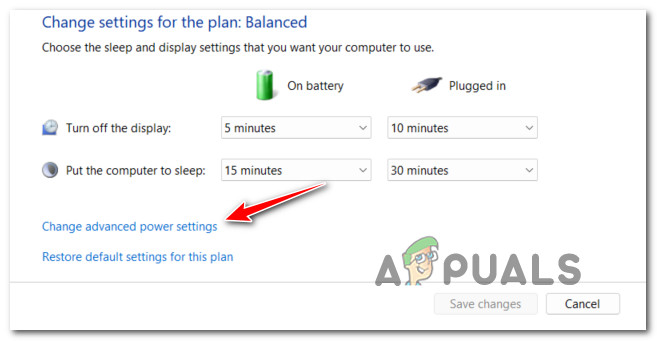
Changing the advanced power settings - Next, expand the drop-down menu associated with the Minimum processor state and make sure the On Battery % is 5% or lower.
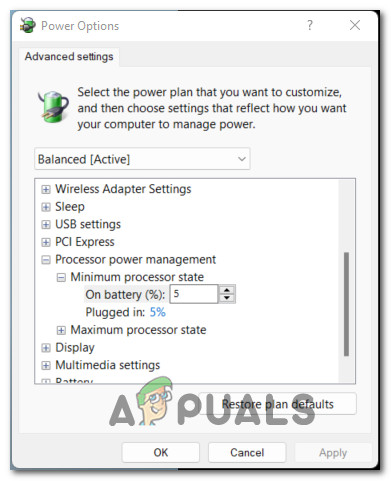
Adjusting the minimum processor rate - Next, expand the drop-down menu associated with Link State Power Management and change the On Battery menu to OFF before clicking on Apply to save the changes.
- Restart your PC to enforce the changes, then reboot your PC and see if the problem is now fixed.
In case the same type of issue is still occurring, move down to the final potential fix below.
Disable Automatic Restarts on System failure
If none of the methods have been effective so far, you need to take into consideration that some kind of system failure is causing your Windows 11 computer to trigger a restart in order to prevent your hardware components from getting damaged.
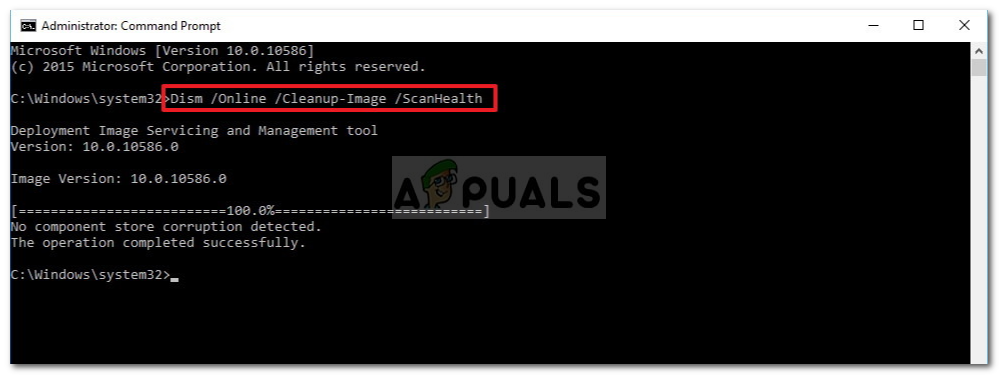
If you’re dealing with a file corruption-induced system restart, you should take the time to deploy SFC and DISM scan scans first.
If you have determined that you’re dealing with a system failure that doesn’t affect the health of your hardware internals, one way to ensure that the unexpected restarts stop occurring is to modify the Startup and Recovery menu.
Follow the instructions below to access the System Properties screen and modify the default behavior for System failure:
- Press Windows key + R to open up a Run dialog box. Next, type ‘sysdm.cpl’ inside the text box and press Enter to open up the System Properties screen.
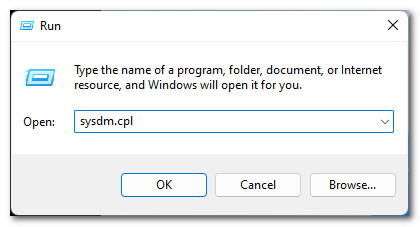
Opening the System Properties screen - Once you’re inside the System Properties screen, access the Advanced tab from the ribbon menu at the top, then click on the Settings button associated with Startup and Recovery.
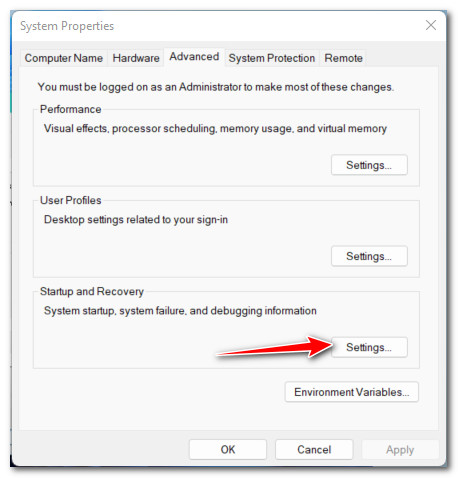
Accessing the Settings menu of Startup and Recovery - Next, from the Startup and Recovery window, go under System Failure and uncheck the box associated with Automatically Restart.

Disabling Automatic restarts on Windows 11 - Utilize your Windows 11 computer normally and see if the problem is now fixed. If the restart is occurring due to a system failure, it should no longer occur.


You could have mentioned that the gpupdate takes about two hours to complete. That would have been good to know…