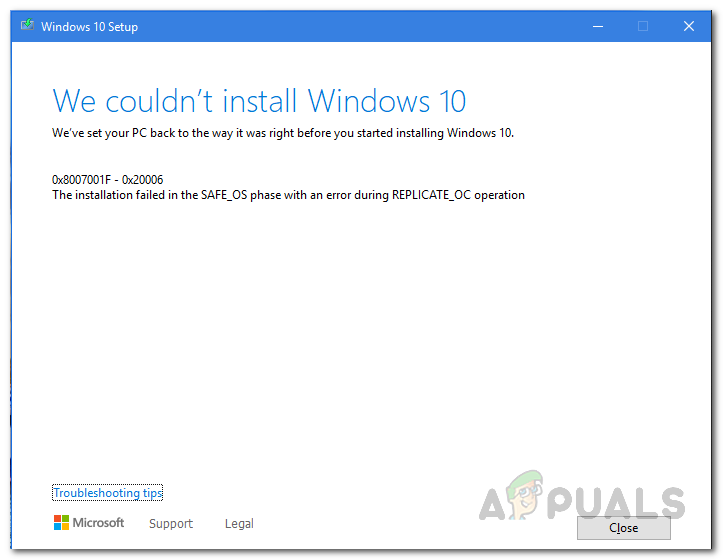
Fix: Windows Installation Failed in SAFE_OS During REPLICATE_OC Operation
Windows updates are important as they improve the overall security and performance of the operating system. There are still users out there that do not use Windows 10 as they feel comfortable with their current operating system, be it Windows 8.1 or even Windows 7 in some cases. However, as Windows 7 is no longer supported, users had no choice but to upgrade. One of the error messages that you might face while upgrading from a Windows 8.1 or previous is the ‘The installation failed in the SAFE_OS phase with an error during REPLICATE_OC operation’ error message. The error message appears when users try to use the Windows Media Creation Tool to perform an upgrade.
Now, this issue is not only limited to Windows 8.1 users. Rather, in some cases, the issue can be even triggered when you are trying to update your current Windows 10 installation from an old version to a newer one. Nonetheless, the point is the issue can be very tedious, and solving it can be a bit problematic. Often users go with a clean install without trying the possible solutions beforehand to see if that solves the problem for them. But before we get into that, let us go through the different causes of the issue.
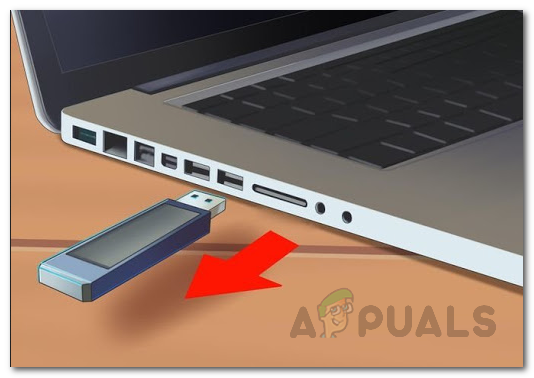
- External Peripheral Devices — As it turns out, one of the reasons you may face this error message may be due to the external peripheral devices that are connected to your system via a USB. In some cases, this may interfere with the installation process and thus you are shown the error message on the screen. To fix this, you will have to unplug any unnecessary devices that you have plugged in.
- Old Migration Files — In some cases, the issue can also turn out to be due to the old migration files that are stored in the System32 directory of your Windows installation. Renaming them so that the media creation tool can create new migration files will fix the problem.
- Developer Mode Package — Another reason that you may encounter this issue could be due to the Microsoft OneCore Developer Mode package that resides on your computer. In such a situation, you will have to remove the package via DISM to resolve the issue.
- Corrupt Files — Finally, the last potential cause of the issue could be corrupted Windows files. If you are trying to perform an upgrade when your current operating system files are corrupt, you will be shown the said error message. In such a case, you will have to perform an SFC scan to resolve the issue.
Now that we have gone through the possible causes of the error message, we will go through the various methods that you can use to fix the issue. However, before we begin, the first thing that you should do is to perform an SFC scan on your computer to check if there are any corrupt files. This happened to because of the issue for one of the users and it might very well be for you. Once you have done that and you still face the error message, proceed with the solutions given down below.
Method 1: Unplug External Peripheral Devices
One of the things that you can do to resolve the issue is to remove any external devices that are connected with your system. As it turns out, one of the reasons why the error message may occur is due to external peripheral devices that you have connected. This happens when the device that is connected to your PC interferes with the installation process and as a result, it is not able to proceed. This happened with one of the users and it may be the case with you as well. Therefore, if you have any USB adapters or anything unnecessary connected to the PC, unplug them and then try performing the upgrade. See if that fixes the issue.
Method 2: Run the Update Troubleshooter
Windows has an official tool that you can use to troubleshoot any issues that you may face while updating your system. While this tool comes built-in in Windows 10, if you are using Windows 8.1, you will have to download it from the website through the link that we will provide down below. The troubleshooter will look for any issues that it may find and then try to resolve them. Follow the instructions down below to fix this issue:
- If you are using Windows 8.1, download the Windows Update Troubleshooter from this link.
- Once the tool has been downloaded, run it.
- Wait for it to complete and see if that fixes the issue.
- For Windows 10 users, press the Windows key + I shortcut to open up the Settings window.
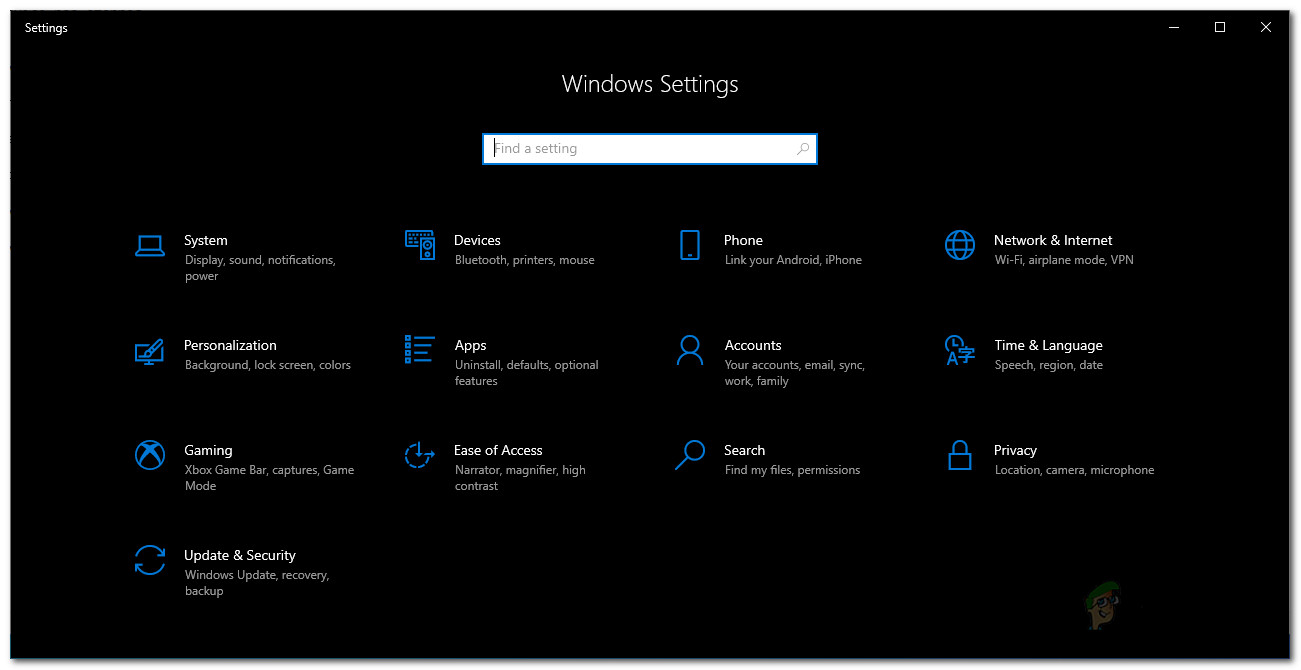
Windows Settings - Then, navigate to Update & Security.
- There, go to the Troubleshoot tab and click on the Additional troubleshooters option.

Windows Troubleshoot Settings - Finally, click the Windows Update option to run the Windows Update Troubleshooter.
- Wait for it to finish and then check if that resolves the issue.
Method 3: Rename Old Migration Files
Another way that you can fix the issue is by renaming the old migration files that are stored in the System32 directory inside your Windows folder. In some cases, you will have to rename these files so that the installer can create new migration files and to prevent these from interfering with the process. This can be done very easily via a few commands, so just follow through.
- First of all, open up a Command Prompt window with administrator privileges. To do this, open up the Start Menu and search for cmd.
- Then, right-click on the result and choose Run as an administrator option.
Running CMD as an Administrator - Once the command prompt window is up, copy and paste the following commands one by one:
ren C:\Windows\System32\migration migration.old
ren C:\Windows\System32\migwiz migwiz.old
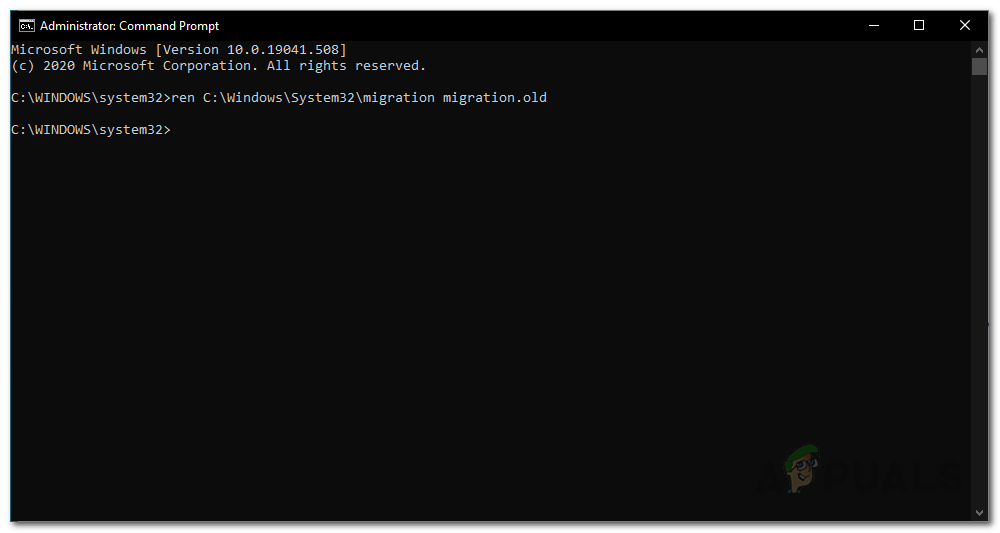
Renaming Migration Folder - After that, close the command prompt window and check if the issue persists.
Method 4: Remove Developer Mode Package
As it turns out, the developer mode package from Microsoft can also cause the issue at times. In such a case, what you have to do is simply remove the package via the DISM tool and that should resolve the issue for you. To do this, follow the instructions down below:
- First of all, you will need a command prompt window with administrator privileges just like the previous one.
- So, go ahead and search for it in the Start Menu and then right-click on it to run it as an administrator.
Running CMD as an Administrator - After the command prompt has launched, copy the following command, and paste it into the command prompt window:
dism /online /remove-package /packagename:Microsoft-OneCore-DeveloperMode-Desktop-Package~31bf3856ad364e35~amd64~~10.0.17134.1
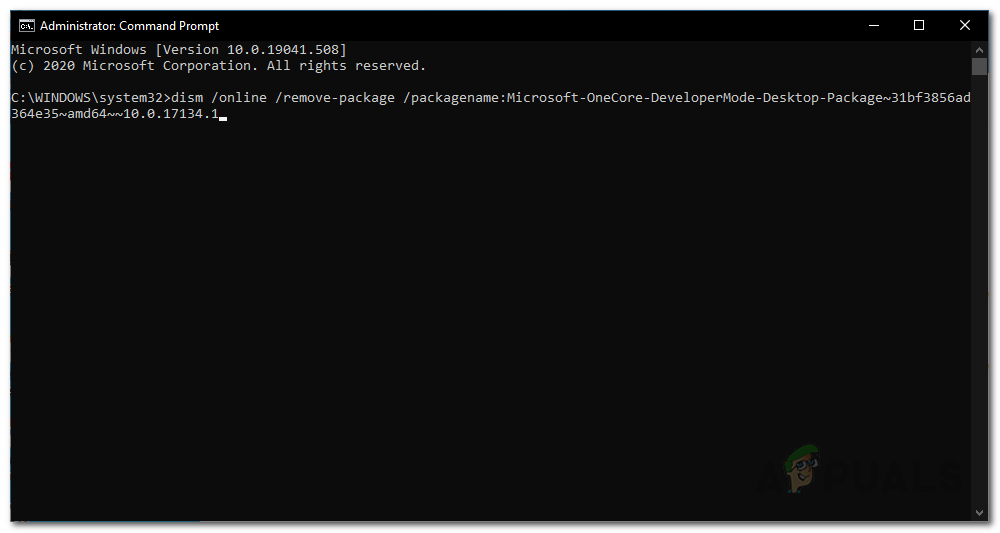
Removing DeveloperMode Package - If you get a not found error message, it may be due to a different version of the package. What you can do is copy the command till Microsoft-OneCore-DeveloperMode and then press the TAB key to autofill the rest.
- See if that fixes the issue.
Method 5: Perform an In-Place Upgrade by Mouting the Current Version of Windows
If the above solutions do not work out for you, do not worry, because all hope is not lost yet. What you can do is use the installer to install the current version of the Windows again while choosing the keep files and apps option. This will ensure that your files are not lost and you will still have the data. Once you have done that, you can try performing an in-place upgrade to the latest version of the Windows available. This will require you to have the ISO of the Windows that you have currently installed. If you do not have it, please skip this method. To do this, follow the instructions down below:
- First of all, mount the ISO of the current Windows installation.
- Once you have done that, open up the media creation tool and use the ISO file to install Windows.
- When asked, make sure you choose the Keep Files and Apps option.
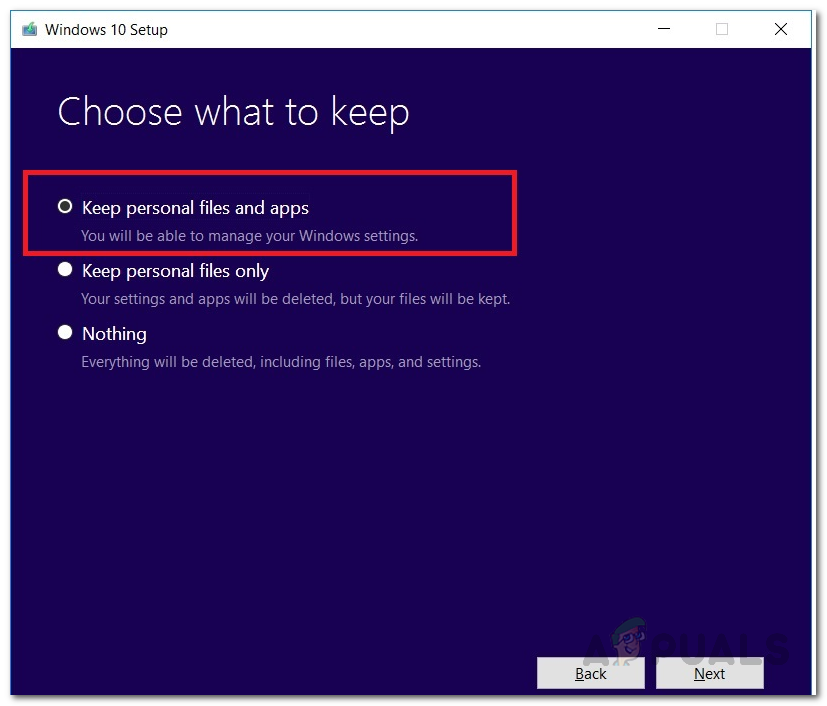
Keeping Personal Files and Apps - Once this is done, use the Media Creation Tool to perform an in-place upgrade to the latest version of Windows.
- See if that works out for you.
In the worst-case scenario, if even that does not work for you, then sadly, you have no other option but to perform a clean install of Windows 10. We have a detailed guide on this present here that takes you through the whole process. However, before you proceed with performing a clean install, make sure that you have backed up your important data as you will be formatting your hard disk.