How to Fix Windows 10 Freezes Randomly?
When Windows 10 freezes randomly, the computer stops responding without any clear cause and often needs a restart. This issue usually happens because of conflicts between hardware and software, often due to old or incompatible drivers.

Additionally, background processes, too much going on at once, or damaged files can cause this problem.
In this article, we will discuss different ways to solve this error.
1. Reset the Winsock Catalog
This problem can happen because of network setup conflicts that mess up the system’s performance. Resetting the Winsock Catalog removes any broken network settings, bringing everything back to normal. This can help fix freezes caused by network issues, making sure that your connection and system run smoothly.
- Press Windows Key + X and select Command Prompt (Admin). Type the following command and press Enter:
netsh winsock reset
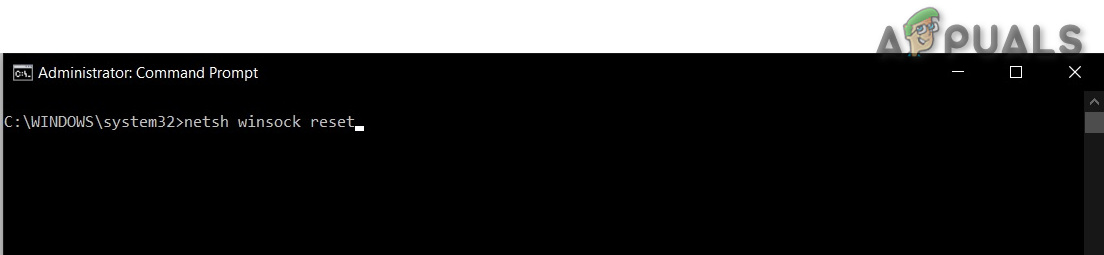
- Restart your PC and test the changes.
2. Increase Virtual Memory
Increasing virtual memory can prevent random freezes by expanding the system’s ability to handle more tasks. Virtual memory extends RAM by storing extra data on the hard drive when RAM is fully used. Boosting virtual memory, such as to 8 GB, helps the system manage more processes efficiently and reduces freezes caused by memory limits.
- Press Windows Key + R, type sysdm.cpl, and click OK. Go to Advanced > Settings > Advanced > Change.
- Uncheck Automatically manage paging file size for all drives and select Custom size.
- Set the Initial size to 1000 and Maximum size to 8192.
- Click OK and Restart your PC to apply the changes.
3. Update Graphics Drivers
Old or incompatible graphics drivers can cause system freezes. Updating them ensures they work with Windows 10’s updates, reducing problems and improving performance by fixing issues and optimizing hardware communication.
- Press Windows Key + X and select Device Manager. Navigate to Display adapters, right-click your graphics card, and select Update driver software.
- Select Search automatically for updated driver software and follow the instructions. If updated, restart your PC and check performance. If issues persist, download the latest drivers from the manufacturer’s website, install them, and reboot. If updating the graphics driver doesn’t work, update the audio driver in the same manner.
4. Turn Off Link State Power Management
Adjusting power settings can fix system freezes caused by power management issues. Turning off Link State Power Management, which affects PCIe devices, can reduce connectivity problems and stabilize the system.
- Press Windows Key + R.
- Type powercfg.cpl and press OK.
- Click Change Plan Settings for your active plan.
- Go to Change Advanced Power Settings. Scroll to PCI Express > Link State Power Management and set it to Off. Verify if the issue is resolved.
5. Turn Off Fast Startup
Turning off Fast Startup prevents the system from using saved data from the last session, which can cause issues with drivers or processes. This setting makes Windows start fresh each time, reducing the chance of freezes.
- Right-click the Start Menu to open the WinX Menu.
- Select Power Options.
- Click Choose what the power buttons do.
- Select Change settings that are currently unavailable.
- Uncheck Turn on Fast Startup (recommended) to disable it.
- Click Save changes.
6. Diagnose Your Hard Disk for Issues
A healthy hard drive is key to smooth performance, as damaged or failing drives can cause freezes. Running a diagnostic scan can find disk errors or problems that disrupt data access. Fixing these issues can improve stability and reduce random freezes.
To test your hard disk, click here.
7. Switch your Broadcom Network Adapter’s Driver Software to the Microsoft One
Switching to the Microsoft driver for your Broadcom Network Adapter can stabilize your system by reducing conflicts. Broadcom’s drivers might cause issues in Windows 10, leading to freezes. The Microsoft driver is tested more with Windows, improving stability and reducing interruptions.
- Right-click the Start Menu and select Device Manager.
- Expand Network adapters, right-click your Broadcom adapter, and select Properties.
- Navigate to the Driver tab.
- Click on Update Driver… and select Browse my computer for driver software.
- Choose Let me pick from a list of device drivers on my computer.
- Select the Microsoft driver variant and click Next. Wait for the installation.
- Restart your computer to check if the issue is resolved.
8. Disable Unwanted Apps
Unwanted background apps can slow down Windows 10 and cause freezes. Turning them off frees up CPU and memory, helping your system run better. This reduces performance issues, allowing important tasks to work smoothly.
- Open Settings from the Start menu, then go to Privacy.
- Navigate to Background Apps in the menu.
- Switch off any apps you don’t want running in the background.
9. Remove Temporary Files
Deleting temporary files frees up system resources and removes outdated data that can cause slowdowns or freezes. These files can clutter the system, so clearing them gives Windows a fresh start, reducing random freezes.
- Press Windows Key + R to open the Run dialog.
- Type %Temp% and press Enter. This speeds up access to temporary files.
- Press Ctrl + A to select all items.

- Press Shift + Delete to remove them permanently.
10. Disable C-States in BIOS
Changing your BIOS settings, like turning off C-States, can stabilize your system by stopping the CPU from going into low-power modes that might cause freezes. C-States save energy, but they can lead to problems on some systems. Disabling them keeps the CPU active, reducing random freezes.
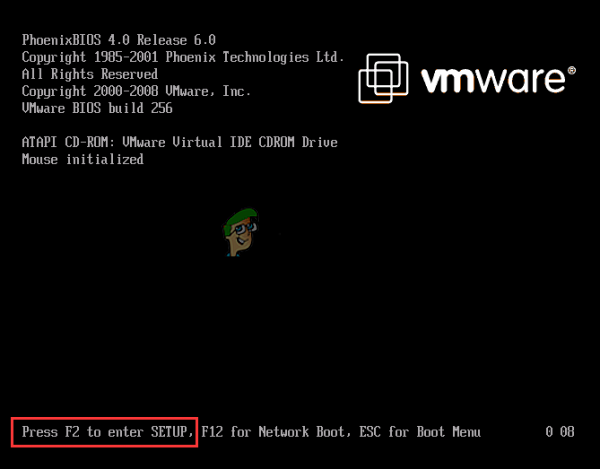
- Restart your computer and press the Setup key (e.g., F12, F2, F1, Del, or Esc) during startup.
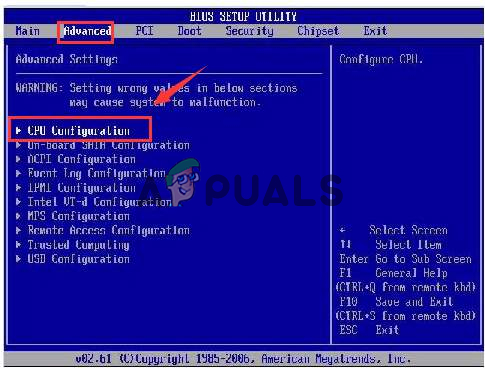
- In BIOS, go to Advanced and choose CPU Configurations.
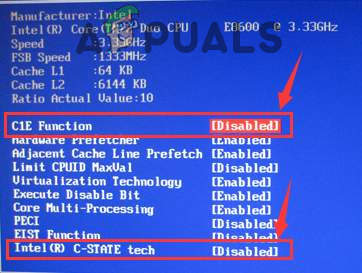
- Turn off C1E function and Intel(R) C State function.
- Save changes and exit BIOS.
11. Restoring Computer
Reverting your computer to a previous point can undo recent changes in system files, applications, and settings that might cause freezing issues. It resolves problems introduced by recent updates or configurations.
- Press Windows + S, type Restore, and select Create a Restore Point.

- Go to the System Protection tab and click System Restore.
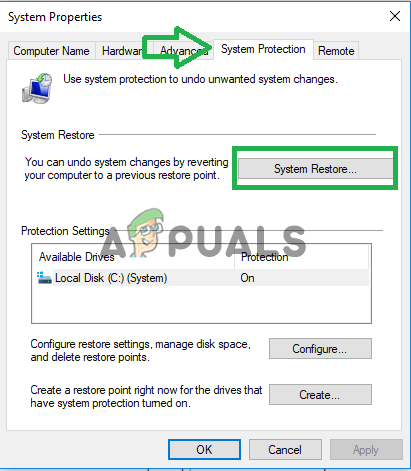
- Follow the wizard, select a restore point, and confirm your selection.
12. Defrag your HDD (Skip if you have an SSD)
When you defrag an HDD, it reorganizes fragmented data so your hard drive works more smoothly, reducing sluggishness and freezing. This doesn’t apply to SSDs, as defragmentation isn’t needed and can shorten their lifespan.
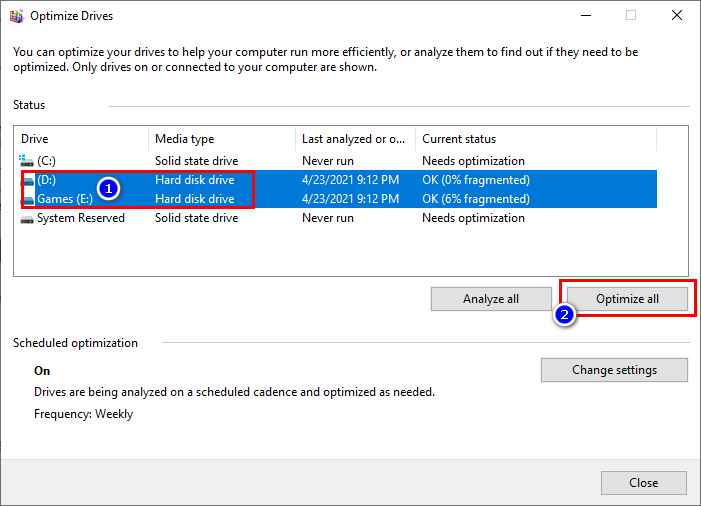
- Press Windows Key + R, type dfrgui, and press Enter.
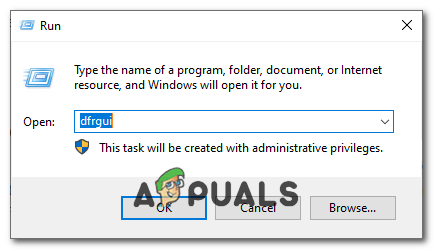
- Select your hard drives and click Optimize All.
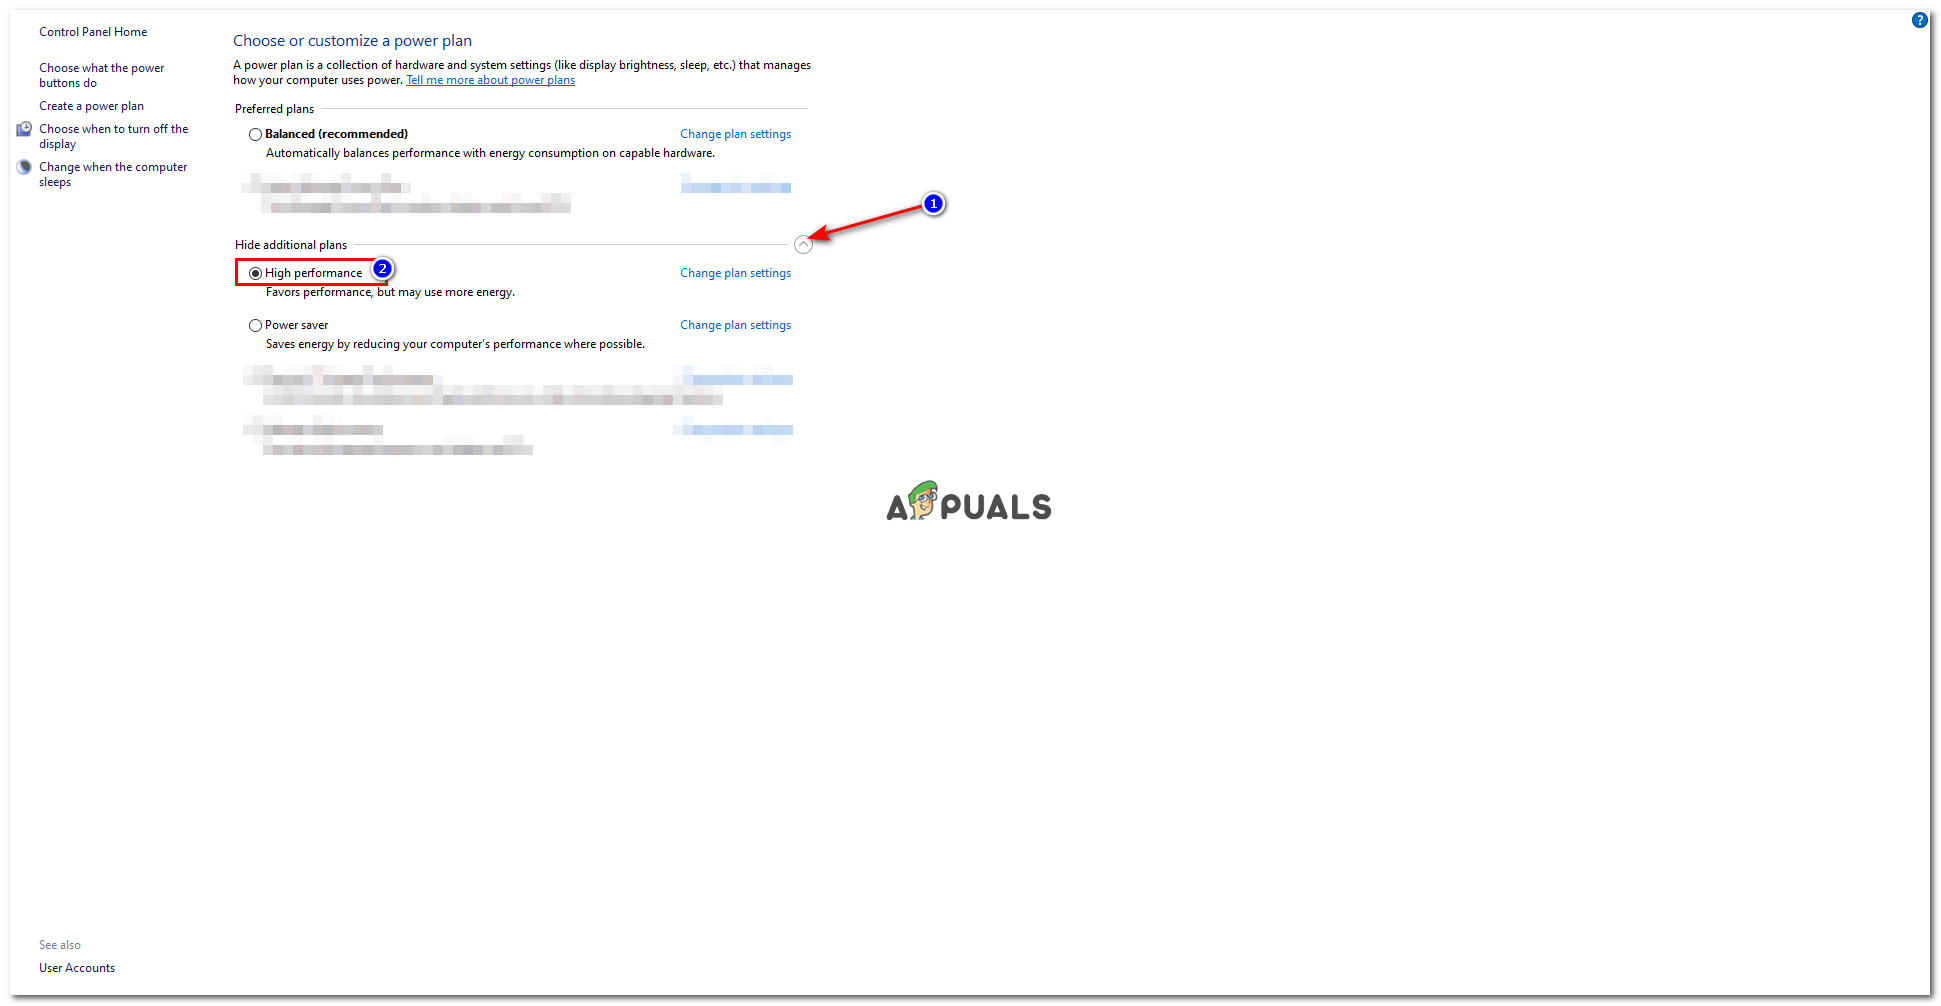
13. Select High-Performance Power Plan
Changing power settings can improve system performance. The High-Performance power plan reduces features that may slow down your CPU or hardware, preventing freezes on Windows 10. This setting ensures resources are fully available, reducing slowdowns or interruptions.
- Press Windows Key + R, type powercfg.cpl, and hit Enter.
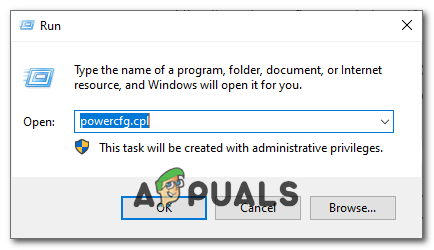
- Select High Performance from the available plans by expanding Show additional plans, and then restart your computer.
This is the best set of fixes I’ve been able to find, well written and easy to follow, plus great screen clips.
Thanks Kevin