VMware Workstation Pro Can’t Run on Windows? Try these fixes
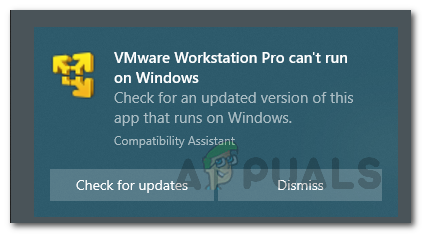
One of the error messages that you might come across while using VMware Workstation Pro is the “VMware Workstation Pro can’t run on Windows” error message. The error message suggests that the version that you are running on your system is not compatible with Windows which can be somewhat absurd when you were running it just fine prior to this. This can be established from the fact the error message suggests to look for any updated versions that can run on Windows.
As it turns out, the reason this happens is known and pretty simple. The problem in question is caused by Windows updates. While Windows updates are normally good for your system, there are often issues that you might encounter while trying to update your Windows system such as the error code 0x8024000b. In addition to this, even when Windows installs the necessary updates without any issues, it can rarely cause an issue with something on your system. Same is the case in this scenario. The reason that you are facing this error message is due to the September Cumulative update that was released in 2019 which updated the database of programs that are prohibited by Microsoft. VMware was added to the blocklist here which initiated the error message.
Now, because of this, the Program Compatibility Assistant tool on Windows, which is used to look for any compatibility issues on the programs that you run on your operating system, prevents VMware Workstation Pro 14 or older versions from running on the system. In some cases, the issue can be even encountered on Workstation Pro 15 but that’s about it. Since the issue has been there for quite a while, there are actually quite a few ways available using which you can fix the error message in question. With that said, let us get started and show you how to resolve the problem in question without any further delay.
Rename VMware Workstation Pro Executable File
As it turns out, the first thing that you should do when you face the error message in question is to try to rename the executable file of VMware Workstation Pro. By doing this, you will be bypassing the block that is placed on it and as a result, you will be able to run the application without any issues. The executable file, or .exe file, is what’s used to launch the application on your computer. This has been reported by multiple users who were also facing a similar issue. To do this, follow the instructions down below:
- First of all, open up the File Explorer window.
- Then, navigate to the directory where VMware Workstation Pro is installed. By default, you will find it in the VMware folder that is situated inside the Program Files (x86) directory in the drive where Windows is installed.

Opening Program Files x86 - Once you have made your way there, go ahead and right-click on vmware.exe and choose Rename from the drop-down menu. Alternatively, you can also press F2 as a shortcut.
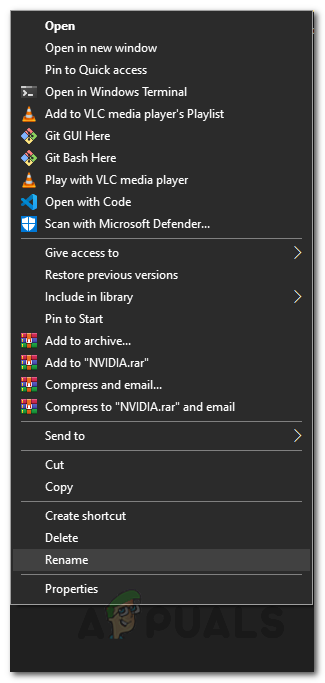
Renaming VMware Executable File - Then, instead of vmware.exe, rename it to something else like vmarea.exe.
- After you have done that, go ahead and try to launch it. In case it doesn’t work, reboot your computer.
- Once your PC boots up, try launching it again to see if the error message still appears.
Uninstall Specific Windows Updates
As we have mentioned, the reason that you are encountering the problem in question is because of a Windows update that updated the database of prohibited applications which is why Compatibility Assistant is preventing the application from running. Therefore, an easy fix to this would be to simply go ahead and remove that problematic Windows update from your system. These updates by their IDs are KB4517389, KB4524147 and KB4517211 respectively. Once you have uninstalled these Windows updates, you should no longer run into the error message mentioned above. To uninstall Windows updates, follow the instructions given down below:
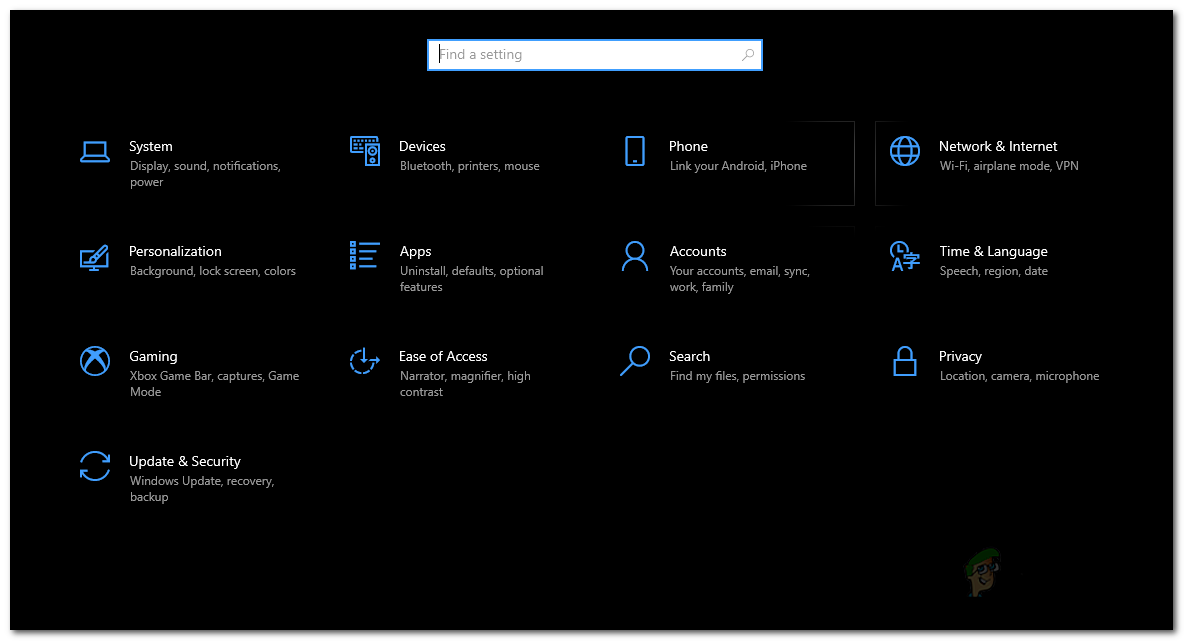
- First of all, go ahead and open up the Windows Settings app by pressing Windows key + I.
- Then, on the Settings app, make your way to Update and Security.
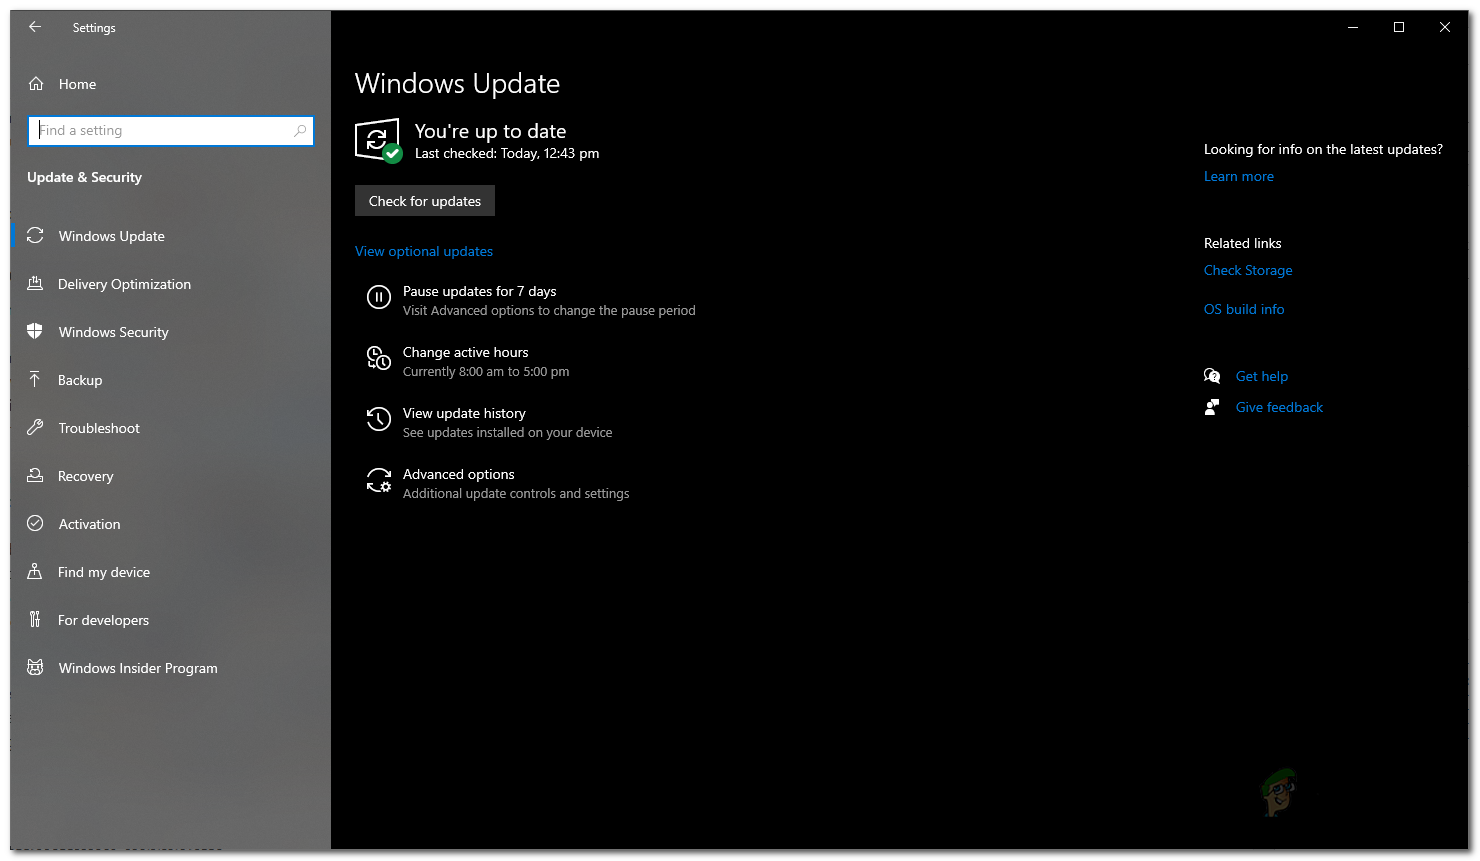
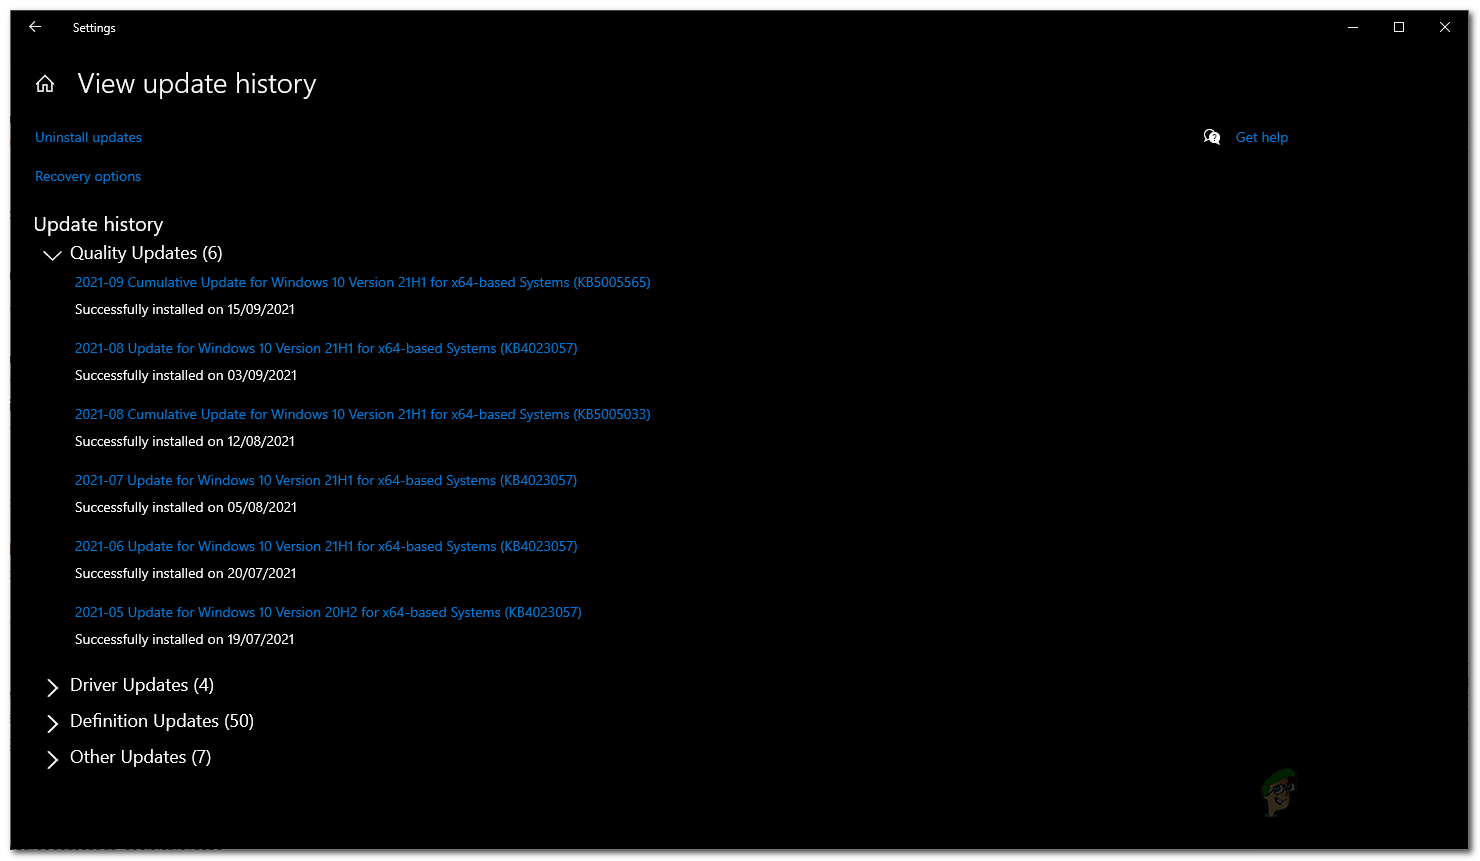
Windows Settings - There, on the Windows Update tab, click on the View update history option.
Windows Update Settings - On the View update history screen, click the Uninstall updates option.
Viewing Windows Update History - This will bring up a Control Panel window with a list of all the installed updates on your system.
- Locate KB4517389, KB4524147 and KB4517211 these updates and then select them. If you can’t find all of them but rather only one is present, that’s okay. Simply select that.
- Then, click the Uninstall option that appears.
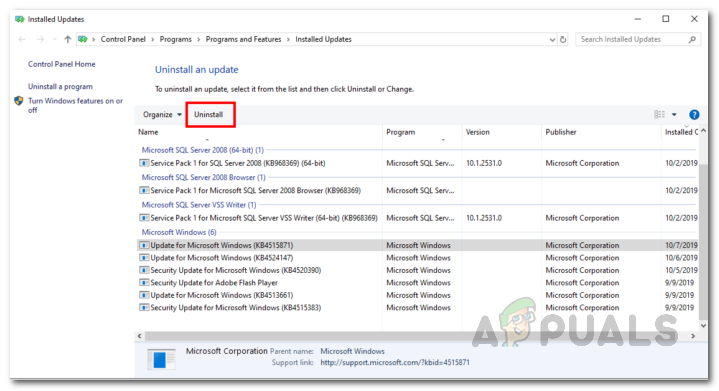
Uninstalling KB4524147 Update - This will remove the update from your system. Once you have done that, you can also choose to stop receiving updates to prevent any such issues by clicking the Pause updates for 7 days option on the Windows Update screen earlier.
Windows Update Settings - After uninstalling the update, go ahead and reboot your system to finish the process.
- Then, once your system boots up, go ahead and try to open VMware Workstation Pro to see if the problem still occurs.
Disable Compatibility Assistant
As it turns out, another way of solving the problem mentioned is to simply disable Compatibility Assistant on your system. Program Compatibility Assistant or PAC is basically a Windows feature that checks for any compatibility issues with the applications that you run on your Windows operating system. Since the Compatibility Assistant is preventing you from running the application, you can simply go ahead and disable it on your system. That way, you won’t be facing the issue any longer. To do this, follow the instructions given down below:
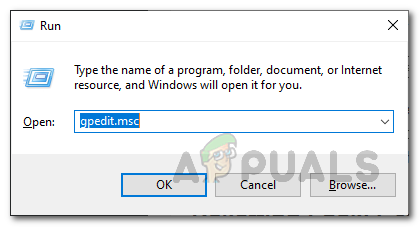
- First of all, open up the Run dialog box by pressing Windows key + R.
- Then, in the Run dialog box, type in gpedit.msc and then hit the Enter key.
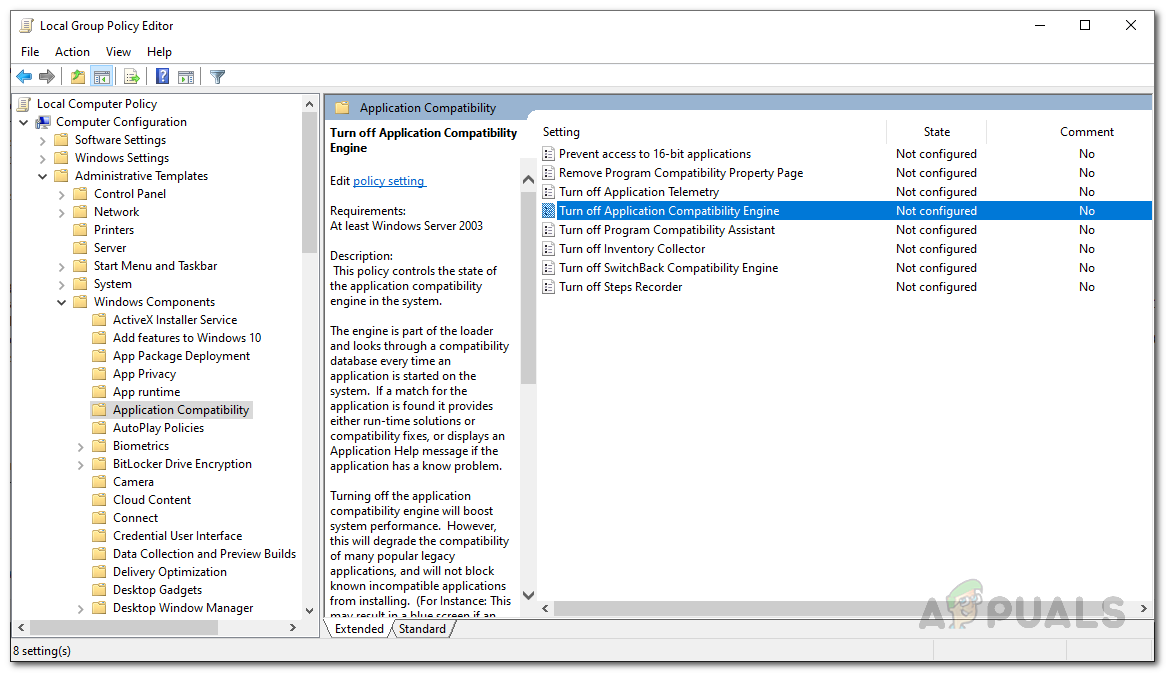
Opening Local Group Policy Editor - This will open up the Local Group Policy Editor.
- There, navigate to the Computer Configuration > Windows Components > Application Compatibility folder.
- Then, on the right-hand side, double-click the Turn off Application Compatibility Engine to open up its properties.
Locating Application Compatibility Engine Policy - On the policy window that appears, choose the Disabled option.
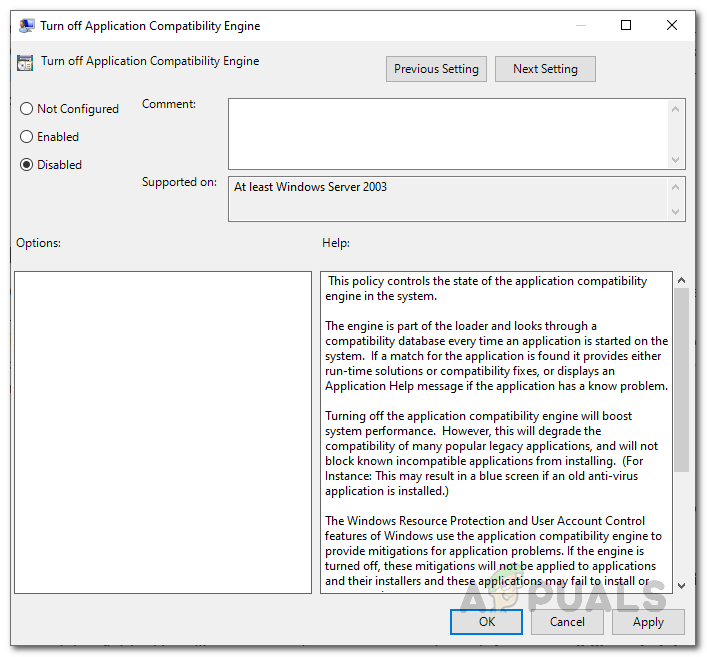
Disabling Application Compatibility Engine - Once done, click Apply and then hit OK.
- After configuring the policy, you will have to restart your computer.
- Once your PC boots up, go ahead and open up the application to see if the problem persists.
Unblock VMware Workstation Pro using Reg File
Like we have mentioned earlier, the problem exists because the application is being blocked by Microsoft on your system due to an update to the database. Therefore, in order to resolve the issue, you will simply have to unblock the application and you should be good to go. For this purpose, there is a reg file available that you can use. What the reg file essentially does is that it will create a new key in your Windows Registry that will stop it from blocking the application on your system. As a result, you will be able to run the program without any issues. To do this, follow the instructions given down below:
- First of all, download the required reg file from here.
- Once downloaded, go ahead and run the file and when prompted, click the Yes button.
Running Reg File to Unblock VMware - After doing that, your VMware Workstation Pro should work again without any issues.
Unblock VMware Workstation with ADK
Windows Assessment and Deployment Kit, also known as ADK, has basically a bunch of tools that let you customize your Windows system. In this case, you will be using the Compatibility Administrator tool that comes with it to unblock VMware from your system. This tool essentially lets us edit the System Database which was updated by a Windows update as we have mentioned before. Once we have removed the VMware entry from there, it should run without any issues. To do this, follow the instructions given down below:
- First of all, make your way to the Windows ADK page by clicking here.
- There, click the Download the Windows ADK option to download the installer.
- Once the installer has been downloaded, go ahead and run it.
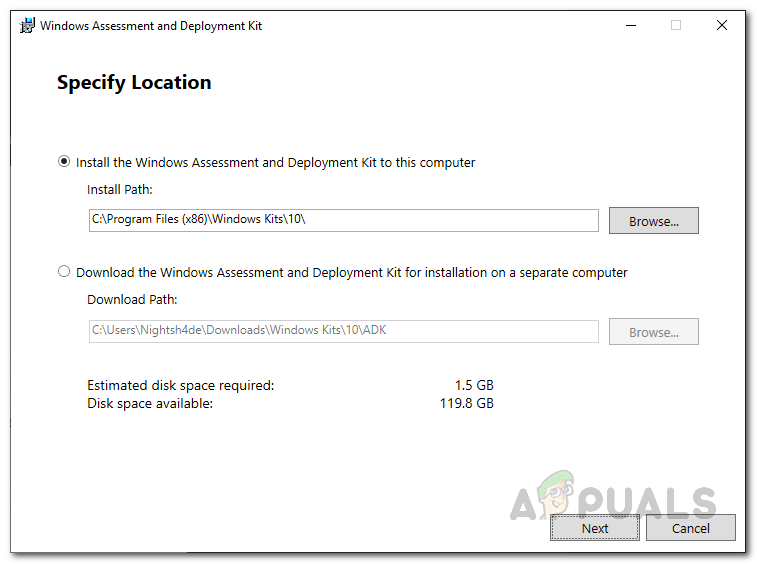
- Make sure the first option i.e. “Install the Windows Assessment and Deployment Kit to this computer” is selected when the installation wizard opens up. Click Next.
Windows ADK Setup - Then, agree to the terms and conditions and hit Next again.
- On the Select the features you want to install page, make sure to select Application Compatibility Tools at the top. You can uncheck everything else if you wish.
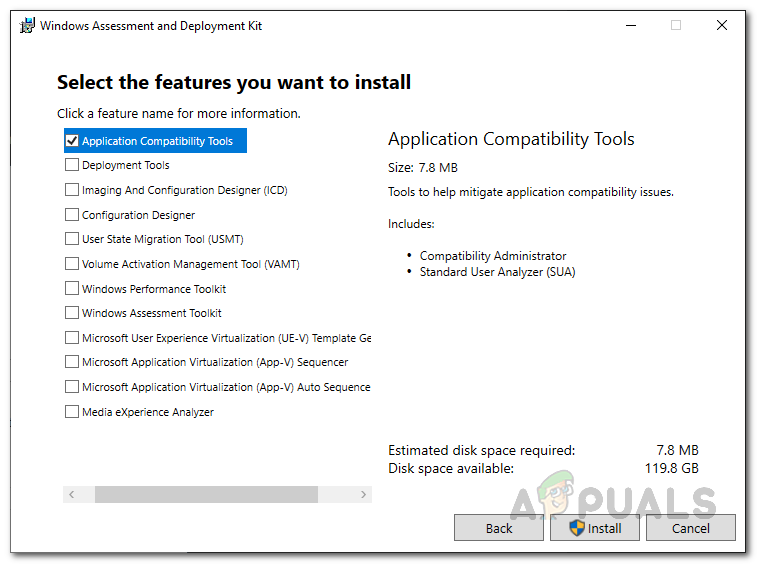
Installing Application Compatibility Tool - Finally, click Install to start the installation.
- Once it has finished installing, open up the Start Menu and search for Compatibility Administrator. Open it up.
- Then, expand the Applications list under System Database.
- From the list of applications, locate VMware Workstation Pro and select it.
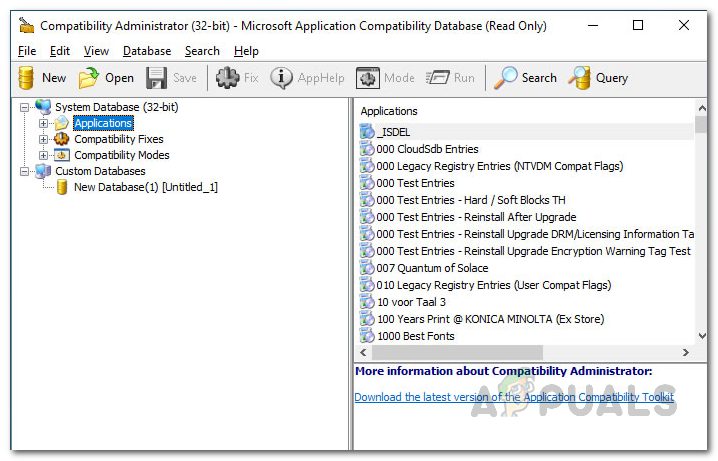
Compatibility Administrator Tool - On the right-hand side, for the entries that say HARDBLOCK next to AppHelp, right-click on its .exe file and choose Disable Entry from the drop-down menu.

Removing VMware Entry from System Database - Once you have done that, VMware should now be unblocked and you should be able to use it without any problems.
Upgrade VMware Workstation Pro
Finally, the last fix for this error message that we are discussing would be to simply go ahead and upgrade your VMware Workstation Pro. The mentioned error message is known to be caused on some specific versions of Workstation Pro that includes 14 and 15. Therefore, one way of fixing it would be to simply uninstall VMware Workstation Pro from your system and then download the latest version available. Once downloaded, you can install it and there should be no problems.
In case you are not able to uninstall VMware Workstation Pro from the Control Panel, navigate to the directory where it is installed and look for the uninstaller. Often programs are shipped with an uninstaller included which can be used to uninstall the program. If you don’t find an uninstaller there, then you can download the latest installer from the website and run it. There, you will be prompted if you wish to remove the application. Simply choose the Remove option and VMware will be removed from your system. Then, go ahead and install the latest version available and you should be good to go.


