How to Fix Wi-Fi Automatically Disconnecting on Windows 11
Some users that have recently upgraded to Windows 11 are complaining that they’re experiencing a weird issue where the Wi-Fi network they’re connected to randomly disconnects. This problem is reported to occur with home, work, and public Wi-Fi networks.
We’ve investigated this particular issue to figure out exactly what’s causing this problem with insider and public versions of Windows 11. Here’s a list of potential culprits that are most likely responsible for the random Wi-Fi disconnects:
- Common network inconsistency – If you’re lucky enough to have this problem occur due to a network inconsistency, you might be able to fix this problem automatically by running the Internet Connections Troubleshooter. If Microsoft included a repair strategy for your particular problem, the utility will auto-apply the fix.
- Network adapter glitch – Another reason why you can expect to deal with this issue is an inconsistency related to the network adapter that is currently handling the Wi-Fi connection. In this case, deploying a network adapter reset should take care of the issue in your case.
- Inconsistent TCPIP and DHCP parameters – If you’re constantly switching between a lot of different Wi-Fi networks, chances are you’re experiencing this issue due to conflicting data accumulated by the TCPIP and HCP parameters. You can fix the issue in this case by resetting both of these parameters via an elevated CMD prompt.
- DNS Inconsistency – In certain scenarios, you can also expect to deal with this type of problem due to an issue facilitated by an inconsistent DNS (Domain Name System). You can resolve this problem swiftly by flushing your current DNS.
- Corrupted / Incompatible Network adapter driver – As it turns out, another potential cause that might cause these random WiFi disconnects is a partially incompatible or corrupted network adapter driver. This problem typically occurs immediately after users upgrade to Windows 11 (from an older Windows version) and can typically be fixed by uninstalling your current network adapter to allow your operating system to install a generic equivalent that’s fully compatible.
- Wi-Fi Hotfix is not installed – As it turns out, Microsoft is aware that this issue is affecting a small segment of Windows 11 and has already released a fix that is currently available for Windows Insiders. By the time you’re reading this article, the fix might have already made its way to the Public build, so start by installing every pending update. If the fix is not yet available, consider joining the Insider Program to fix the issue.
- System file corruption – In certain circumstances (most likely after an upgrade from an older Windows version), you can expect to see this issue occurring due to some type of system file corruption. If this scenario is applicable, the only fix is to go for a repair install or clean install procedure.
Now that we went over every potential reason why you might be experiencing this issue on Windows 11, let’s go over all the fixes that other users in a similar scenario have successfully used to get to the bottom of this problem.
Run the Internet Connection Troubleshooter
If these random Wi-Fi disconnects are caused by a network issue, chances are you will be able to fix it automatically by running the Internet Connection Troubleshooter and applying the recommended fix.
Note: The Internet Connection Troubleshooter features a series of automatic repair strategies that are effective in most scenarios where the problem is actually caused by a network issue. If a viable scenario is recognized, this utility is capable of automatically applying the fix.
We’ve managed to identify several Windows 11 users who reported that the problem was promptly resolved after they ran the Internet Connection Troubleshooter and applied the recommended fix.
Follow the instructions below for step-by-step instructions on running the Internet Connection Troubleshooter and applying the recommended fix:
- Press Windows key + R to open up a Run dialog box. Next, type ‘ms-settings:troubleshoot’ inside the text box, then press Enter to open up the Troubleshooting tab.

Opening up the Troubleshoot tab - If you’re prompted by the User Account Control (UAC) window, click Yes to grant admin access.
- Once you’re inside the Troubleshooting tab of the Settings menu, move over to the right-hand section of the screen and click on Other Troubleshooters to expand the menu.
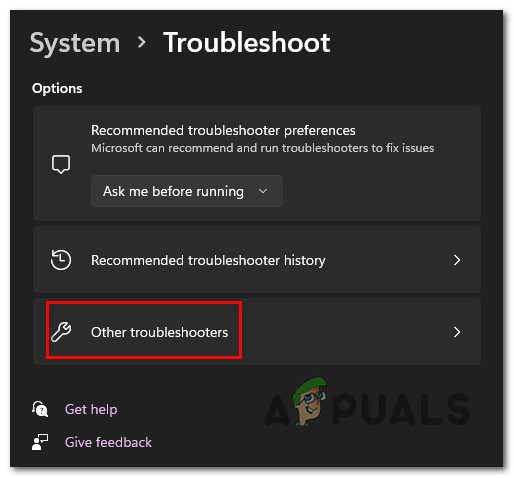
Other troubleshooters - From the next menu, click on the Run bottom associated with Internet Connections troubleshooter.
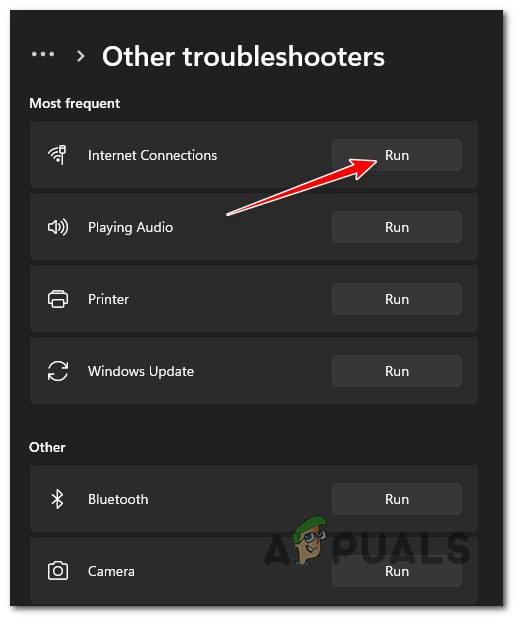
Run the Internet Connections Troubleshooter - Wait until the initial scan is complete to see if the utility finds a viable repair scenario for your particular issue.
- If a viable fix is identified, click on Apply this fix from the next screen to auto-apply the repair scenario.
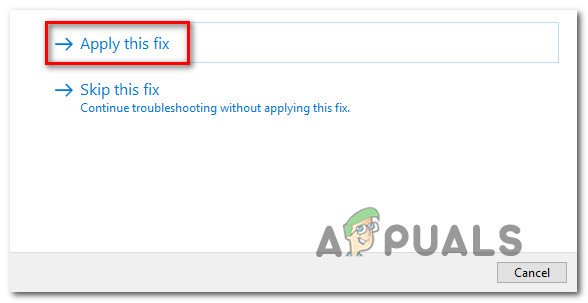
Applying the recommended fix - Wait until the fix is applied, then reboot your PC when you get the success message and see if the Wi-Fi issue is resolved once the next startup is complete.
If the same kind of issue is still occurring, move down to the next potential fix below.
Reset the network adapter
If the method above (running the Internet Connections Troubleshooter) didn’t allow you to fix the issue, the next thing you should do is to effectively reset the network adapter that is currently handling the internet connection.
Several users dealing with the same kind of issue have confirmed that going this route finally allowed them to maintain a stable Wi-Fi connection on their Windows 11 PC without getting randomly disconnected every few minutes or so.
The way you can fix it is by accessing the Network & Internet tab (inside the Settings menu) and deploying a system-wide network reset procedure.
Note: This operation will first begin by removing all your network adapters and then reinstalling them back while setting any other network component back to their original defaults. Keep in mind that if you’re using a VPN client software or virtual switches, you will likely need to reinstall them once the reset operation is complete.
Follow the guide below for specific instructions on performing a network adapter reset on Windows 11:
- Press Windows key + R to open up a Run dialog box. Next, type ‘ms-settings:network-advancedsettings’ inside the text box and press Enter to open up the Network & Internet tab of the Settings menu.

Open up the Network tab of the Settings menu on Windows 11 Note: If you’re prompted by the User Account Control, click Yes to grant admin access.
- Once you’re inside the Network & Internet settings tab, move over to the right-hand section and scroll all the way down to the bottom of the page, then click on Advanced network settings.
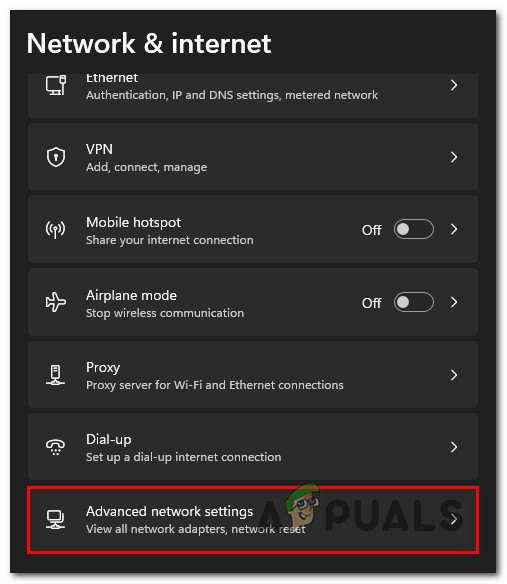
Open up the Advanced Network Setting menu - Inside the Advanced Network Settings tab, scroll down to More settings and click on Network reset.
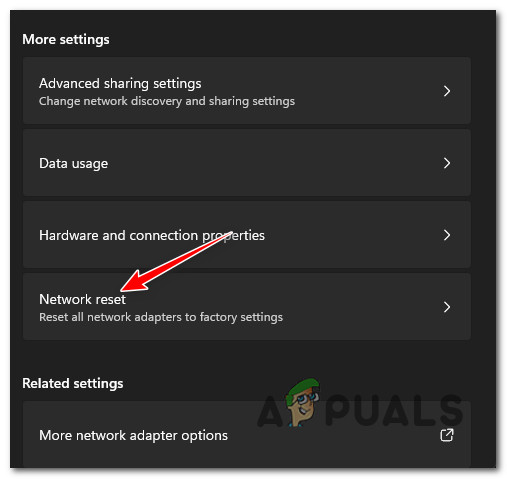
Accessing the Network Reset tab - At the next prompt, click on Reset now to start the process of resetting the network adapters on Windows 11.
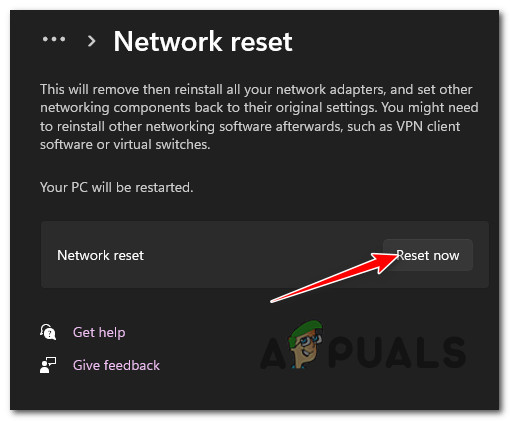
Resetting your network adapters Note: At the end of your procedure, your PC will restart as the temporary files related to your active network are being cleared.
- Once your Windows 11 PC boots back up, make sure you connect to the same network that was previously causing the issue and see if the problem is now fixed.
In case you’re still dealing with the same kind of issue, move down to the next potential fix below.
Reset the TCPIP and DHCP parameters
As it turns out, this particular issue can also be rooted in a TCPIP or DHCP parameter that is forcing the Wi-Fi adapter to terminate the connection abruptly. Fortunately, this particular issue can be resolved swiftly by using an elevated Command Prompt to deploy a ‘netsh int IP reset‘ command.
Note: This CMD command will automatically reset the contents of the following registry keys:
SYSTEM\CurrentControlSet\Services\Tcpip\Parameters\
SYSTEM\CurrentControlSet\Services\DHCP\Parameters\
According to other users that have successfully used this method, the Wi-Fi connection finally became stable after the CMD command was processed and the connection was reset.
Follow the instructions below to reset the TCPIP and DHCP parameters on Windows 11 via an elevated Command Prompt:
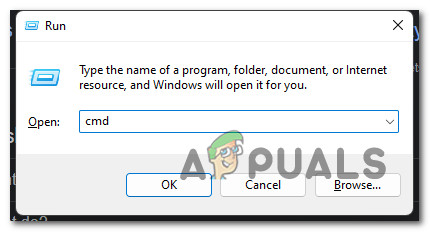
- Press Windows key + R to open up a Run dialog box. Next, type ‘cmd’ inside the text box and press Ctrl + Shift + Enter to open up an elevated Command Prompt.
Opening up an elevated CMD prompt - At the User Account Control (UAC) prompt, click Yes to grant admin access.
- Once you’re inside the elevated Command Prompt, type the following command and press Enter to effectively reset the TCPIP and DHCP parameters associated with your current network connection:
netsh int ip reset c:\resetlog.txt
Note: The command above assumes that your Windows partition is on the C:\ drive. If your setup is different, change the partition letter accordingly.
- After the command is processed successfully, reboot your PC and see if the Wi-Fi connection is now stable.
Flush the DNS cache
As it turns out, another probable cause that might prompt your PC to terminate the WiFi connection is an inconsistency facilitated by the DNS (Domain Name System) that is currently in use.
If there’s a problem with how your network adapter perceives the in-use DNS, you might notice these random disconnects because the communications between the active network adapter and the ISP is terminated.
In most cases, you should be able to fix this problem by flushing your current DNS from an elevated CMD prompt – this operation will end up clearing the currently stored DNS information.
For step by step instructions on how to do this, follow the instructions below:
- Open a Run dialog box by pressing Windows key + R. Next, type ‘cmd’ inside the text box and press Ctrl + Shift + Enter to open up an elevated Command Prompt.
Opening up an elevated CMD prompt - At the User Account Control prompt, click Yes to grant admin access.
- Once you’re inside the elevated CMD prompt, type the following command and press Enter to flush your DNS cache:
ipconfig/flushdns
Note: This command will essentially remove any cached information about your current DNS, forcing your router to receive and process new DNS information.
- Once you see the confirmation message, you can safely close the elevated CMD prompt and reboot your PC.
- During the next startup, the connection to the router should start fresh without leveraging any previously cached data.
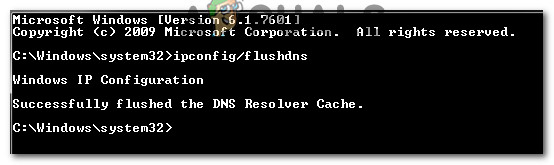
Flushed DNS cache - Utilize your PC normally to see if you’re still experiencing these random WiFi disconnects on Windows 11.
If the problem is still not fixed, move down to the next potential fix below.
Reinstall the network adapter
If you’ve come this far without a viable fix, you should think about uninstalling your current network adapter driver. This fix will be effective in those situations where you’ve recently upgraded to Windows 11 and the Upgrade Assistant migrated the old network adapter driver (instead of installing a fully compatible driver for Windows 11)
In this case, you’ll need to use Device Manager to completely uninstall the active network adapter driver and restart your PC. By doing this, you will force Windows 11 to detect that it’s missing a key driver and install a generic equivalent (one that’s fully compatible) the next time you boot up your computer.
For step by step instructions on how to do this, follow the instructions below:
- Press Windows key + R to open up a Run dialog box. Next, type ‘devmgmt.msc’ inside the text box and press Ctrl + Shift + Enter to open up Device Manager.
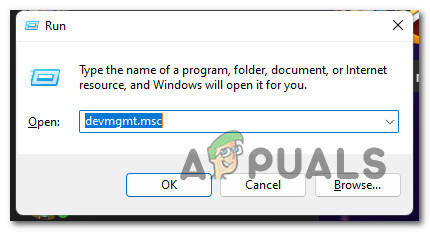
Open up Device Manager - When you’re prompted by the User Account Control, click Yes to grant admin access.
- Once you’re inside Device Manager, scroll down through the list of devices and expand the Network Adapters drop-down menu.
- Inside the Network Adapters drop-down menu, right-click on the Wireless adapter and choose Properties from the context menu.
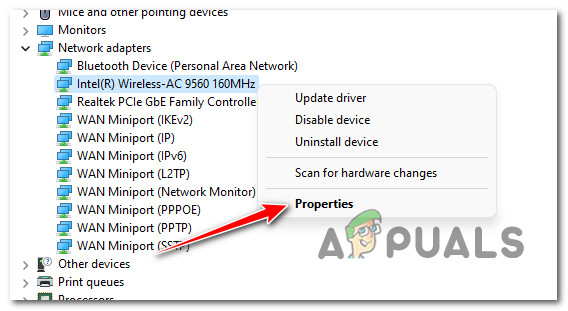
Accessing the Properties menu - Once you’re inside the Properties screen of your Network adapter, click on the Driver tab from the menu at the top.
- Next, click the Uninstall Device button at the bottom of the screen, then click on Uninstall once again to begin the process of removing the active network adapter driver.
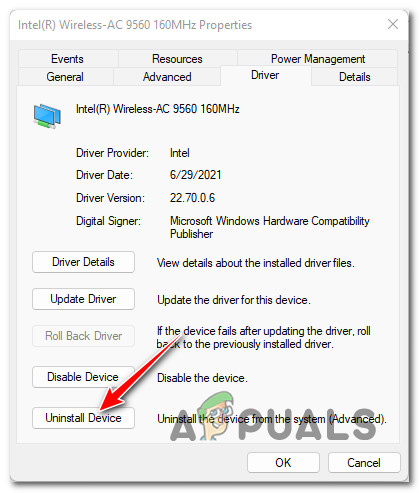
Uninstall the network adapter driver Note: Before confirming the operation by clicking Uninstall, make sure to check the box associated with Attempt to remove the driver for this device.
- After the operation is complete, you’ll notice that you’ll lose network access – don’t worry as it’s perfectly normal. When this happens, simply reboot your PC.
- During the next system startup, your OS will detect that the network adapter driver is missing and will install a compatible equivalent to restore your Wi-Fi connectivity.
If the problem is still not fixed even after you reinstalled the network adapter as you’re still experiencing random disconnects while connected to a Wi-Fi network, move down to the next potential fix below.
Install an insider build (if applicable)
As it turns out, some users that we’re also dealing with this problem have finally managed to fix the problem by signing up to the Windows Insider program and installing a release preview build of Windows 11.
This might expose your OS to bugs and glitches that you won’t normally have on the public release, but it should improve your Wi-Fi connectivity – Microsoft has already released a couple of hotfixes that should alleviate the problem.
Important: Before going this route, you should first ensure that you have any pending Windows 11 updates installed. Microsoft might have already pushed an update that fixes this issue on the Public release build.
If you are willing to give this fix a try, follow the instructions below to install an insider Windows 11 build:
- Press Windows + I to open up the Settings menu of Windows 11.
- Once you’re inside the Settings menu, use the menu on the left to click on Windows Update.
Note: If the left-hand menu is hidden by default, click on the action button (top-right corner). - Once you’re inside the Windows Update menu, scroll down to the right-hand section of the screen and click on Windows Insider Program (under More Options).
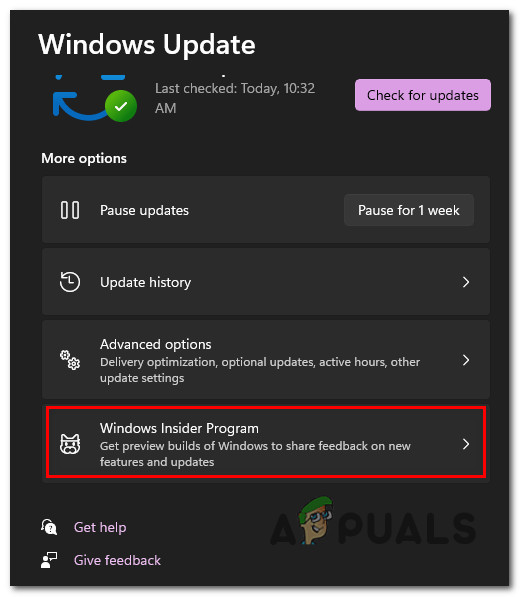
Accessing the Windows Insider Program - From the Windows Insider Program, click on Get started, and wait until the initial setup is complete.
- Shortly after, you will be asked to select a Microsoft account that you’ll need to attach to your Insider’s account. Choose the same account that it’s currently active on your Windows 11 installation.
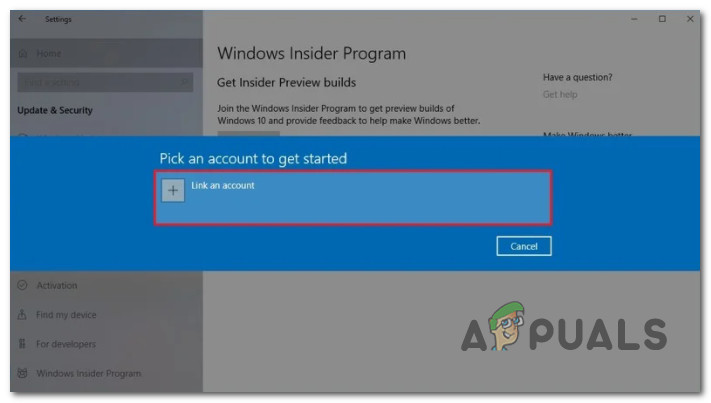
Linking a Microsoft account to the Insider’s Program - Once you successfully attach your Microsoft account to the Insider’s program, hit Continue.
- You will then be asked to select from the two Insider channels available: Dev Channel and Beta Channel.
Note: We recommend choosing the Beta Channel since you’ll get more reliable builds with upgrades that are validated by Microsoft. - Finally, confirm the operation once again by clicking on Restart Now. Sometime after the next boot is complete, you will get an update notification to install the preview build.
- Follow the instructions to install it, then check if the Wi-Fi connectivity issues have been resolved.
If the same Wi-Fi problem is still ongoing, move down to the final potential fix below.
Perform a repair install
If you’ve come this far without a viable fix, the only possible explanation is that your system is dealing with some type of underlying system file corruption that affects its ability to connect and maintain Wi-Fi connections.
If you’ve excluded a potential signal issue (the router is too far away), the only possible fix that’s viable at this point is to effectively replace every system file with a healthy equivalent.
You can do this in two different ways:
- By clean installing Windows 11 – If you go this route, expect the process to be as straightforward as possible. You can trigger a clean install process directly from the settings menu of Window 11 without the need to plug in or insert a compatible installation media. The drawback is that unless you back up the data present on the Windows partition in advance, you’ll lose it all.
- By repair-installing (in-place upgrading) Windows 11 – A more elegant solution would be to deploy a repair install (in-place upgrade). This operation will allow you to keep all your files, applications, games, and user preferences since the process will only replace Windows files. However, you will need to use compatible Windows 11 installation media.


Thanks a lot for the information given! Will try to apply one of the fixes mentioned here. Have a good one!