Fix: Waves Maxxaudio Service Application Causing High CPU / RAM
 Reviewed by Muhammad Zubyan
Waves MaxxAudio Service belongs to the Waves Maxx Audio application that is used to enhance the audio performance of a system. It comes preinstalled or enabled with pre-built systems that use Wave audio drivers. Mostly, you can find the Waves MaxxAudio driver on Dell laptops.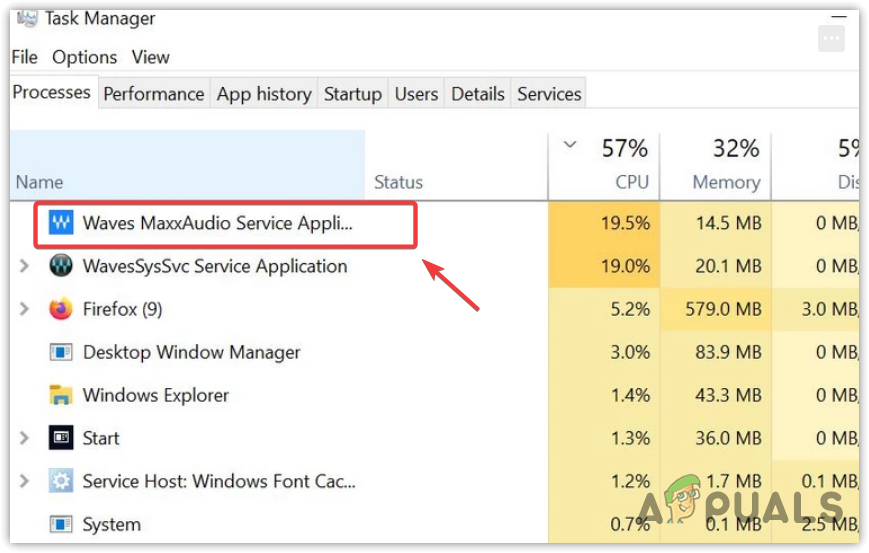
If you have noticed that the Waves MaxxAudio service application is consuming high CPU or memory resources, then follow the methods provided to fix this issue.
This issue mainly occurs when there is a problem with the Waves Maxx audio driver or its services. Furthermore, when users attempt to disable the service to prevent high CPU or memory usage, Windows stops recognizing the audio devices, which also becomes another issue for them.
Thus, in this article, we will discuss how to prevent high CPU or memory usage without encountering the issue of your audio devices not being recognized.
1. Disable the Waves MaxxAudio services using Autoruns
Autoruns is a Microsoft utility that shows the programs, services, drivers, etc., configured to run after the system boot-up or login. This utility allows users to manage startup programs, drivers, services, and more. Hence, it is recommended to use Autoruns to disable the Waves MaxxAudio services. To do so, follow these steps:
- Download the Autoruns from the link.
- Once it is downloaded, extract the folder using WinRAR or 7Zip.

- Then, open the extracted folder and run autoruns as an administrator.
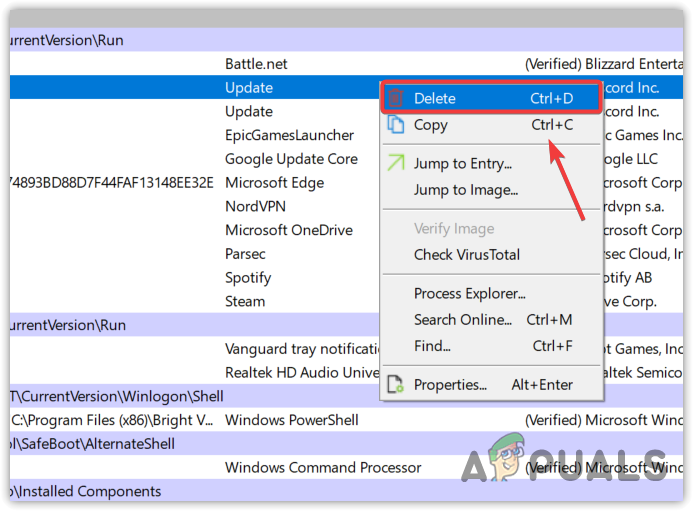
- Once done, right-click the following services and click Delete.
RtkAudUService
WavesSvc
RtkAudioUniversalService
WavesAudioService
WavesSysSvc
- Once done, restart your computer and check if the issue is resolved or not.
2. Disable the Waves Maxx Audio Service Application from Startup
Disabling the Waves Maxx Audio service from startup will prevent it from running after the system boots up. This is the quickest way to fix this issue. However, your audio devices might stop being recognized by Windows after you disable the Waves Maxx Audio Service. In this case, we do not recommend disabling the Waves Maxx Audio Service. Instead, you can follow our other methods.
To disable Waves Maxx Audio Service, follow these steps:
- Right-click the taskbar and select Task Manager.

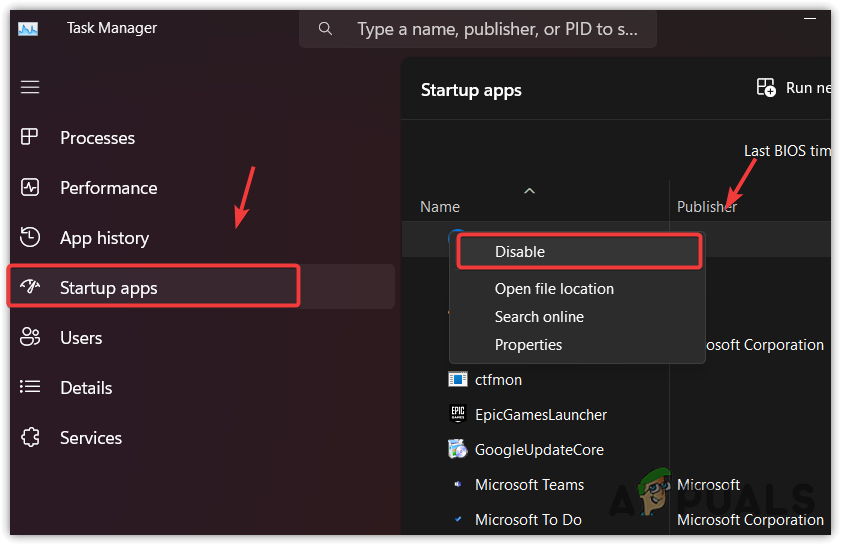
- Click the three dots from the top left.
- Select the Startup apps and disable the Waves Maxx Audio service application.
- Once done, restart your computer and then properly check if your audio devices are being recognized by Windows or not. If not, enable the Waves Maxx Audio Service and proceed to the next method.
3. Switch to the Realtek drivers
If you are still experiencing the issue, you can try switching to the Realtek audio drivers. Before installing Realtek audio drivers, make sure to uninstall Wave’s audio driver and the Waves Maxx Audio application completely from the system. To do so, follow the steps:
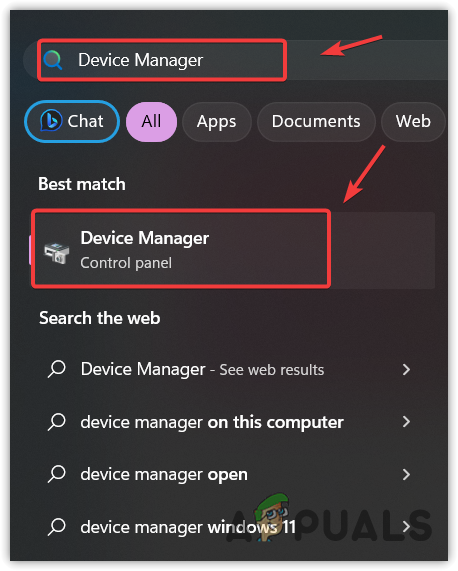
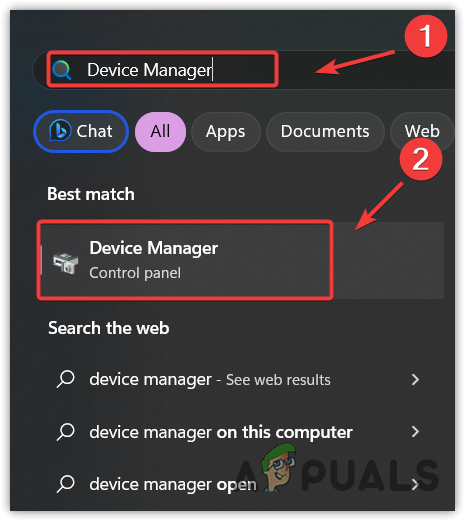
- Press the Windows key and type Device Manager.
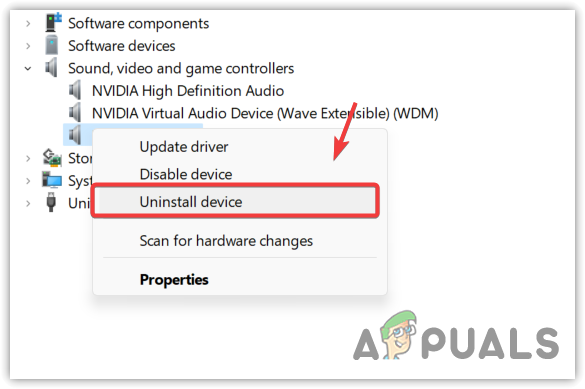
- Open the device manager, right-click the wave audio driver, and select Uninstall device.
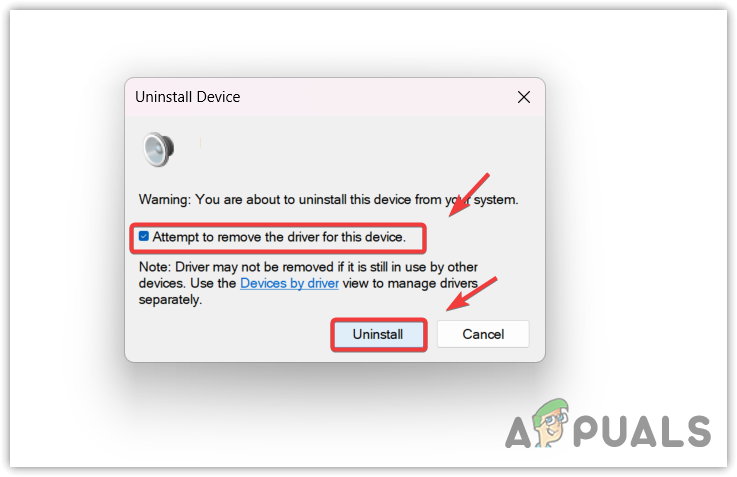
- Again, click Uninstall to remove the driver.
- Once done, uninstall the Waves Maxx Audio application.
- Then, go to the Realtek audio drivers site and download the driver.

- Once it is downloaded, run the installer and follow the on-screen instructions to install the driver.
- Once done, restart your computer and see if the Waves MaxxAudio service is causing the high CPU usage or not.
4. Use Windows Generic Audio drivers
The Waves Maxx Audio service application needs to communicate with the audio driver in order to produce high-quality sound. Since the Waves Maxx Audio service application is consuming high computing resources, it is possible that the audio driver is corrupted, resulting in a lack of communication.
Therefore, we recommend that you either try using the Windows generic audio driver or update the Waves audio driver. The generic audio driver is a default Windows driver and will work perfectly with your audio device.
Windows always has generic drivers for input and output devices, so you don’t have to install them from anywhere else. Just restart your computer after uninstalling the Waves audio driver to install the generic audio driver.
- To use the Windows generic driver, click the Start Menu and type Device Manager.
- Open the device manager, and right-click the audio driver.
- Select Uninstall device.
- Then, click Uninstall to confirm the action.

- Tick Attempt to remove the driver for this device.
- Once the driver is uninstalled, restart your computer to install the generic audio driver.
4.1 Update audio driver
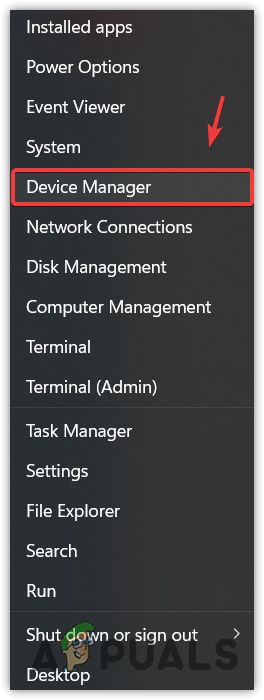
- Right-click the Start Menu and select Device Manager.
- Once it is opened, expand the Audio inputs and outputs.
- Right-click the audio driver and select Update driver.

- Then, select Search automatically for drivers. If you encounter, The best drivers for your device are already installed. In this case, go to your system manufacturer’s site and download the audio driver from there.

- Once done, restart your computer and check if the problem persists.
5. Use a System Restore utility
Since this problem may be related to the audio driver, we can try restoring the audio drivers to the previous version using the System Restore utility. System Restore allows users to capture the current state into a restore point, so when something unexpected happens, users can revert to the previous version.
System Restore saves the drivers, registry files, system files, and even Windows updates into a restore point. This allows users to restore the previous state by restoring the drivers, registry files, and system files. However, you must have a restore point created when the Waves MaxxAudio service application was not consuming an excessive amount of CPU and RAM usage.
To use a system restore utility, follow the steps:
- Press the Win key and type Rstrui in the search box.
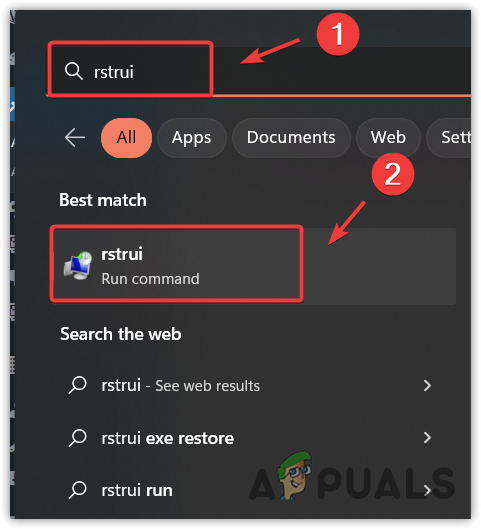
- Hit the Enter key to run the system restore utility.
- Then, click Next, and select a Restore Point.
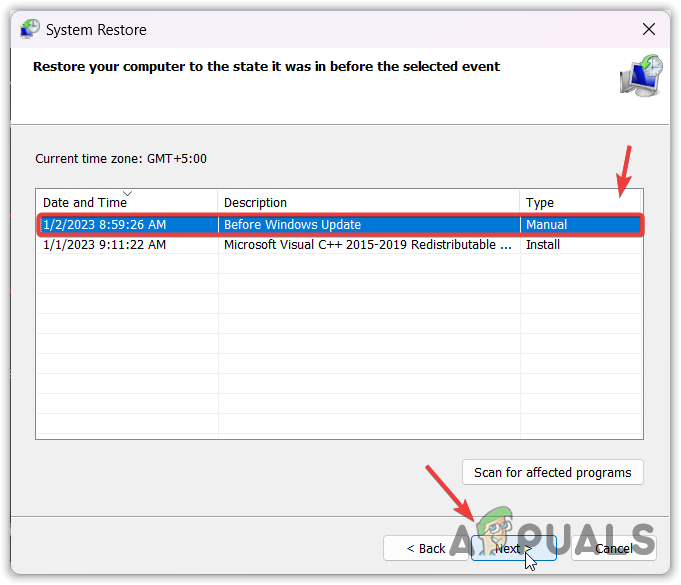
- Then, click Next and click Finish. This will restart your computer to restore your Windows to the previous state.
- Once done, your issue should be resolved.
Throughout this guide, we have provided all the solutions that can be used to fix this issue. However, if you are still encountering this error, consider resetting or reinstalling Windows, as using it with high CPU or memory usage is not worth it and constitutes a bad idea. Therefore, you can try resetting or reinstalling Windows.
Waves MaxxAudio service application causing high CPU and RAM usage- FAQs
[This issue can be caused by a problem with the waves audio driver or its services. To fix this, either disable the Waves MaxxAudio services or completely reinstall the Waves MaxxAudio driver./wsfa] [wsfq]How do I Fix the Waves MaxxAudio service application Causing High CPU and RAM Usage? [/wsfq] [wsfa]Download autoruns, which will let you disable the Waves MaxxAudio application services. Once you have disabled the services, restart your computer.
Reviewed by Muhammad Zubyan


