Unable to turn on Wi-Fi in Windows 11? Try these fixes
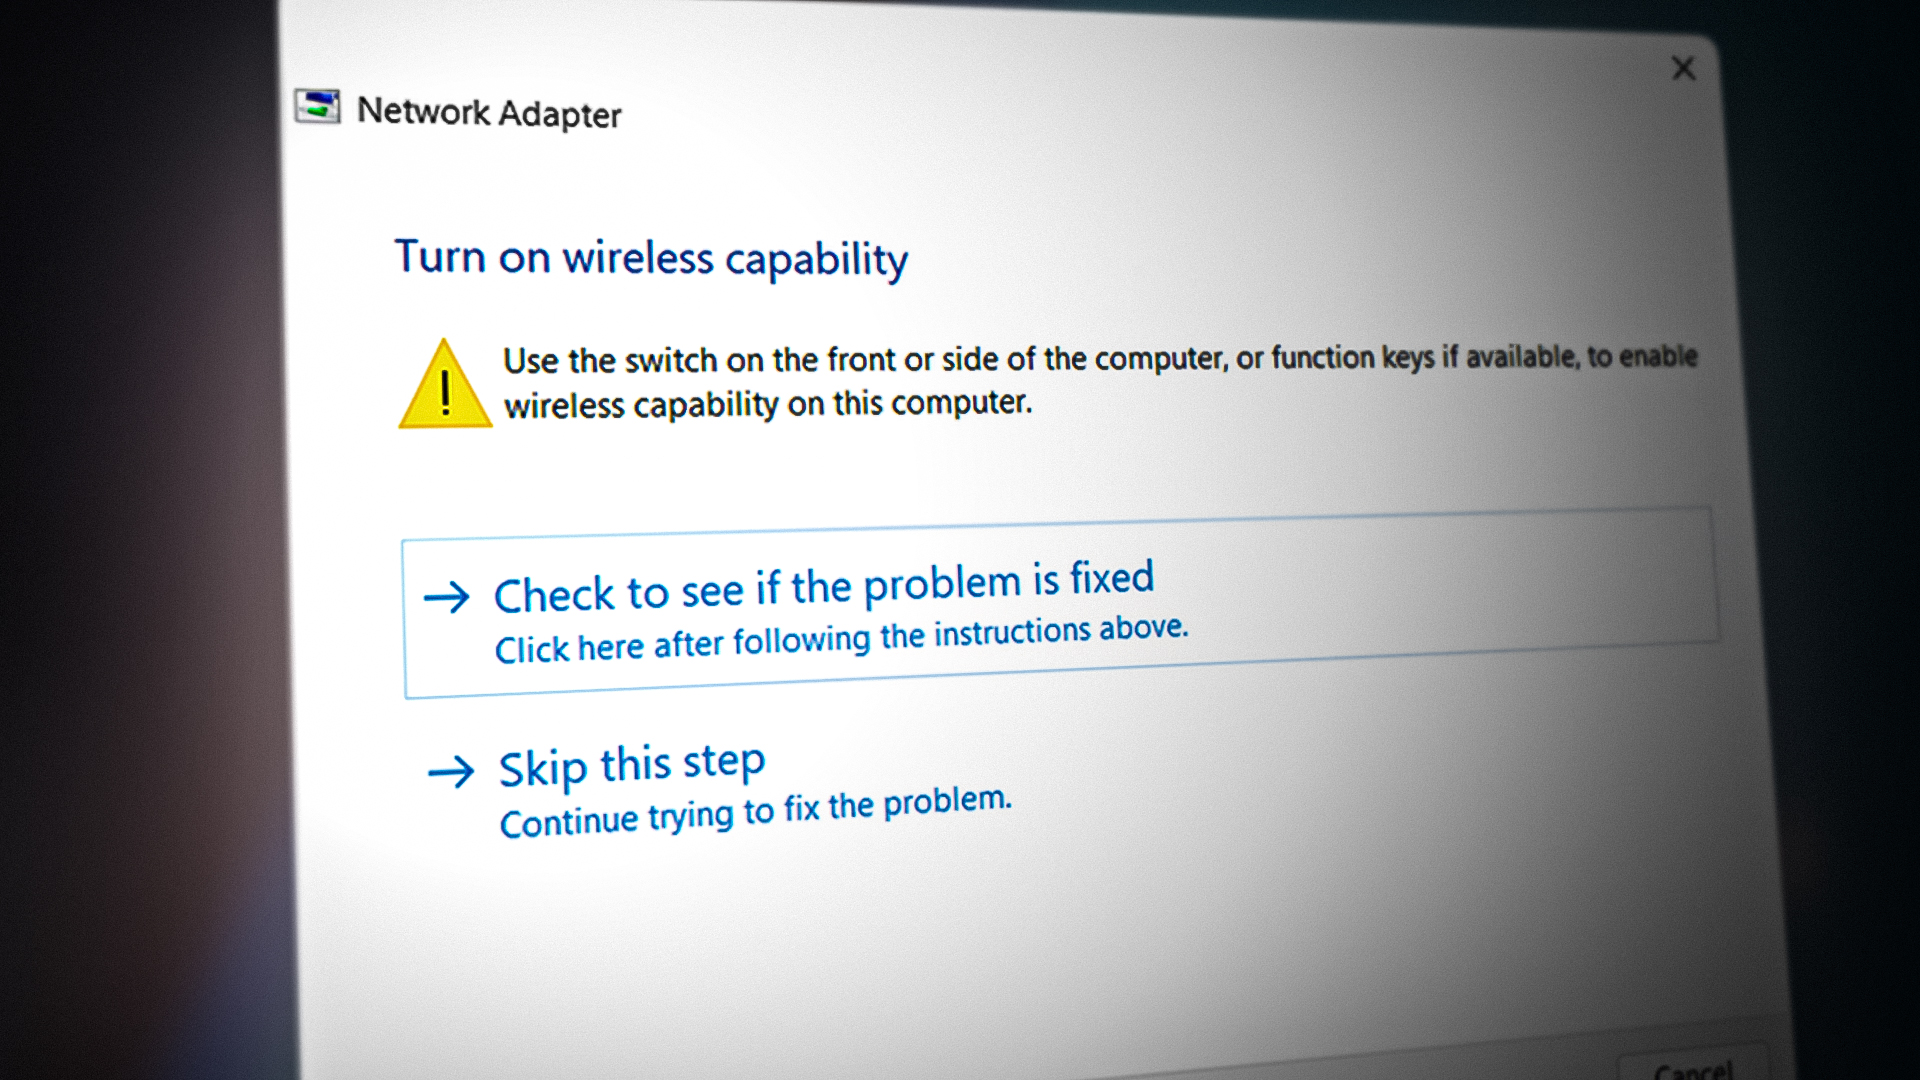
After upgrading to the latest operating system from Microsoft, Windows 11, users have not been able to use the WiFi on their computers. The ethernet network adapter seems to work just fine, however, the wireless capability is not available. This can sometimes happen due to your BIOS configuration as well as a network card malfunction. Upon trying to run the Windows network troubleshooter, the result indicates that the wireless capability is not on and needs to be turned on. Luckily, there are quite a few solutions available for the problem in question so you don’t really have to worry as we will show you how to circumvent the issue in this article.
As it turns out, Windows 11 has been highly anticipated and since its launch, users have been facing various different issues from Windows 11 freezing and crashing to installation errors. The problem in question isn’t serious and issues like these are pretty common. This can occur often when the network card is malfunctioning in which case you will have to power it down completely by doing a laptop power cycle. When that happens, all the components are powered down completely which will restart the network card and thus resolve any problems. In addition to that, your BIOS configuration can also result in the issue in which case you will have to simply reset your BIOS configuration and then make sure that secure boot and TPM are enabled as per Windows 11 requirements in order to boot. With that said, let us get started and show you how to resolve the problem without any further delay.
Enable WiFi through Laptop Keyboard
As it turns out, the first thing that you should do when you encounter the problem is to try to enable your WiFi via your laptop’s keyboard. Almost all of the laptops that are made nowadays and even including some older ones, come equipped with a physical key combination that you can use to manage certain functions directly. One of these functionalities is enabling and disabling the WiFi network on your laptop.
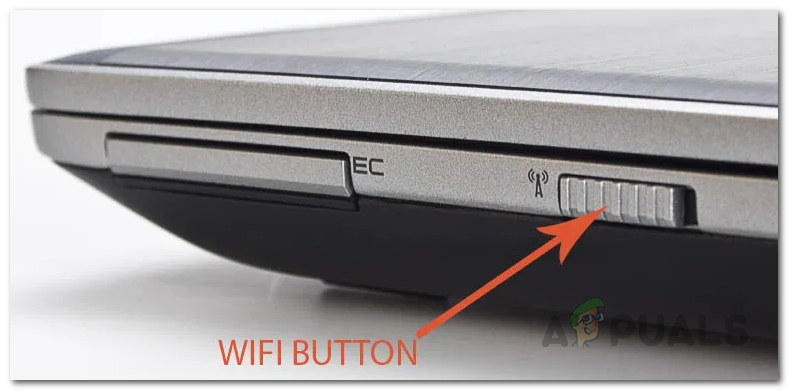
It often happens that the WiFi network is disabled via a switch on your laptop. While these extra features provide ease of access, they can sometimes get you in certain issues that can be resolved by pressing a few keys. If you have an older model, look for a physical switch on the side of your laptop that handles your WiFi functionality. In addition to that, newer laptops have a function key called Fn that lets you do these things by combining it with another key. The most commonly used keys with the function key are the functions key at the top i.e. F1, F2, F3 and so on. Look at your functions for a WiFi icon and then hold down that key together with the dedicated Fn key on your keyboard. See if that resolves the problem for you.

Reset Network Settings
In some cases, if you are facing the issue after upgrading your computer to Windows 11, the issue can be caused due to your network settings. This can happen sometimes when the upgrade process messes up your network settings due to which it stops working. In such a case, you will have to simply reset your network and then see if that resolves the problem. Resetting your network settings will reinstall all your network drivers as well as restore your network components to their factory settings. To perform a network reset, follow the instructions given down below:
- First of all, press the Windows key + I on your keyboard to open up the Windows Settings app.
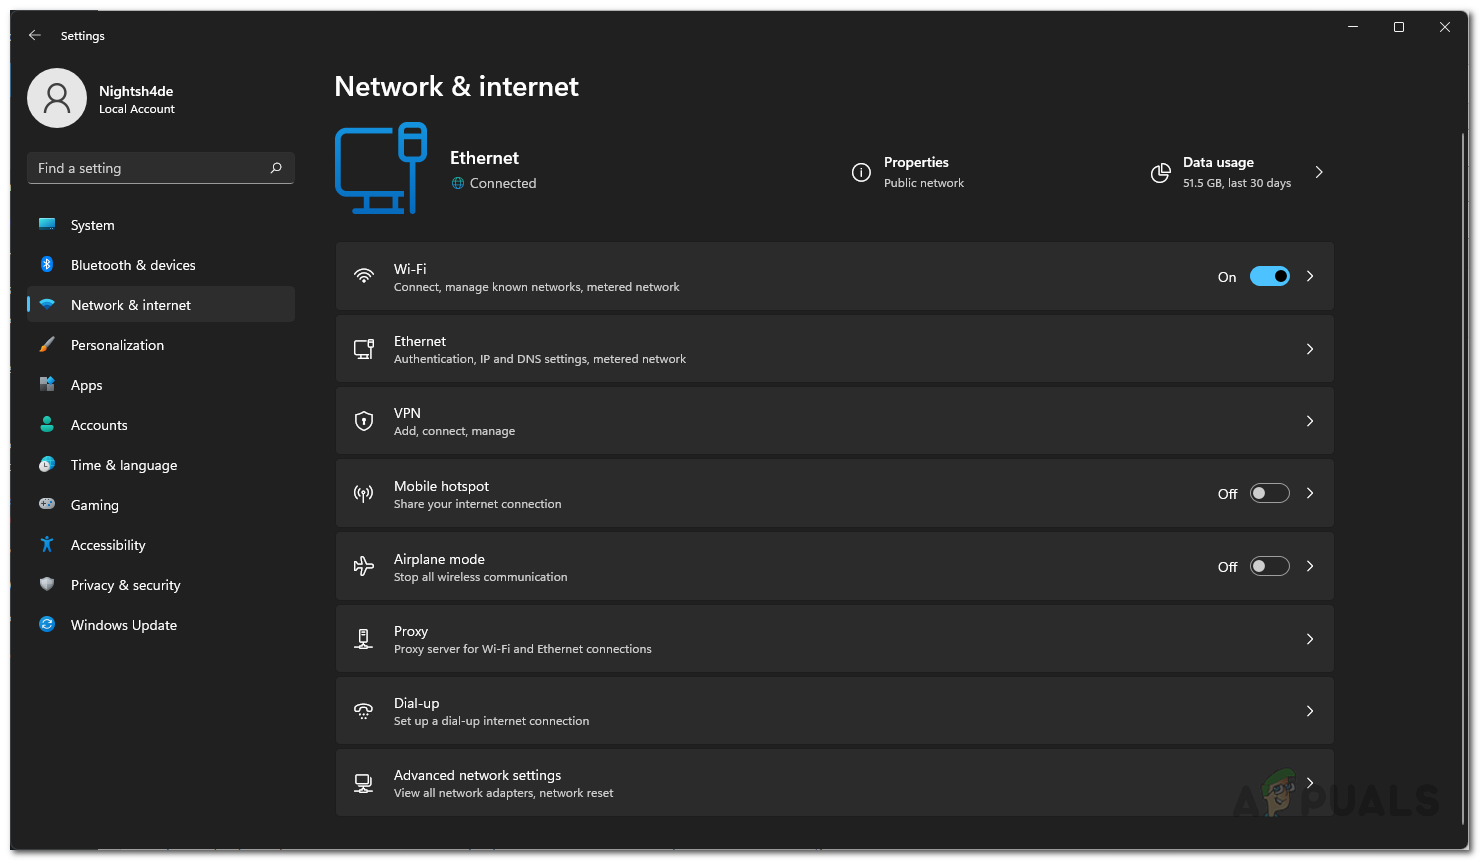
- On the Windows Settings screen, on the left hand side, click on the Network and Internet option.
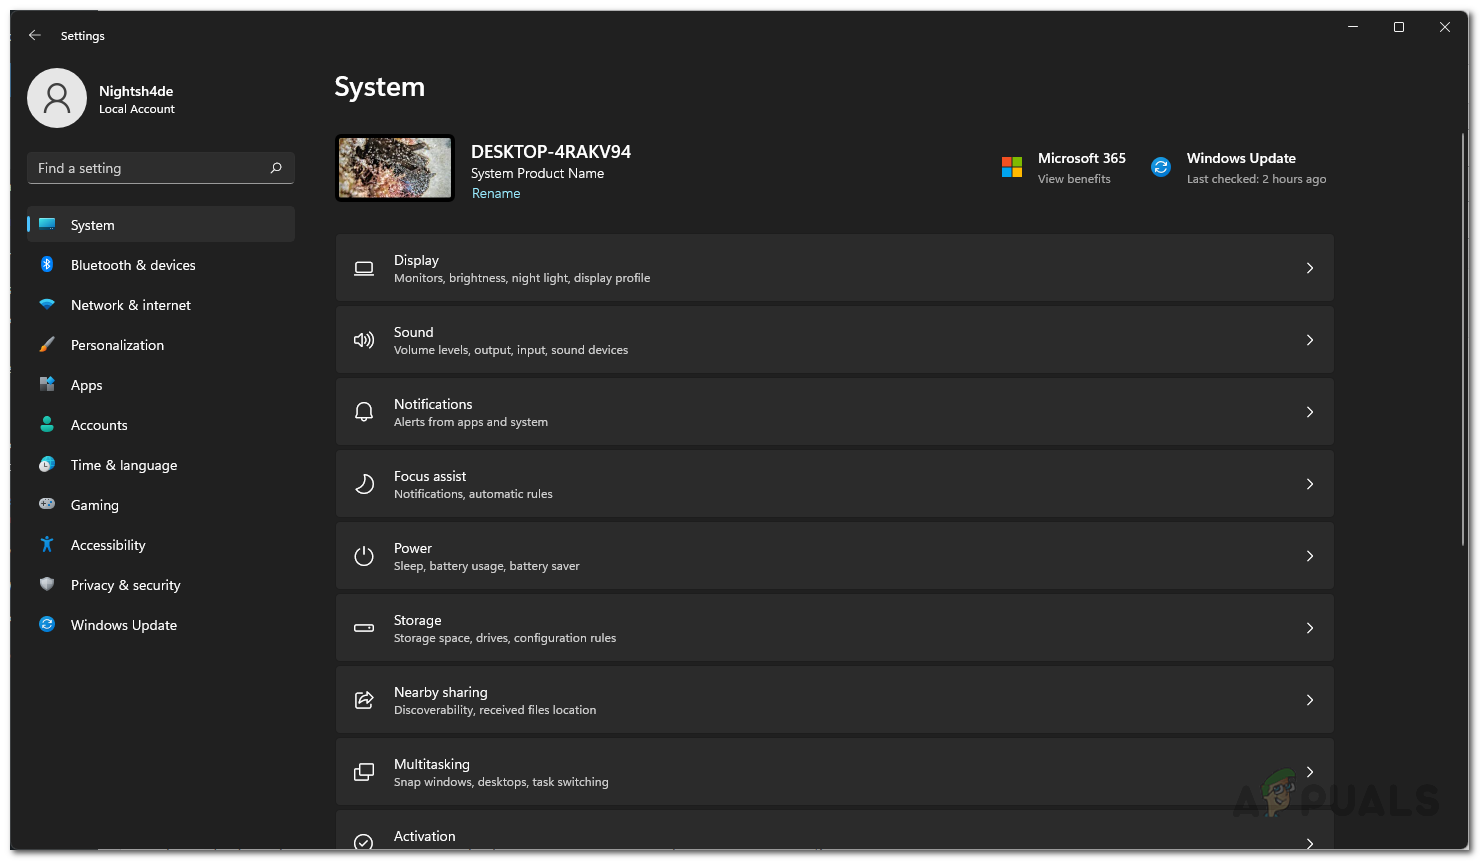
Windows Settings - Then, on the Network and Internet tab, click on the Advanced network settings option at the bottom.
Network Settings - Under More settings, click the Network reset option.
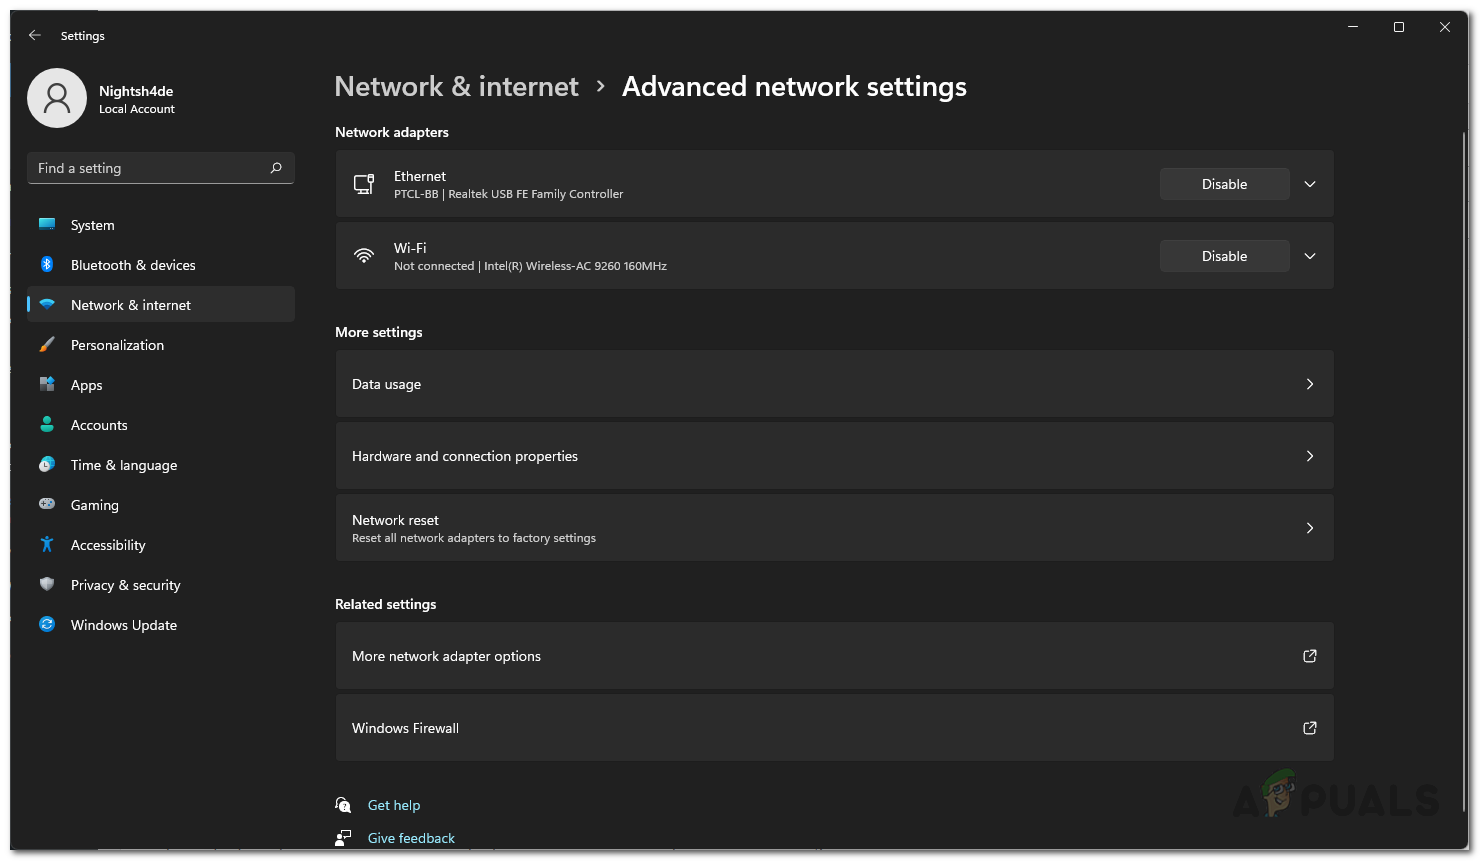
Advanced Network Settings - Finally, click the Reset now button to reset your network settings.
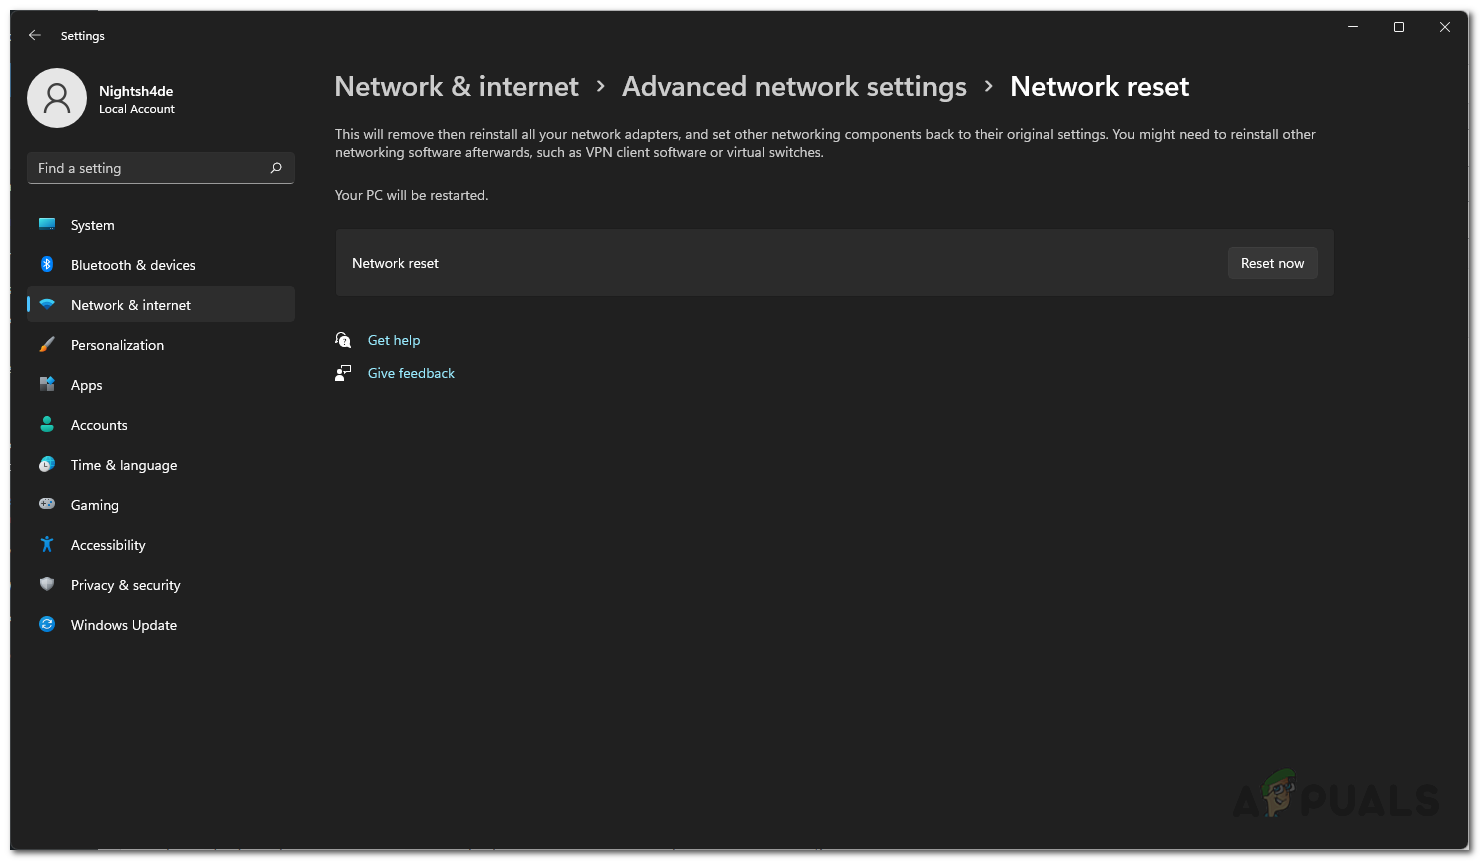
Resetting Network Settings - After the settings have been reset, your computer will be restarted.
- Once your PC boots up, try enabling WiFi to see if the problem still occurs.
Update Network Drivers
As it turns out, the problem can also appear when you are running outdated network drivers on your computer. Normally, the drivers installed by Windows on your computer are fine, however, sometimes that can cause issues in which case you will have to download the latest network drivers that are available from the manufacturer’s website. Additionally, you can also choose to update your network drivers through the Device Manager automatically. However, we do not recommend it as that is mostly fruitless and won’t update your network drivers. The best approach here is to download your network drivers from your manufacturer’s website and then install them. For this, you will first have to uninstall the network driver before installing the new drivers. To do this, follow the instructions given down below:
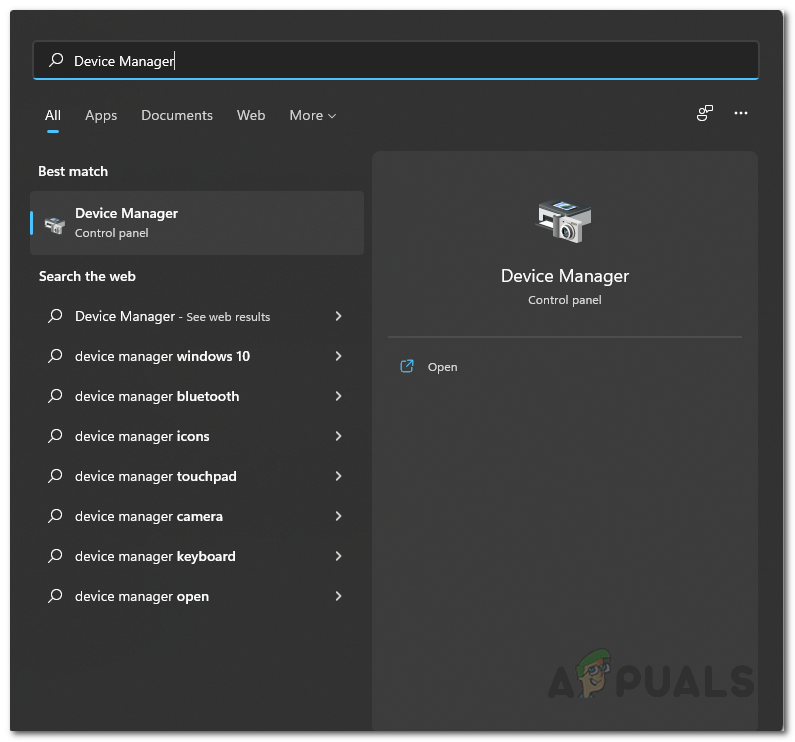
- First of all, open up the Start Menu and search for Device Manager. Open it up.
Opening up Device Manager - On the Device Manager window, expand the Network adapters list.
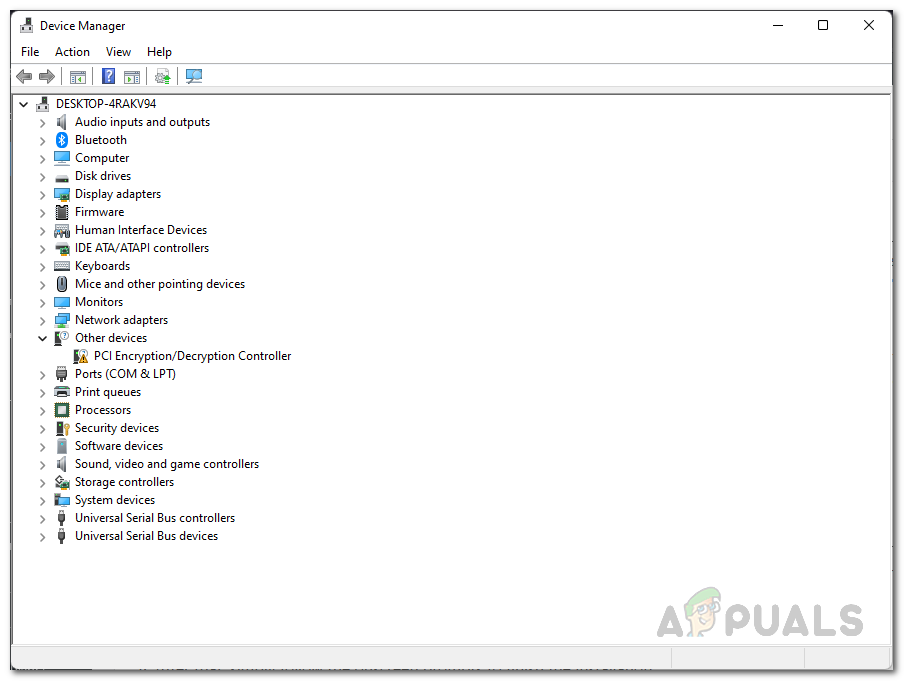
Device Manager - From the list of drivers, right-click on your WiFi driver and from the drop-down menu, choose Uninstall Device.
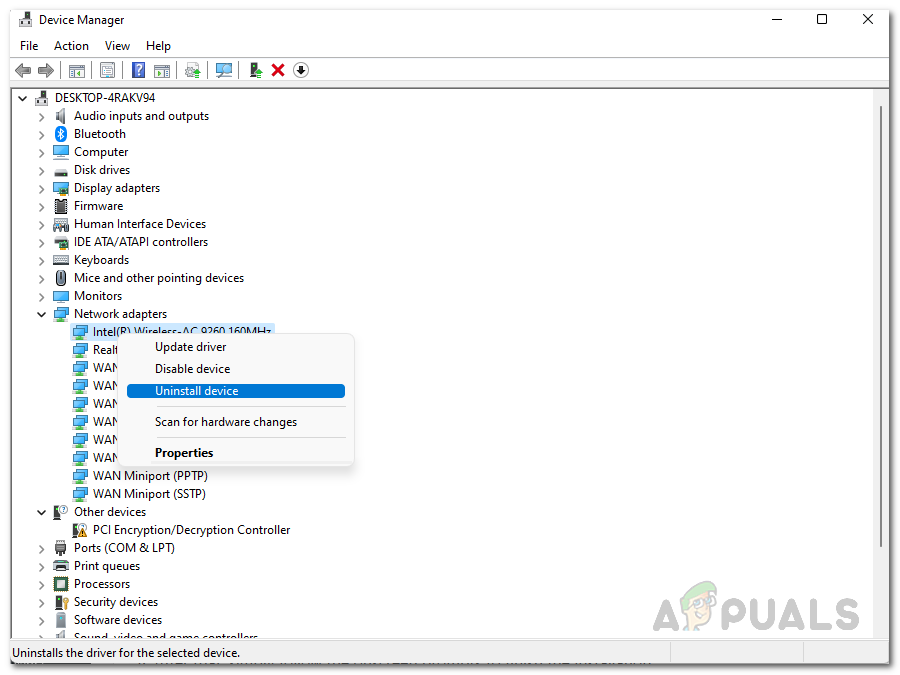
Uninstalling WiFi Driver - After that, go ahead and download the network drivers from your manufacturer’s website and install them.
- If there is no setup file with the drivers to install it, do not worry as you can install it using the Device Manager. Go ahead and open it up again.
- Click on the Action drop down menu and choose Add drivers.
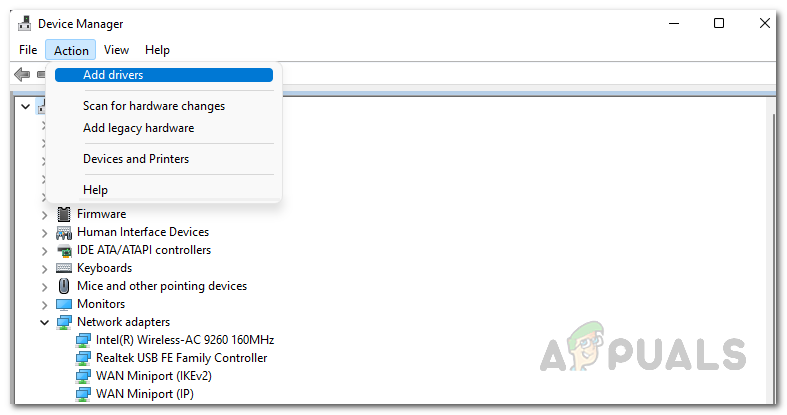
Adding Driver to Device Manager - Then, click on the Browse button and select the driver file that you just downloaded.
- After that, simply follow the onscreen prompts to finish the installation.
- Once you have installed the drivers, go ahead and restart your computer.
- After your computer boots up, see if the problem is still there.
Power Cycle Laptop
As it happens, the problem in question can also sometimes appear due to a network card malfunction. When this happens, you will have to completely power down your network so that it is forced to start over again. To do this, we will be performing a power cycle. A power cycle is basically the process of turning off your laptop completely and then turning it on. Doing this will also remove any residual power in your laptop so it will be basically a power reset. This can often help when you have unresponsive components.
In order to power cycle your laptop, follow the instructions given down below:
- First of all, go ahead and shut down your laptop.
- After that, remove all the peripherals that you may have connected to the laptop which includes mouse, USB devices or anything in general.
- Follow this up by unplugging the power cable if that is plugged in.
- Once you have done that, go ahead and remove the battery from your laptop. This will ensure that all the capacitors are discharged completely.

Removing Laptop’s Battery - After removing the battery, press and hold down the Power button for about 15-30 seconds. This will remove all the residual power from the laptop.

Power Button - Wait for 2-3 minutes and then put the battery back in.
- Plug in the power cord if you wish to and then power on your laptop.
- Once your laptop boots up, see if the problem is still there.
Change WiFi Power Settings
As it turns out, Windows has a feature that lets you save energy which can be really helpful especially when you are using a laptop. This feature turns off devices that are not in use which can help in extending the battery life of your laptop. Therefore, if Windows is turning off your WiFi adapter, you won’t be able to turn it on. In such a scenario, you will have to change your WiFi adapter’s power settings to ensure that Windows does not turn it off. To do this, follow the instructions given down below:
- First of all, go ahead and open up the Device Manager by searching for it in the Start Menu.
Opening up Device Manager - On the Device Manager window, expand the Network adapters list.
Device Manager - After that, from the list of drivers, right-click on your WiFi driver and from the drop down menu, choose Properties.
- On the Properties window, switch to the Power Management tab at the end.
- Finally, untick the Allow the computer to turn off this device to save power option.
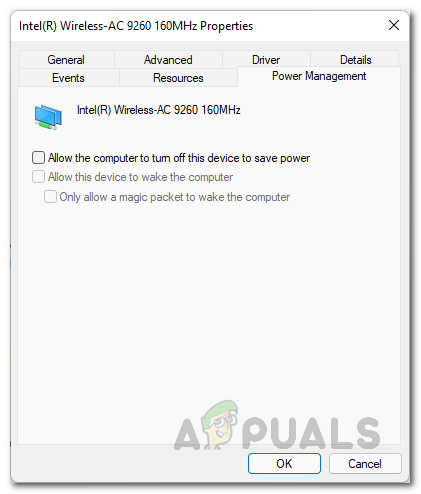
Changing Power Settings - Once you have done that, click Apply and then hit OK. Restart your computer.
- After your computer boots up, see if the issue still persists.
Restore BIOS Defaults
Finally, if none of the solutions mentioned above have fixed the issue for you, then it is very likely that the problem is being caused by your BIOS configuration. BIOS configuration is really important as it used to initialize your computer’s components during the booting process. Users have reported who were facing a similar issue that the issue was resolved for them after they restored their BIOS to factory settings. Therefore, you should try restoring your BIOS to factory defaults as well to see if that resolves the problem.
To restore your BIOS, restart your computer and boot into BIOS configuration. From there, you can usually restore the defaults by going to the Exit tab on modern motherboards and newer BIOS versions. On Asus motherboards, use the Load Optimized Defaults option on the Exit tab to restore your BIOS. This might vary for you depending on your BIOS but you can locate it pretty easily by looking around a little.


