How to Fix Thymesia Crashing on Windows?
The Thymesia crashing issue can be caused by many factors, making it difficult to fix. Looking at user reports on different platforms, the main culprits of this crashing problem seem to be outdated drivers, corrupted/missing game files and interfering background apps.
There are many possible reasons why you’re experiencing constant crashes in Thymesia. Below is a list of all the causes that might make your game crash.
- Outdated GPU drivers: If you haven’t updated your GPU drivers in a while, they can cause issues if you’re trying to play newer games, such as Thymesia.
- Not Running as Administrator: Not running games as an administrator is known to cause all types of issues. This is because running as an administrator gives the game privileges, allowing it to use the required resources and make necessary changes.
- Missing/Corrupted Files: During your installation of Thymesia, some game files may have been corrupted or not downloaded. The most common reason for this is a weak internet connection. If the game fails to download all its files properly, the missing/corrupted files can cause serious issues.
- Interfering Background Processes: If you have many background processes running while playing Thymesia, they can cause issues such as lag, stutters, and even crashing.
- Insufficient Disk Space: If the disk where you have Thymesia installed is running critically low on space, it can cause problems with the game. This is because the game needs to create temporary files within the drive, so you always need to have some space available to allow the game to do so.
- Antivirus Interference: Your Antivirus software might be flagging Thymesia as a dangerous application and stopping it from running. You’ll need to add an exception for the game within the Antivirus software to stop it from interfering with it.
- Conflicting App Overlays: The overlays of different apps like Discord, NVIDIA GeForce Experience, and MSI Afterburners can be very useful for you while playing Thymesia. But these overlays are known to cause problems, especially multiple overlays run simultaneously.
Now that you’re up to speed with all the potential causes of your Thymesia crashing issue, let’s dive into the solutions for each of these causes.
1. Check Thymesia’s System Requirements
First and foremost, when trying to fix Thymesia’s crashing problem, you should look at the game’s system requirements below to see how your PC compares.
| Minimum Requirements | Recommended Requirements | |
| OS | Windows 10 (64 Bit) | Windows 10 (64 Bit) |
| Processor | Intel Core i5 or AMD Ryzen 5 | Intel Core i7 or AMD Ryzen 7 |
| Memory | 8 GB RAM | 16 GB RAM |
| Graphics | NVIDIA GeForce GTX 950 or Radeon HD 7970 | NVIDIA GeForce GTX 1060 or AMD Radeon RX 580 |
| DirectX | Version 12 | Version 2 |
| Storage | 16 GB Available Space | 16 GB Available Space |
To check your PC’s specs, press the windows key and type dxdiag before pressing enter. The window that will pop up will show you all of your system’s specifications.
If your PC fails to meet the minimum system requirements, you should expect lag, stutters, and crashes.
But even if you don’t meet them, you can still use the solutions listed in this guide to help alleviate your problem.
2. Run Thymesia As Administrator
Missing administrative rights can often be a major reason as to why a game isn’t running properly. So if Thymesia keeps crashing for you, it might just be because it does not have the administrative privileges that it needs to be able to run correctly.
Luckily, launching a game as an administrator is an effortless task. Follow the steps listed below to do so.
- Open Steam and go to your Library.
- Right click on Thymesia and select Manage > Browse Local Files.
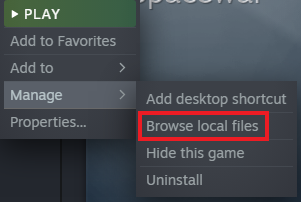
Opening Thymesia’s Local Files - Search for the .exe file of the game.
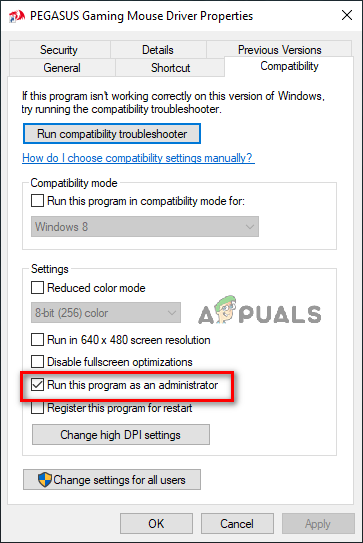
- Right click on the .exe file and click on Properties.
- Click on the Compatibility tab and then check the option that says “Run this Program as an administrator” before pressing Apply.
Running Thymesia as Administrator always
Now, launch the game and see if you’ve fixed the issue. If not, continue with the fixes listed below.
3. Verify Integrity of Game Files
While you were downloading Thymesia, some of its files may have been lost/corrupted during the process – probably due to a weak internet connection.
These lost/corrupted files can cause a whole lot of problems with the game. Fortunately, you do not need to do a complete reinstallation of the game.
You can verify the integrity of Thymesia’s game files easily through Steam. This process will download any files that may have been lost or corrupted.
To verify the integrity of game files, follow the steps we’ve listed below.
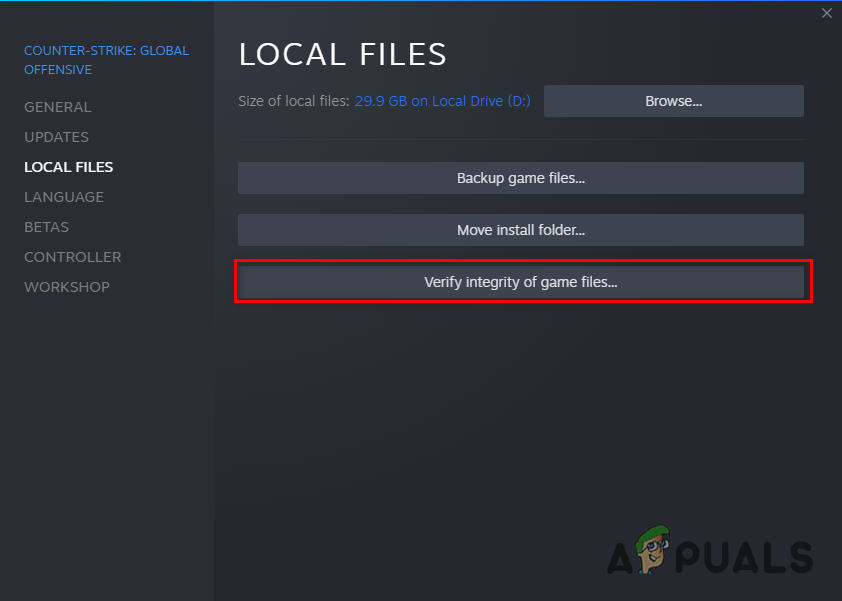
- Open Steam and Go to your Library.
- Right Click on Thymesia and Click on Properties.
- In the Window that opens, Select Local Files, then Click on “Verify Integrity of game files…”
This process will take a few minutes to complete. Once it’s done, start up Thymesia and see if you’re still experiencing crashes.
4. Disable Your Antivirus Software and Add Firewall Exception
Antiviruses can cause a lot of issues with the games as they can block the executable files and make your game crash. So, we will disable the antivirus temporarily to examine if it is causing any trouble with the games files. To disable your Antivirus software, follow these steps:
Note: If you have downloaded the game from untrusted sources, you can skip this method because of security reasons.
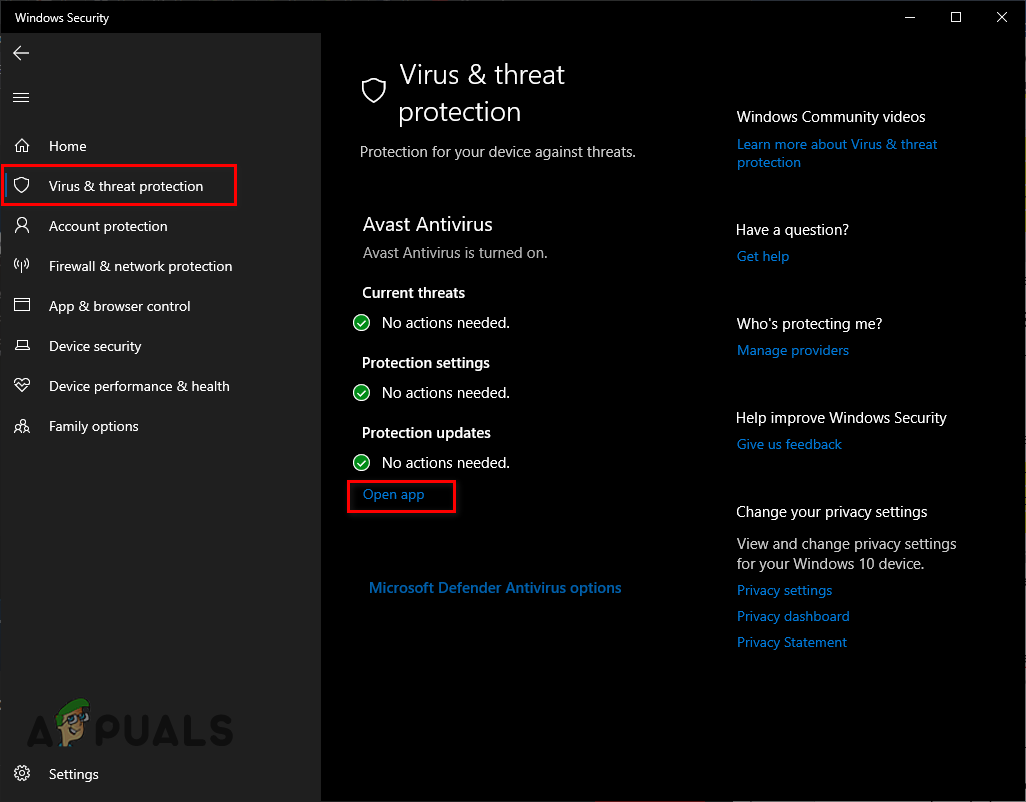
- Press Windows key and type Windows Security before pressing enter.
- Click on the “Virus & Threat Protection” tab on the left side of the window.
This will show you what Antivirus Software you have installed. Click on “Open App” to launch the software and disable it through its menu.
Another thing you can do within the Windows Security tab is create a Firewall exception for Steam and Thymesia. This will make sure that the Windows Firewall isn’t blocking Thymesia from running in any way.
To add a Firewall exception for Thymesia, follow these steps:
- Press Windows key and type Windows Security before pressing enter.
- Click on the “Firewall & Network Protection” tab on the left side of the window.
- Select “Allow an app through firewall”
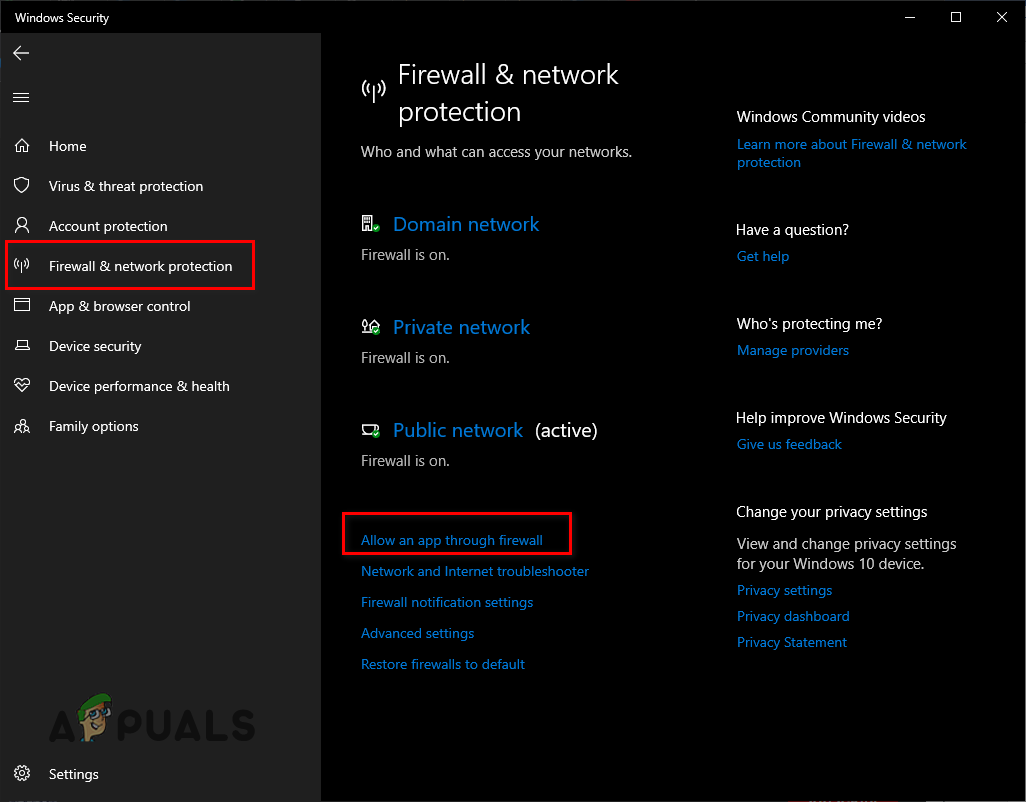
Opening Firewall Settings
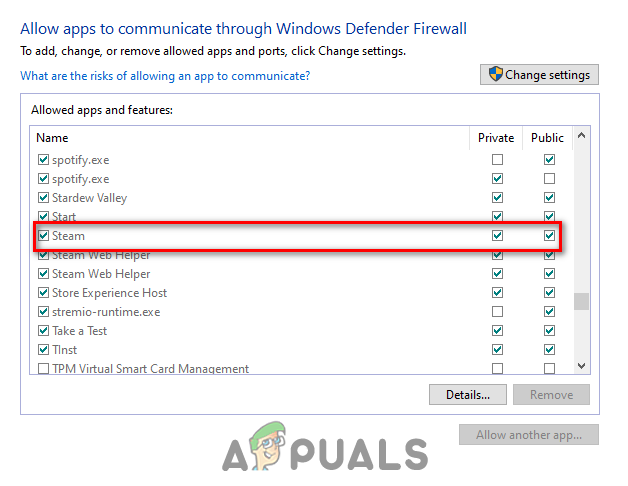
Check off Steam and Thymesia from the list of apps and click Apply.
We have shown you steps of Windows default firewall and antivirus, if you have a third-party antivirus installed on your computer. You will have to whitelist your game from those antiviruses as well.
If disabling the Antivirus fixes your issue, you can try using another antivirus to stay secure. However, if you are still facing the error after disabling the antivirus, you should turn it back on for safety purposes.
5. Disable Background Processes
If you have several programs running in the background while you’re playing Thymesia, it can cause problems with the game. This is because these background processes will quietly consume your PC’s resources without you even knowing. They can sometimes also interfer with your game’s process.
To close unnecessary background processes, follow these steps:
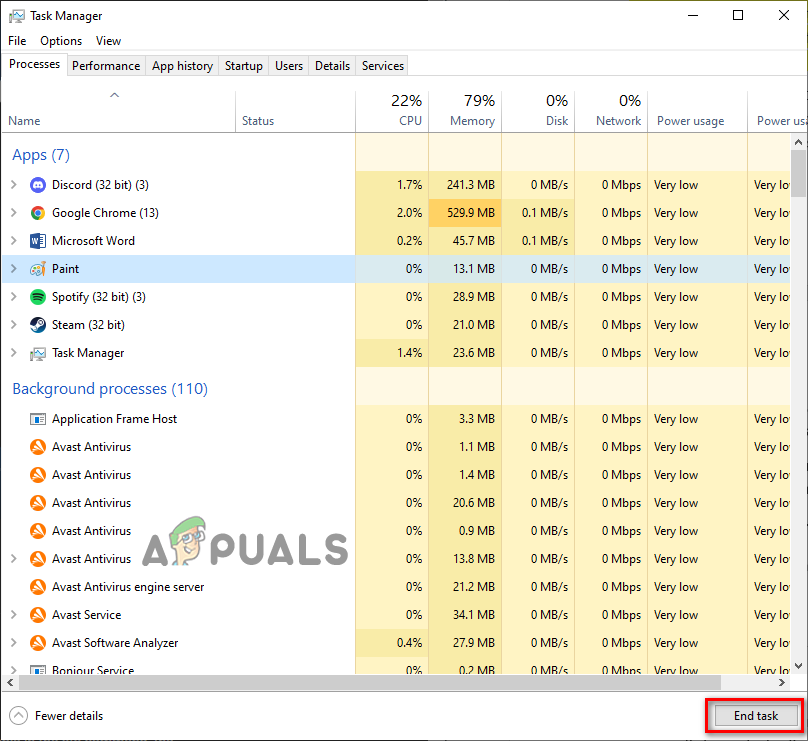
- Press Windows key + X simultaneously and click on Task Manager.
- In the Processes tab, you’ll be able to see every process currently active and how much power each process is using up.
- Scroll through the list and see which process is running needlessly.
To close these useless processes, left click on them and then click on End Task at the bottom of the window.
Once you’ve cleared out all pointless background processes, re-launch Thymesia and see if the game is performing better.
6. Disconnect Non-Essential Peripherals
Sometimes the firmware of our peripherals can conflict with the software we’re trying to run on our system, thereby causing issues.
If you have any extra peripherals connected to your PC, like a second/third monitor, controller, USB Hub, capture card, etc. Try disconnecting all of them before re-launching Thymesia.
If this fixes the crashing issue, you can start reconnecting the peripherals one by one to find out which exact peripheral was causing the crashing problem.
7. Disable Overlays
Apps with overlays, such as NVIDIA GeForce Experience, Discord, MSI Afterburner and Steam can be quite useful for productivity. But they can also have a negative impact on the performance of games.
These overlays tend to conflict with each other, causing all sorts of issues with games like Thymesia.
So before you launch Thymesia, make sure to disable all of your overlay apps except for Steam.
8. Update GPU Drivers
If you don’t regularly update the drivers of your GPU, they might be the reason why Thymesia keeps crashing for you.
To update your GPU drivers, you need to first identify what GPU you have installed on your PC. To do so, follow the steps listed below:
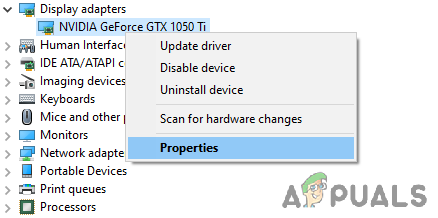
- Right click on the Start Menu and click on Device Manager.
- Expand the “Display Adapters” section and look at the name of the GPU that appears.

Identifying GPU model using Device Manager
This should tell you the exact model of your GPU. But do note that if it says “Microsoft Basic Display Adapter”, that means that your GPU drivers are either missing or completely corrupt.
So Microsoft Basic Display Adapter is not the actual name of your GPU. In this situation, you can find out the model of your GPU by following these steps:
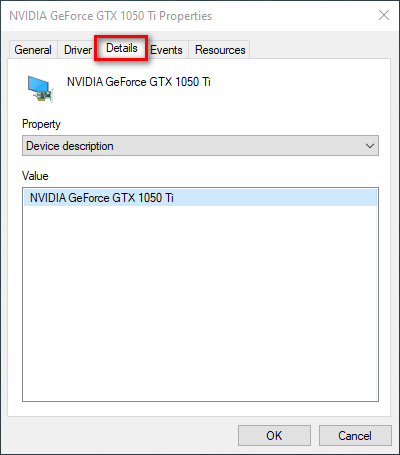
- Right click on Microsoft Basic Display Adapter and select Properties.
Selecting GPU Properties - In the small window that pops up, click on the Details tab at the top.
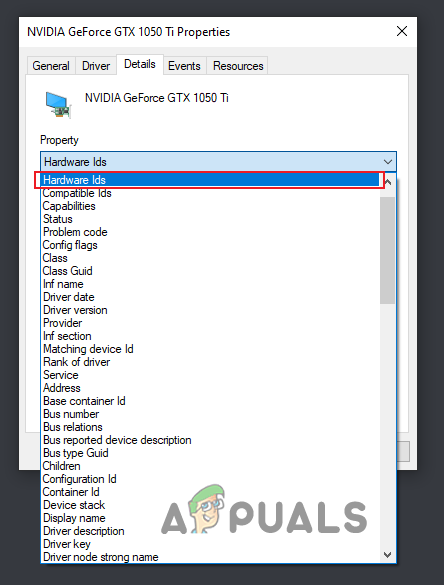
Heading to the Details tab - From the drop down list present under “Property”, select Hardware Ids.
Selecting Hardware Ids - After selecting Hardware Ids, right click on the first line of text under “Value” and copy it.
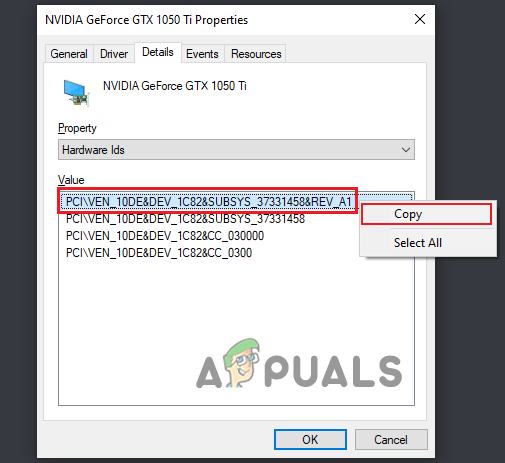
Copying Hardware Id - Now, open your browser and paste that text into Google and press enter.
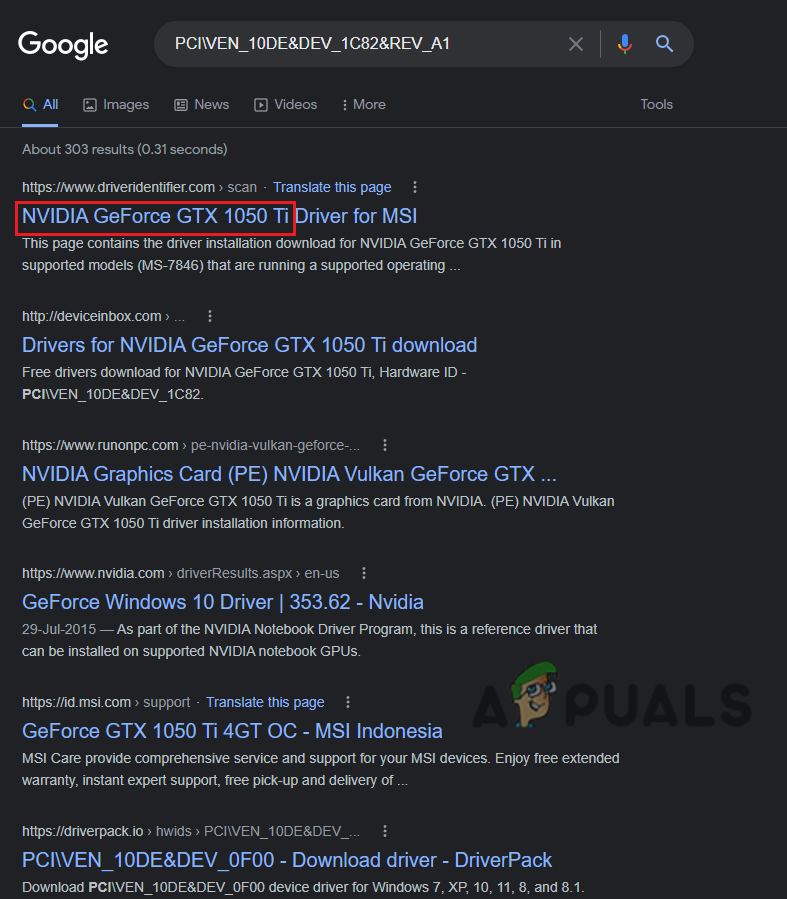
Finding the name of your GPU through Google
The search results for your query should look something like this. From these search results, you can figure out the exact model of your GPU.
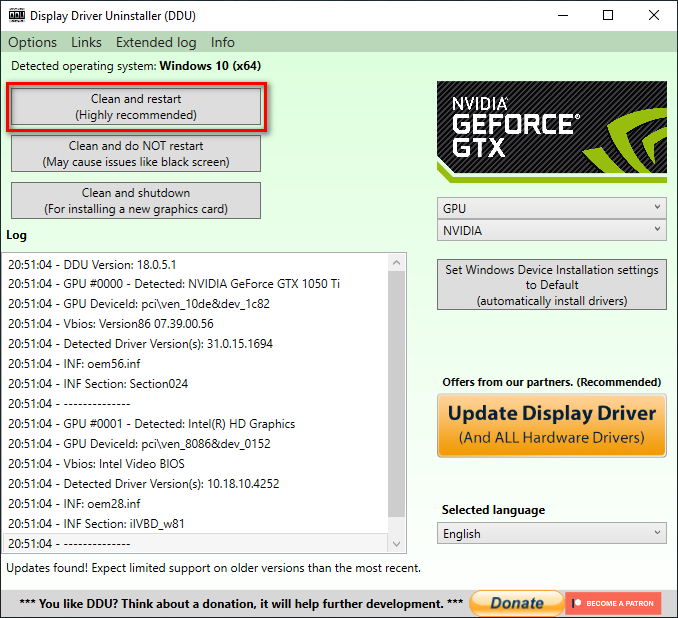
Now that you know your GPU’s brand and model, the next step is to wipe the drivers from it. For this purpose, the best application to use is Display Driver Uninstaller (DDU).
The reason we’re using DDU instead of the Windows native driver uninstaller option is that the latter does a poor job of wiping the drivers. It can leave behind some files, which can cause issues when you install the new driver.
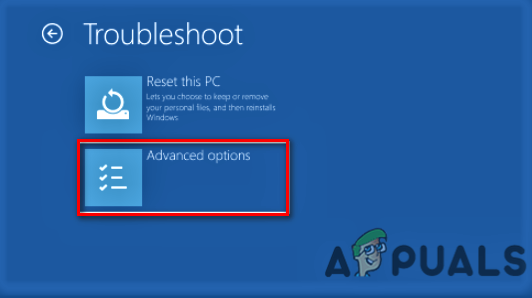
After downloading and installing DDU, you’ll have to boot your PC into Safe Mode to have the safest driver removal. To boot into Safe Mode, follow the steps listed below:
- Click on the Start Menu button and click on Power.
- Hold Shift and click on Restart.
- After your PC restarts, click on Troubleshoot > Advanced Options > Startup Settings > Restart.
Going into advanced troubleshoot options 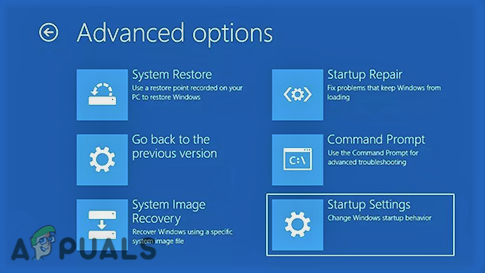
Selecting Startup Settings - Press F5 to enter into Safe Mode.
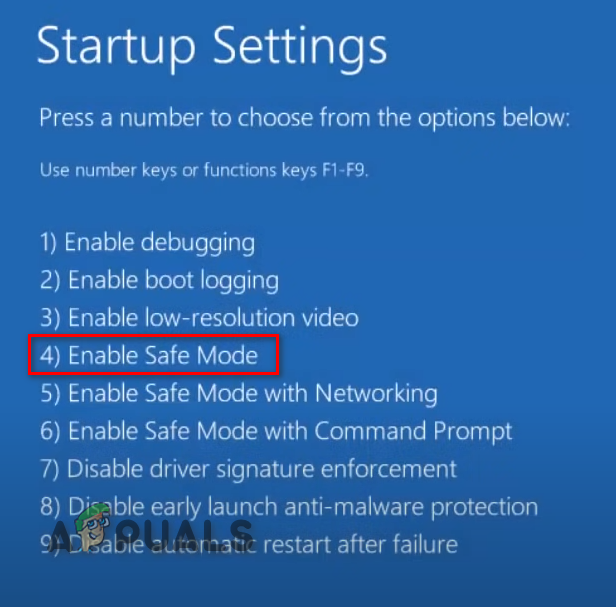
Selecting Safe Mode by pressing F5
Now, open DDU and select your device type (GPU) and device brand from the list to the right. You can then click on “Clean and restart” to begin the driver removal process. This will take a few minutes.
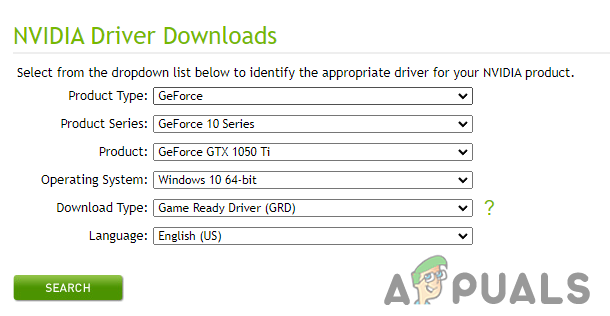
After you’ve successfully removed the drivers, you now have to download the latest version of your GPU’s drivers from its manufacturer’s website.
Do note that if you’re using a laptop, it might not be a good idea to update the GPU drivers to the latest version. This is because the drivers provided by your laptop’s OEM (Original Equipment Manufacturer) are best suited for your laptop’s specifications.
So if you update these drivers to the latest version, they may not perform well with the system.
But if you’re not using a laptop and are on a PC instead, there’s absolutely no harm in updating GPU drivers.
If your GPU’s manufacturer is NVIDIA, head to their official website and search the drivers for the exact GPU model you have.
The website will then give you the option to download the latest version of your GPU’s driver. The process of installing is straightforward.
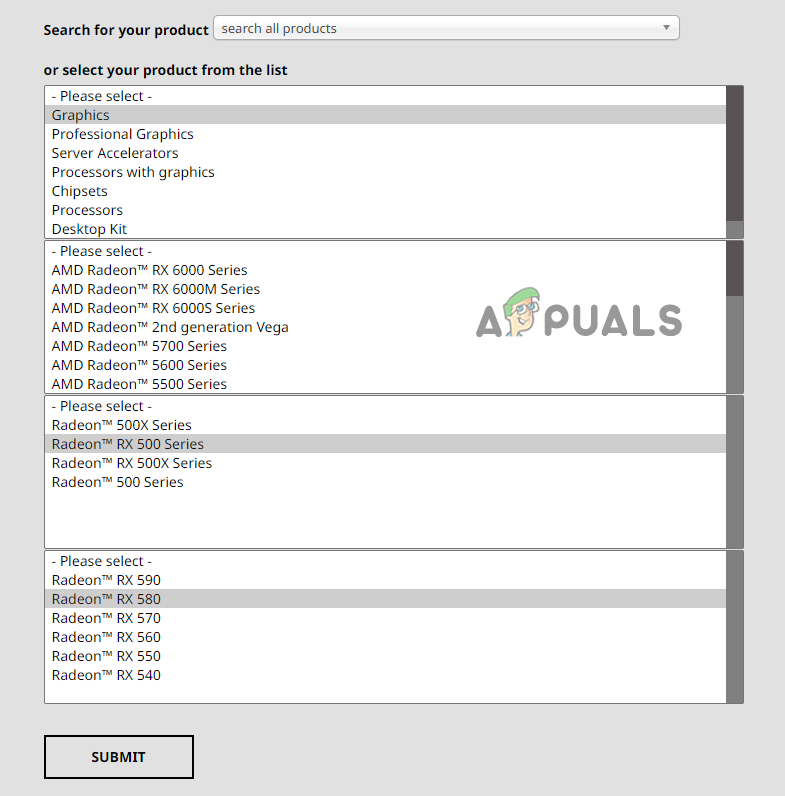
If your GPU’s manufacturer is AMD, head to their official website and use the menu to search for the drivers for your GPU before installing them.
Once the drivers have finished installing, restart your PC and launch Thymesia to see if your problem has been fixed.
9. Run SFC Scan
The missing/corrupted files may not just be of your game; some of your system files might have also been corrupted over time. To repair your system files, you can perform an SFC Scan which scans your entire PC and repairs any damaged file.
Follow the steps listed below to perform an SFC Scan.
- Press Windows key and type cmd, then right click on Command Prompt and select “Run as Administrator”.
- This will open up Command Prompt. In this window, type this command and press enter.
sfc /scannow
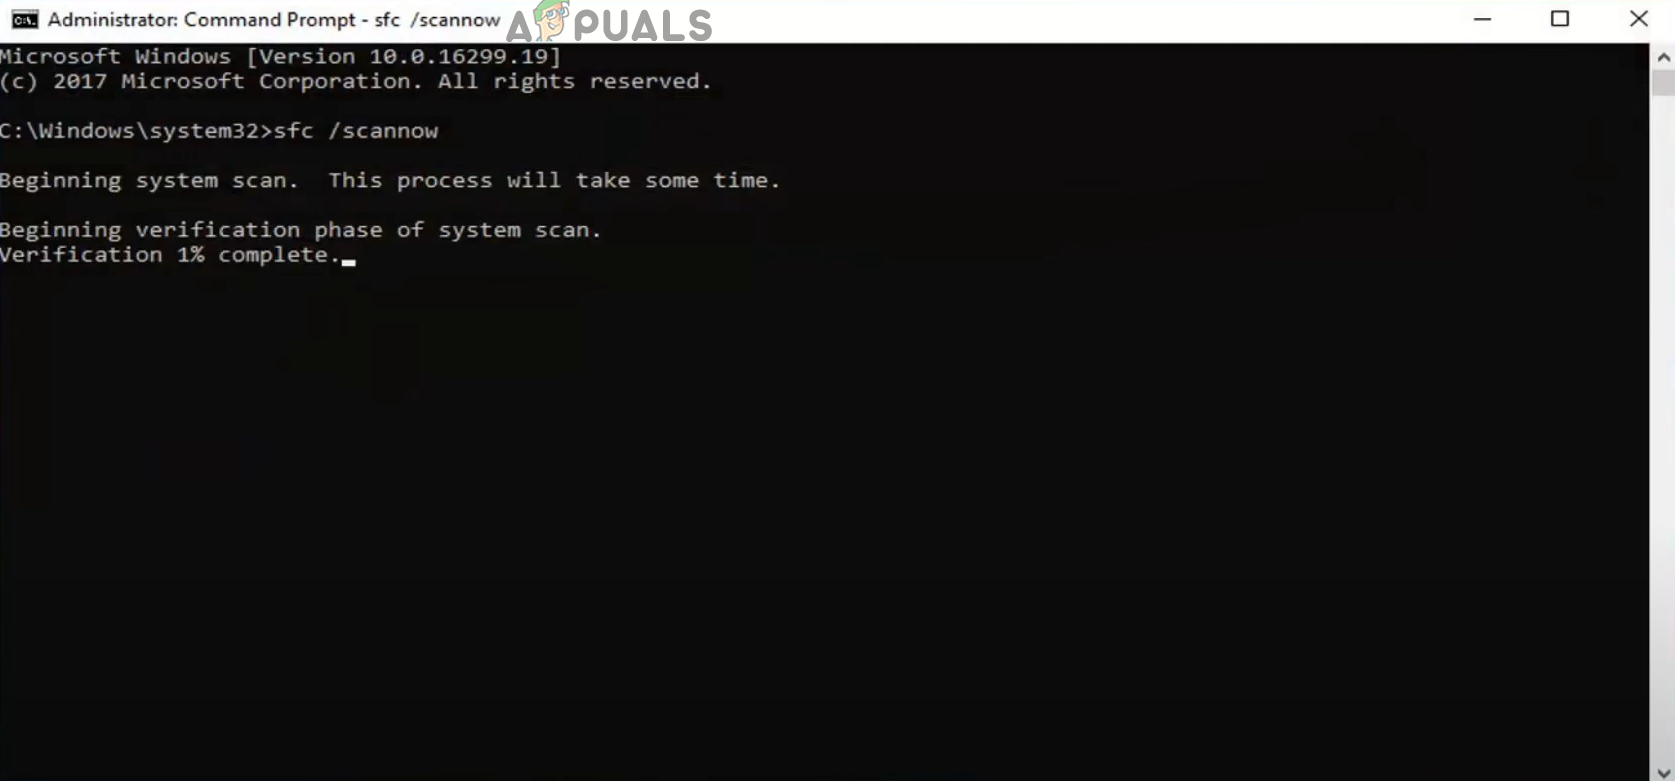
Running an SFC Scan
The SFC Scan will take around 10 minutes or so to complete. Once it’s completed, it will let you know if it found and repaired any damaged files.
10. Perform a Clean Boot
A good way to figure out what exactly is causing Thymesia to crash is to perform a Clean Boot. When you do a Clean Boot, Windows launches with only the most important drivers and apps.
This will make sure that no unnecessary program is running in the background. You can perform a Clean Boot by following these simple steps:
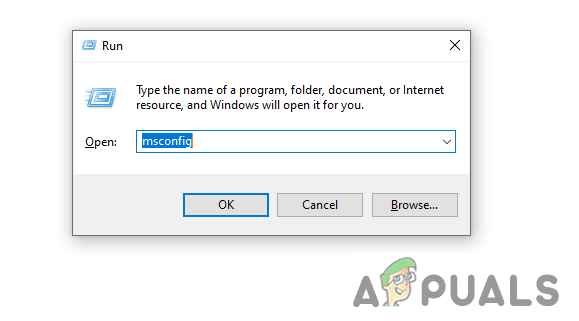
- Press Windows Key + R to open the Run dialogue box.
- Type msconfig and press enter.
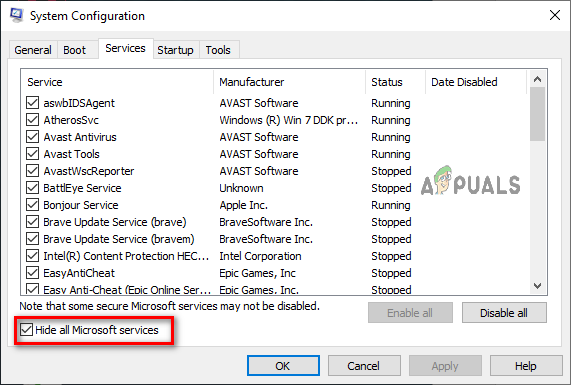
Running Msconfig - Click on the Services tab and then check off “Hide all Microsoft Services” at the bottom right.
- This will make it so only the non-essential programs appear in the list.
- You can now check off all of these programs (excluding Steam and Thymesia) and then press Apply.
Disabling All Services
Now, simply restart your PC to perform a Clean Boot. You can then try launching Thymesia to see if your problem is fixed. If you’ve successfully fixed the problem, it means that the perpetrator(s) of these crashes is one of the apps listed in the Services tab.
You have to now enable groups of these apps incrementally. Each time you enable a group, restart your PC and see if Thymesia starts crashing again.
When Thymesia begins to crash again, you’ll know that one of the apps in your most recently enabled group is the cause of these crashes.


