Fix: Stop Error Code 0x00000024 BSOD on Windows
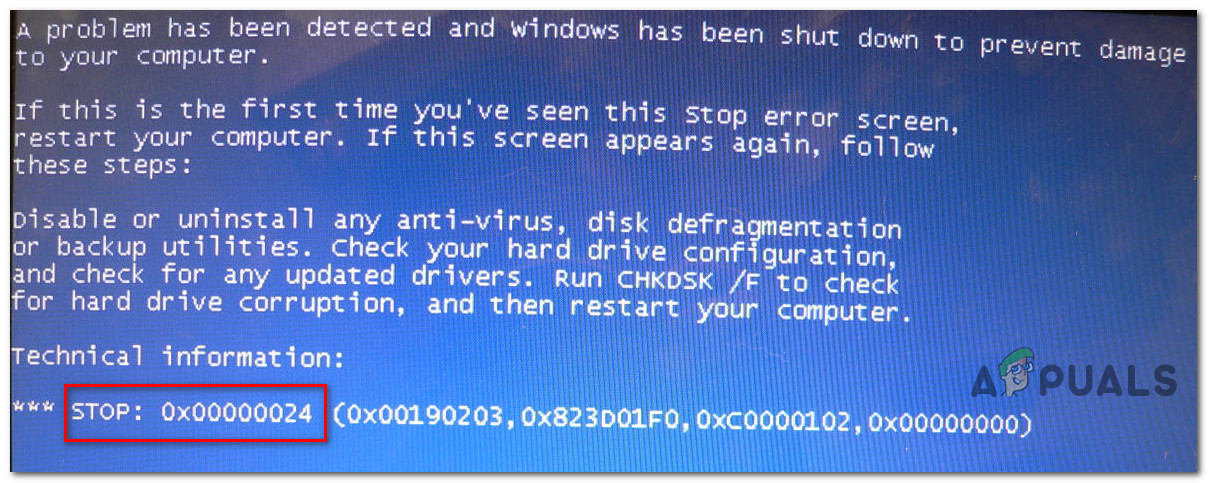
Some Windows users (particularly on Windows 7) are suddenly encountering the 0x00000024 BSOD (Blue Screen of Death) critical error. While some affected users are reporting that this problem is occurring at random intervals, others are saying that the problem only started occurring after they’ve updated steam to the latest version available.
After investigating this particular issue, it turns out that there are several different causes that might cause this BSOD. Here’s a shortlist of potential culprits that might contribute to the apparition of this issue:
- SSD / HDD-related logical error – As it turns out, in a lot of documented instances this problem originates from a logical error affecting the OS storage drive. If this scenario is applicable, the only applicable fix that will prevent new instances of the BSOD from occurring is to use the CHKDSK utility to fix bad sectors & common hard & solid-state drive inconsistencies.
- Software or driver conflict – A local application or a new driver iteration might also cause system instability that will ultimately cause this error code. In this case, you can identify and eliminate the problem by booting your PC in clean boot mode and systematically re-enabling every disabled startup item and process until you manage to resolve the inconsistency.
- System file corruption – According to some affected users, this problem can also occur due to some type of system file corruption that ends up affecting the stability of your system. In this case, you should be able to fix the problem by running a couple of utilities that are capable of identifying and replacing corrupted files with healthy equivalents (System File Checker and Deployment Image Servicing and Management). Under severe circumstances, the only way to fix a certain type of OS-related system corruption is to go for a clean install or repair (in-place repair) procedure.
- Recent PC change – If you only noticed this error code popping up after installing a couple of applications and new driver versions but you’re not sure which one is causing the problem, a quick fix to revert back to a healthy state is to use the System Restore utility by using a healthy restore snapshot.
- Instable overclocking – If you noticed this problem occurring after overclocking the frequencies and/or voltages of your GPU or CPU, excessive heating is probably why you’re PC is triggering this BSOD. If you can’t improve your cooling system, you should revert the overclocked values back to their default values to fix the problem.
Now that you know the culprits that might be causing this problem, let’s go through the most efficient methods of fixing the 0x00000024 error code:
Method 1: Running a CHKDSK scan
If you started seeing this BSOD after installing or updating an application or game, chances are you’re seeing the 0x00000024 error code due to a problem that’s related to your hard drive or SSD.
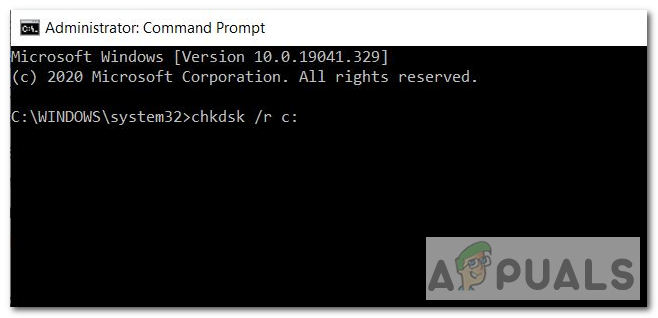
In case this scenario looks like it’s applicable, you can use the CHKDSK utility to make sure that there aren’t any hard drive errors or bad sectors that are triggering this type of BSOD.
The CHKDSK utility is built into every recent Windows version and it’s capable of scanning for errors and corrupted instances and repair any logical error that might cause this type of inconsistency.
This type of scan can be initiated using Command Prompt, but you’ll need to ensure that you provide admin access in order to maximize your chance of fixing the problem. In case you don’t know how to do this, follow these instructions to run a CHKDSK scan from an elevated CMD prompt.
Note: The instructions above will work regardless of which Windows version you’re encountering the issue on (Windows 7, Windows 8.1, and Windows 10.
If you already this and you’re still encountering the same 0x00000024 error code, move down to the next potential fix below.
Method 2: Clean Booting your PC
In case running a scan above didn’t fix the 0x00000024 error code, you should also consider a local application conflict that might be triggering these kinds of BSOD crashes (especially if you installed/updated applications or installed new drivers right before this error first started occurring).
Several affected users that were dealing with the same problem have confirmed that they managed to fix the problem by achieving a clean boot state and identifying the software conflict.
If this scenario looks like it could be applicable, start by configuring your Windows computer to boot in a clean boot state, then wait for the next startup to complete.
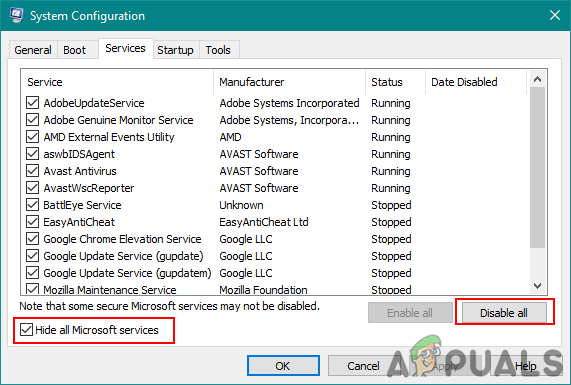
Once the clean boot state is achieved, reboot your computer and see if the BSOD crash stops occurring. If it does, you can gradually re-enable every disabled 3rd party service and startup item until you successfully manage to identify which program is causing the 0x00000024 error code.
In case the same problem is still occurring, move down to the next potential fix below.
Method 3: Running SFC and DISM Scans
If the clean boot state didn’t fix the issue in your case, your next step should be to attempt and fix a mild system file corruption that is currently affecting the stability of your Windows installation.
In this case, your next step should be to run a couple of build-in utilities that are known to help with corrupted system app and driver instances that will cause system-wide crashes.
If this scenario looks like it could be applicable, you should start by performing a System File Checker scan.
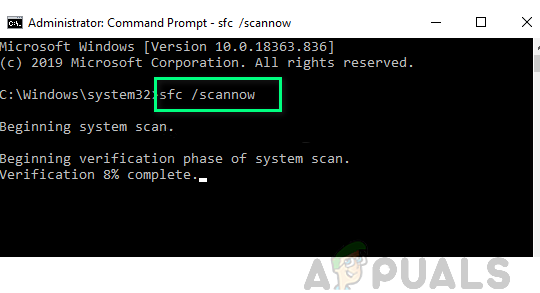
Note: This utility will function without an active internet connection. It will do this by leveraging a locally stored archive to replace corrupted items with healthy equivalents. Once you start this operation, it’s very important to ensure that you don’t end up interrupting it before the operation is complete – If you do this, you run the risk of creating additional logical errors.
Important: Depending on the type of storage you’re using (HDD or SSD), you can expect this operation to take more than 1 hour. If it looks like the utility has freed, wait patiently as this is expected to happen.
Once the operation is finally complete, restart your computer and monitor the situation to see if the problem is fixed once the next startup is complete.
If the 0x00000024 BSOD error code eventually returns with the same frequency, you should move forward by initiating a DISM scan.
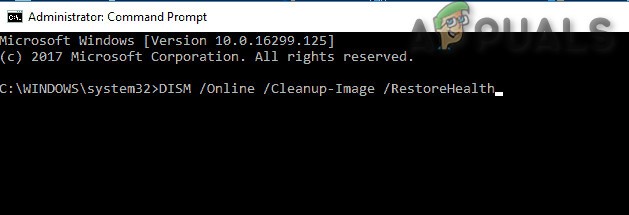
Note: The Deployment Image Servicing and Management uses a sub-component of Windows Update to download & install healthy copies of the files that are currently tainted for corruption. Because of this, it’s absolutely crucial to ensure that your Internet connection is stable before starting this operation.
Once the DISM scan is complete, restart your computer once again and see if the BSOD stops occurring.
If the issue is still not fixed, move down to the next potential fix below.
Method 4: Using the System Restore Utility
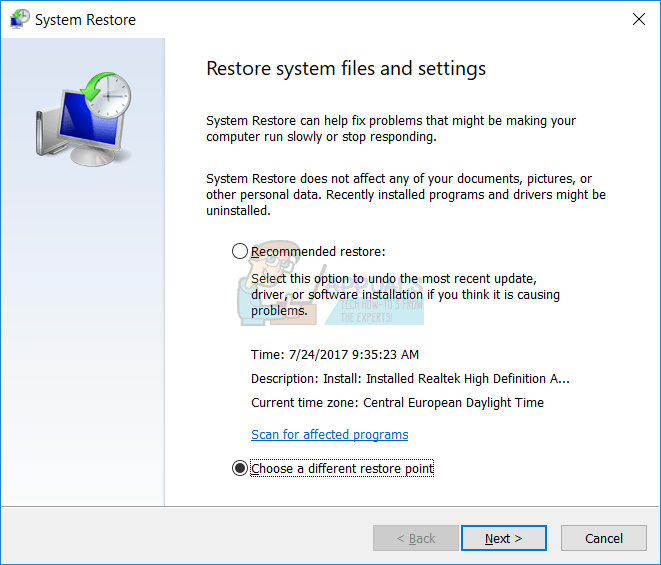
If the methods above didn’t work for you but you’re convinced that a recent driver or software change has recently contributed to the apparition of this general system instability, one way that might allow you to fix the problem is to return your machine to a healthy state by using the System Restore utility.
This utility will essentially allow you to return your computer to a previous state in time. If you’re able to pick a restored snapshot that was taken back when your computer was not exhibiting this behavior, you’ll be able to fix the problem entirely.
Note: Keep in mind that by default, System Restore is configured to regularly save snapshots during important system events – Such as the installation of a new Windows build, the installation of a new driver, or the updating of an important app. Unless you modified this behavior from the System Restore settings, you should have plenty of restore points to choose from.
If you understand what this utility can do for you, go ahead and return your computer state to a healthy state using System Restore.
If you already attempted to use System Restore and the same critical crash is still occurring or you’re unable to find a restore point that’s suitable in your case, move down to the next potential fix below.
Method 5: Reverting Overclocked Frequencies (if applicable)
If you started encountering this error code after overclocking your GPU or CPU voltages or frequencies, it’s very likely that high temperatures are causing your internals to shut down in order to avoid heat damage (this scenario is very likely if you’re only encountering the 0x00000024 error code while your PC is under heavy load).
Several affected users that were also encountering this problem have confirmed that they manage to fix this problem by accessing their BIOS or UEFI settings and reverting their overclocked frequencies and voltages to their default values.
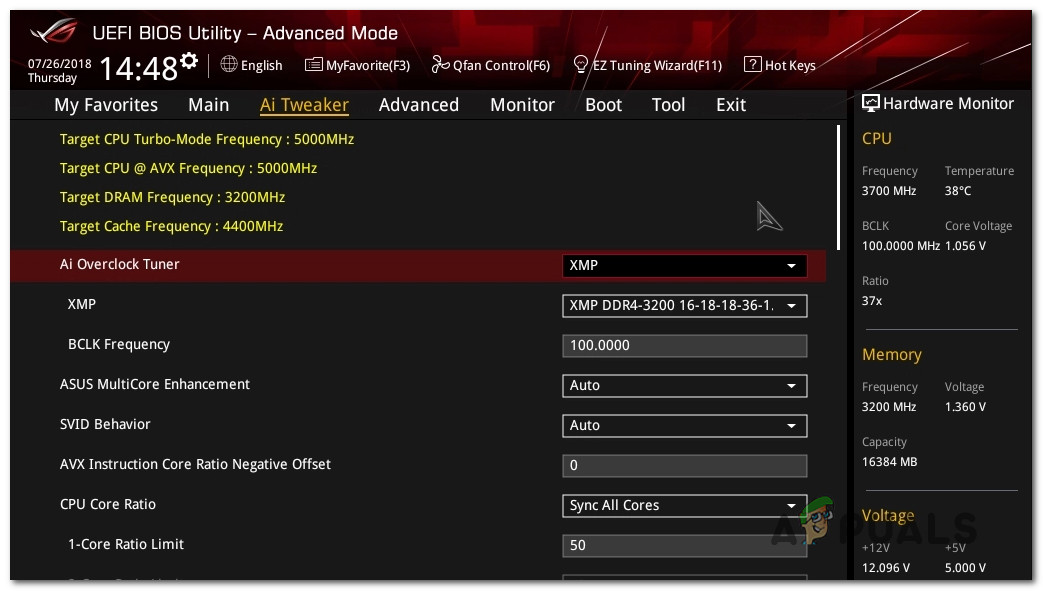
Note: If your CPU is running hot even when using the default values, you should re-apply thermal compound on your CPU after dusting and flowing your PC case or laptop.
Once you manage to successfully revert your overclocked values, use your computer normally, and see if the BSOD stops occurring.
IN case the same problem is still appearing, move down to the final potential fix below.
Method 6: Clean install / Repair installing your Windows installation
If you followed every potential fix above and you’re still encountering the same 0x00000024 error code, chances are you’re dealing with some kind of system file corruption that cannot be resolved conventionally. In this case, your best hope at fixing the issue conventionally is to reset every WIndows component with a procedure like a clean install or install repair (in-place repair).
In case you’re looking for the easiest procedure out of the bunch, you should go for a clean install. But keep in mind that unless you’ll back up your data in advance, you can expect to lose all your personal data present on your OS driver. But the major advantage of this method is that you will not be required to use compatible installation media.
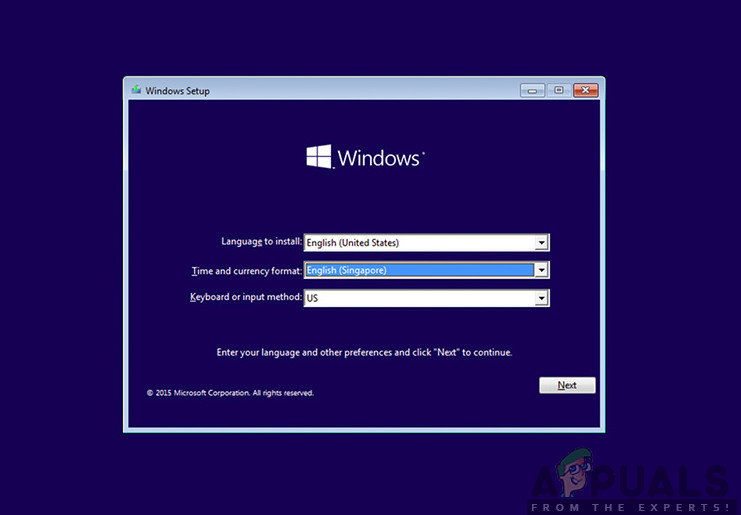
However, if you’re looking for the focused approach, you’ll need compatible installation media to initiate a repair install (in-place repair procedure). When compared with the clean install procedure, this operation is considerably more tedious, but the main advantage is that you’ll be able to refresh every potentially corrupted component without losing data from your apps, games, documents, and personal media that’ currently stored on your OS drive.


