How to Fix Fail Error Code (-203) on SteamVR
The error code 203 usually results in a crash of the game that you are trying to play on SteamVR. As it turns out, the problem can occur due to a number of reasons, and some of these can only be specific to you as well. Among the common causes are hardware-accelerated GPU scheduling, outdated Windows, your SteamVR settings, and more. We will be going through these in detail down below.
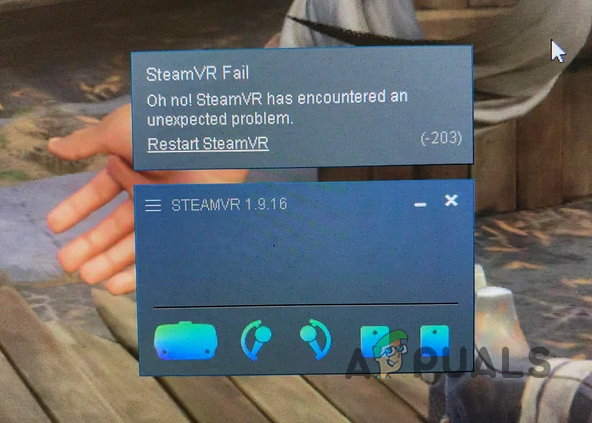
As it turns out, the error message associated with the error code 203 or (-203) does not provide any helpful information as it only states that the application experienced an unexpected problem. In some cases, restarting SteamVR can fix the issue, as mentioned in the error message. However, that is not always fruitful.
There are also scenarios where the error message occurs only with certain games. Regardless, the source of the problem usually stays the same, and in this article, we are going to show you how to resolve it without much trouble. However, before we get into that, it is essential to have a better understanding of the issue by knowing the various causes. So, without further ado, let us get right into the causes of the SteamVR error 203.
Now that we have gone through the possible causes of the issue in question let us start with the different methods you can use to resolve the issue.
1. Disable Razer Cortex Auto Boost (if applicable)
The first thing that you should do if you have Razer Cortex installed on your system is to disable the Auto Boost feature. The Auto Boost feature can be useful as it manages your operating system and other background applications to increase your FPS in-game.
This feature has been reported by various users, and disabling it has fixed the problem for them. To do this, follow the instructions given down below:
- First of all, go ahead and open up Razer Cortex.
- In Razer Cortex, navigate to Game Booster from the menu bar.
- There, under the Boost tab, turn off Auto-Boost by clicking the slider provided.
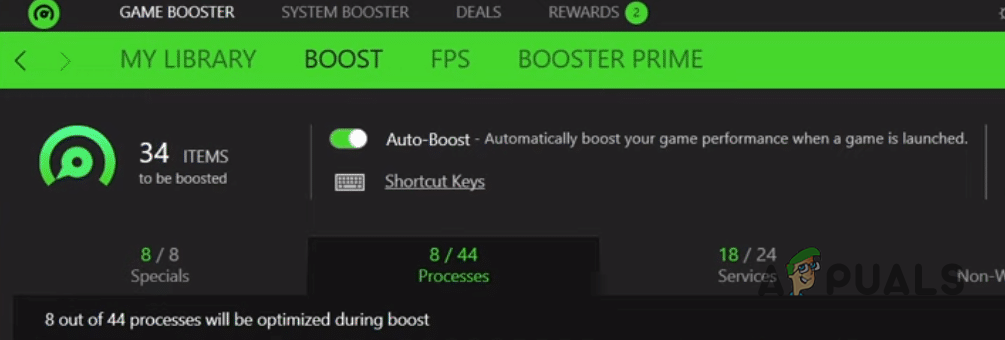
Disabling Razer Cortex Auto Boost - With that done, close Razer Cortex and see if the issue persists.
2. Update Windows
Running an outdated version of Windows is never really a good idea. This is because the system updates often contain security fixes along with quality-of-life improvements that help your computer perform better. In addition to that, running an obsolete version of the Windows operating system may cause several applications not to function as intended.
This might be the case here as well, which is why you will have to update your Windows to resolve the issue. To do this, follow the instructions given down below:
- Start off by pressing the Windows key + I on your keyboard to open up the Settings window.
- In the Settings window, navigate to Windows Update on the left-hand side.
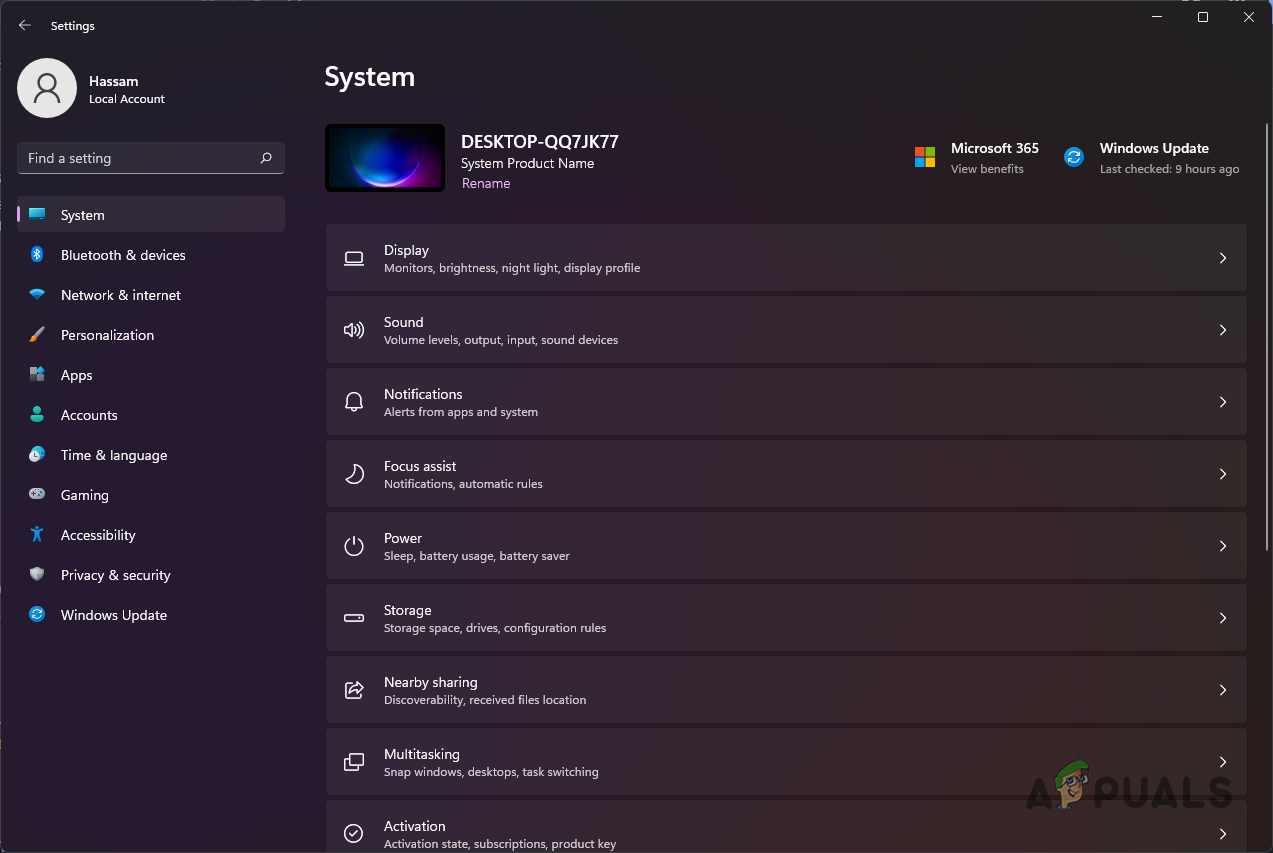
Windows Settings - Click on the Check for updates button provided to download and install any updates.
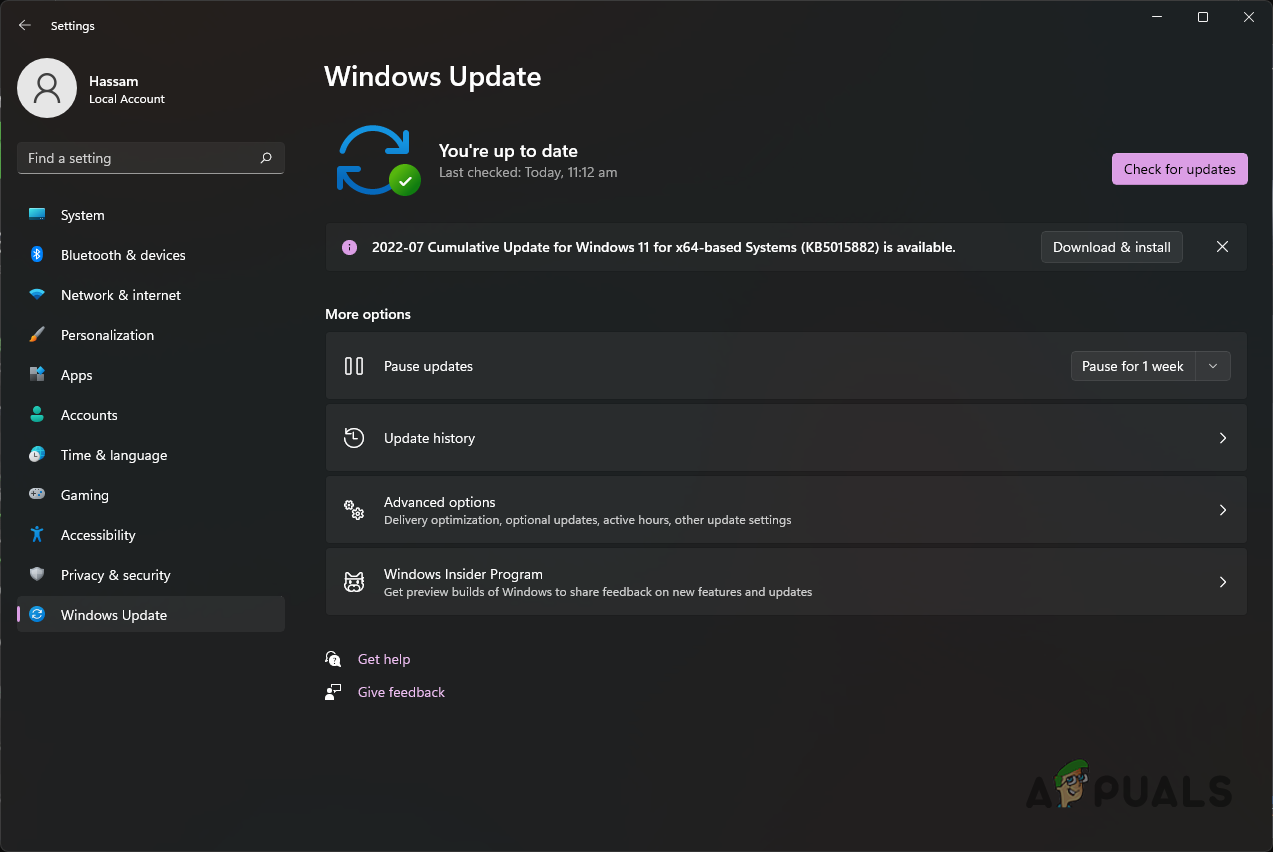
Windows Update - If there are any updates available for your system, you will see a Download & install button there already. Click on it to download the update.
- Once your computer has been updated and you have performed a system restart, relaunch SteamVR to see if the issue is still there.
3. Delete SteamVR Settings File
As we have stated previously, your SteamVR settings can sometimes result in the mentioned error message. This happens when the local settings file has been damaged or corrupted, which is why, when it is loaded into the application, SteamVR crashes.
As such, to fix this, you will have to delete the settings file so that a new file can be generated when you launch SteamVR. To do this, follow the instructions down below:
- First of all, open up File Explorer.

Opening up File Explorer - Then, navigate to where Steam is installed. By default, you will find it in the C:\Program Files(x86)\Steam path.
- Inside the Steam directory, open up the config folder.
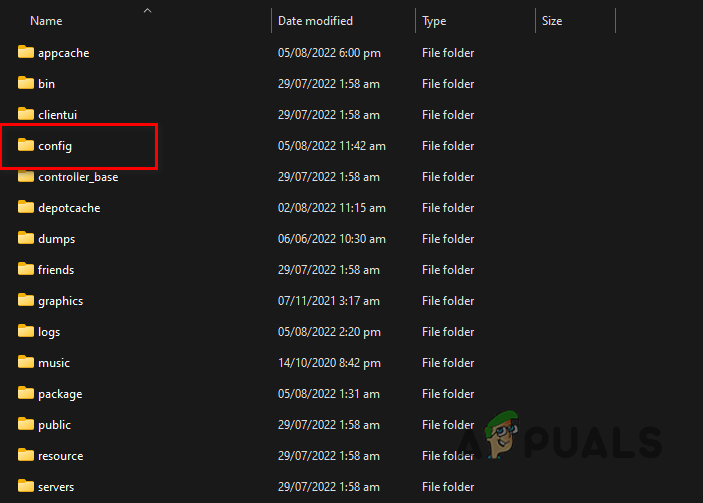
Opening up Steam Config Folder - Once there, locate a file called steamvr.vrsettings or similar and then delete it.
- With that done, open up SteamVR to see if the issue has been resolved.
4. Disable Hardware-accelerated GPU Scheduling
For those unaware, hardware-accelerated GPU scheduling is a feature that offloads your CPU from some work by processing and rendering the visuals and graphics in batches. Typically, your processor would be responsible for offloading such work to the GPU for rendering. However, with hardware-accelerated GPU scheduling, your GPU processor saves your CPU the trouble of offloading such work to it and hence can potentially improve the performance of your CPU.
While this can be helpful, there have been several reports of it causing SteamVR to crash with the 203 error code, so you will have to disable hardware-accelerated GPU scheduling. To do this, follow the instructions given down below:
- To start off, open the Settings window by pressing Windows key + I.
- In the Settings menu, navigate to System > Display.
Windows Settings - There, make your way to Graphics.
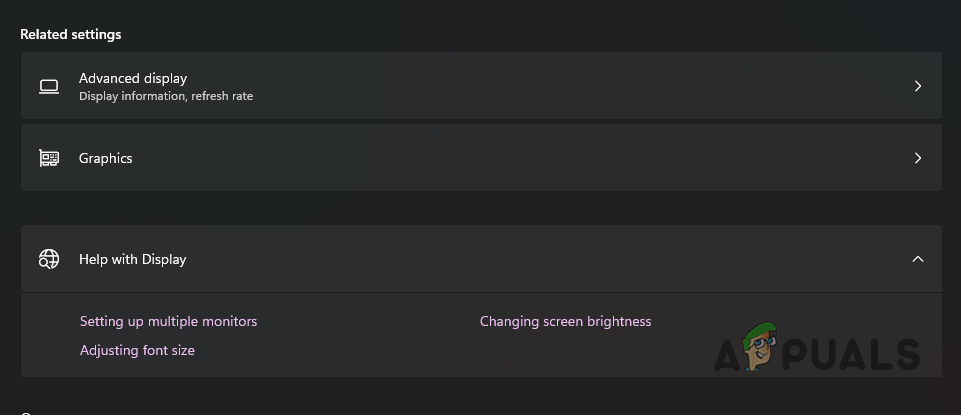
Navigating to Graphics Settings - Under Graphics settings, click on the Change default graphics settings option.
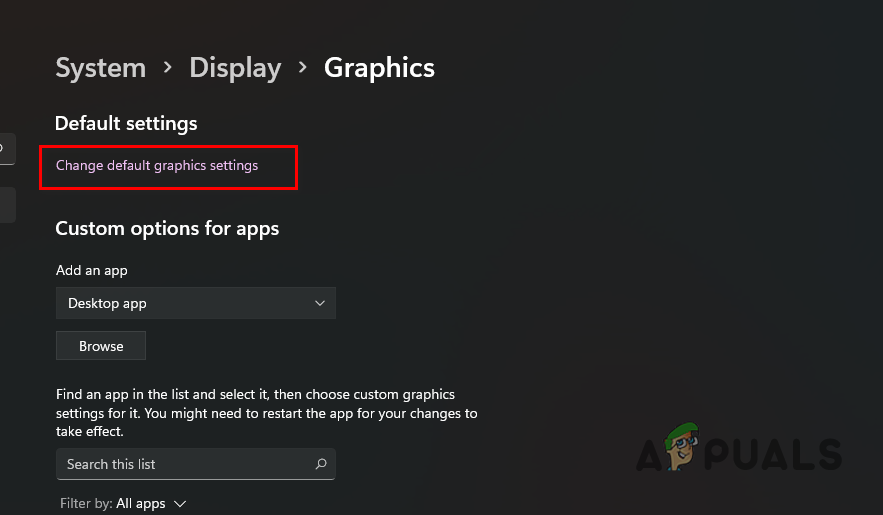
Navigating to Default Graphics Settings - From there, click on the slider provided to turn off hardware-accelerated GPU scheduling.
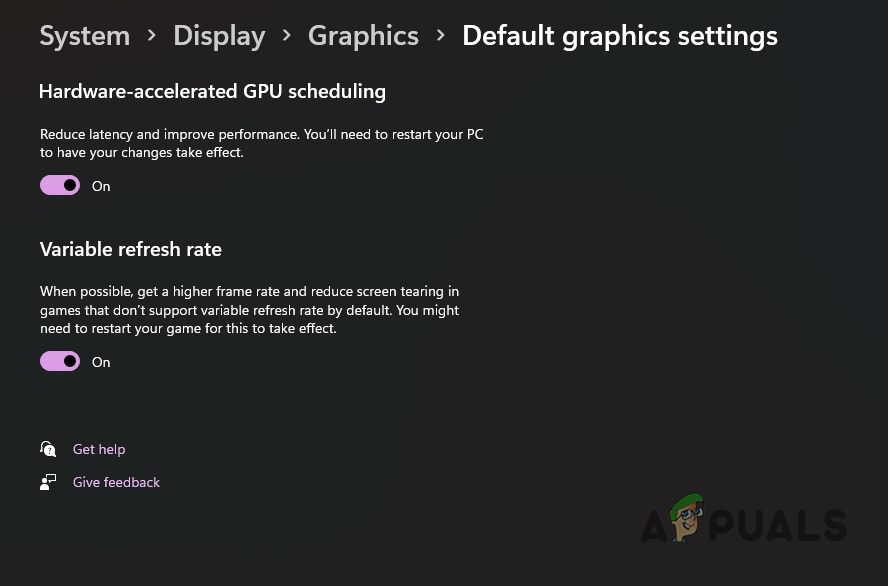
Disabling Hardware-Accelerated GPU Scheduling - With that done, go ahead and restart your computer. Once your PC boots up, see if the error message still occurs.
5. Try SteamVR Beta
As it turns out, many users have reported that opting into the SteamVR beta has helped them circumvent the error message in question. If the problem persists even after trying all of the methods, we would recommend giving this a shot. However, remember that this is called Beta for a reason, there might be some bugs that you may experience, but you will also have the luxury of trying out new features first. To opt into the SteamVR beta, follow the instructions down below:
- Open up the Steam client on your computer.
- In the Steam client, navigate to the Library section.
- After that, search for SteamVR. Right-click on it and choose Properties.
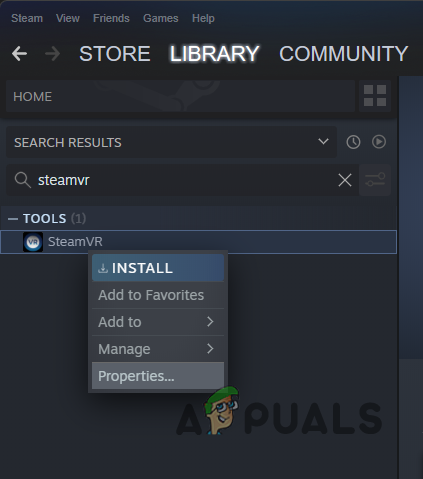
Opening up SteamVR Properties - On the new window that comes up, switch to the Betas tab on the left-hand side.
- From the drop-down menu provided, choose the beta – SteamVR Beta Update option.
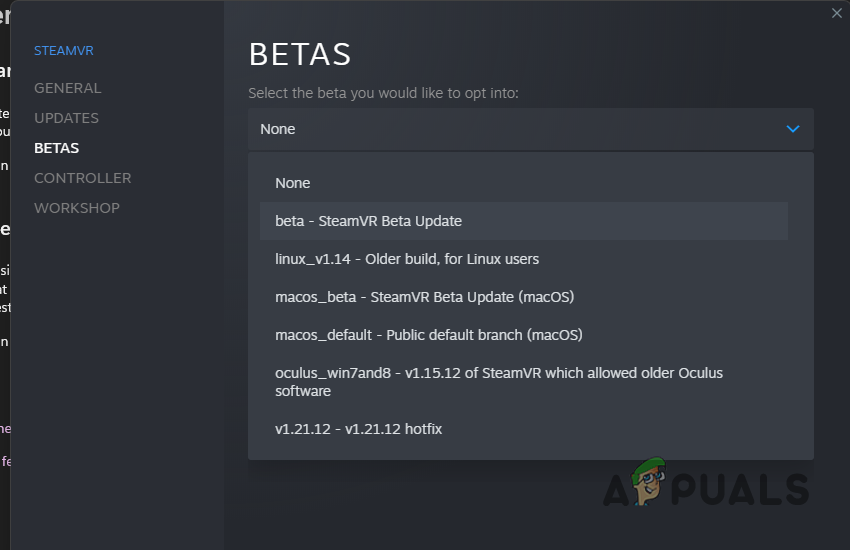
Opting into SteamVR Beta - Then, close the dialog box.
- At this point, the SteamVR beta will start downloading automatically.
- Once done, see if the error is still occurring.
6. Reinstall Steam
Finally, if none of the above methods have fixed the problem for you, then as a last resort, we would recommend reinstalling your Steam client. The error message may be triggered due to a problem with the Steam installation files, and as such, reinstalling it should fix the problem. To uninstall Steam, follow the instructions given down below:
- Start off by opening up the Control Panel. To do this, open the Start Menu and search for Control Panel.
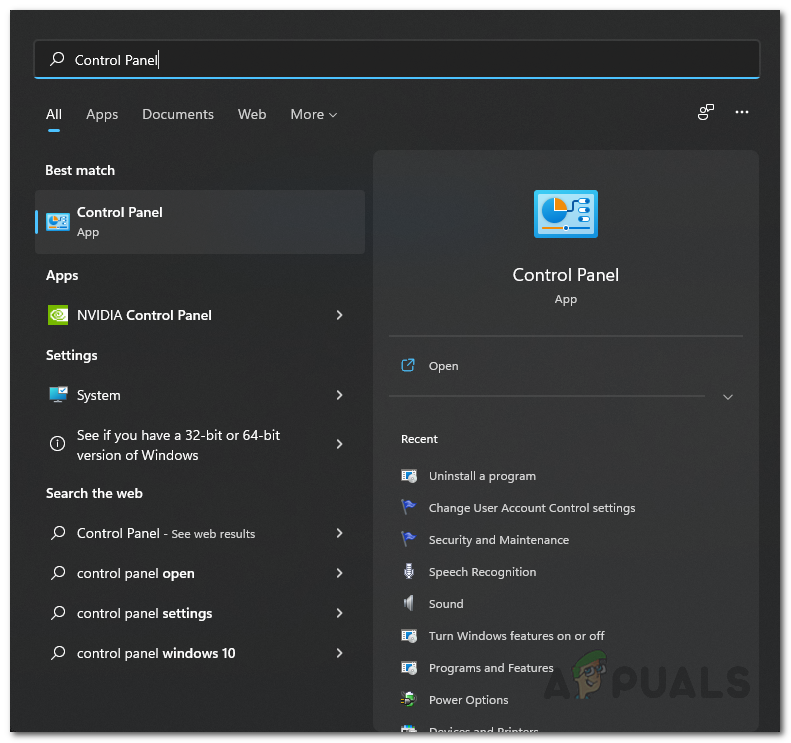
Opening up Control Panel - With the Control Panel open, click on the Uninstall a program option.
Control Panel - This will show a list of all installed applications on your system. From the list, locate Steam and then double-click on it.
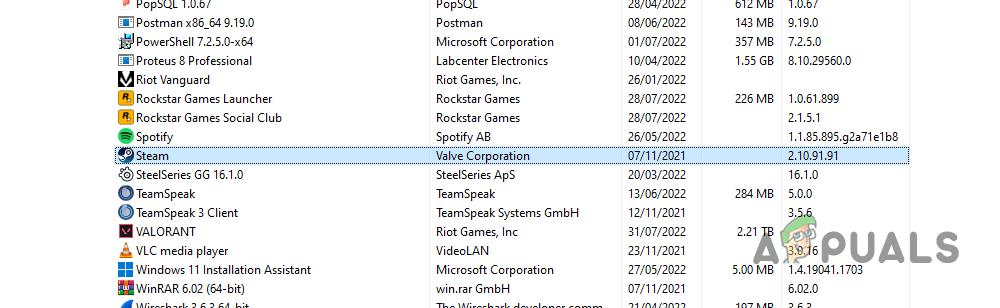
Uninstalling Steam - Once Steam has been uninstalled, head to the Steam website and download the installer again.
- Run the installer to install Steam.
- With that done, see if the error message still appears.