How to Fix Steam LavasoftTCPService.DLL Error
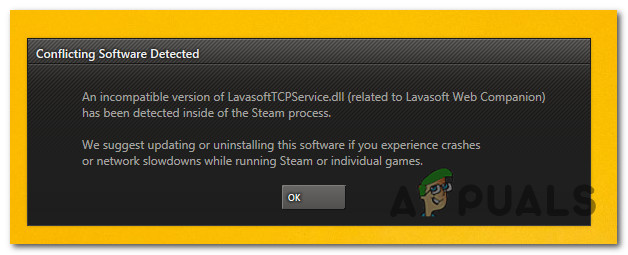
Some Steam users are encountering a Conflicting Software Detected prompt warning of an error related to an incompatible version of LavasoftTCPService.dll. This problem makes the main Steam application basically unreachable as hitting the OK button closes the store and opening it again prompts the same error message.
After investigating this particular issue thoroughly, it turns out that there are several different underlying causes that will produce this particular error code. Here’s a shortlist of culprits that might be causing this error:
- Conflict with Web Companion – By far, the most common culprit that is known to trigger this particular error when the user tries to start Steam is the Web Companion app developed by Lavasoft. In this case, you can try updating the app to fix the conflict. If that doesn’t work, your only option is to simply uninstall the program and reboot your computer to get rid of the LavasoftTCPService.dll.
- Conflict with Avast antivirus / Firewall – If you’re using an Avast security product, it’s likely that certain features will end up leveraging the LavasoftTCPService.dll dependency. In this case, you can treat the problem either by disabling real-time protection, by establishing a security rule for Steam inside your security suite, or by uninstalling the problematic antivirus altogether.
- Leftover LavasoftTCPService.dll file – If you previously used a Lavasoft product that you’ve since uninstalled, it’s possible that you’re seeing this error in steam due to a leftover dependency that’s still located in your DLL library even though there’s nor program actively using it anymore. In this case, you’ll be able to fix the problem by navigating to the correct location and deleting the LavasoftTCPService.dll.
- PUPs or adware are using LavasoftTCPService.dll – Depending on what software you installed (and what PUPs were pushed) you might find yourself in a situation where a program that you didn’t even install willingly is actually causing the conflict between Steam and LavasoftTCPService.dll. In this case, the best course of action is to use a tool like Malwarebytes to identify and eliminate browser hijackers, PUPs, and adware that might cause this problem.
Method 1: Uninstall Lavasoft’s Web Companion
As it turns out, the most common problem that will cause a Steam error pointing towards the LavasoftTCPService.DLL is a conflict with the Lavasoft Web Companion app.
Although the error message suggests updating the application in order to fix the problem, we’ve found a lot of users reporting that updating the app didn’t fix the conflict with Steam.
However, if you’re fond of the Lavasoft Web Companion app, you should start by updating as instructed and restarting your computer at the end of this process.
But if that doesn’t work, follow the instructions below to uninstall the Lavasoft Web Companion app in order to eliminate the conflict:
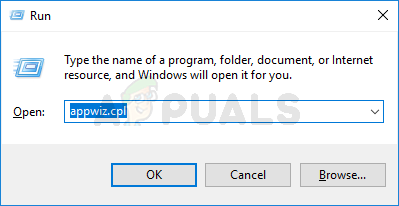
- Press Windows key + R to open up a Run dialog box. Next, type ‘appwiz.cpl’ inside the text box and press Enter to open up a Programs and Features window.

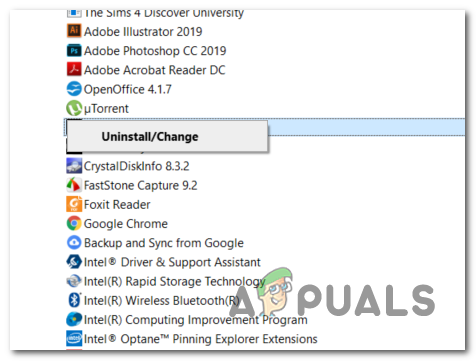
Type appwiz.cpl and Press Enter To Open Installed Programs Page - Inside the Programs and Features window, scroll down through the list of installed applications and locate the entry associated with the Lavasoft Web Companion app.
- When you find it, right-click on it and choose Uninstall from the newly appeared context menu.

Uninstall Lavasoft Web Companion from Programs and Features - Inside the uninstallation screen, follow the on-screen prompts to complete the process, then restart your PC and see if you are able to open Steam without the same error once the next boot sequence is complete.
If you still end up seeing the same LavasoftTCPService.dll-based error, move down to Method 2.
Method 2: Dealing with the Avast interference (if applicable)
Keep in mind that Lavasoft is the maker of Avast security products. So if you’re encountering this error with Steam and you know that you have a security product from avast, there’s a chance that you’re dealing with a software conflict with an Avast security product.
If this scenario is applicable and you’re actively using an Avast antivirus and firewall, there are 3 different potential ways that will allow you to resolve the conflict:
- Disabling the real-time protection on Avast while launching Steam
- Establishing a security exception for Steam in Avast
- Uninstalling the entire Avast security suite
But regardless of the router, you end up deciding to take, we got you covered. Follow one of the sub-guides below to resolve the LavasoftTCPService.dll software conflict by disabling, uninstalling, or excepting Steam from the inspection list:
A. Disabling the real-time protection on Avast
If you’re looking for a hassle-free quick fix that will allow you to open Steam without seeing this error code, you should disable the real-time protection of your Avast security product in order to prevent the conflict.
But before you do this, ensure that Steam and every background process associated with it.
After you do this, right-click on your Avast icon (from the tray-bar icon) and look for the option that allows you to disable real-time protection.
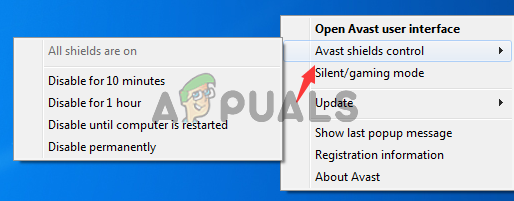
Note: Depending on the Avast security suite, this menu might look different.
Once you have successfully disabled the real-time protection, open Steam once again and see if the problem is now fixed.
B. Establishing a security rule in Avast
Keep in mind that every Avast product is equipped with a setting that will allow you to accept certain executables from being inspected and quarantined. If you’re currently dealing with a conflict with LavasoftTCPService.dll, use this feature to ensure that the Steam is no longer being scanned by your security product.
Here’s a quick step-by-step guide that will guide you through the process of establishing a security rule in Avast:
- First things first, open up the main Avast interface of your security suite and click on the action button to expand the menu on the left, then click on Settings.
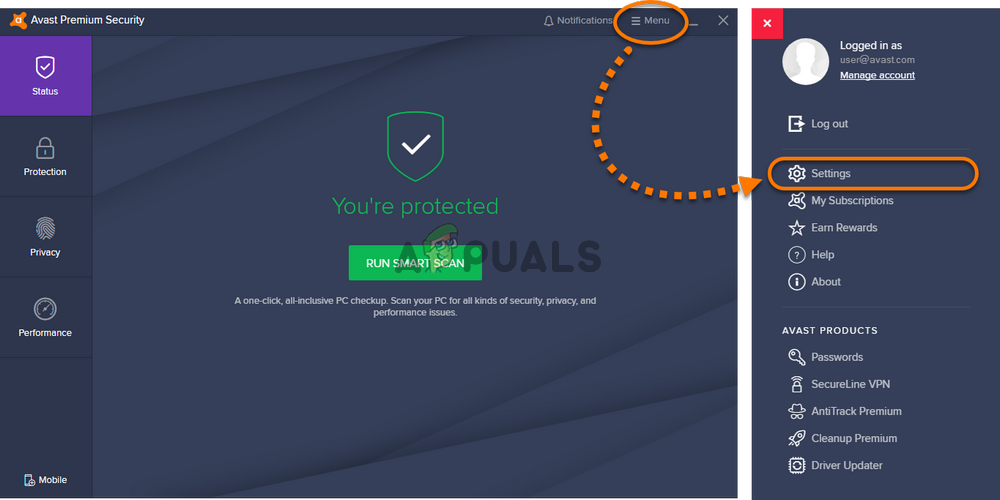
Opening Avast Settings - Once you’re inside the Settings menu of your Avast product, click on General from the menu on the left, then choose Exceptions from the newly appeared context menu.
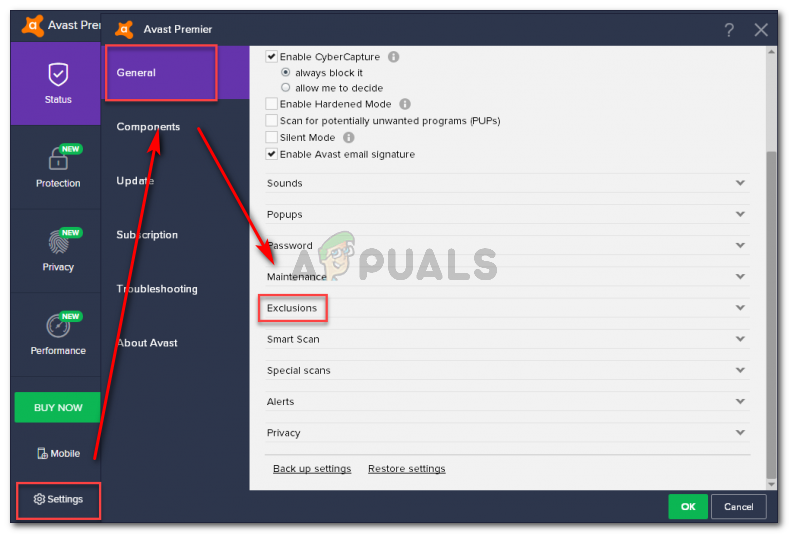 Note: Depending on your Avast product, you might find an Exclusions tab instead of Exceptions.
 - Inside the Exclusions / Exceptions tab, click on Add Exceptions.

Adding exceptions in Avast - Once you’re inside the Exception / Exclusion wizard, click on the Browse button, then navigate to the location where you installed Steam and include the entire folder.
Note: By default, the location of steam is in C:\Program Files (x86)\Steam. But if you installed it in a custom location, navigate there instead. - After you successfully include the entire Steam folder among the excepted/excluded items, save the changes, restart your computer and see if the problem is fixed once the next startup is complete.
C. Uninstalling the 3rd-party Suite
- Press Windows key + R to open up a Run dialog box. Next, type ‘appwiz.cpl’ inside the text box and press Enter to open up up the Programs and Features window.
Type appwiz.cpl and Press Enter To Open Installed Programs Page - Once you’re inside the Programs and Features menu, scroll down through the list of installed programs and locate your Avast installation. When you see it, right-click on it and choose Uninstall from the newly appeared context menu.
Uninstalling Avast Secure Browser Note: If you’re using multiple products from Lavasoft, you should install everything that is published by them. To make things easier, you can click on Publisher column at the top to make sure you’re installing everything published by Lavasoft.
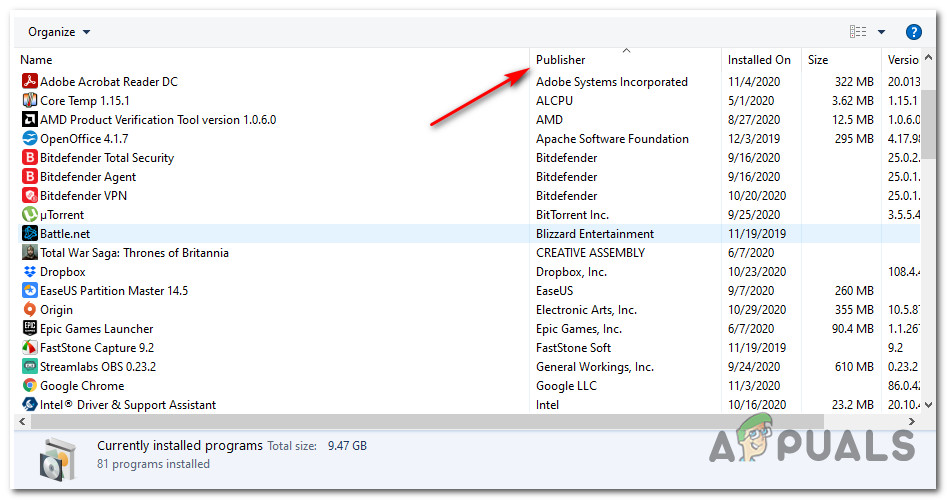
Ordering the list based on the Publisher - Once you’re inside the uninstallation screen, follow the on-screen instructions to complete the uninstallation and get rid of everything that’s published by Lavasoft.
- After the operation is finally complete, reboot your computer and launch Steam once the next startup is complete to see if the LavasoftTCPService.dll error is fixed.
If the same problem is still occurring, move down to the next potential fix below.
Method 3: Deleting the LavasoftTCPService DLL file
In case you no longer have a product developed by Lavasoft, it’s possible that the LavasoftTCPService.dll is simply a leftover DLL that’s no longer needed by any of your installed programs. If this scenario is applicable, you should be able to resolve the conflict with Steam by navigating to the location of the LavasoftTCPService.dll and deleting it – both the 32-bit and the 64-bit version.
But in order to do this, you will need to boot your computer in Safe Mode first (otherwise the deletion will trigger an error message).
To make things easier for you, we’ve created a step-by-step guide through the entire process. Here’s what you need to do:
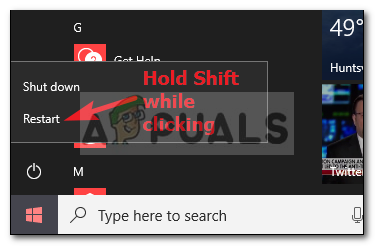
- Press the Windows key to bring up the Windows menu, then click on the Power button and click on Restart while holding the Shift key. This will force your computer to restart directly into the Recovery menu which we’ll need to boot in Safe Mode.
Click Restart while holding shift - Wait until the next startup is complete until your computer successfully enters the Recovery menu.
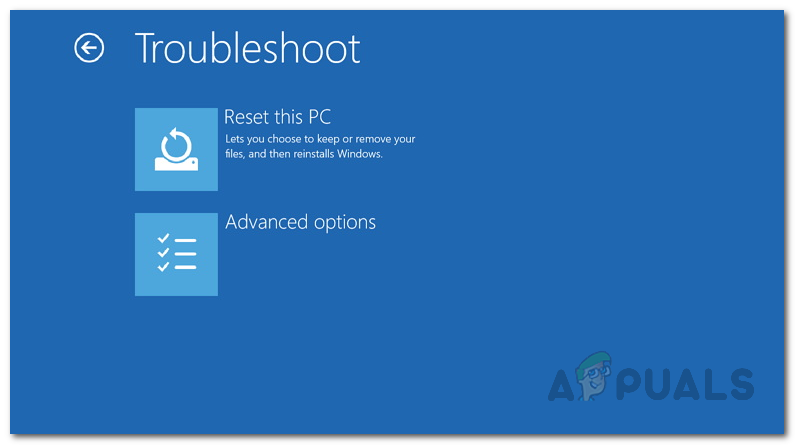
- Once you’re inside, click on Troubleshoot from the list of available options, then click on Advanced Options.
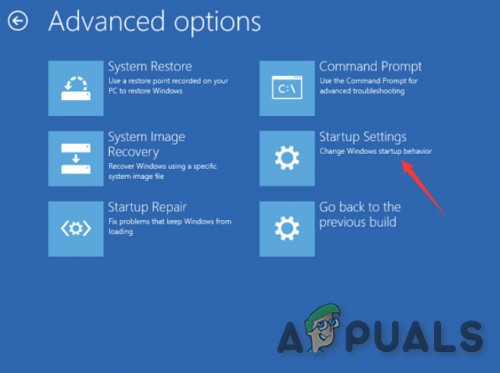
Troubleshoot Menu - Inside the Advanced Options menu, click on Startup Settings.
Startup Settings in Advanced Options - Once you get to the next menu, press the F5 to boot up your compute in Safe Mode with Networking.
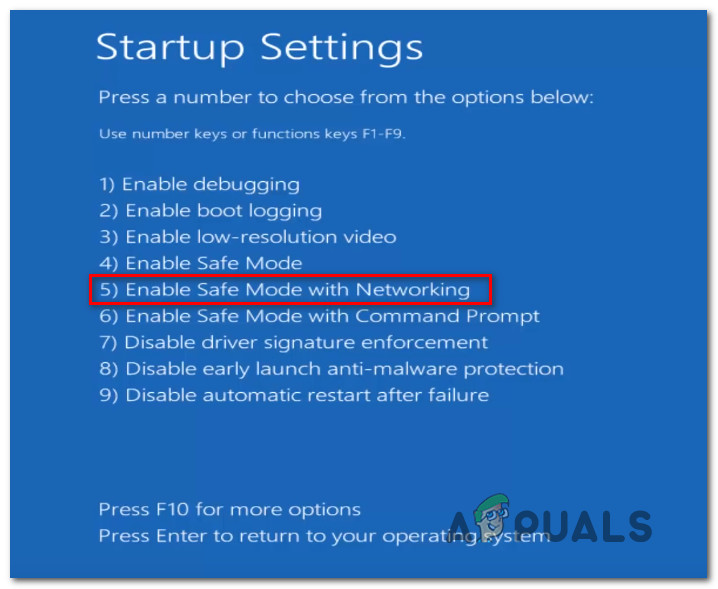
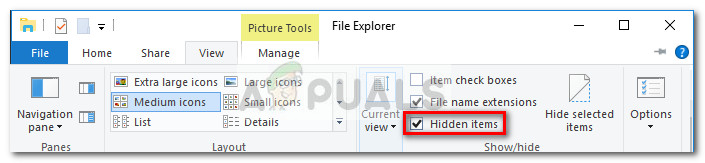
Starting your computer in Safe Mode with Networking - Wait patiently until your computer successfully boots in Safe Mode with Networking. Once the next startup is complete, open File Explorer (My Computer) and ensure that hidden items are visible by clicking on View (from the ribbon bar at the top) and checking the toggle associate with Hidden Items.
- Once you’ve ensured that Hidden items are visible, navigate to the following location and delete the LavasoftTCPService.dll file you’ll find inside:
C:\WINDOWS\system32\
- Once the first instance of the LavasoftTCPService.dll file is deleted, do the same for the second file located in the next location:
C:\WINDOWS\SysWOW64\
- Now that every instance of the LavasoftTCPService.dll has been successfully deleted, reboot your computer and see if the conflict has been treated once the next startup is completed.
If this scenario is not applicable to your particular scenario or you already did this with no success, move down to the next potential fix below.
Method 4: Running a Malwarebytes scan
If none of the fixes above have worked for you, you might also consider the fact that you might be dealing with a Potentially Unwanted Program (PUP), adware, or a similar program categorized in a gray area that makes use of the LavasoftTCPService.dll.
If this scenario looks like it could be applicable and you have no idea which of your installed programs might be causing the problem, you should try running Malwarebytes scan to eliminate any PUps, browser hijacker, and other forms of adware from your computer and fix the problem.
This operation was confirmed to be successful by a lot of affected users that were previously encountering issues with LavasoftTCPService.dll. And keep in mind that Malwarebytes is one of the only premium scanners that will allow you to perform a deep scan using the free version.
It will allow you to identify and remove both classic adware files and more elaborate adware with clocking capabilities.
If you want to deploy a security scan using Malwarebytes, follow these instructions to download, install & start a Malwarebytes scan.

If this Malwarebytes scan ends up finding and quarantining files that we’re leveraging the LavasoftTCPService.dll file, restart your computer and open Steam once the next startup is complete to see if the problem is now fixed.