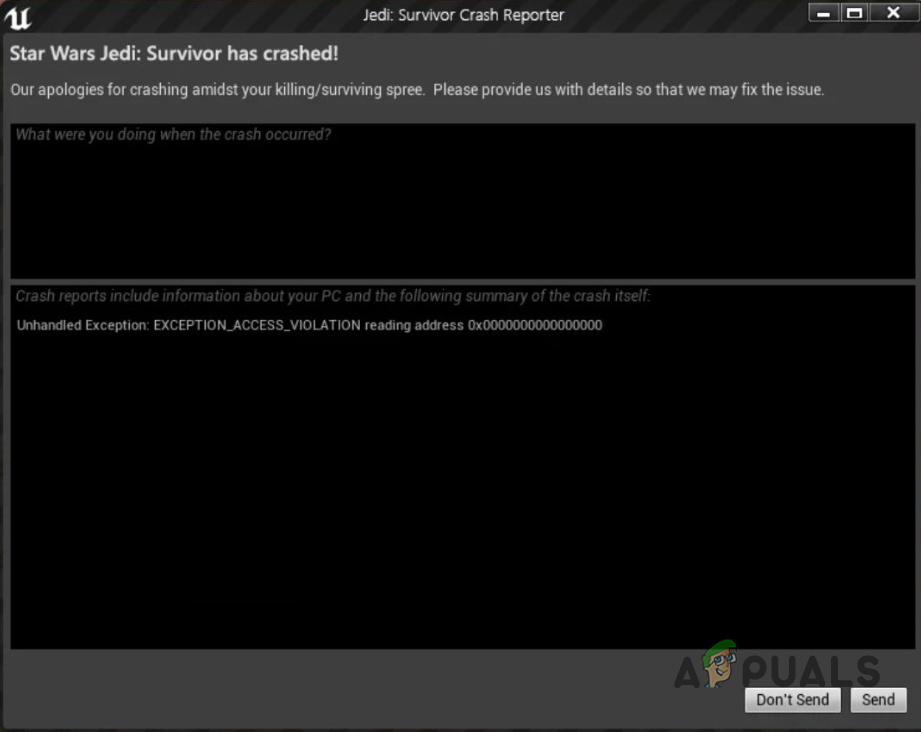
How to Fix Stars Wars Jedi: Survivor Crashing on PC?
Star Wars Jedi Survivor crashes can be caused by a number of reasons, which include NVIDIA DLSS, the priority of the process in your Windows environment, and much more. In some cases, you can experience crashes on a particular planet in the game, while in others, the game can crash on startup.
The interference of third-party programs with the game process can also be a cause of the game crashing from time to time. In addition, the graphics drivers installed on your computer can also play a vital role in the game not running smoothly on your PC.
Regardless of the cause of the issue, in this article, we are going to show you how to resolve the problem using a number of methods outlined below.
1. Disable ray tracing.
The first thing that you should do when starting to troubleshoot the problem in question is to disable ray tracing in the game. The issue has been occurring due to an inconsistency in the implementation of the NVIDIA DLSS feature. Ray tracing is a great feature that allows for better lighting and reflections of physical objects in the game, which leads to superior graphics quality.
However, since the game is running into issues due to the enabled Ray tracing or NVIDIA DLSS feature, you will have to turn it off to eliminate the crashes. To disable ray tracing in Star Wars Jedi Survivor, follow the instructions down below:
- First, open the game on your computer.
- After that, navigate to the Settings menu by clicking the gear icon in the top right corner.
- On the Settings screen, switch to the Visuals tab on the left-hand side.

Navigating to Visuals Settings - Scroll down the Visual settings and locate Ray Tracing. Turn it off using the slider provided.
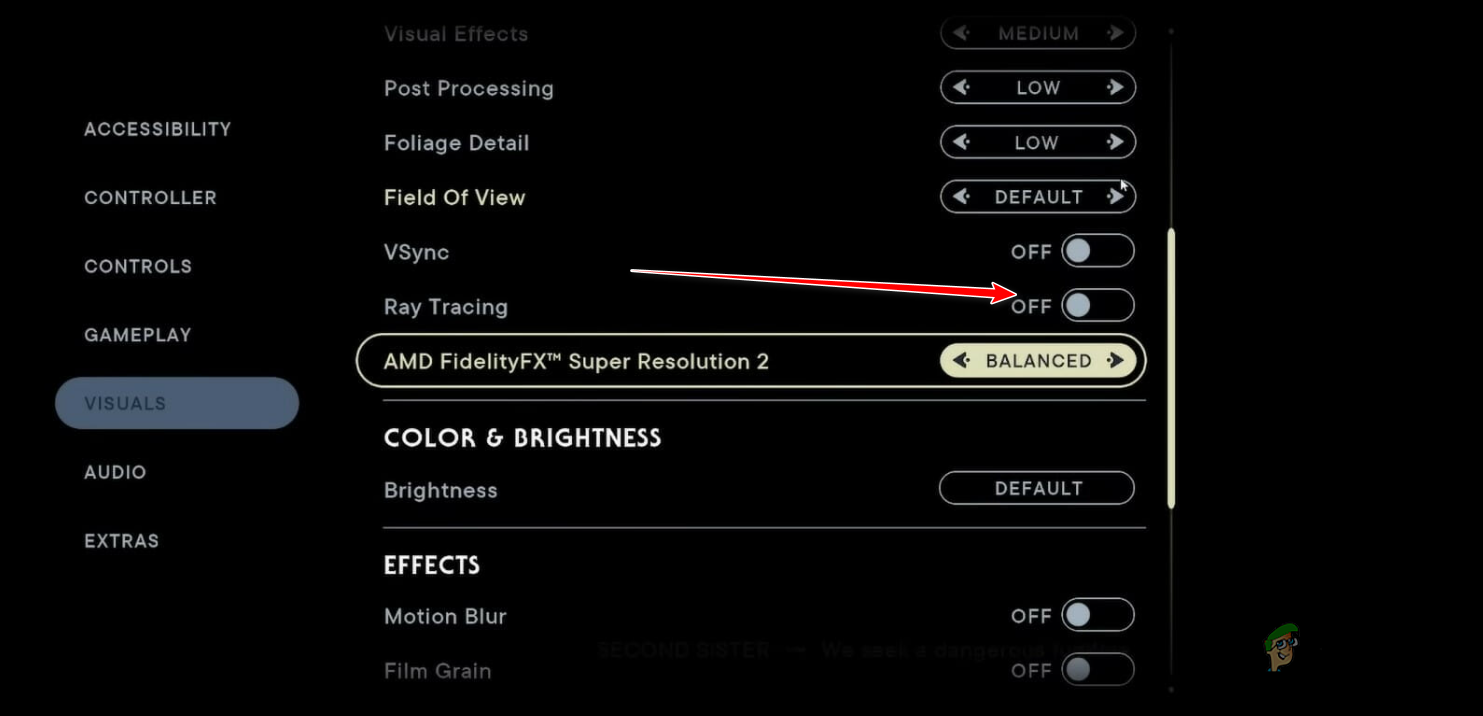
Disabling Ray Tracing - Now depending on your graphics card, you will have to disable NVIDIA DLSS or AMD Fidelity FX Super Resolution 2 as well.
- Save the settings and see if that fixes the issue.
2. Change the display mode.
Another possible cause of the issue can be the display mode you are using when playing the game. If you are playing the game in fullscreen window mode, that can also cause the game to crash at the moment. Such problems are often the result of issues with the game itself, which have to be addressed by the developers.
In the meantime, you will have to change the display mode you’re using to eliminate the constant game crashes. To do this, follow the instructions below:
- First, open the game on your system.
- Open the Settings menu by clicking the gear icon in the top right corner.
- In the Settings menu, navigate to the Visuals tab on the left-hand side.
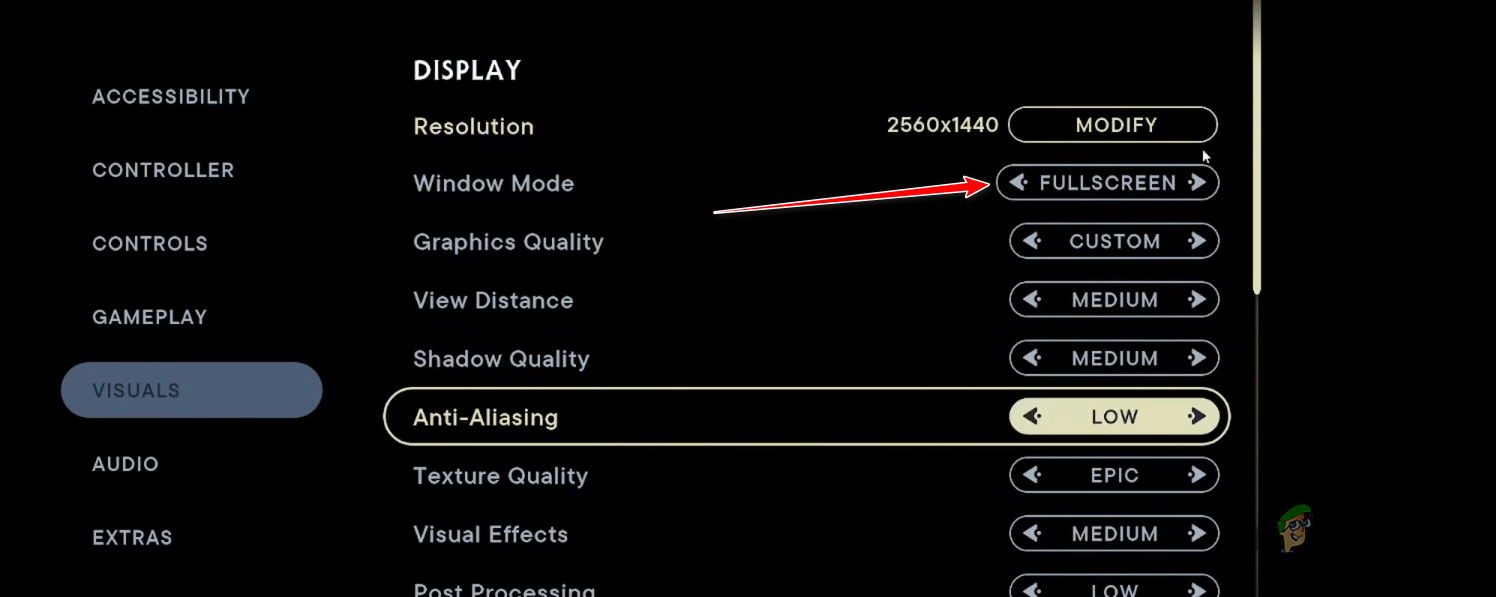
Navigating to Visuals Settings - After that, locate the ‘Window Mode‘ option and change it from ‘Fullscreen‘ to ‘Windowed Fullscreen.’ This provides you with the performance of fullscreen mode while also allowing you to tab out of the game without having to minimize.
Changing Window Mode - Once you do that, save the changes and see if the problem has been resolved.
3. Change the process priority.
In some scenarios, the priority of the game process can also cause the game to crash in your Windows environment. This can often happen due to other processes running in the background with the same priority as the game process.
As such, your CPU or GPU cannot prioritize the game process, leading it to crash. In such a scenario, you must change the priority of the game process and set it to High in order to prioritize it on your CPU and GPU.
Follow the instructions below to do this:
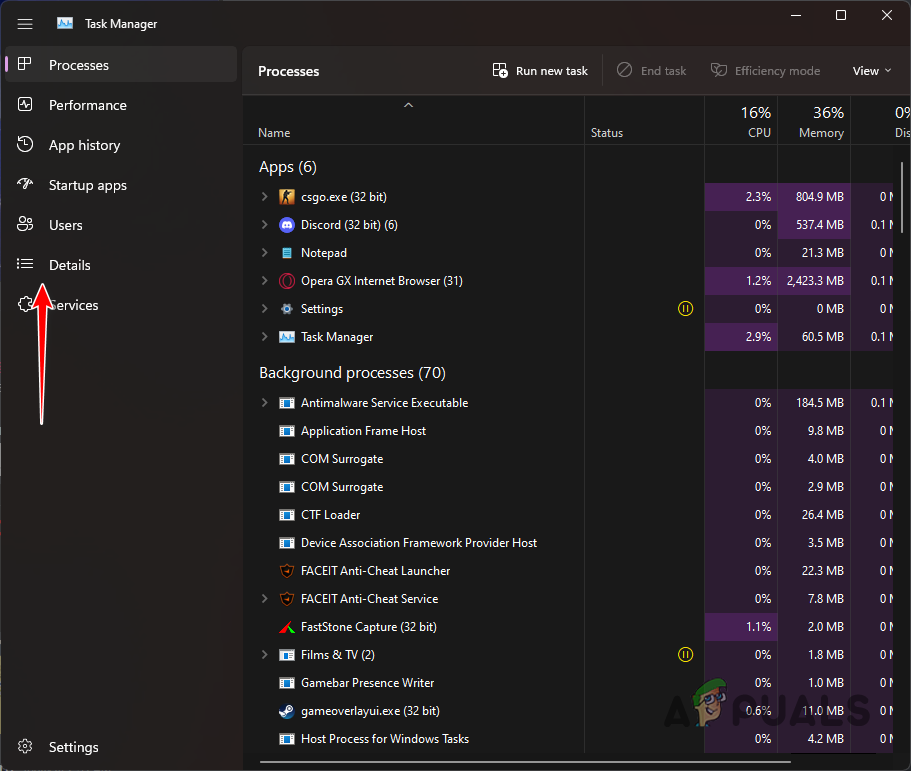
- First, right-click on the Start Menu and select Task Manager from the menu that appears.

Opening Task Manager - In the Task Manager window, switch to the Details tab.
Navigating to the Details tab - After that, locate the Star Wars Jedi Survivor process. You will need the game running in the background for this.
- Right-click on the process and choose Set Priority > High.
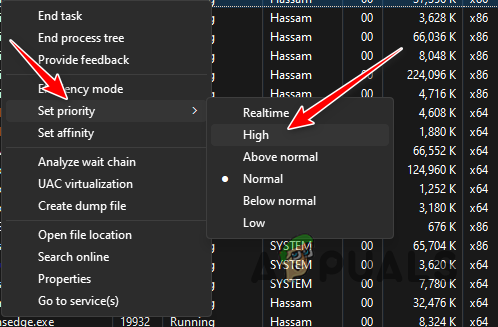
Changing Priority to High - Once you do that, see if the game still crashes.
4. Optimize the game using GeForce Experience (if applicable).
Another potential reason why the game might be crashing on your system is the game settings. This can happen when your computer is not able to handle the game’s load at the applied settings. In such a scenario, you can use NVIDIA GeForce Experience to automatically optimize the game on your system.
Using the optimize feature in GeForce Experience allows you to adjust the game settings as per your system specifications. Follow the instructions down below to do this:
- First, open the GeForce Experience app on your computer.
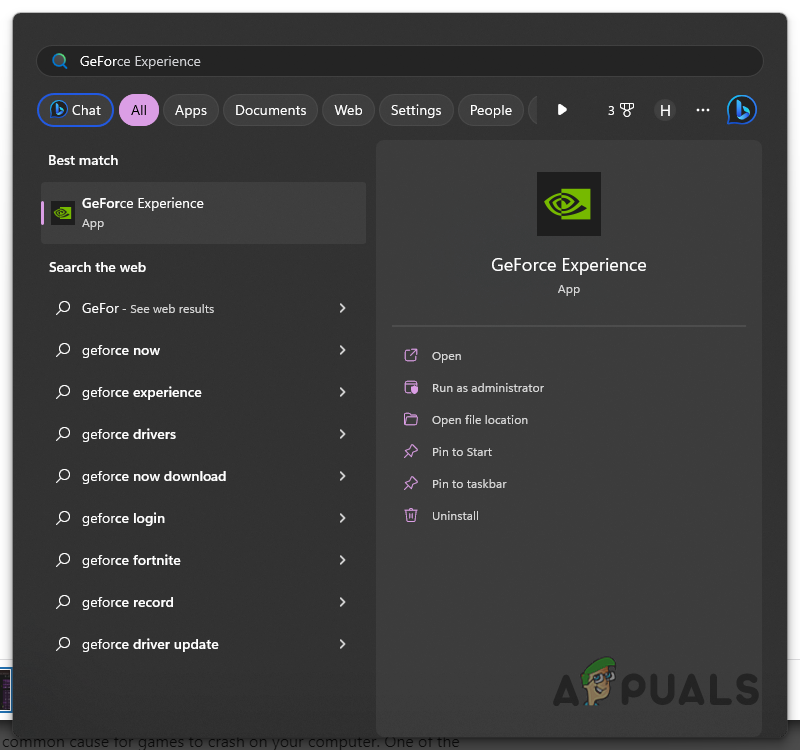
Opening GeForce Experience - After that, on the Home tab, click on the Star Wars Jedi Survivor game.
- If you do not see the game, click on the three-dot option in the top-right corner and choose the Scan for games & apps option.
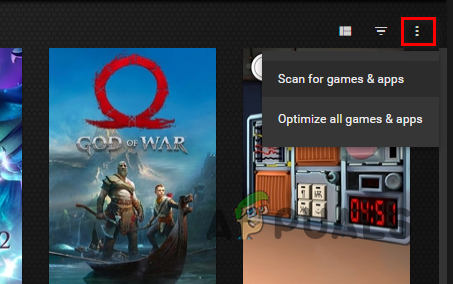
Scanning for Games and Apps - Finally, click on the Optimize option in the game profile.
- Once you do that, open the game to see if the crashes are still there.
5. Turn off third-party antivirus software.
The interference of third-party programs is a common cause of games crashing on your computer. One of the main programs that results in this behavior can be the third-party security program on your computer. Security programs often interfere with the processes running on your computer in order to ensure your computer stays secure.
This interference is often due to the monitoring of ongoing processes and files on your computer. Such interference can cause crashing issues in various games and remains a typical scenario. If this case is applicable, you will need to turn off your third-party antivirus program and see if that resolves the issue.
In case the problem is resolved after turning off the antivirus program, you can utilize the whitelisting feature. This will prevent the antivirus program from interfering with the game process, allowing it to run without any issues.
6. Verify the game files.
In some scenarios, the game files on your computer can also cause the game to crash. This can happen when you are either missing certain installation files on your PC, or there is corruption or damage in some of the files.
In such a scenario, you will have to scan the game files on your computer to repair them. You can do this easily with Steam, using the ‘Verify Integrity of Game Files’ feature. It scans the game files on your computer, and in case of any discrepancies or corruption, new files are downloaded from the Steam servers.
Follow the instructions below to verify the integrity of the game files:
- First, open the Steam client on your computer.
- After that, navigate to the games library and right-click on Star Wars Jedi Survivor.
- From the drop-down menu, choose Properties.

Navigating to Game Properties - In the Properties window, go to the Local Files tab.
- Finally, click on the ‘Verify Integrity of Game Files‘ option to scan your game.
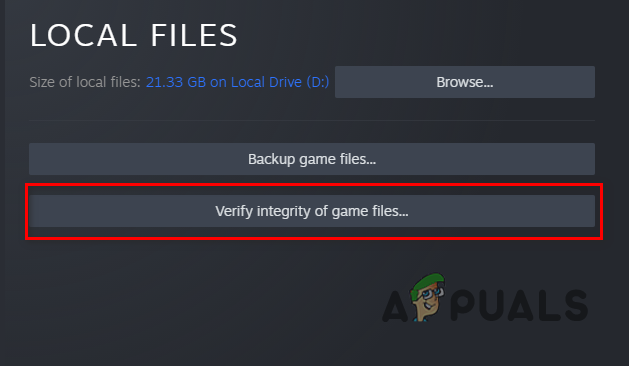
Verifying Integrity of Game Files - Wait for the game files to be repaired and then see if that fixes the issue.
7. Update graphic drivers.
Finally, if none of the above methods have fixed the problem for you, it is very likely that the issue is caused by the graphics drivers on your computer. This can happen when your graphics drivers are either obsolete or damaged.
In such a scenario, you will need to update the graphics drivers on your computer. To do this, you can use a third-party utility called Display Driver Uninstaller, which completely uninstalls your current driver from your computer. An advantage of using a third-party utility like Display Driver Uninstaller is that it removes every trace of the current drivers, allowing you to start fresh with the latest drivers.
Follow the instructions below to update your graphics drivers.
- First, head to the official Display Driver Uninstaller website and download it by clicking here.
- Extract the downloaded file to any location on your computer.
- Navigate to the extracted folder and open Display Driver Uninstaller.exe.
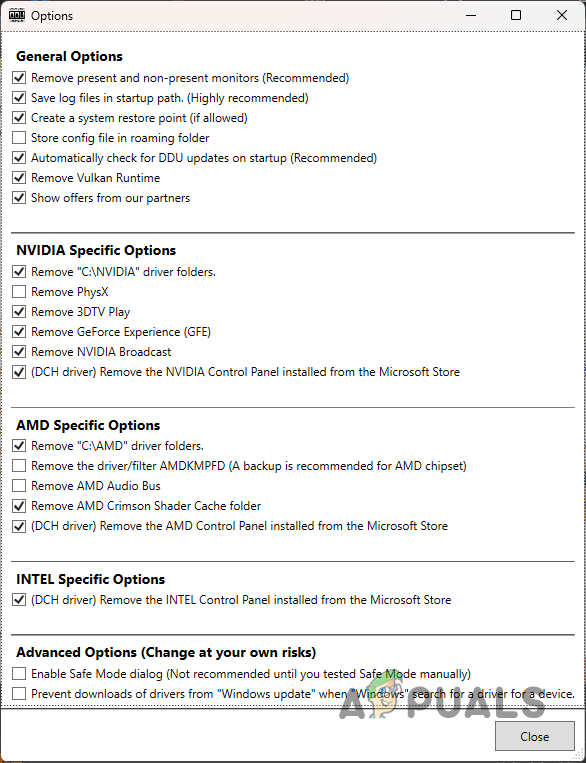
- Once DDU opens, you will be shown the General Options. Here, click the “Continue” option to proceed.
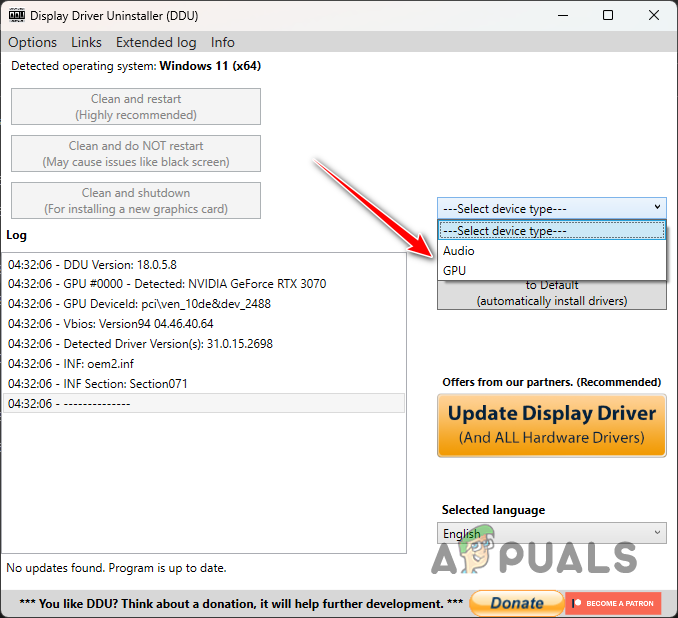
DDU General Options - After that, choose GPU from the Select device type drop-down menu.
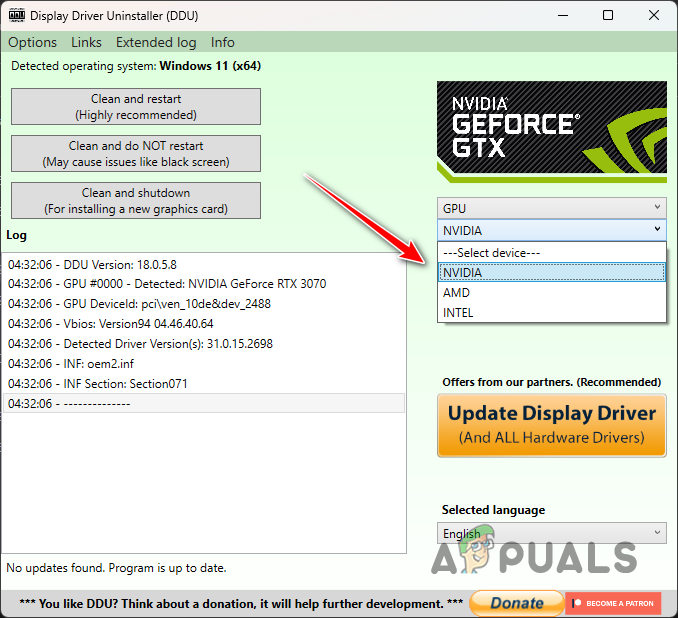
Selecting GPU as the Device Type - Follow this up by selecting your graphics card manufacturer from the ‘Select Device‘ dropdown menu.
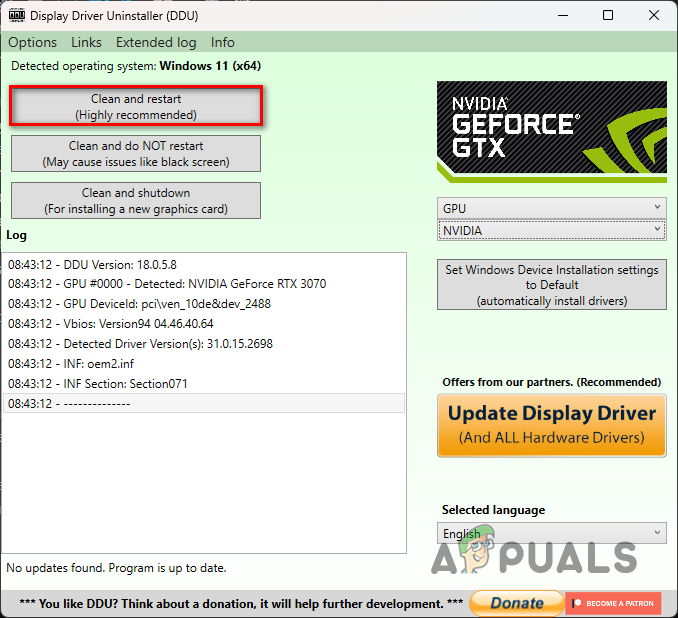
Selecting GPU Manufacturer - Finally, click the ‘Clean and Restart‘ button to uninstall your graphics drivers.
Uninstalling Graphics Drivers - After your PC boots up, head to your graphics card manufacturer’s website and download the latest drivers for your graphics card.
- Install the new drivers on your computer and then open the game to see if the issue is still there.


