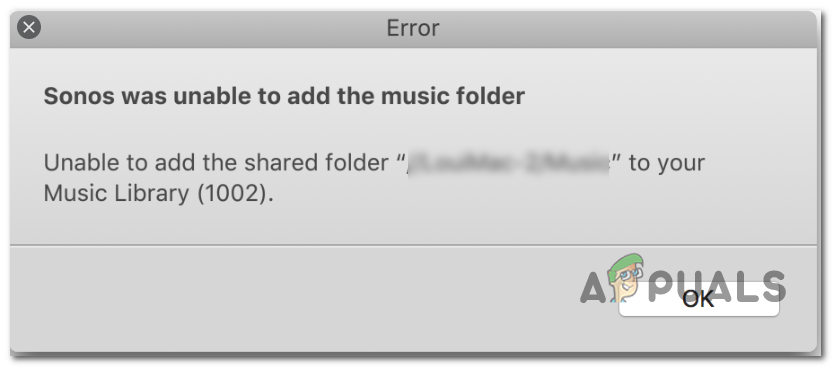
Fix: Sonos was unable to add the music folder
Unable to add the shared folder to your Music Library (1002)
The Sonos Error 1002 (Unable to add the music folder) typically occurs when users try to add their Music Library to the Sonos Controler. This typically occurs with Sonos smart speakers when the user tries to import Music Library from Spotify or a similar app and is confirmed to occur on macOS, Windows iOS, and Android.
In most cases, the Sonos 1002 Error code points towards a connectivity problem on the network. If you’re encountering this issue, the first thing you need to do is to update to the latest Sonos app (They have released a couple of hotfixes for this issue).
If you’ve already updated to the latest version of Sonos, take some steps to resolve any sort of network inconsistency that might be causing this issue – A reboot or reset of your router or modem should be enough.
Overprotective firewalls can also be responsible for this error code if they end up blocking communications with the Sonos Controller. To resolve the issue in this case, simply whitelist the Sonos app (or the used ports) or simply uninstall the 3rd party AV.
Note: In case you’re using Kaspersky or a different 3rd party AV, check the settings to see if Local Services (TCP) are not being actively blocked. If they are, reconfigure the Packet Rules to allow Local Services.
In case you’re only seeing the Sonos 1002 Error code when trying to add entire playlists to the queue at once, try queuing them in small batches. According to some users, playlists with over 500 songs might trigger this error.
Updating to the latest Sonos App version
As it turns out, this particular issue is known to occur due to a bug that Sonos developers have been trying to patch since the end of 2018. Since a couple of hotfixes have been released so far on all platforms (Windows, macOS, iOS and Android), your first attempt at fixing this issue should be to ensure that you’re using the latest version of the app.
Note: This will not fix the issue if you are dealing with a common inconsistency or some kind of 3rd party interferences that is interfering with the connection to the Sonos Controller.
However, if this scenario looks like it could be applicable, follow one of the guides below (the one compatible with the platform you’re encountering the issue with) to update the Sonos App to the latest version.
Update Sonos app on Android
- Open the Google Play Store App.
- Use the action menu on the left to select the My apps & Games entry.
- From My apps & games, select the Updates tab and click on the Update button associated with the Sonos App.
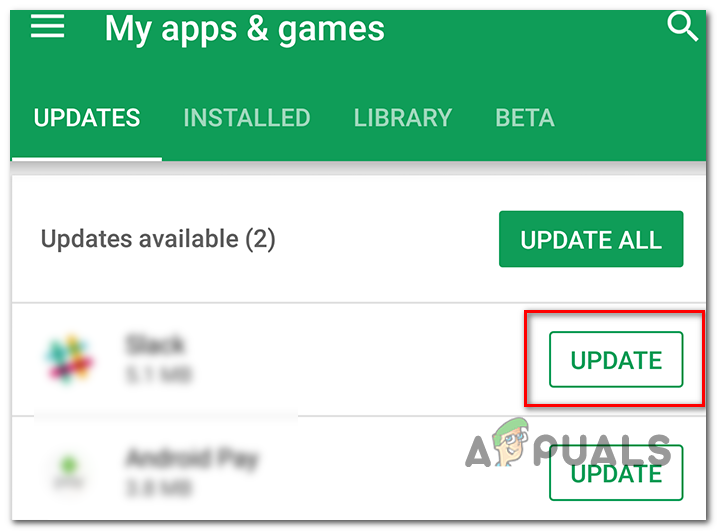
Updating the Sonos app on Android
Update Sonos app on iOS
- On your iOS device, open the App Store and tap on the Today button (at the bottom of the screen).
- From the next screen, tap your profile icon at the top of the screen.
- Next, scroll down to see all the available updates and click on the Update button associated with the Sonos app.
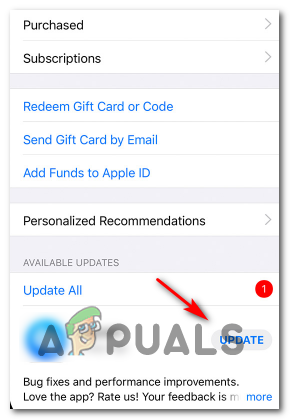
Update the Sonos app on iOS - Follow the on-screen prompts to complete the Sonos App update.
Update Sonos app on Windows
- Press Windows key + R to open up a Run dialog box. Next, type ‘appwiz.cpl’ and press Enter to open up the Programs and Features screen.

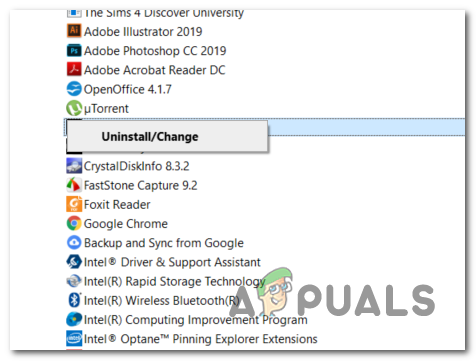
Type appwiz.cpl and Press Enter To Open Installed Programs Page - Inside the Programs and Features screen, scroll down through the list of installed applications, right-click on Sonos Controller and choose Uninstall from the newly appeared context menu.
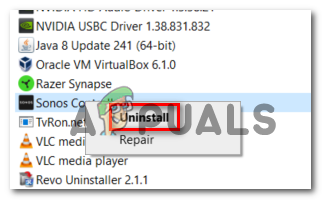
Uninstall Sonos on Windows - Follow the on-screen prompts to complete the installation, then restart your computer to complete the process.
- Once the next startup is complete, visit this link (here) and click on the Download the Windows controller button.
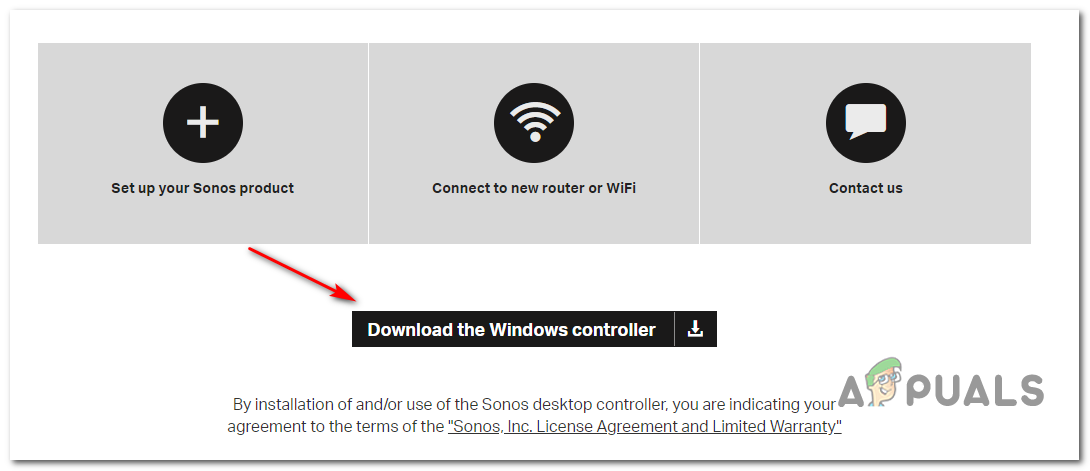
Downloading the Sonos app - After the download is complete, open the installer and follow the on-screen prompts to install the latest version of Sonos Windows Controller.
- Launch the app and see if you’re still encountering the same issue.
Update Sonos app on macOS
- Use the main navigation bar at the bottom to access the App Store.
- From the sidebar, click on Updates.
- Scroll down through the list of pending updates and click on the Update button that’s associated with the Sonos app.
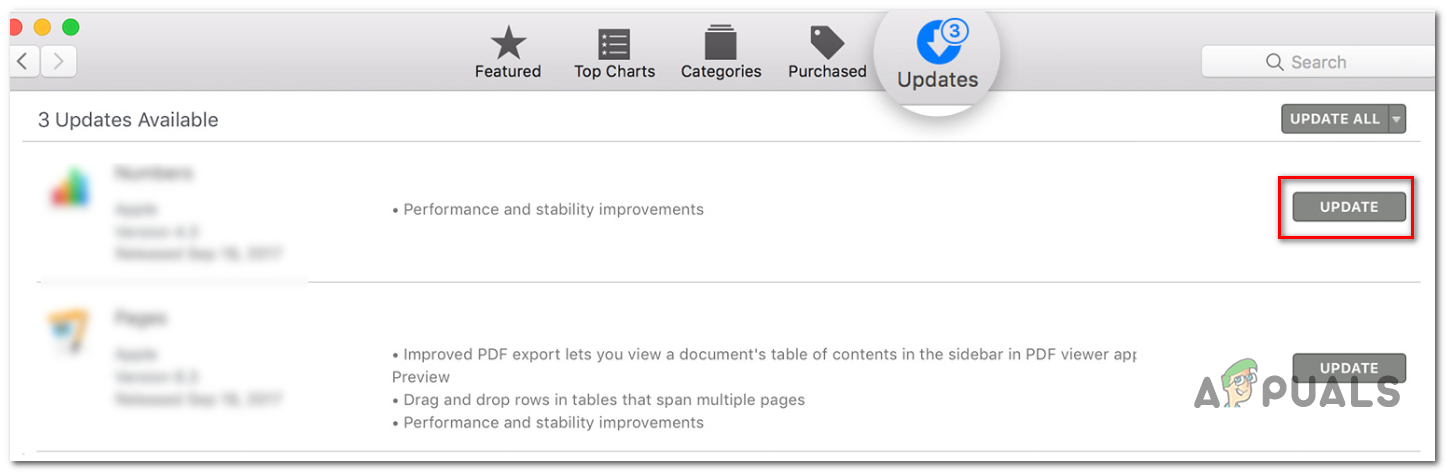
Updating the Sonos app on Mac - Follow the on-screen prompts to complete the update, launch the app again and see if the issue has been resolved.
Reboot or Resetting router/modem (if applicable)
If you’ve previously made sure that the Sonos app is fully updated but you’re still encountering the Sonos Error 1002, it’s also possible that the Sonos Controller is unable to forward media to your smart speakers due to a common network inconsistency.
In case this scenario is applicable, you should be able to fix the issue by rebooting or resetting your networking device (modem or router).
Our recommendation is to start with a simple reboot since this operation will not override any custom settings.
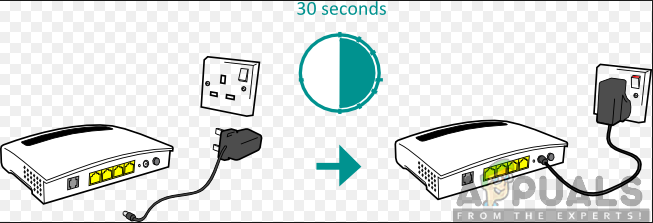
To do a simple reboot on your modem or router, simply go to your device and press the On / Off button (typically located on the back). After you press it once to turn it off, wait for 30 seconds or more before turning it back on in order to ensure that the power capacitors are completely rained.
Additionally, you can also physically unplug the device cable from the power outlet in order to ensure that the operation is completed successfully.
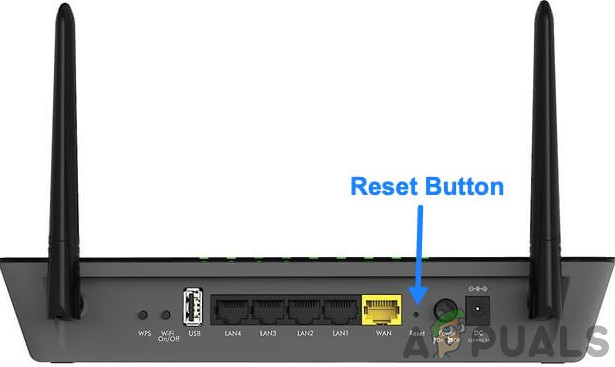
In case you’re still seeing the Sonos Error 1002 when forwarding media to the Sonos Controller despite rebooting your networking device, you should ty a router reset. But keep in mind that is operation will also reset any custom settings – Even login credentials from your router settings page.
In order to perform a router reset, use a toothpick, a needle (or any similar small sharp object) to reach the reset button on the back of your networking device. When you manage to reach it, keep it pressed for a minimum of 10 seconds (or until you see that every front LED starts flashing synchronously).
Allowing Local Services (TCP) service in your AV settings (if applicable)
If you’re using a 3rd party AV, it’s also possible that the Sonos Controller cannot be reached due to the fact that the Local Services (TCP) service is blocked in your AV settings. In this case, you will be able to fix the issue by reconfiguring your Packet Rules in order to allow the Local Services (TCP).
Of course, the steps of doing so will be different depending on the 3rd party Antivirus that you’re using.
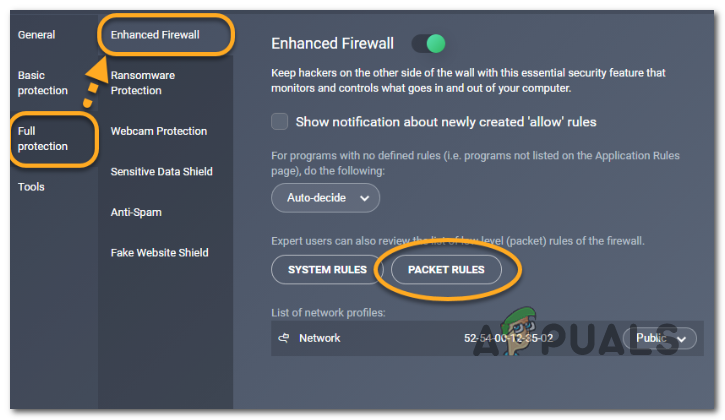
On Kaspersky (the A/V that’s most likely causing this error), you can do this by going to Settings > Full Protection > Enhanced Firewall > Packet Rules. Inside the Packet Rules menu, allow every instance associated with Local Services (TCP) and save the changes in order to resolve the issue.
Whitelisting Sonos or Uninstalling 3rd party Firewall
Keep in mind that an overprotective firewall can also be responsible for the apparition of this particular issue. This is confirmed to happen with both mobile (iOS, Android) & desktop (Mac, Windows) with a whole suite of different products that end up communications to the Sonos Controller due to some kind of false positive.
In this case, the ideal way to fix it is to check your Firewall settings and whitelist the Sonos app and the ports used by the application. But keep in mind that the steps of doing so will be different depending on 3rd party solution that you’re using.
Note: As opposed to a regular AV, disabling the real-time protection of your firewall will NOT fix the issue. The communication process trying to reach the Sonos Controller is already blocked, and disabling the AV will not change the ruleset. The only viable solution, in this case, is to uninstall.
If you’re encountering the issue on Android or iOS, the quickest and most efficient way of resolving the issue is to simply uninstall the firewall app that you’re using. Of course, the steps of doing so are specific to the operating system that you’re using.
But since the steps of uninstalling the 3rd party firewall on desktop (Mac and Windows) are a little more complex, we decided to feature separate guides to accommodate each user base.
Uninstalling the Firewall on Windows
- Press Windows key + R to open up a Run dialog box. Next, type ‘appwiz.cpl’ and press Enter to open up the Programs and Features menu.

Type appwiz.cpl and Press Enter to Open Installed Programs List - Once you’re inside the Programs and Features menu, scroll down through the list of installed applications and locate the 3rd party firewall solution that you’re using.
- Right-click on the 3rd party suite that you wish to remove and click on Uninstall from the newly appeared context menu.
Uninstalling Avast Firewall - Follow the on-screen prompts to complete the uninstallation, then reboot your computer and wait for the next startup to complete.
- Once the next startup is complete, follow the steps outlined in this article (here) to remove any remnant files from your AV that might still block some ports from being used.
Uninstalling the Firewall on macOS
- On your Mac, open the Finder App from the omnibar at the bottom of the screen.

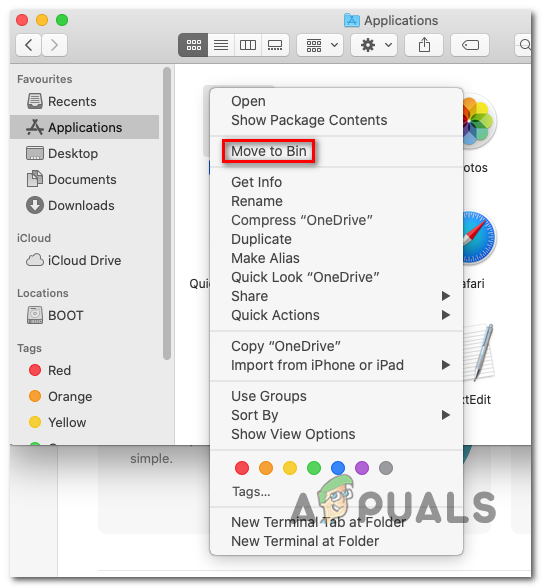
Opening the Finder App - Inside the Finder app, select the Applications folder and look for the app that you want to uninstall. Once you manage to locate the 3rd Party firewall that you wish to uninstall, simply right-click on it and click on Move to Bin from the newly appeared context menu.
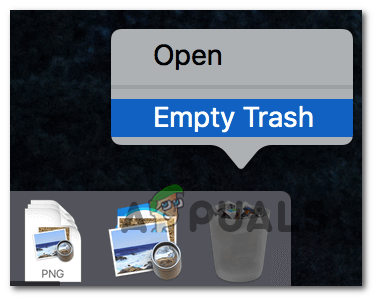
Uninstall the 3rd party AV - Next, right-click on the Bin icon from the same omnibar at the bottom of the screen and choose Empty Trash from the context menu.
Empty Trash on Mac - Once your firewall solution has been removed, repeat the action that was previously causing the Sonos Error 1002 and see if the issue is now resolved.
Adding fewer tracks to Queue
As it turns out, for most users affected by this problem, the Sonos Error 1002 appears whenever they try to add a very large number of songs into the queue at once from Spotify, Tidal, Pandora and other similar music streaming services.
If this scenario is applicable to you, you might be able to circumvent the issue by trying to forward the songs in several small batches.
According to affected users, this issue is only reported to occur in situations where the user tries to load a playlist that contains over 500 songs at once in the Sonos Queue.
As long as you don’t go over that number and the issue is not being caused by some kind of interference or network inconsistency, you should no longer encounter the ‘Sonos was unable to add to the music folder‘.


So, nice and straightforward!
I’ll let my 71 year old mother view this page…