How to Fix ShadowPlay not Recording Audio
ShadowPlay is one of the widely used software that is used to record gameplay. One of the great advantages of ShadowPlay is that it comes built-in with the Nvidia GeForce Experience. Although it is only available to Nvidia users, the popularity of the software cannot be denied. While this all great, there are still some issues that you may face with it. One of the issues that have affected many users is when the ShadowPlay captures the gameplay but does not record the audio of the gameplay alongside it. This makes the videos useless since they look dull and boring without the audio.
Now, this issue can be caused by some known reasons that we are going to mention in detail down below. One of the said causes of the problem turns out to be the default audio capture device for the Nvidia software. Basically, what happens is that Nvidia relies on the settings that you have specified on your Windows machine. So if you have an incorrect device selected as your input, it may result in the issue. Nonetheless, the issue is really easy to solve. However, before we get into that, let us first go through the different causes of the said issue.
- Nvidia Audio Device — As it turns out, in most of the cases, the issue is caused due to the incorrect audio device selected for the Nvidia category in your Windows sound settings. When this happens, there will be no audio since the device that Nvidia is using isn’t being used by you. In such a case, what you have to do is simply change the audio device for Nvidia in sound settings.
- System Sounds Turned Off — In some scenarios, the issue may present itself when your system sounds are set to zero. As Nvidia tries to record the system sound, it won’t be able to pick up anything if it has been disabled i.e. the value is set to zero. To fix this, you will have to increase the value of system sounds.
- Damaged Installation — Finally, another cause of the issue can turn out to be damaged installation of the Nvidia GeForce Experience software. You probably have noticed that Nvidia GeForce Experience comes with additional drivers for your audio and more. In some cases, if the files are damaged, the issue may occur and thus you will have to reinstall everything to resolve the issue.
Now that we have gone through the possible causes of the said, let us go through the various different methods that you can use to get the audio back on your ShadowPlay recordings. Follow through.
Method 1: Change Default Output Device for Nvidia
As it turns out, one of the reasons why your issue may occur could be due to the output device that is being used by Nvidia. This happens very often when you have multiple output devices and thus, as a result, the wrong output device is selected. Per the settings, Nvidia uses the default output device but if the output device that you are using is not the default one, then such issues are very likely to emerge. This can be easily fixed by changing the output device for Nvidia in Windows sound settings. To do this, just follow the instructions down below:
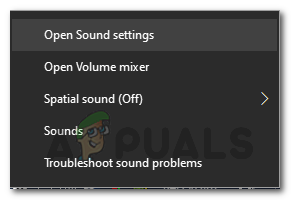
- First of all, on the bottom-right corner, right-click on the Sounds icon and then select Open Sound settings from the pop-up menu.
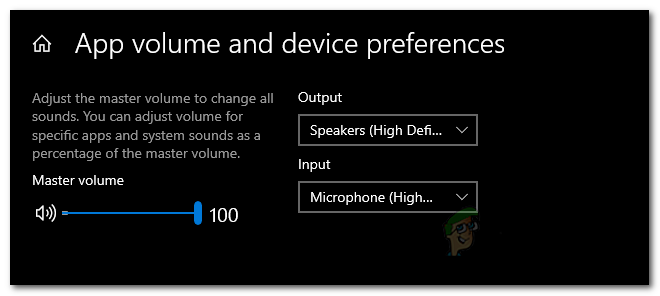
Sound Options - Scroll all the way down and then click the App volume and device preferences option.

Sound Settings - This will show you the devices that are being used by all the apps.
- Change the output device for the Nvidia app to the one that you are using.
- If you do not see Nvidia listed on this screen, you can just change the default output device to the one you are using.
- The defaults are located at the top, so just change it from there.
Default Sound Devices - Once you have done that, close the Settings window and then see if the issue persists.
Method 2: Change System Sounds Volume
In some cases, the issue can be caused by the system sounds volume on your Windows machine. As it turns out, Nvidia only records the system sounds, thus, if the volume of the system sounds is set to zero, Nvidia will not be able to capture the audio. In such a case, to circumvent the problem, you will have to change the volume of the system sounds. This is pretty easy to do. Follow the instructions down below to do this.
- First of all, right-click on the sounds icon at the bottom-right corner of your screen.
- Then, from the menu that appears, choose the Open Volume mixer option.
- This will bring up the Volume Mixer tab that shows the volumes of the different applications.
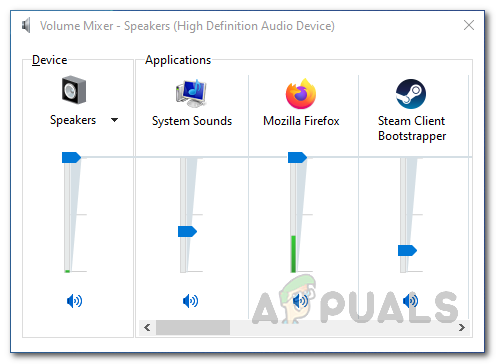
Volume Mixer - Under Applications, change the volume for System Sounds. Make sure it is not set to zero.
- Once you have done that, you can go ahead and close the Volume mixer tab.
- Now, go ahead and record a video using ShadowPlay to see if there is audio or not.
Method 3: Reinstall Nvidia GeForce Experience
Finally, if the above solutions do not work out for you, then this means the issue is related to the installation of the Nvidia GeForce Experience software. In such a scenario, you will have to completely uninstall the software from your machine and then download the latest version that is available. Once you have downloaded the latest version, you can install it to see if that circumvents the issue. To do this, follow the instructions down below:
- First of all, to uninstall the Nvidia GeForce Experience, open up the Control Panel by searching for it in the Start Menu.
- Once the Control Panel window opens up, click on the Uninstall a program option under the Programs option.
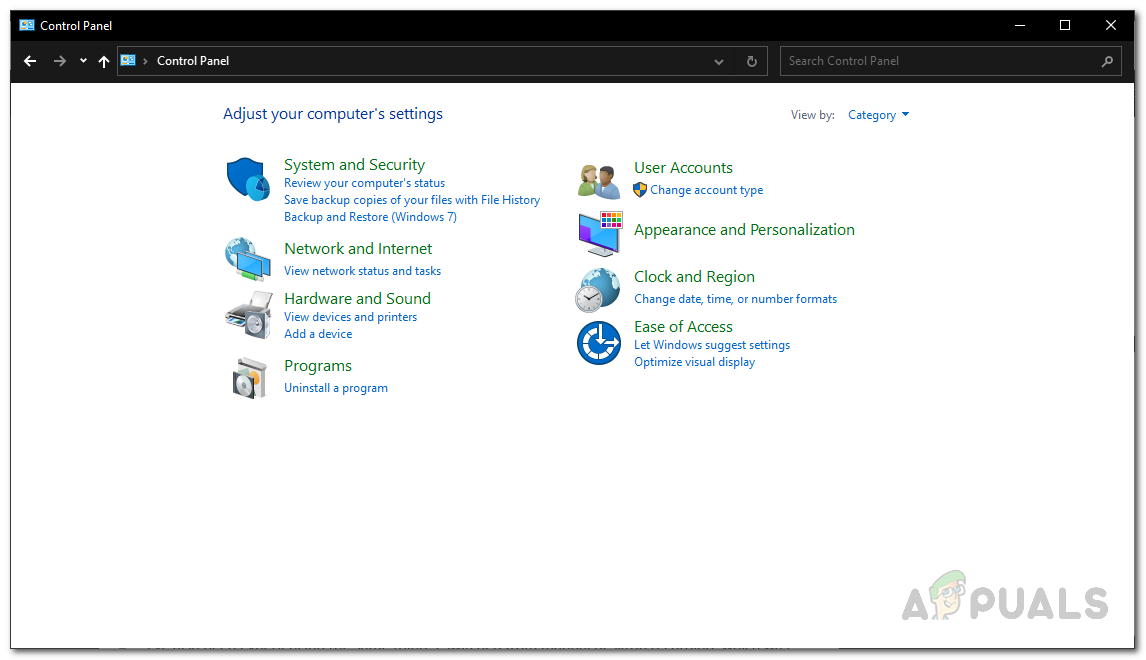
Windows Control Panel - There, you will be able to see a list of all the installed applications on your system.
- From the list shown, locate Nvidia GeForce Experience. Once you have located the app, double-click on it to uninstall it.
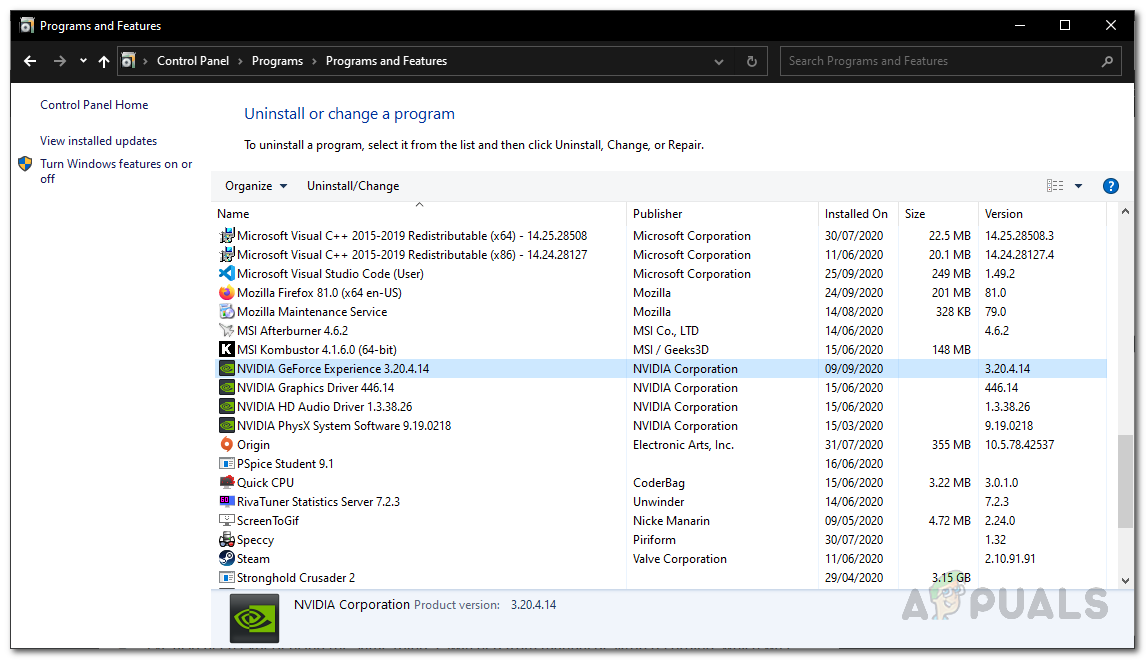
Uninstalling GeForce Experience - When you are prompted, click the Uninstall button to begin the removal.
- Once the app has been removed, make sure you remove the HD Audio and PhysX System software from Nvidia as well as they come with the Nvidia GeForce Experience.
- After that, head to the GeForce website and download the latest version of GeForce Experience.
- Install the application and then check if the issue has been resolved.

Thanks this pointed me in the right direction!