Fix: Black Screen after Installing Nvidia Graphics Driver in Windows
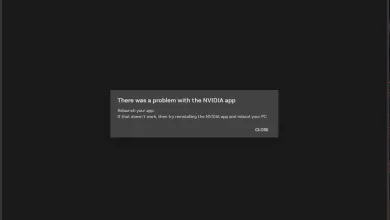
The Nvidia black screen issue occurs when a segment of users attempts to update their drivers through Nvidia Experience. Typically, affected users hear a ‘click’ noise before the screen goes black, and the installation is aborted. This problem is confirmed to occur on both Windows 10 and Windows 11.
This problem is most commonly caused by a DCH driver that throws this error when you try to update it with a standard Nvidia driver package. Other potential causes include a faulty GPU extender, custom BIOS firmware, or driver inconsistency.
Below, you have a list of confirmed fixes that can be deployed to resolve the black screen issue affecting Nvidia driver installations:
1. Replace the Nvidia DCH driver with standard drivers.
If you are using Windows 10 or Windows 11, there is a high likelihood that this issue is caused by the DCH driver.
Note: Numerous user reports confirm that the DCH driver from Nvidia causes significant instability when G-Sync is actively used or when users attempt to employ a variable refresh rate.
Since there’s nothing inherently different between the Nvidia Standard and the Nvidia DCH Display drivers that are packaged with the new universal Windows driver package, you can most likely avoid this issue entirely by replacing the DCH driver with the standard equivalent.
To do this, you will first need to use the DDU (Display Driver Uninstaller) tool to remove every remnant file from the DCH installation, and then install the Standard Nvidia Driver.
Here is a quick guide on how to do this:
- Open your preferred browser and visit the official download page of the DDU tool.
- Once you’re inside the correct location, scroll all the way down to the ‘Download Locations‘ menu and use one of the available download mirrors to download the Display Driver Uninstaller package.
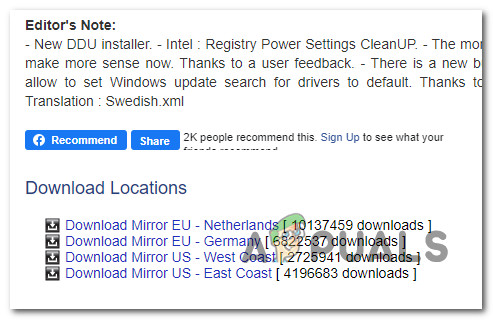
downloading the DDU package - Once the download is complete, extract the contents of the zip file.
- Next, unplug the internet cable from your PC or disconnect it from the Wi-Fi network.
Note: This is necessary to prevent your OS from reinstalling the DCH drivers before you complete this procedure. - Press Windows key + R to open up the Run box.
- Type ‘appwiz.cpl‘ and press Ctrl + Shift + Enter to open the Programs and Features menu.
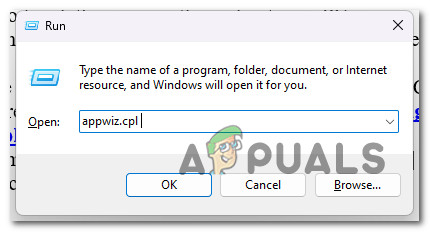
Open the Programs and Features menu - At the User Account Control (UAC), click Yes to grant admin access.
- Inside the Programs and Features menu, click on the Publisher column to arrange all installed programs based on their publisher.
- Once the list is ordered correctly, scroll down to all the currently installed Nvidia drivers and uninstall everything systematically by right-clicking each item and selecting ‘Uninstall.’
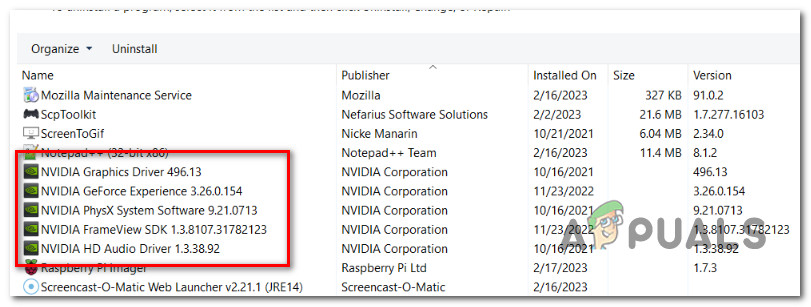
Uninstall every Nvidia driver Note: Keep in mind that while you are conducting this procedure, some screen flickering is to be expected. Don’t worry, as this is completely normal.
- Next, reboot your PC in safe mode to ensure that the Display Driver Uninstaller will run with maximum efficiency.
- Once your PC boots in Safe Mode, right-click the main DDU executable and click ‘Run as Administrator.’
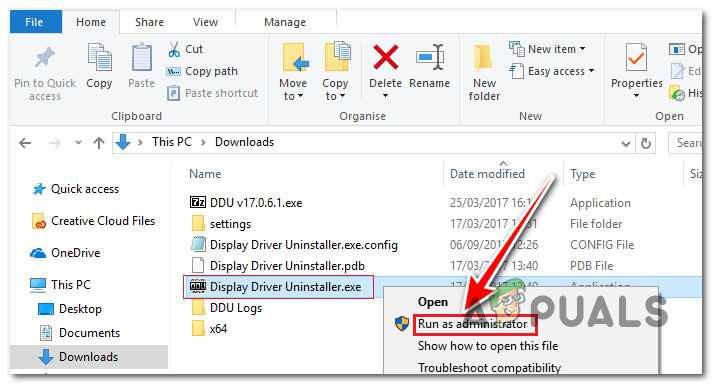
Run DDU as administrator - From the UAC (User Account Control) context menu, click on Yes to grant admin access.
- At the first DDU screen, select your GPU from the drop-down menu (under Select Device Type).
- Next, click on Clean and restart to begin the process of cleaning up your DCH Nvidia driver.
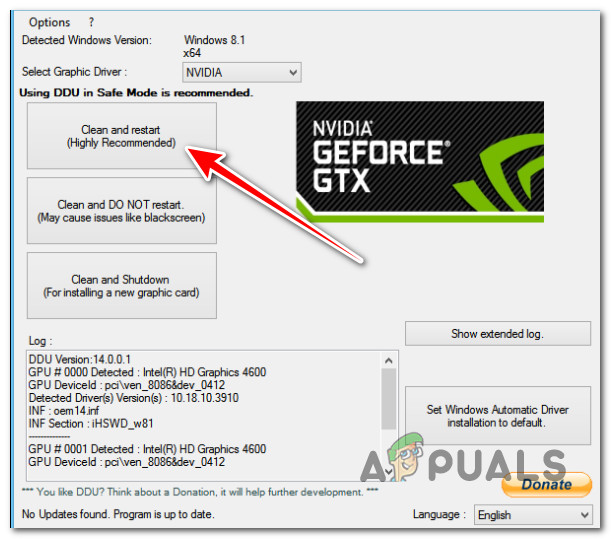
Clean and restart as administrator - Once the operation is complete, restart as instructed.
- At the next startup, reconnect your internet cable or connect to Wi-Fi again, and access the official Nvidia download directory.
- Scroll down to the NVIDIA Driver Downloads section and select the Product Type, Product Series, Product, Operating System, and Language according to your particular scenario.

Downloading the Standard Nvidia driver Note: In this directory, you will only find standard Nvidia drivers, so you won’t run the risk of reinstalling the DCH driver.
- Click the Search button and wait until the list of compatible drivers is generated.
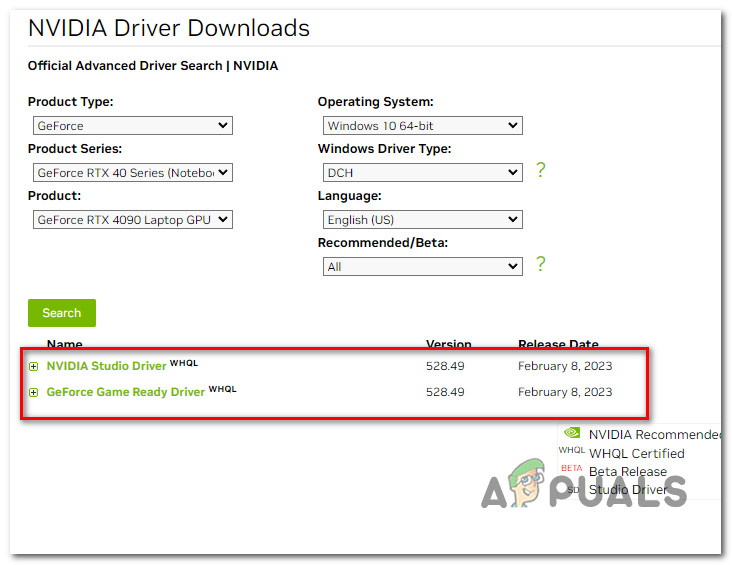
Download the correct driver Note: Depending on what you are using your GPU for (gaming or video editing/rendering), select either the NVIDIA Studio Driver or the GeForce Game Ready Driver. Avoid downloading the Beta Release driver, as it is often unstable and may cause additional issues.
- Click on the driver that you want to download, then click on the associated Download button.
- After the driver has been downloaded locally, open it with administrator access and follow the on-screen prompts to install it locally.
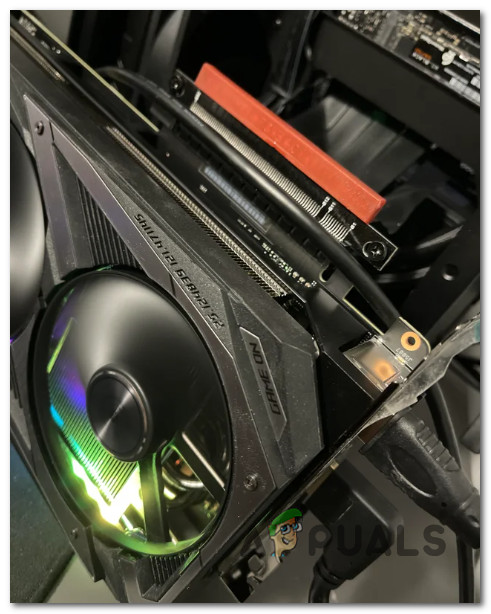
2. Replace the GPU extender (if applicable).
If replacing the DCH driver with the standard Nvidia drivers didn’t work in your case and you’re using a GPU extender, there’s a high chance you’re dealing with a hardware issue.
There are many faulty GPU extenders out there, which have now been confirmed to cause this problem intermittently, regardless of your GPU manufacturer.
If you are using a GPU extender, get in contact with the retailer that sold it to you and see if you are eligible to send it back. Chances are, if you bought it from Riser, you can take advantage of the callback program and return it even if your warranty is void.
3. Revert to standard BIOS (if applicable).
If you previously had a custom BIOS installed specifically for your overclocking needs, this is likely the cause of the black screen you are experiencing.
Customized BIOS flashes are known to conflict with new NVIDIA update drivers especially since they changed their packaging method.
If this scenario is applicable, you can fix the issue by reflashing your BIOS with the original BIOS flash provided by your manufacturer.
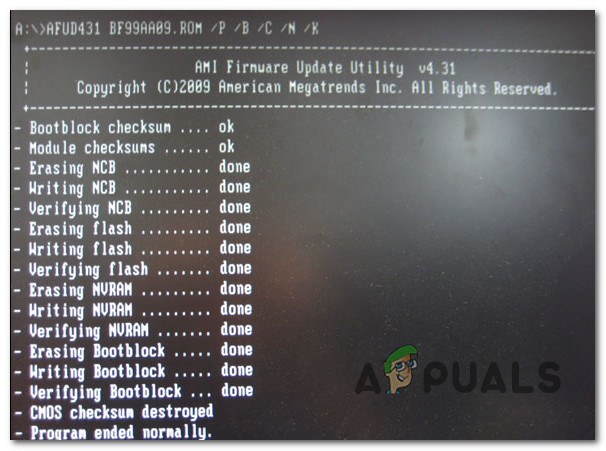
Important: This operation will vary depending on your motherboard manufacturer. Consult the official documentation before attempting to flash your BIOS. If you have never done this before, leave this task to a certified professional, as you run the risk of bricking your motherboard.
4. Add the NoLockScreen to the registry (if applicable).
If the screen goes black immediately after you reach the initial login screen, where you need to log in with your user account, you might be able to circumvent the issue completely by disabling the lock screen entirely with a minor registry tweak.
Important: Exercise caution while modifying the registry. Inadvertently removing or altering registry values may render your computer unstable. It is recommended that you back up your registry beforehand.
- Press the Windows key + R to open up a Run dialog box.
- Next, type ‘regedit‘ and press Ctrl + Shift + Enter to open the Registry Editor with admin access.
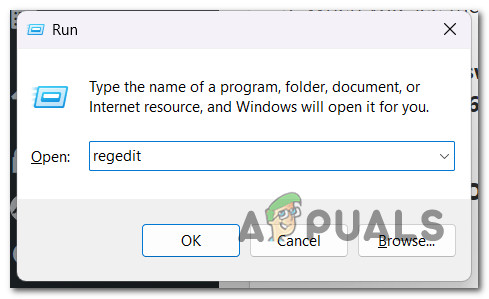
Open up the Registry Editor - When you see the User Account Control (UAC), click ‘Yes‘ to grant administrative privileges to the Registry Editor.
- Inside the Registry Editor, navigate to the following location:
HKEY_LOCAL_MACHINE\SOFTWARE\Policies\Microsoft\Windows\Personalization
Note: If the Personalization key doesn’t exist, right-click on the Windows key and click on New > Key to create it.
- Inside the Personalization key, right-click on an empty space and click on DWORD (32-bit) Value.
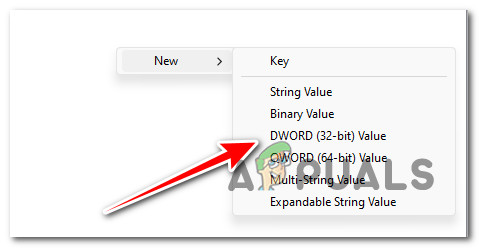
Create a new DWORD value - Rename the newly created DWORD to ‘NoLockScreen’, then double-click on it and set its base to Hexadecimal and its value data to 1.
- Click OK to save the changes then restart your PC and see if the issue is now fixed.
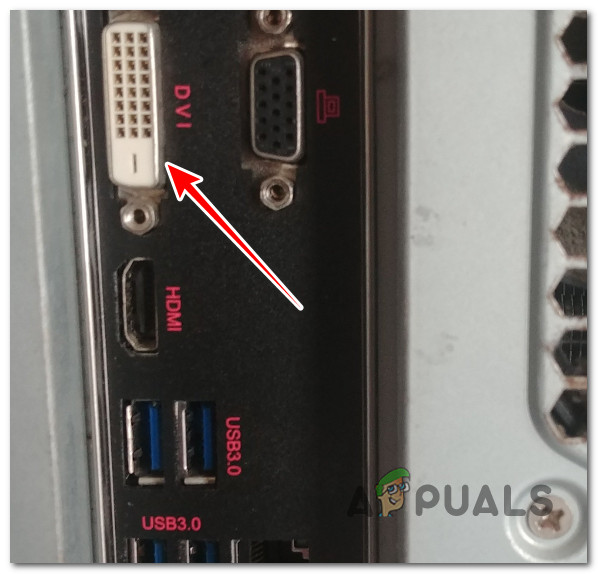
5. Connect to the VGA output (if applicable).
If your GPU has a VGA output and your display is compatible, try connecting your monitor using the VGA output to see if you finally receive a signal.
Chances are, you’ll find that all functions are working properly while you’re connected via VGA.
If this workaround works, simply use the VGA connection until a new driver version is available for your NVIDIA GPU. When a new update becomes available, follow the update instructions and check if the problem is resolved afterward.