NVIDIA Shadowplay Not Recording? 11 Quick & Easy Fixes
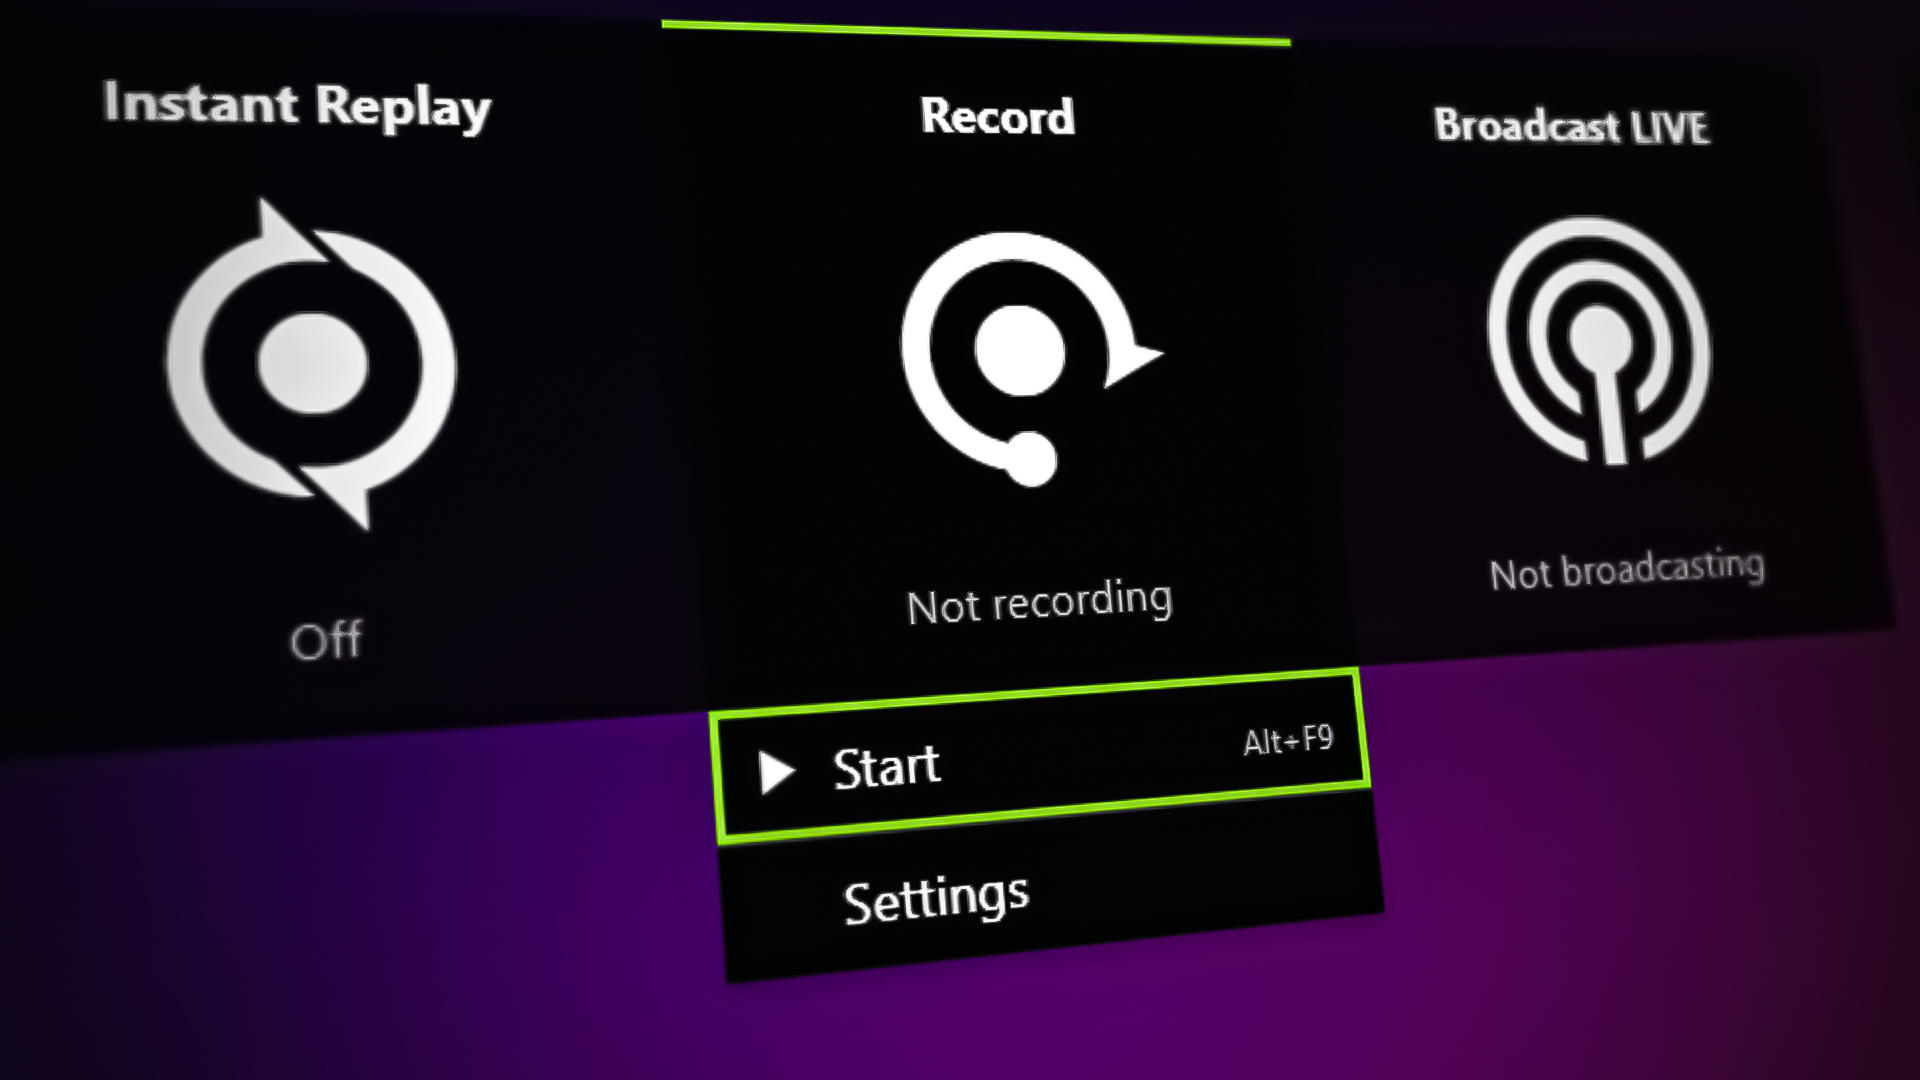
When trying to use NVIDIA Shadowplay to record their gameplay, many users encounter an issue where Shadowplay fails to record their display. Meaning that when they try to use the Instant Replay or Record option in the In-Game Overlay, no video file is saved on their PC.
To allow Shadowplay to record your screen, you must have the Desktop Capture option enabled, which can be found in the Privacy Control section in GeForce Experience. Furthermore, you also need to be using the latest version of your Graphics Card drivers, as older drivers can be incompatible with Shadowplay.
After performing a deep investigation into this issue, we’ve found many more effective and easy-to-perform solutions for the error. Below, we’ve listed down the 11 best fixes to help you resolve this problem.
1. Check the System Requirements of NVIDIA Shadowplay
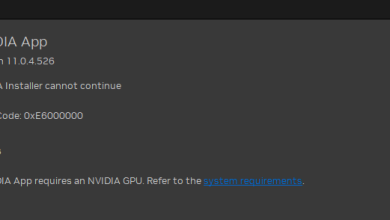
The Shadowplay feature of GeForce Experience is not supported by all CPUs and GPUs. NVIDIA has given a list of hardware that is supported by Shadowplay on their website. So the CPUs and GPUs that are not on the list are incompatible with the feature.
If you want to use this recording service, your system’s hardware must meet the system requirements, which we’ve shown below.

If your hardware is not listed in the table above, you will need to upgrade your system to be able to use Shadowplay.
2. Enable the NVIDIA In-Game Overlay and Allow Desktop Capture
The first solution to this issue is to ensure that you have enabled the GeForce Experience In-Game Overlay and allowed Desktop Capture on your system. If you already have these features enabled, skip to the next solution.
The In-Game Overlay is part of the NVIDIA GeForce Experience program. This overlay is needed to be able to access the Shadowplay features. If you have it disabled, you will not be able to record your gameplay.
After enabling the overlay, it’s crucial to also enable the Desktop Capture within it. If this option is disabled, Shadowplay will be blocked from recording your desktop.
To enable the GeForce Experience In-Game Overlay, follow the steps we’ve listed below:
- Press the Windows Key, type GeForce Experience, and press enter.

Opening GeForce Experience - Click on the gear icon at the top-left corner of the program Window.

Opening GeForce Experience Settings - Enable the In-Game Overlay setting.

Enabling the In-Game Overlay - Close GeForce Experience.
Now that the overlay is enabled, the next step is to allow Desktop Capture on your system. Follow the steps written below to do so:
- Open the overlay by pressing Alt + Z at the same time.
- Click on the gear icon at the right corner of the overlay.

Opening Settings - Scroll down in the list of settings and click on “Privacy Control.”

Opening Privacy Control - Allow Desktop Capture.

Enabling Desktop Capture
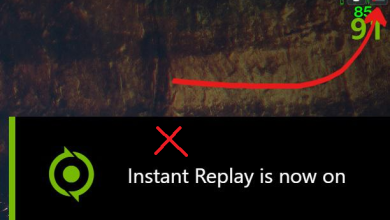
Now that you have both of these settings enabled, try using the “Instant Replay” or “Record” option in the overlay. If it still fails to record your gameplay, continue with the next solution below.
3. Reactivate the GeForce Experience In-Game Overlay
Simply disabling and then re-enabling the GeForce Experience In-Game Overlay feature can fix this issue as doing this reinitializes the components and services required to run Shadowplay such as Nvidia Container. So before you try any complex solutions, you should try reactivating your in-game overlay as it may be a quick and easy fix to the problem.
Follow the steps below to reactivate the In-Game Overlay:
- Open the GeForceExperience app.
- Open Settings by clicking on the gear icon at the top-left corner.
Opening GeForce Experience Settings - Disable the In-Game Overlay.
Enabling the In-Game Overlay - Re-enable it.
- Close GeForce Experience.
After reactivating the In-Game Overlay, try recording a clip using Shadowplay. If the feature continues to not work, don’t worry as we’ve listed more fixes below.
4. Disable the Broadcast Feature
The Broadcast feature present in the In-Game Overlay menu can sometimes conflict with the Instant Replay/Record feature and prevent it from functioning properly.
So another quick fix to this problem is to disable the Broadcast feature from the menu. Follow the steps below to do so:
- Open the overlay by pressing Alt + Z at the same time.
- Click on the gear icon at the right corner of the overlay.
Opening Settings - Scroll down in the list of settings and click on the “Broadcast LIVE” option.

Opening Broadcast Settings - Disable the Broadcast feature.

Disabling the Broadcast feature
5. Update GeForce Experience to the Latest Version
If you are not using the latest version of GeForce Experience, it might be the leading cause of the problem you’re facing. Outdated versions of GeForce Experience can have compatibility issues with newer hardware, so they can prevent Shadowplay from recording gameplay on a system.
GeForce Experience usually updates itself automatically, but if the app is not used for an extended period of time, the automatic update may not happen.
So to ensure that your GeForce Experience is updated to the latest version, all you need to do is launch the app and keep it open for a while. Within a few minutes (if you are connected to the internet), the app will automatically detect that it is not updated to the latest version.
It will then trigger an update, which will be completed in 2-3 minutes. If you try this method and no update is triggered, it means that the app is already updated to the latest version.
6. Update GPU Drivers
If the drivers of your NVIDIA Graphics Card are not updated to the latest version, they are most likely the main cause of the recording error you’re facing. To record your gameplay, you must keep your GPU drivers updated to the newest version.
To check whether you are using the latest drivers for your GPU, open the GeForce Experience app and navigate to the Drivers section. If there are new drivers available to download, it means that you are using outdated drivers.
And if you do not see any new drivers available in this menu, it means that you’re already using the latest drivers for your GPU. In this case, you should skip to the next solution.
Before you download the new drivers, it’s a good idea to wipe (delete) the current drivers from your system. This will ensure that the current drivers do not conflict in any way with the new ones that you’re about to install, as this can cause further unwanted issues.
6.1 Uninstalling Current Drivers
To uninstall the GPU drivers currently installed in the system, it’s best to use a program called Display Driver Uninstaller (DDU). DDU is far superior to the native Windows driver uninstaller because it ensures that not a single trace of the driver remains in the system after the uninstallation process.
To download DDU on your system, visit their official website and press the download button at the very bottom of the page. After DDU is downloaded, you must boot your PC into Safe Mode before you use it to delete the drivers. This will help further ensure that the drivers are uninstalled as safely as possible.
Follow these steps to boot Windows into Safe Mode:
- Open the Start menu by pressing the Windows key.
- Right-click on the Power icon, hold the Shift key on your keyboard, and click on Restart.
- Click on Advanced Options in the Troubleshoot screen.

Selecting Advanced Options - Click on Startup Settings in the Advanced Options screen.

Selecting Startup Settings - Press the Restart Button.

Restarting your PC - Wait for your PC to restart.
- Press F4 to boot Windows into Safe Mode.

Selecting Safe Mode
After your PC restarts, open DDU and set the device type to GPU and the brand name to NVIDIA. After that, click on the “Clean and Restart” button at the top to start uninstalling the drivers. After a couple of minutes, the drivers will be wiped from the system.

6.2 Installing New Drivers
To install the new drivers, simply open the GeForce Experience app and navigate to the Drivers section again. From there, you’ll be able to download and install the latest drivers for your Graphics Card. After your drivers are updated, you should be able to start recording your gameplay.

7. Check your Disk Space
If the disk where your Shadowplay is configured to save recordings is low or completely out of space, it will be unable to save any of your replays. You need to have a plentiful amount of free space in your designated disk for your replays to be saved without any issues.
Therefore, the next solution to this problem is to check whether your designated disk for Shadowplay has enough available space.
If you’re unsure where your Shadowplay recordings are being saved, follow the steps below to figure this out:
- Open the GeForce Experience Overlay by pressing Alt + Z at the same time.
- Open Settings by clicking on the gear icon at the right corner of the overlay.
Opening Settings - Click on the “Recordings” tab.

Opening Recording Settings - Copy the location under “Video.”

Finding the Save Location - Open File Explorer, paste this address into the address bar, and press enter.
This will open the folder where your recordings are saved. Now, simply check the amount of available space in the disk where this folder is saved.
If the disk is running out of space, right-click on the disk, select “Properties”, then click on Disk Cleanup. This tool will scan your disk for junk files and folders, and allow you to easily delete them. But before you delete all the files/folders, remember to check through the list to ensure that you aren’t deleting anything important.

After you’ve freed up enough disk space, try using Instant Replay and check whether it saves the recording. If your recordings are still not being saved, move on to the next solution below.
8. Restart the NVIDIA Streamer Service
The NVIDIA Streamer Service is a crucial component of GeForce Experience. It allows the program to be able to capture screenshots, record footage, and stream on Twitch, YouTube, and other platforms.
So if you want to record or stream your gameplay using GeForce Experience, you have to ensure that the NVIDIA Streamer Service is enabled and running. If the service is disabled, Shadowplay will not work on your system.
To ensure that the service is always running on your computer, you will have to set its Startup TypetoAutomatic in the Windows Services menu. Follow the steps below to do so:
- Open the Run dialog box by pressing Windows Key + R at the same time.
- Type services.msc in the search bar and press enter.

Opening Services - Look for NVIDIA Streamer Service in the list of services.
- Right-click on the service again and select Properties.
- Set the Startup Type to Automatic.

Setting Startup Type to Automatic - Click on Apply and press OK.
If the service was already set to start automatically, you can try restarting the service as it can sometimes malfunction. To restart the service, simply right-click on it again in the list of services and select the “Restart” option.
9. Close Background Programs and Other Overlays
Another simple fix to this solution is to simply close all unnecessary background programs and other overlays while trying to record your gameplay.
You may have a browser open in the background that has copyrighted content playing, such as a Netflix or Amazon Prime movie. If this is the case, then Shadowplay will not record your gameplay, as it has been configured by NVIDIA to not capture the user’s screen if they have this kind of copyrighted content playing.
Therefore, close all browsers and other unnecessary programs and then try using Instant Replay or the Record option.
If that doesn’t resolve the problem, check whether you have any other overlays enabled on your system. The overlays of other programs like Discord, Steam, and Xbox Game Bar could conflict with the GeForce Experience In-Game Overlay, and cause its features to not work properly.
To disable the Discord Overlay, follow these steps:
- Open the Discord app and click on the gear icon in the bottom-left corner of the Window (next to your username).

Opening Discord Settings - Scroll down to the Activity Settings section and disable the in-game overlay feature.

Disabling the Discord Overlay
To disable the Steam Overlay, follow these steps:
- Open the Steam app and click on the small Steam button in the top-left corner of the Window.

Opening Steam Settings - Select the “Settings” option.
- Navigate to the In-Game tab.
- Remove the checkmark next to the “Enable the Steam Overlay while in-game” option.

Disabling the Steam overlay
To disable the Xbox Game Bar Overlay, follow these steps:
- Press Windows Key + I at the same time to open Settings.
- Click on the Gaming option.

- Disable the Xbox Game Bar.

Disabling the Xbox Game Bar
10. Add an Exception for GeForce Experience in your Antivirus Settings
The Antivirus program installed on your system could potentially flag GeForce Experience as a dangerous program and block its features from functioning.
It’s possible that your Antivirus is considering the recording process as suspicious activity and blocking it. To ensure that this doesn’t happen, you must add an exception for GeForce Experience in your Antivirus settings.
To open your Antivirus program’s settings menu, follow these steps:
- Open the Start menu by pressing Windows Key.
- Type Windows Security and press enter.

Opening Windows Security - Navigate to the Virus & Threat Protection section.
- Click the “Open App” button.

Opening Antivirus Menu
This will open your Antivirus program’s settings menu where you can add an exception for GeForce Experience.
If you don’t see an option in the menu to add the exception, the alternative is to simply disable the Antivirus program for a limited period of time. While the Antivirus is disabled, you can check whether the issue with Instant Replay has been resolved.
If the recording starts working while you’ve disabled your Antivirus, then the Antivirus is the root cause of the problem. In this case, you can try installing another Antivirus on your system that works without causing any issues with Shadowplay.
If you’re unsure which Antivirus program is the best one for you to install, see our guide where we’ve listed the best Antivirus programs available online.
11. Reinstall GeForce Experience
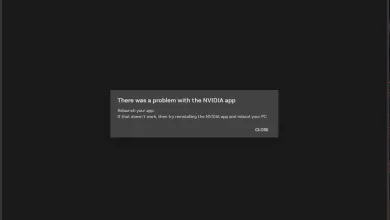
If none of the above solutions have resolved the recording issue, then your GeForce Experience app itself is most likely bugged. The app may be outdated but unable to update itself to the latest version, or some sort of corruption could have happened while the app was updating.
Therefore, the final fix to the problem is to do a fresh install of GeForce Experience. This will ensure that the app is updated to the latest version and is free from any bugs.
Follow the steps written below to reinstall GeForce Experience:
- Open the Run dialog box by pressing Windows Key + R at the same time.
- Type appwiz.cpl in the search bar and press enter.

Opening the Programs and Features menu - Right-click on NVIDIA GeForce Experience in the list of apps and press uninstall.
- Visit NVIDIA’s official website after it is uninstalled and re-download it from there