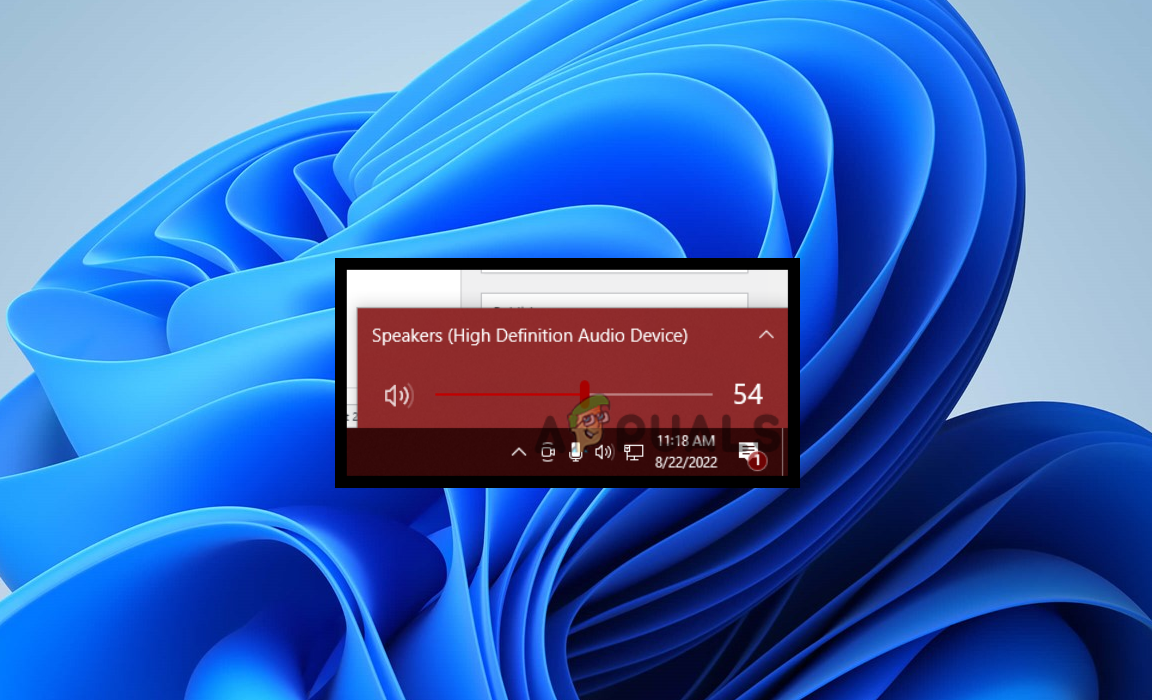
How to Fix Volume Automatically Going Up/Down on Windows?
The volume automatically going down or up can be an issue coming from software conflicts or defective audio drivers. Based on our research, the primary cause of this issue is the clash between applications provided by GPU and motherboard vendors. While these applications are designed to keep hardware drivers up-to-date, they can occasionally contribute to this audio fluctuation problem.
Below, we have detailed explanations for the potential causes:
- Applications Conflict with Hardware Vendors- Hardware vendor applications may conflict with Windows sound management, especially during gaming sessions, resulting in irregular volume levels.
- Corrupted or Defective Realtek Drivers- It has been discovered that corrupted or defective Realtek audio drivers can contribute to this issue. An update from Realtek was reported to be faulty and a probable cause of the problem.
- Enabled Communication Activity- This feature automatically lowers the volume by 80 to 50 percent based on your settings to facilitate clearer communication. Despite its usefulness, it can sometimes result in unexpected volume changes.
- Stopped Windows Audio Service- If the Windows Audio Service is disabled, sound output from the computer will stop.
- Enabled Enhancements- Although sound enhancement features can improve audio quality, they can also lead to sound issues in certain scenarios.
- Software Conflicts- Unidentified third-party applications, including those from vendors, can cause conflicts. To resolve this, a clean boot is advised.
1. Remove Causing Apps from Hardware Vendor Applications
When a vendor-supplied application is connected with your system’s audio settings, it can unintentionally cause fluctuations in volume. By identifying and removing these conflicting applications, you eliminate the possibility of them overriding your audio preferences, thus stabilizing your volume levels.
- Open the Vendor Application and navigate to Scenario Profiles on the left.
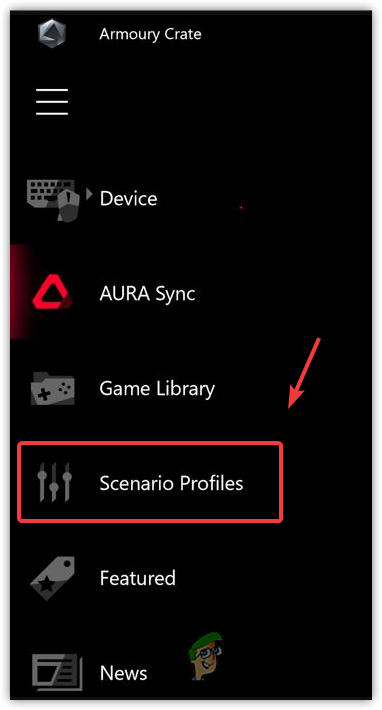
Go to Scenario Profiles - Remove the conflicting app from the scenario profiles and verify if the issue still occurs.
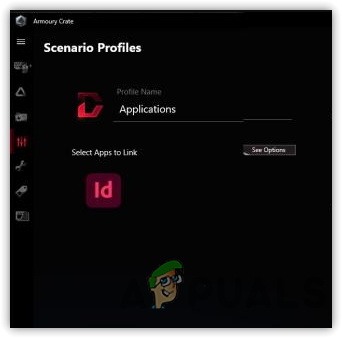
Remove Applications From Scenario Profiles
2. Re-install Audio Driver
Defective audio drivers may be the cause of the issue. When you uninstall and re-install the driver, you’re essentially refreshing the software that enables your computer’s audio to function properly. This can clear up any inconsistencies or errors that were causing the volume to adjust irregularly. By reinstalling the audio driver, your system gets a fresh start to work with, which may eliminate the volume control issue you’re experiencing.
- Press Windows + R to launch the Run dialog box.
- Type devmgmt.msc and click OK.
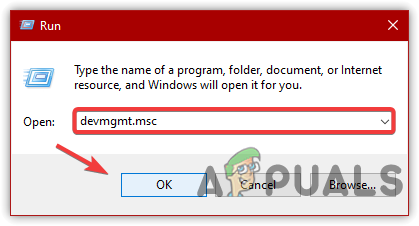
Head to the Device Manager - Expand the Audio inputs and outputs section.
- Right-click on the Realtek audio driver and select Uninstall Device.
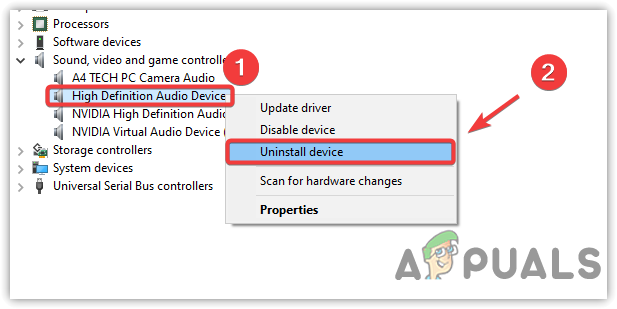
Uninstalling Audio Driver - Restart your computer to automatically reinstall the audio driver.
- Afterward, check if the issue has been resolved.
3. Disable Communications Activity
Communications Activity is a Windows feature that adjusts application volumes during communications. When activated, this feature automatically lowers the volume of other sounds when the system detects communication activity, like a phone call or conference call. By toggling this setting off, you prevent Windows from making these automatic adjustments, thus maintaining a steady audio level.
- Right-click on the audio icon in the system tray and select Sounds.
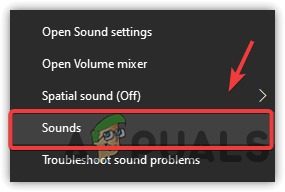
Click Sounds - Choose the Communications tab and select Do Nothing.
- Click Apply then OK.

Disable Communication Activity - Check if the automatic volume changes have been fixed.
4. Perform a Clean Boot
When you perform a clean boot, Windows starts with a minimal set of drivers and startup programs. This simpler environment eliminates any interference from non-essential applications, which can sometimes be the reasons behind your persistent audio issues. By running only the core components, you’re better able to identify if a background program is the root cause of the volume fluctuations.
- Press Windows + R to open the Run dialog box.
- Enter msconfig and click OK.
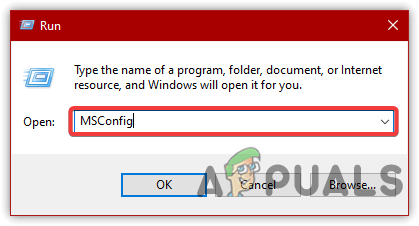
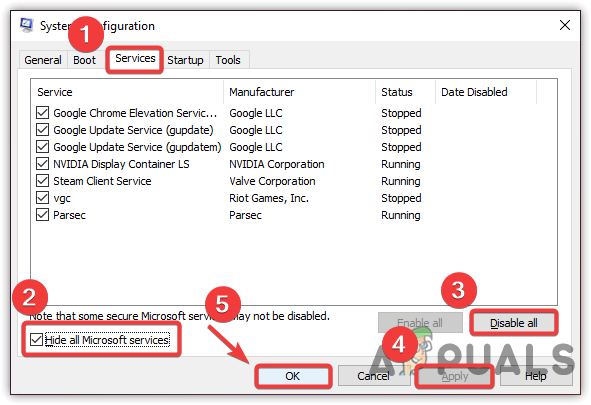
Navigating to MS Configuration - Select Selective Startup and switch to the Services tab.

Select Selective Startup - Tick the Hide all Microsoft services checkbox.
- Click Disable all.
- Apply the changes and click OK.
- Restart your computer and check if the volume fluctuation persists.
5. Disable Audio Enhancements
These enhancements are designed to improve audio quality; however, they can sometimes interfere with the normal processing of audio signals, leading to unexpected volume fluctuations or other audio issues. By disabling them, you allow the sound to flow without changes through your system’s default processing pathway, which can eliminate these conflicts and restore consistent audio playback.
- Right-click the sound icon on the taskbar and select Sounds.

Click Sounds - Switch to the Playback tab.
- Right-click on your default playback device and choose Properties.

Navigating to Sound Properties - In the Enhancements tab, check the Disable all enhancements box.
- Click Apply and then OK.
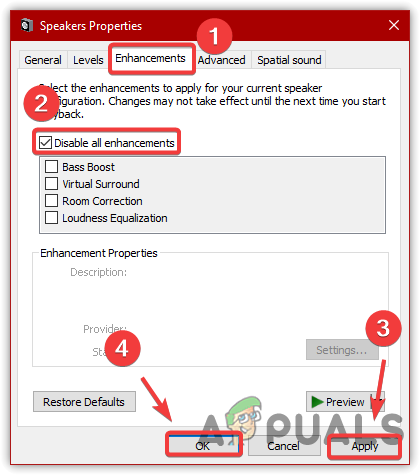
Disabling Audio Enhancement - Test the application causing the issue to see if it has been resolved.
6. Run Playing Audio Troubleshooter
Audio troubleshooter can automatically adjust settings, reinstall drivers, and remove conflicts that might interfere with the smooth operation of your audio output, thereby improving your auditory experience with minimal user intervention.
- Open Settings by pressing Windows + I.
- Navigate to Update & Security.
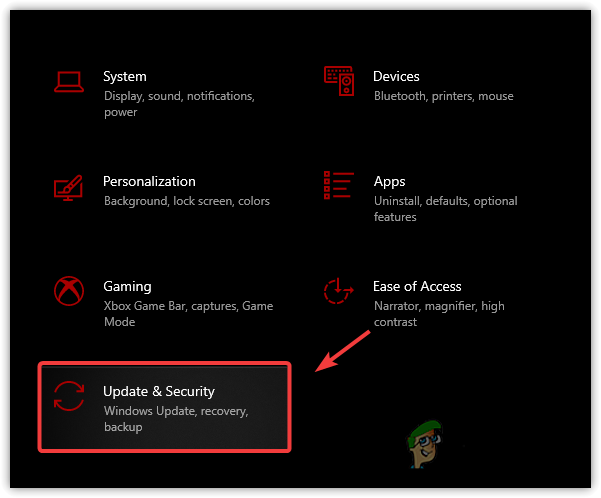
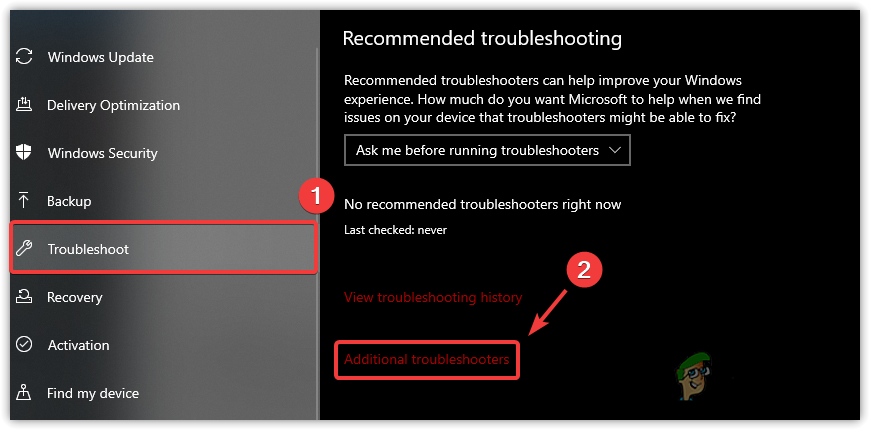
Go to Update & Security - Click on Troubleshoot on the left panel.
- Select Additional troubleshooters.
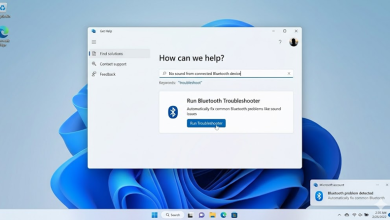
- Choose Playing Audio and click Run the troubleshooter.
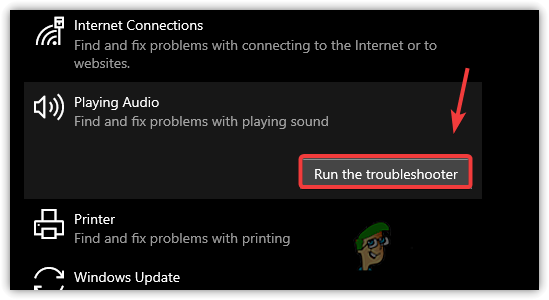
Running Playing Audio Troubleshooter - Follow the on-screen instructions to resolve any detected issues.
- Check if the audio is now stable.
7. Restart Windows Audio Service
The Windows Audio Service acts as the foundation for all sound-related functions on a Windows system. When it malfunctions or stops unexpectedly, the audio can become unpredictable, leading to volume fluctuations. By rebooting this service, you’re basically resetting its configuration to default and clearing any temporary glitches that might have been causing this behavior.
- Press Windows + R to open the Run utility.
- Type services.msc and hit Enter.
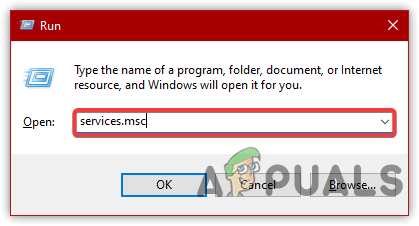
Go to Services Window - Scroll down to find Windows Audio and double-click it.
- Set the Startup type to Automatic if not already selected.
- Click Start to initiate the service if it’s not running.
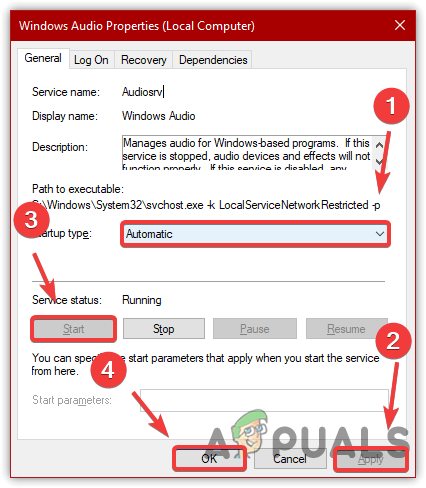
Restarting Windows Audio Service - Confirm your changes by clicking OK and check for resolution of the issue.


Generic Windows driver (method 3) solved my problem, thanks!!
It was an unexpected reduction in the sound of recordings, mostly associated with the oments when I was typing at my laptop. Windows 10 with Voice Recorder and the Realtek audio driver from 2018.