How to set up, track, and troubleshoot your AirTags?
AirTags: Set Up in Seconds, Track for Years
 Reviewed by Huzaifa Haroon
AirTags are coin-sized trackers that use Apple’s Find My network to help you track down your lost items. They rely on nearby Apple devices to communicate with the company’s servers, so you can locate an AirTag whenever there is an online Apple device nearby.
AirTags can be attached to your belongings and tracked using the Find My app on your Apple device. AirTags are a great way to keep track of your possessions and to prevent them from getting lost. They are also an excellent means to find your lost items if they do go missing. Setting up an AirTag is easy and straightforward.
What you will need:
- An AirTag
- An iPhone or iPad with iOS 14.5 or later
- A Mac with macOS 11.3 or later (If using Mac)
Prerequisites:
Before setting up an AirTag, some prerequisites must be met:
- Make sure your Apple device is not in low power mode.
- Charge your Apple device to at least 20%.
- Enable two-factor authentication on your Apple ID.
- Make sure the Find My app is enabled.
- Turn on Bluetooth.
- Make sure you have an internet connection.
- Enable Location Services.
- For iPhones with U1 chip, enable Precision Finding. (Go to Settings > Privacy > Location Services > Find My Device)
Once all these requirements are met, you can continue with setting up your AirTag.
Step 1: Prepare your AirTag
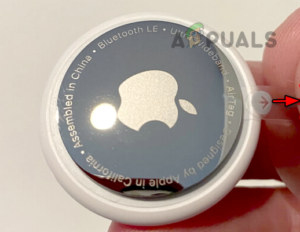
- Remove the AirTag from its packaging and peel off the protective film.
- If your AirTag is new, pull out the tab to activate the battery.
Step 2: Set up your AirTag
- Bring your AirTag and your iPhone or iPad close together.
- On your iPhone or iPad, open the Find My app.
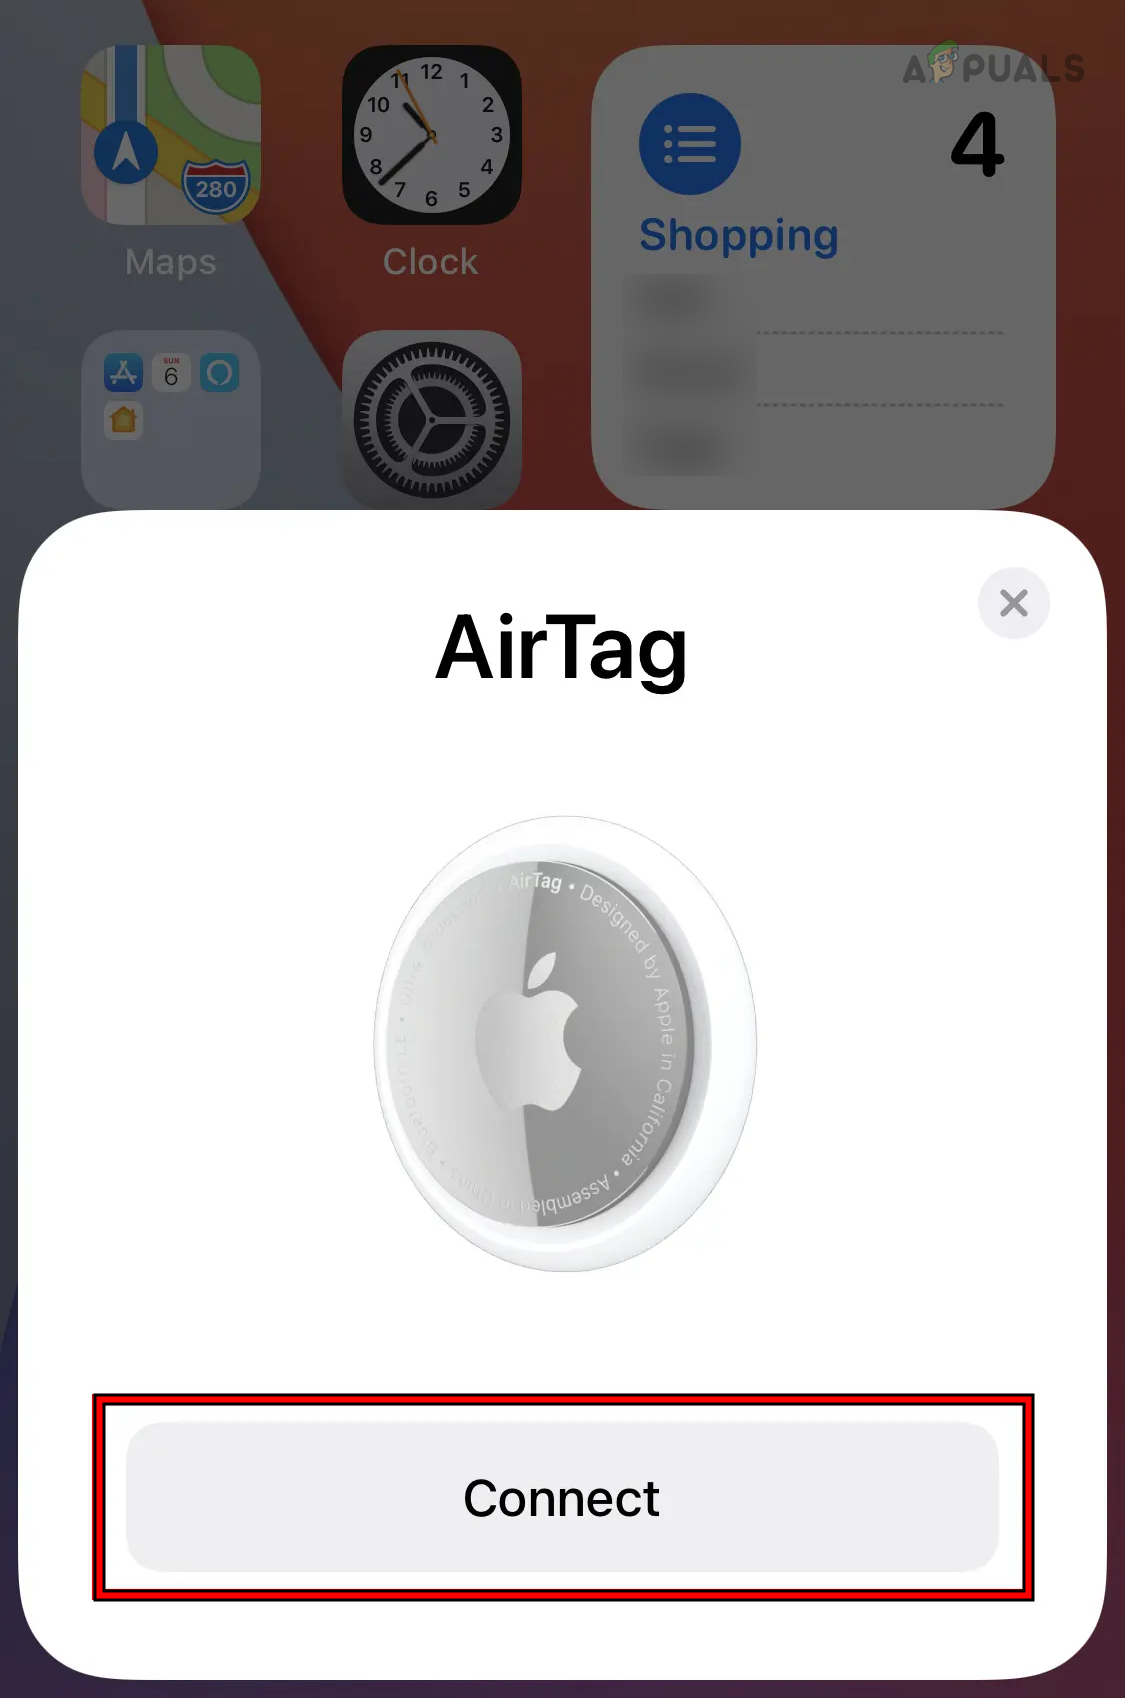
Tap on Connect for the Airtag Connection Prompt - Use the scroll wheel to select a name or Custom Name for the AirTag (which can be changed later) and tap on Continue.
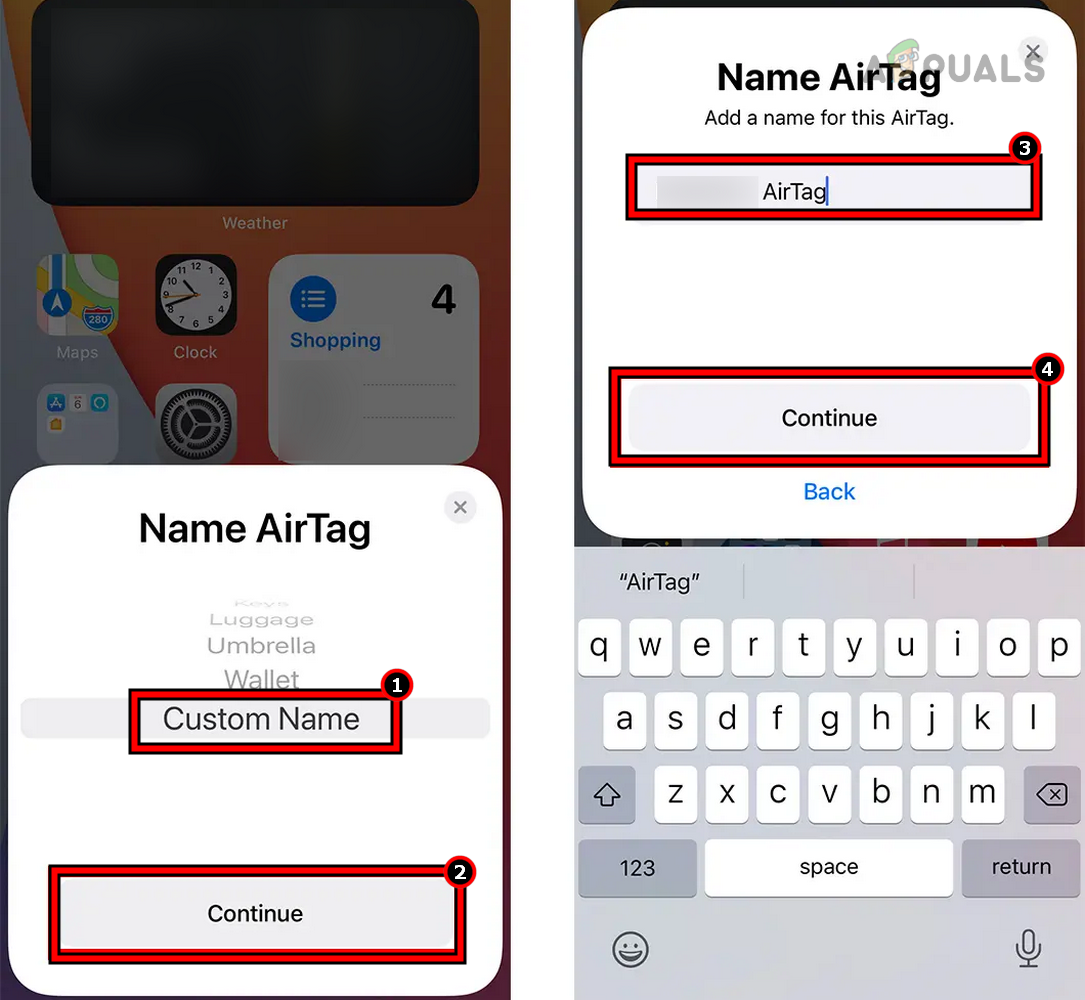
Enter a Custom Name of the Airtag - Select an emoji for the tracker and tap on Continue.
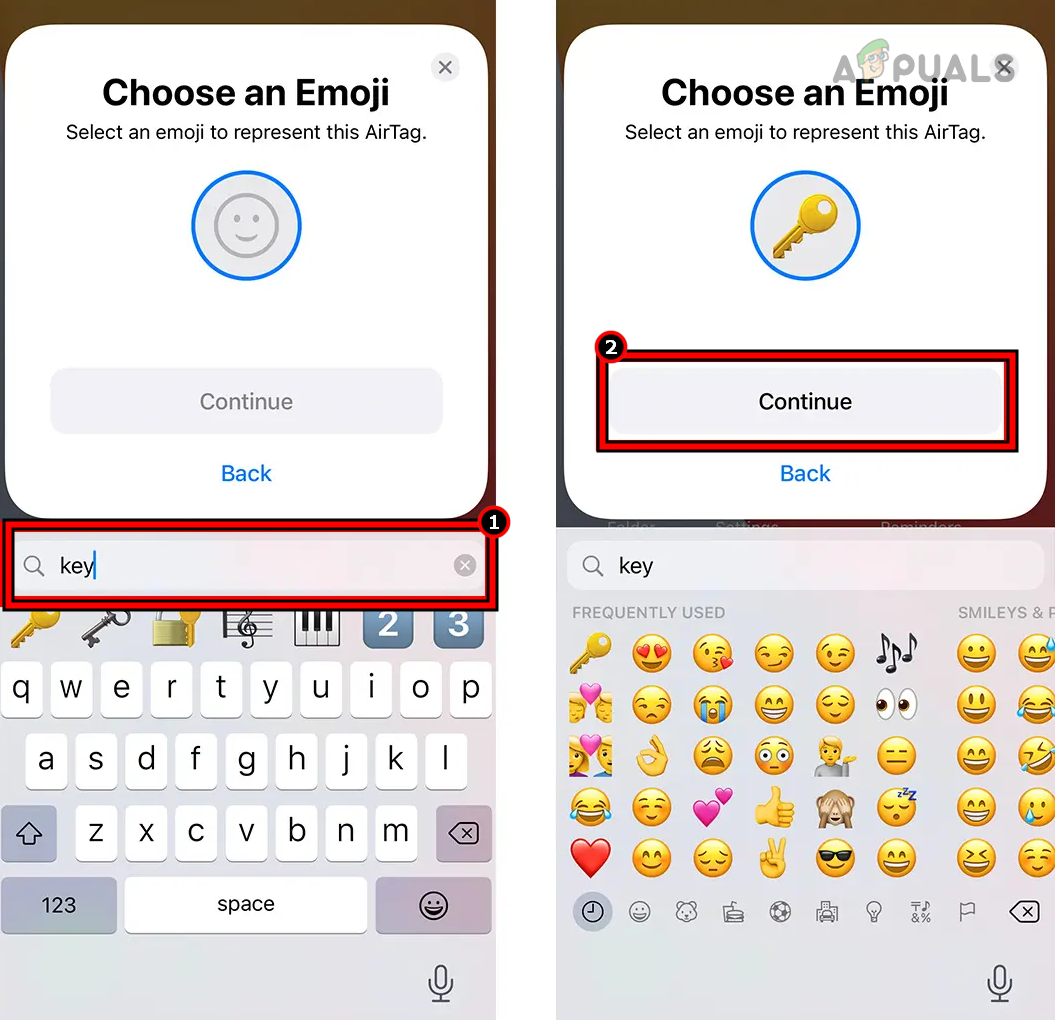
Select an Emoji for Your Airtag - Confirm the Apple ID you are going to use with the AirTag and tap on Continue.
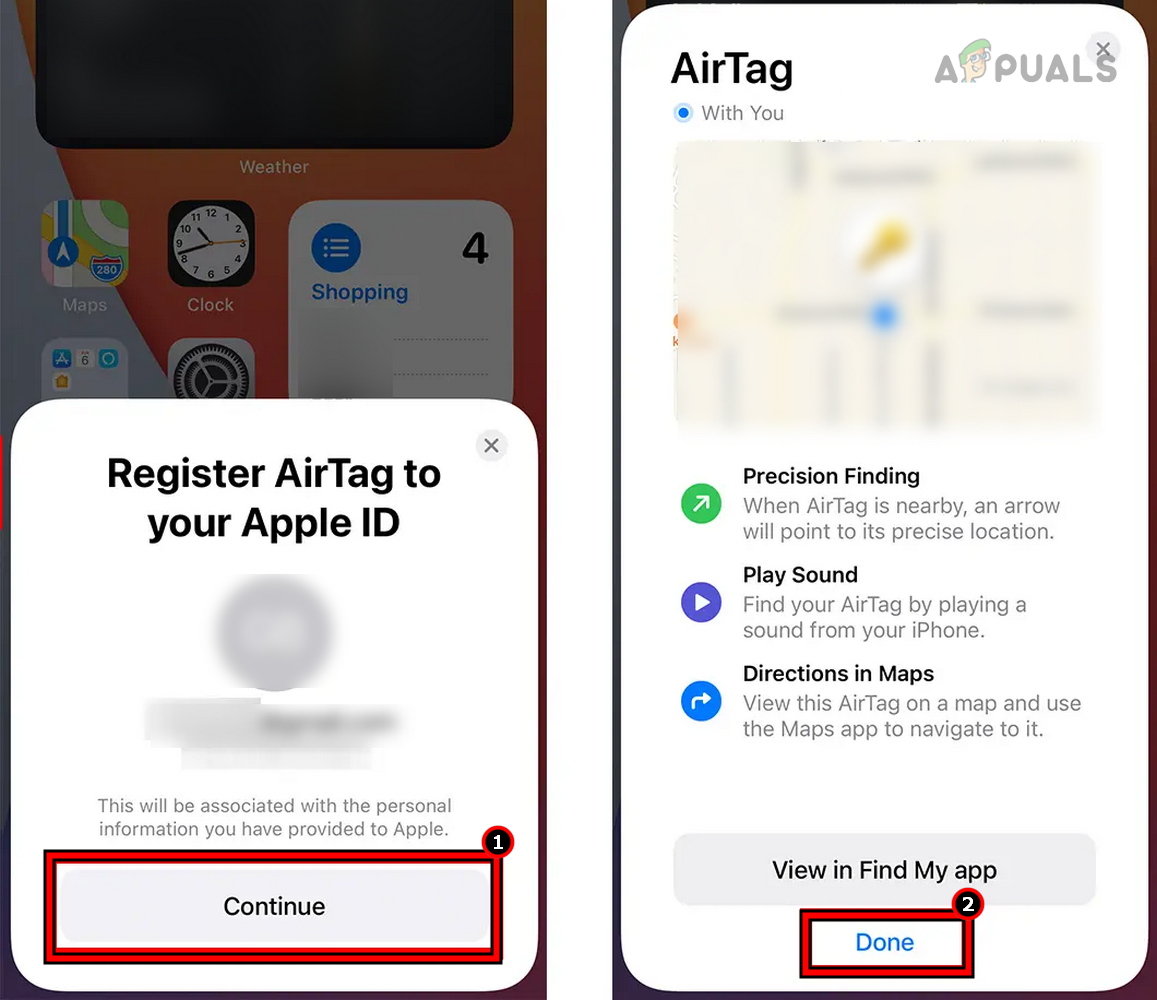
Confirm to Add the Airtag to Your Apple ID - Wait for a few seconds for the setup to complete, and then tap on “Done.” If you want to see the AirTag in action, tap on “View” in the Find My App.
Step 3. Track your AirTag
There are many ways to track your AirTag; it can be done on any Apple device.
Track an AirTag on an Apple Watch
- Press the Crown button of the Apple Watch and in the Apps List, open Find Items.
- Select the required AirTag, and the same options (such as Play Sound, Find, etc.) will be displayed as discussed earlier. You can use these options to track or perform different operations on the AirTag.
Track an AirTag on a Mac
- Use the Mac’s Launcher and Spotlight to open the Find My app.
- Go to the Items tab and select the Airtag.
- The Last location of the AirTag will be shown.
- Click on the AirTag and you can ping it, locate it, or activate Lost Mode.
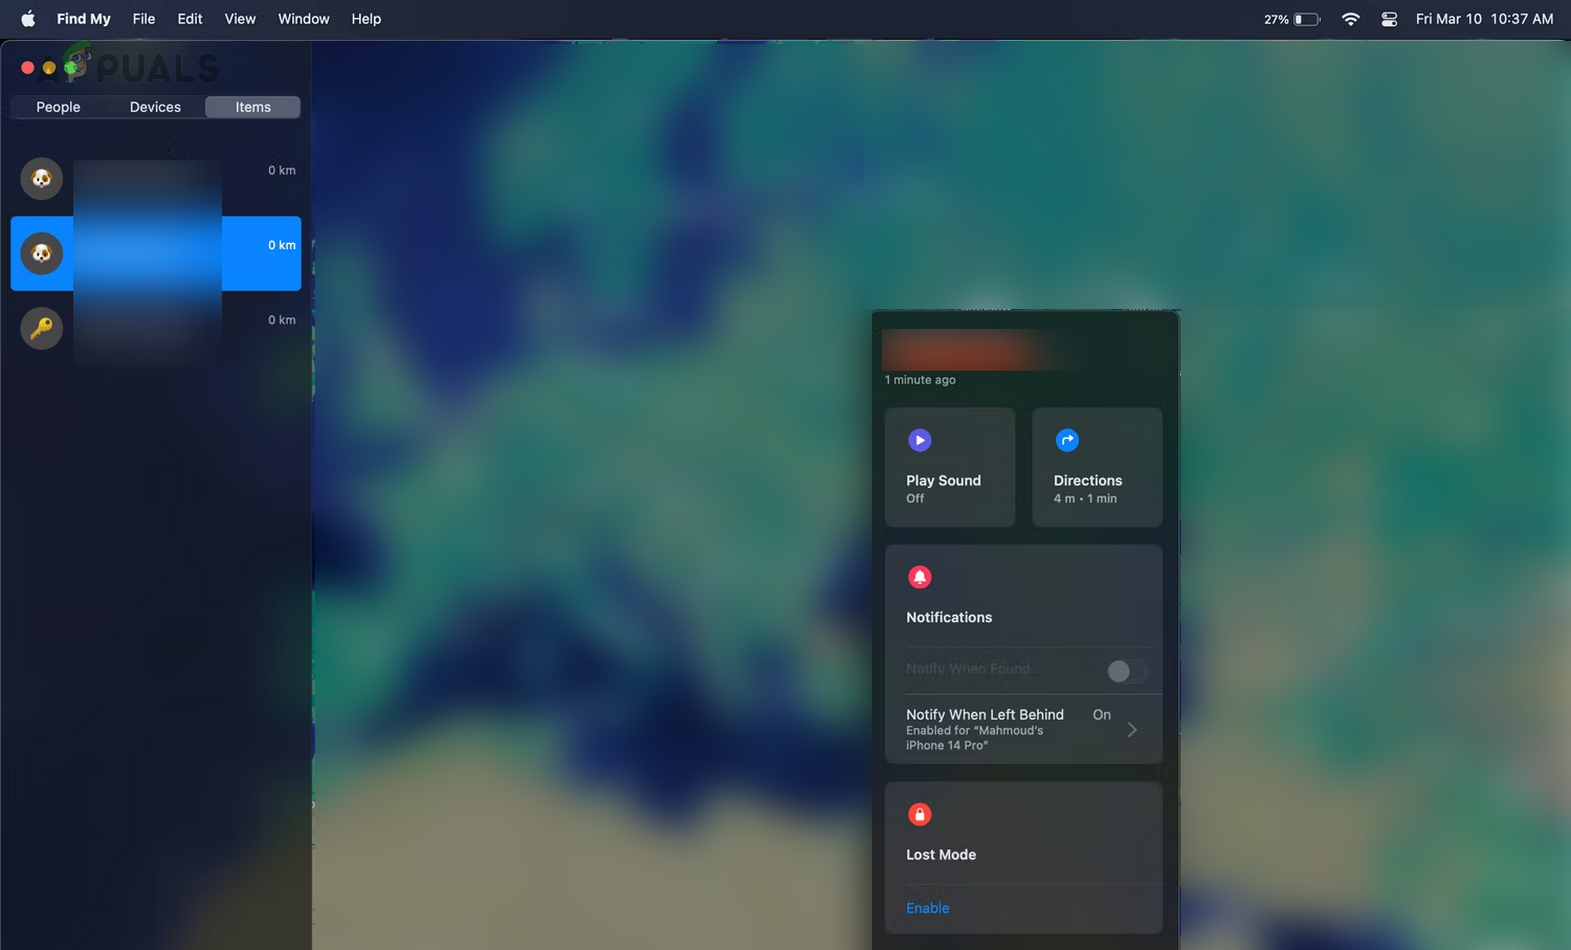
Locate an Airtag on a Mac
Use Siri to Track an AirTag
- Launch Siri and say
Hey Siri, find my <name of your AirTag>
- The AirTag will start playing a sound and then you can locate it by using that sound.

Use Siri to Locate an AirTag
It’s also possible to track them AirTags using Android phones. Please refer to our documentation on that specific topic here: “How to Find AirTags from Android? – Appuals.com”
Uses and Limitations of AirTags
An AirTag can be used to track any item of your choice. It can be luggage, keys, bicycle, etc. But there are some points to consider:
- AirTags are not good for tracking objects in motion or in remote areas.
- AirTags use Bluetooth to connect to Apple’s Find My network, so they may not work in areas where there are no Apple devices.
- Do not use AirTags to track people without their consent. If you find an AirTag that is not registered to your ID, you can play a sound on it to locate it.
Common Issues faced while setting-up AirTag & How to solve them:
Here are some of the most common issues reported by users when setting up AirTag.
AirTag not Pairing with the Apple Device?
If your AirTag does not pair with your Apple device,
- Make sure perquisites are met.
- If you are setting up multiple AirTags with the Apple device, make sure the other trackers are either off or out of range.
- Make sure 16 items limit per Apple ID is not reached.
- All the devices linked to your Apple ID (such as MacBook) meet the privacy and security requirements of the AirTag.
- Restart the Apple device and reset the AirTag.
- Turn off the Find My app (Settings > your Apple ID > Find My), remove all devices from Bluetooth, turn on the Find My app, and connect the AirTag to the Apple device.
Didn’t receive AirTag Prompt?
If no AirTag prompt is shown when the AirTag was brought closer to your Apple device, then
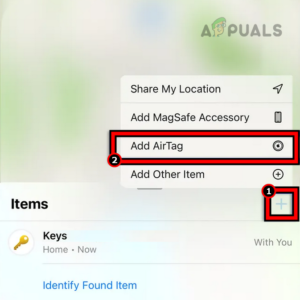
- Launch the Find My app on your Apple device and navigate to the Items tab.
- Tap on the Plus icon (to add a new item) and select your Airtag. Then you can follow the procedure discussed above.
Need more help?
If you still need more help in setting up or troubleshooting your AirTag, please visit Apple’s support website or If you have any queries, you are welcome in the comments section.
Reviewed by Huzaifa Haroon