[FIX] Runtime Error Malwarebytes (Could not Install Proc)
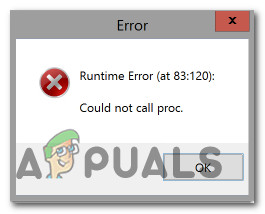
Some Windows users are seeing the “Runtime error (83:120): Could not call proc.” error whenever they attempt to install Malwarebytes. This problem is confirmed to occur on Windows 7, Windows 8.1, and Windows 10.
After investigating the issue, this problem is reported to occur for a variety of different reasons. Here’s a shortlist of potential culprits:
- %TEMP% folder is in a different location – As it turns out, one of the most common instances that will spawn this problem is a scenario in which the TEMP folder is located on a network or a RAMDRIVE or RAMDISK rather than it’s the default location. If this scenario is applicable, you should be able to fix the problem by moving the temp folder back to the default location.
- Logical errors on the OS drive – According to some affected users, this problem can also occur in situations where the OS drive contains some logical errors that are affecting its ability to safely store newly created files. In this case, you should run a CHKDSK scan and see if that successfully fixes the issue.
- Remnant malware/adware files – According to a security post from the Malwarebytes team, you can see this issue occurring if your OS drive is currently storing some files that are actively preventing certain security suites from installing. Users that also faced this problem have managed to fix this issue by running a scan with Farbar Security Scan.
- Corrupted Malwarebytes installation – If you started experiencing this issue after a botched installation of Malwarebytes, chances are you’re seeing this error code because you still have some remnant files from a corrupted installation. In this case, you can use the Malwarebytes Support Tool to remove any remnant files.
- Untrusted Malwarebytes certificate – If you’re seeing this issue on Windows 10, chances are you’re seeing this error because your system has labeled the security certificate that Malwarebytes requires as ‘untrusted’. In this case, you can fix the problem by removing the certificate using the Certificate Manager to remove the Malwarebytes certificate and installing every pending Windows Update before retrying the installation.
- System File Corruption – Under more serious circumstances, you might expect to see this problem due to some type of corruption that’s affecting some of your Windows files. In this case, your first attempt at fixing the problem is to use a couple of built-in utilities that are capable of fixing the system file corruption (DISM and SFC). If this fails, you should consider doing a repair install or clean install.
Method 1: Moving %TEMP% folder back to the Default Location
According to some affected users, this problem can occur in instances where your OS is unable to temporarily save the files used by Malwarebytes during the installation in the %TEMP% folder. In most cases, this problem will occur due to the fact that the folder is either located on a network or a Random Access Memory Drive (also known as RAMDRIVE or RAMDisk).
If this scenario is applicable, you should be able to fix this problem by using an elevated Command Prompt to set the %TEMP% folder in the correct location before retying the installation.
In case you’re looking for step by step instructions, follow the short guide below:
- First things first, start by downloading the latest version of Malwarebytes from the official web page.
- Next, press Windows key + R to open up a Run dialog box. Next, type ‘cmd‘ and press Ctrl + Shift + Enter to open up an elevated Command prompt. When you see the UAC (User Account Control), click Yes to grant admin access.
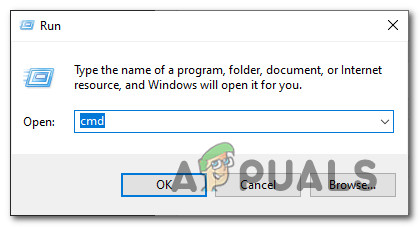
Opening an elevated Command Prompt - Once you’re inside the elevated Command Prompt, type the following commands in the same order and press Enter after each line to move the %TEMP%, %TMP%, and Download folder to the default location:
set TEMP=C:\Windows\temp
set TMP=C:\Windows\tmp
cd "%USERPROFILE%\Downloads"
- Once every command has been successfully processed, you can safely close the elevated Command prompt.
- RIght-click on the Malwarebytes setup executable you downloaded at step 1 and click on Run as Administrator from the context menu that just appeared.
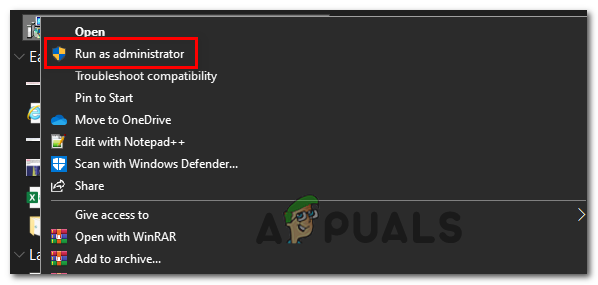
Running the Malwarebytes installation executable as administrator - Carry on with the installation normally and see if the problem is now fixed.
If the same ‘Runtime error (83:120): Could not call proc.’ problem is still occurring, move down to the next potential fix below.
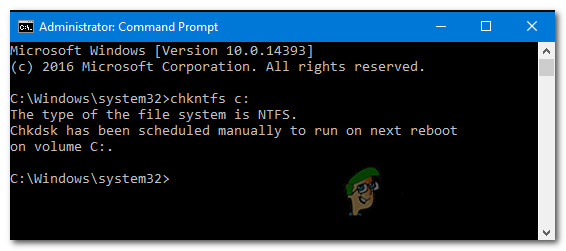
Method 2: Running a CHKDSK scan
According to some affected users, this problem can also occur due to an issue related to your traditional hard drive or solid-state drive. In most cases, you can expect this issue to occur due to a logical error or a data block inconsistency.
Users that found themselves in a similar situation have confirmed that they managed to fix the issue by using the CHKDSK utility to fix (or at least replace) hard drive errors and bad sectors that might be contributing to the apparition of this error code.
You can initiate a Check Disk utility from an elevated Command prompt. But in order to make sure that you maximize your chances at fixing the Could not call proc. error, our recommendation is to open the CMD prompt with admin access. Here are some instructions that will show you how to run a CHKDSK scan.
Note: These instructions will work on every recent Windows version including Windows 7, Windows 8.1, and Windows 10.
In case you already initiated a Check Disk utility scan and you’re still seeing the same Runtime error (83:120): Could not call proc. error when you attempt to install Malwarebytes, move down to the next potential fix below.
Method 3: Running a Farbar Security Scan
According to some affected users, this problem can also occur if you’re dealing with some kind of remnant adware or malware files that are inhibiting your OS ability to install security suites – As it turns out, certain malware will actively try to block the installation of security suites.
If this scenario is applicable, you should attempt to fix the problem by running a 3rd party scan with a 3rd party suite like Farbar Recovery.
Note: This is not an official Microsoft product. Even though a lot of users have confirmed it’s effective in fixing this problem, it will handle and potentially replace critical kernel data belonging to your Windows installation.
If you are determined to use this utility, follow the instructions below to use Farbar Security Scan to initiate a security scan to fix the Runtime error when installing Malwarebytes:
- Open your default browser and visit the official download page of Farbar Recovery Scan to download the latest version. Keep in mind that you’ll need to choose between the 32-bit and 64-bit versions depending on your OS architecture.
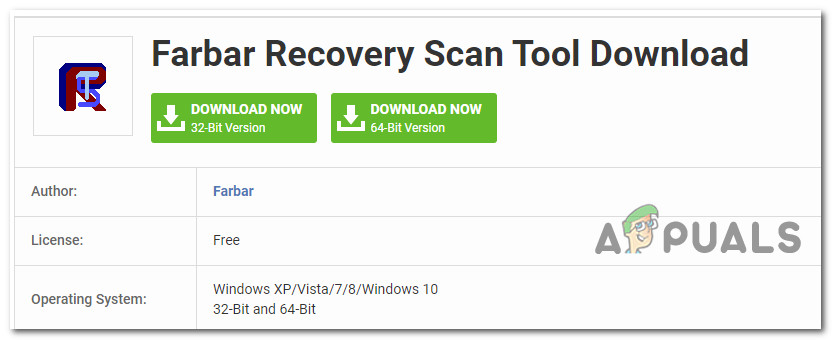
Downloading the Farbar Security Scan - Once the executable is successfully downloaded, right-click on it and choose Run as administrator from the context menu. When you see the UAC prompt, click Yes to grant admin access.
- Next, follow the on-screen prompts to complete the installation, then restart your computer and wait for the next startup to complete.
- After your computer boots back up, open the Farbar Recovery Scan tool and click Scan on the first screen. leave the default settings intact and click on Fix to start the operation.
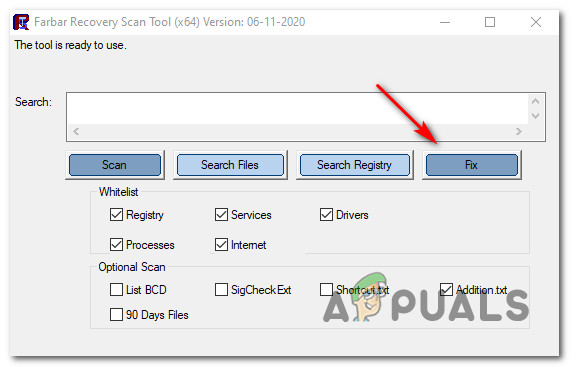
Running a Farbar Recovery Scan - Once the operation is complete, restart your computer once again and see if the issue is fixed at the next computer startup.
If the same problem is still occurring, move down to the next potential fix below.
Method 4: Running the Malwarebytes Support tool
If your Windows has crashed in the past while Malwarebytes was in the middle of a scan or while you were trying to install it, it’s possible to see the “Runtime error (83:120): Could not call proc.” because the installation has become corrupted.
Malwarebytes support team is aware of this issue and they even have a tool that’s capable of fixing the application in this kind of scenario. If this scenario is applicable, you can fix the problem by running the official Malwarebytes Support tool to clean any remnant files from a botched installation before reinstalling the tool from scratch.
To make things easier for you, follow the instructions below:
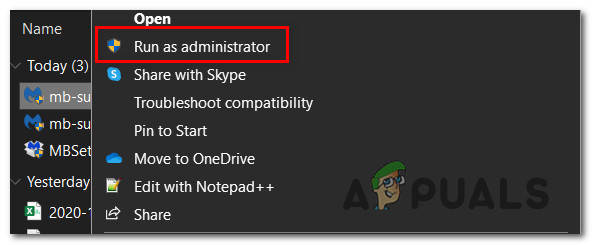
- Open your default browser and download the latest version of Malwarebytes Support Tool from the official download page.
- Once the download is complete, right-click on the installer you just downloaded and choose Run as administrator from the context menu that just appeared.
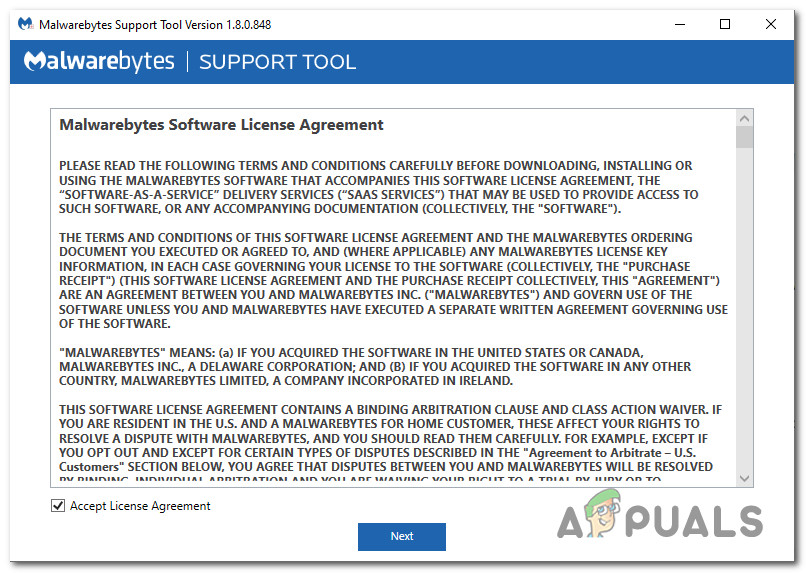
Running as administrator - Wait for the download to complete, then check the box associated with Accept License Agreement before clicking on Next.
Accepting the EULA for Malwarebytes Support Tool - Once you get to the next screen, click on Advanced from the vertical menu on the left, then click on Clean.
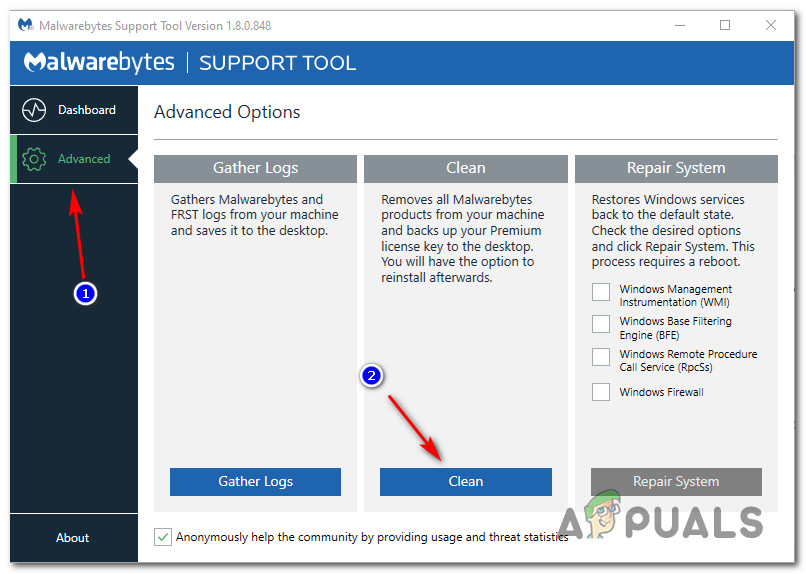
Cleaning the Malwarebytes installation - At the confirmation prompt, click Yes and wait for the operation to complete.
- Once the operation is finally complete, your computer will reboot automatically once you click on the OK box.
- At the next startup, you should see a pop up asking you if you want to reinstall Malwarebytes. If it doesn’t appear, you can reinstall the utility manually by visiting the official download page.
If you’re still seeing the same Runtime error (83:120): Could not call proc. the error even after using the specialized utility to clean remnant files from a botched installation, move down to the next potential fix below.
Method 5: Fixing the Certificate Issue
As it turns out, this problem can also occur due to the fact that your operating system ends up labeling the Malwarebytes certificate that’s needed to install the tool as an ‘untrusted certificate’. This is a well-known glitch that’s known to occur on certain Windows 10 builds that are missing a series of key security updates.
If this scenario is applicable, you’ll be able to fix the problem by using the Certificate Manager utility to remove the Malwarebyte-related entry from the list of untrusted certificates before installing every pending Windows Update and retrying the installation.
Here’s a quick step by step guide that will walk you through the entire process:
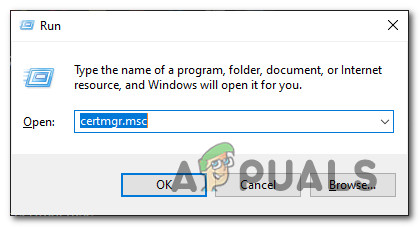
- Press Windows key + R to open up a Run dialog box. Next, type ‘certmgr.msc‘ inside the text box and press Enter to open up the Certificate Manager utility. If you’re prompted by the UAC (User Account Control), click Yes to grant administrative access.
Accessing the Certification Manager utility - Once you’re inside the Certificate Manager utility, click on Untrusted Certificates from the list on the left, then double-click on Certificates from the right-hand section of the screen.
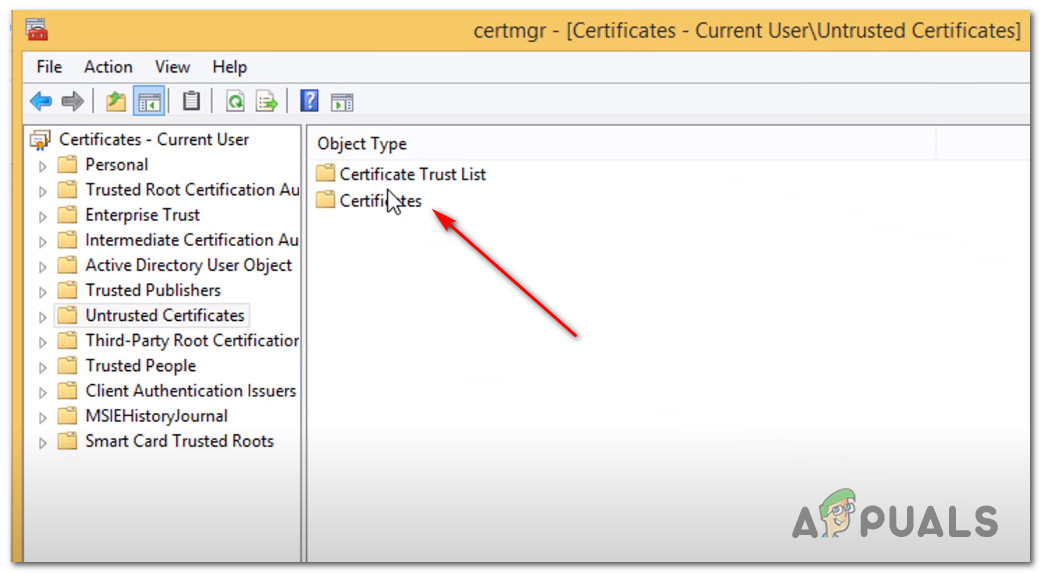
Accessing the Certificates folder - Next, scroll down through the list of certificates that are currently labeled as untrusted and right-click every entry associated with Malwarebytes, and click on Delete.
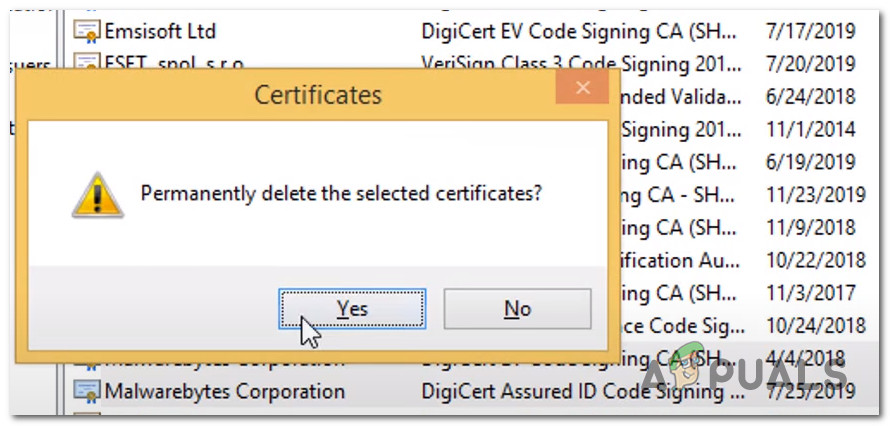
Deleting the entries associated with Malwarebytes - Once you have successfully deleted all the entries associated with Malwarebytes from the list of untrusted certificates, go ahead and update your OS build to the latest version and restart your computer at the end of this operation.
- After your computer boots back up, try to install Malwarebytes once again and see if the problem is now fixed.
In case the same problem is still occurring, move down to the next potential fix below.
Method 5: Running SFC and DISM Scans
If none of the fixes above have worked for you, you should seriously start to consider the fact that you might be dealing with some type of system corruption. This scenario is even more likely if you’re encountering similar issues when trying to install different programs.
In this case, you should be able to fix the problem by utilizing a couple of utilities that are capable of fixing OS-related file corruption: DISM (Deployment and Image Servicing and Deployment (DISM) and SFC (System File Checker)
These two utilities are similar, but they go about fixing corrupted instances in different ways:
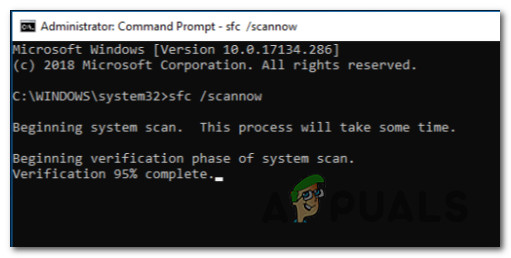
- SFC Scan – This type of scan is entirely local and doesn’t require an internet connection. System File Checker works by utilizing a local archive to replace corrupted files from your operating system with healthy equivalents.
Running a System File Checker Scan - DISM Scan – Think of this as a revised version of SFC. The main advantage of the Deployment and Image Servicing and Deployment utility is that it uses Windows Update to download healthy equivalents to replace local corruption. So even if the locally cached archive is affected, you’ll still be able to fix the problem without having to reinstall the entire operating system.
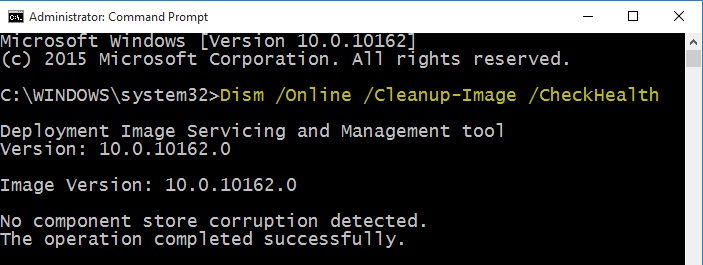
Running a DISM check Note: In order to use this utility, you’ll need to ensure that you have a stable internet connection.
Once you’ve successfully run both types of scans, attempt to install Malwarebytes once again and see if the same problem is still occurring.
If the same problem is still occurring, move down to the next potential fix below.
Method 6: Refreshing every OS Component
In case you’ve tried every potential fix below and you’re still seeing the same ‘Runtime error at 44:134: could not call proc.’ error when you’re trying to install Malwarebytes, you’re probably dealing with some kind of system file corruption that you won’t be able to fix conventionally.
If this scenario is applicable, your last chance at fixing this problem is to refresh every relevant Widnows component in an attempt to fix the installation infrastructure. This can be done in two different ways:
- Clean installing your Windows installation – This is the easy way out since it won’t require you to use a compatible installation media. However, the main disadvantage is that unless you backup your data in advance, you will lose any personal information present on the OS drive.
- Repair installing your Windows installation – This operation will allow you to keep all your personal files present on the OS drive. However, going for a repair install (in-place repair) is a more tedious process that requires you to insert a compatible installation media (flash drive or DVD).
Once you refresh every OS component using one of the methods above, repeat the installation procedure and see if the problem is now fixed.