8 Guaranteed Fixes for Red Light on DualShock PS4 Controller
The PlayStation 4 controller, known as the DualShock 4, has a lightbar that can represent the state of the controller. Depending on the color displayed on the lightbar, the state of the controller can be surmised. Different colors convey different meanings.
One of the most common and troublesome errors encountered by players is the red-light error. In this error, the DualShock 4 lightbar displays the red color. Universally, when an electrical device shows the red color, it’s not taken as a good sign. That’s why today why we’ll be addressing the DualShock 4 red light issue; its different cases, the causes and solutions.
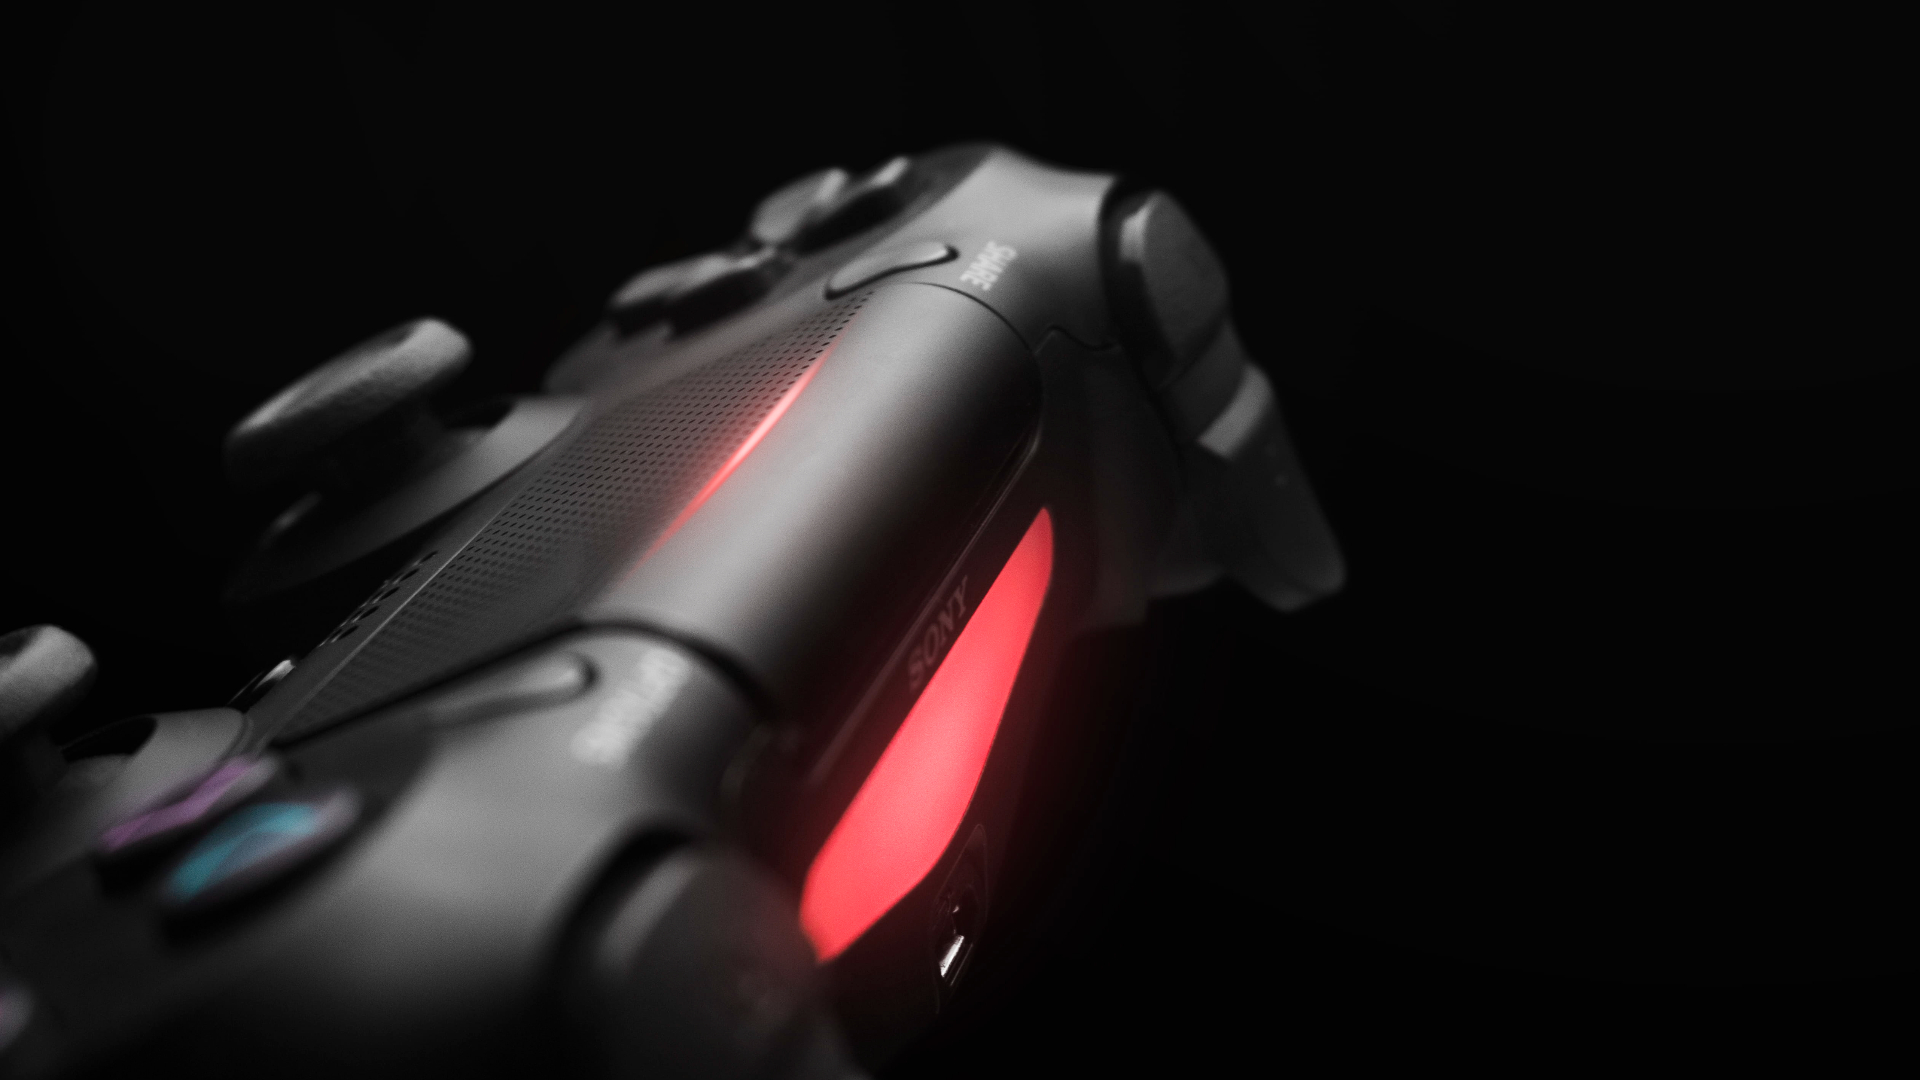
Variants of the Red-Light Issue
The red-light issue is occasionally accompanied by some symptoms that help diagnose the issue. Moreover, these symptoms can sometimes pinpoint the direct cause of the problem. Even though there are several kinds of red-light issues, there are times when a single solution can help resolve more than one type of case.
It should be kept in mind that these cases are some of the most notable ones encountered. Therefore, it is not necessary that you may have the exact same case. In this situation, all the fixes that we’ve stated in this article should be tried out. Nevertheless, below are listed the different types of red-light issues encountered by players:
- Case #1: Lightbar displays red/blinks continuously, despite the controller working properly.
- Case #2: Lightbar turns red only when it has been connected to the console.
- Case #3: Lightbar continues to show red, even after the console has been turned off.
- Case #4: Red light blinks constantly. The controller refuses to connect via cable.
- Case #5: Red light blinks for a short while, after which it turns off.
- Case #6: Constantly blinking red light along with the controller vibrating incessantly.
Normal Functioning of the Controller
Sometimes, the controller may not be malfunctioning at all. Some games use the red light to indicate something, usually the character’s health. In Grand Theft Auto V, the red light on the lightbar can indicate a high wanted level.
In another case, if you’re playing with friends and have connected multiple controllers, the red light means that you are Player 2.
Causes of the Red Light Error
In any case, here are some common causes of the red-light issue, irrespective of the case:
- The controller has low battery.
- The controller is unable to charge when connected to the console via the charging cable.
- Physical damage or water damage. (Major cause of Case #6)
- The charging cable is faulty.
- The USB port of the cable is damaged/faulty/dirty.
- The ribbon cable, found inside the controller, is defective.
- The ribbon cable, or some other part, is disconnected from the battery.
- The controller’s battery is dead or malfunctioning.
- A random firmware bug is causing the issue.
- Some hardware inside the controller is damaged.
Solutions
1. Checking for a faulty charging cable
Potential fix for: Case #1, Case #2, Case #4
The DualShock 4 controller uses a micro-USB cable for charging. Try to plug the cable into a different device to see if that’s charging. If your cable is damaged i.e., its wires are bare, it might be worth replacing. Micro-USB cables are cheap and readily available in nearly every store.
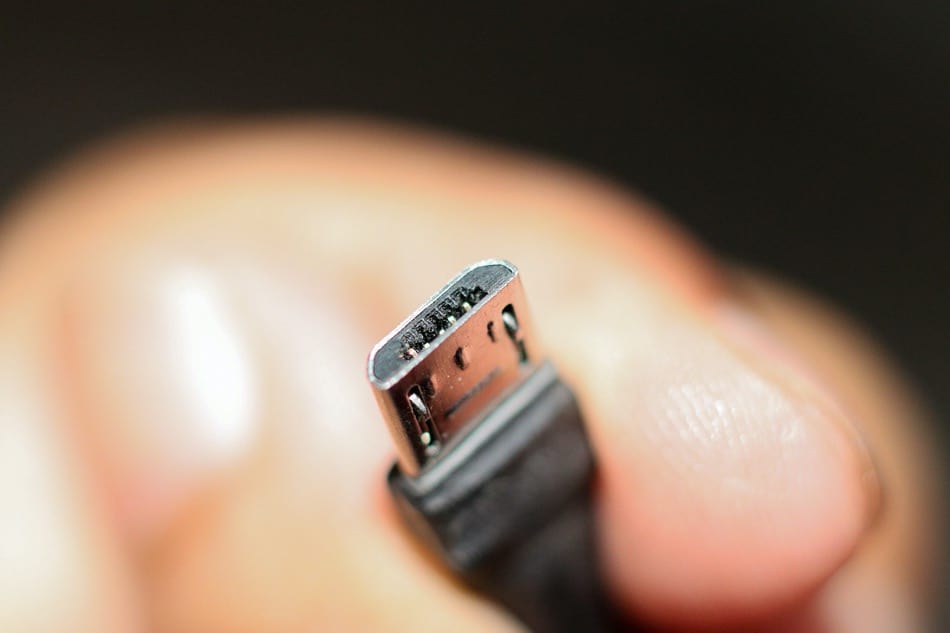
If your cable works just fine, try playing with the controller wirelessly to see if the issue is resolved. Alternatively, try charging the controller with an adapter rather than through the PS4. Sometimes, the controller cannot get enough power through the console and needs a direct power supply. Ensure that the cable is plugged in properly from both ends; in the console and in the controller.
2. Cleaning out your USB port
Potential fix for: Case #1, Case #4
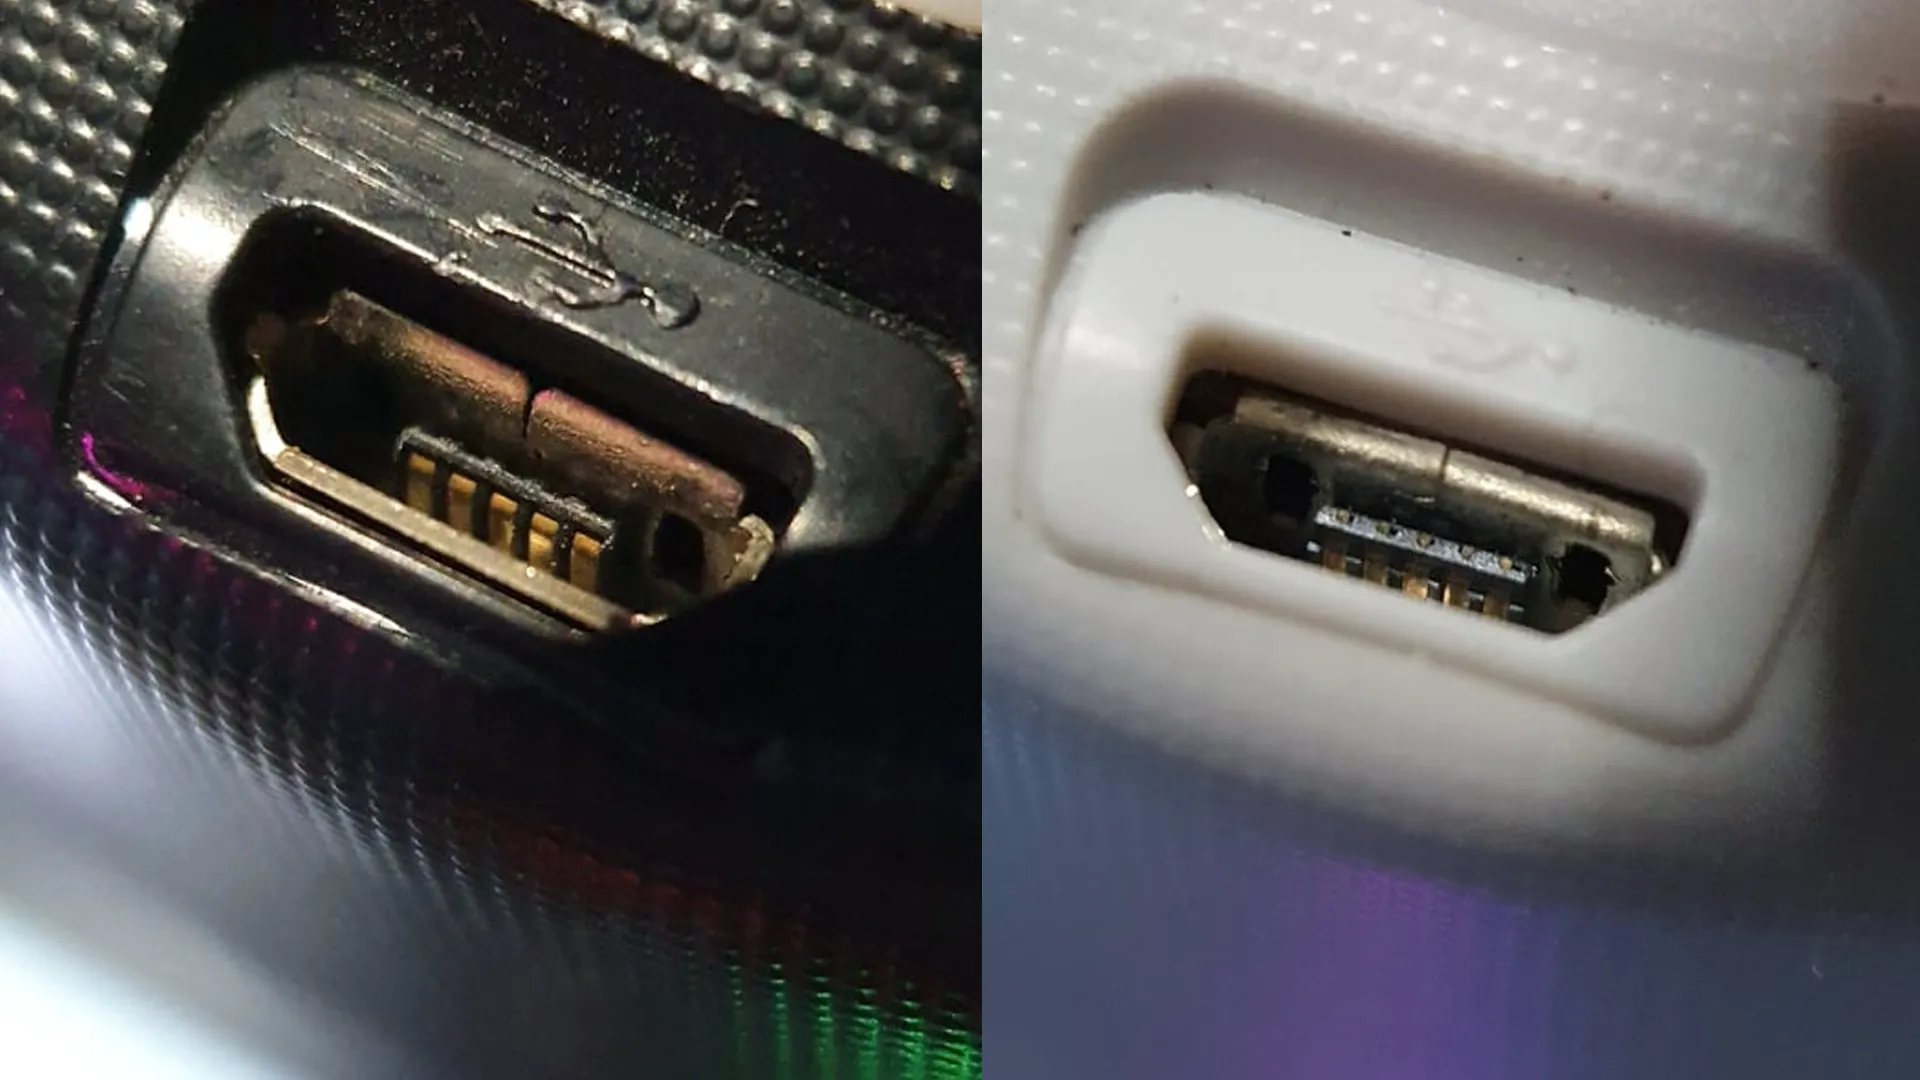
Dirt and dust accumulate anywhere over time. Similarly, your controller’s USB port are no exception. Dust and dirt can prevent your controller from being charged and, likewise, forming a proper connection with your PS4, by blocking its connectors.
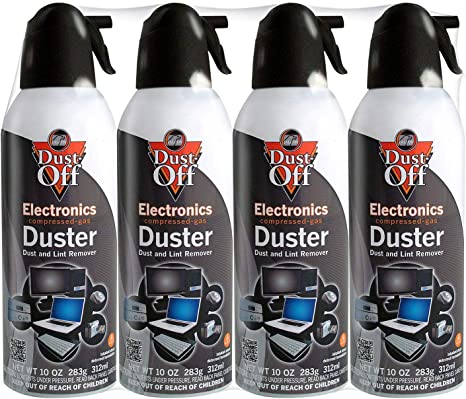
The best way to clean out your controller’s USB port is with compressed air. In the case of a solid particle being stuck in the port, a toothpick or a similar poking tool can be used. However, these objects should be used gently and with the utmost care, as poking around with too much force can end up breaking the connections inside the port, ultimately damaging the port itself.
However, if this does not fix your issue and your charging cable works fine, it is possible that your controller’s USB port has become defective. Before reaching this conclusion, it’s best to explore all the fixes below.
3. Restart your PS4 in Safe Mode
Potential fix for: Case #3
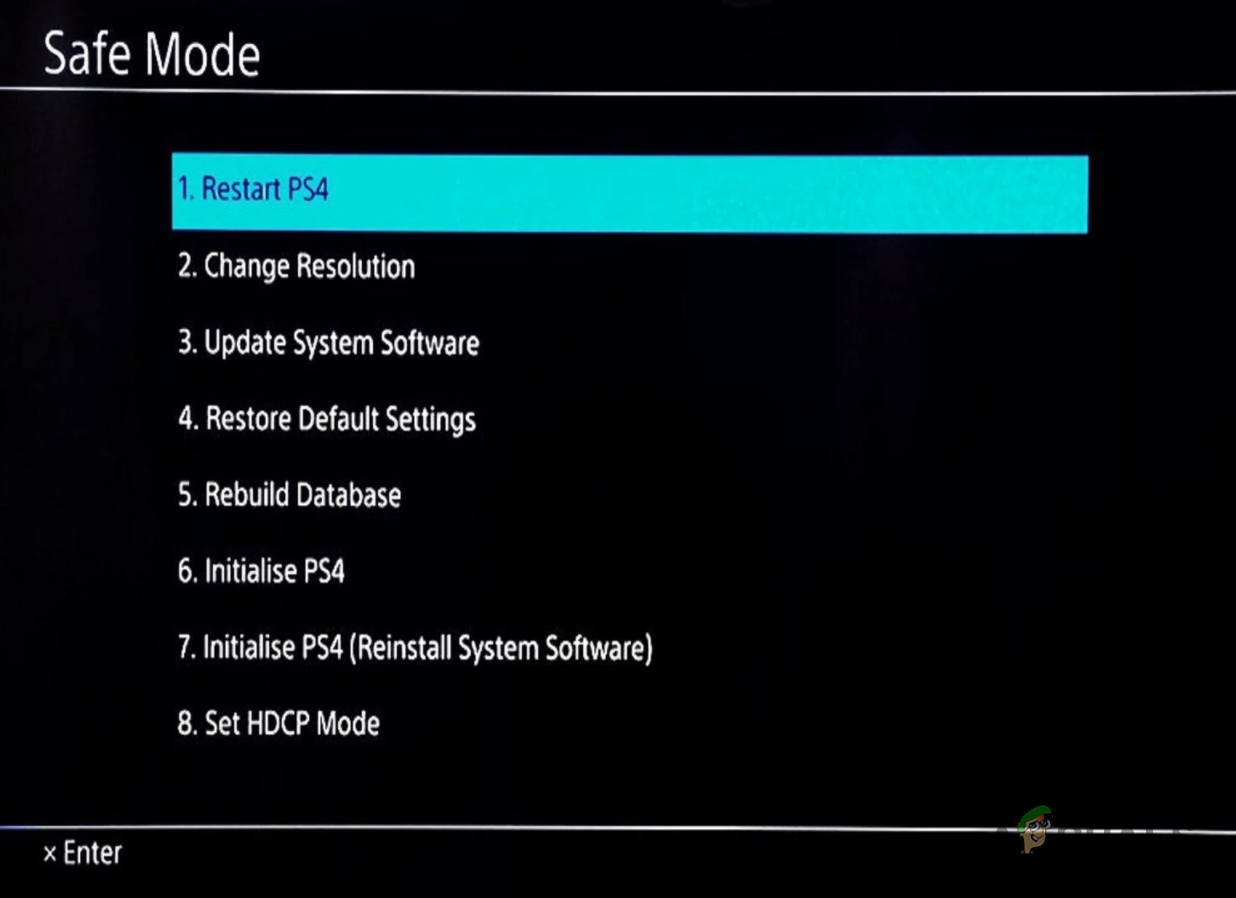
Similar to the safe boot/mode options found in other operating systems, Safe Mode is a troubleshooting mode in the PS4. In this mode, the PS4 boots up with only the most vital processes active. You cannot run any games or other downloaded apps in Safe Mode.
Hence, booting into Safe Mode can help diagnose whether it’s an issue with the console, or with the controller’s firmware.
In order to boot into Safe Mode, you’ll need to follow the steps below:
- Firstly, if your PS4 is powered on, shut it down.
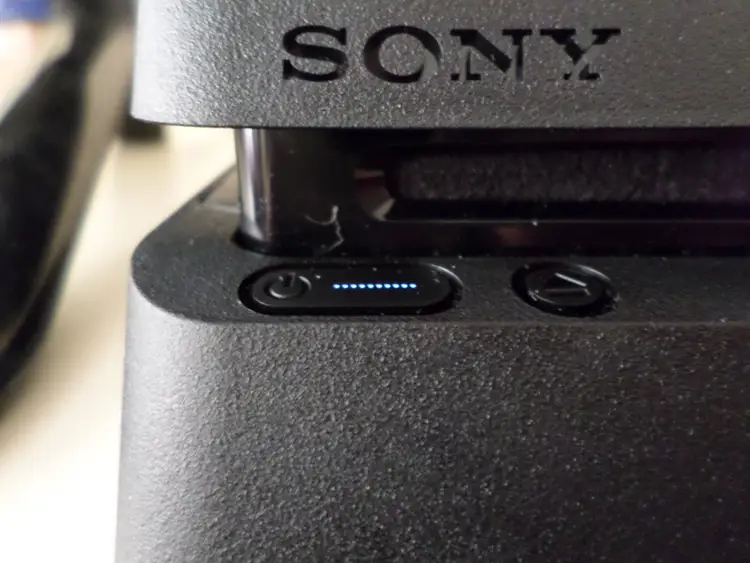
- Next, hold down the Power button on your PS4.
- Consequently, the PS4 will give a beep to indicate that it’s booting up. However, ignore this beep and continue holding down the Power button.
- After a few seconds, the PS4 will give another beep. Upon hearing this beep, release the Power button.
- Finally, your PS4 should boot into Safe Mode.
Consequently, if the controller starts working in Safe Mode, there must be a problem with either the console or controller’s firmware. To boot up normally and exit Safe Mode, simply select the first option in the Safe Mode menu; Restart PS4. However, if you’re stuck in a Safe Mode loop, check out these fixes.
4. Draining power from the PS4
Potential fix for: Case #2, Case #3, Case #5, Case #6
Occasionally, draining the power from your PS4 console can help reset its wired connections and get rid of random bugs and glitches. To drain power from your PS4, follow these steps:
- Firstly, shut down your PS4.
- Next, disconnect all the cables from your PS4, including the power cable.
- Now, wait a few minutes before plugging all the cables back in.
- Additionally, connect your controller to your PS4 via the charging cable.
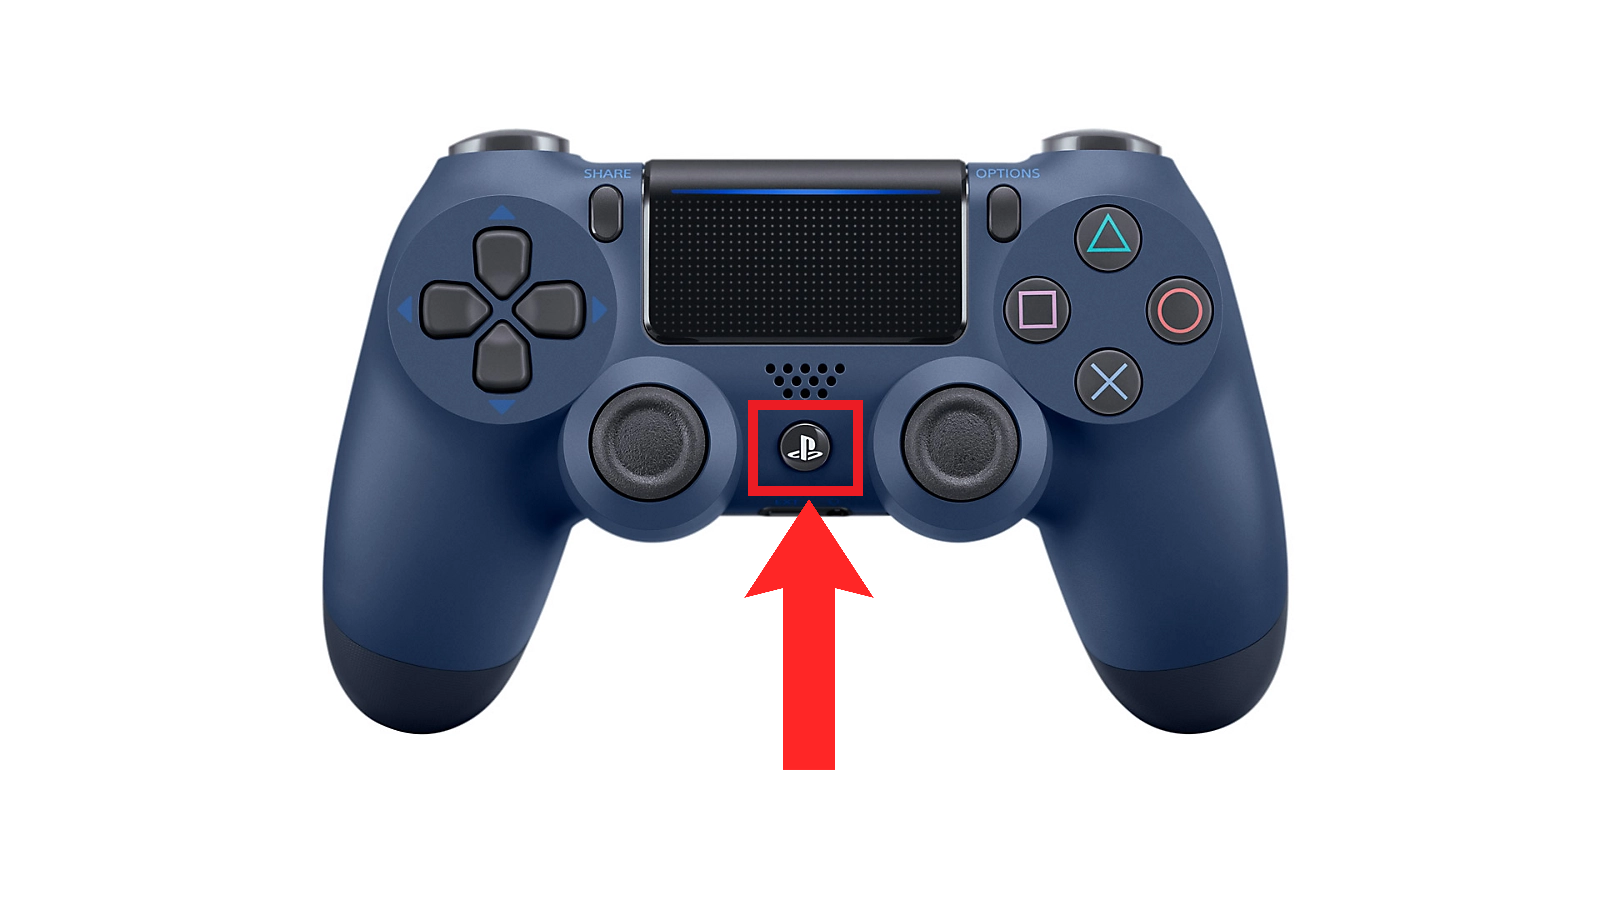
- Finally, start up your PS4 by holding down the PS button on your controller.
5. Resetting the DualShock 4 controller
Potential fix for: Case #2, Case #3, Case #5, Case #6
Since the DualShock 4 controller has its own firmware, it’s possible that a bug present within the firmware is causing this issue. Therefore, follow the steps below to reset your controller’s firmware:
- Flip over your controller.
- Near the L2 button, there should be a small hole. Insert a pin, or some other small and sturdy tool, into the hole.
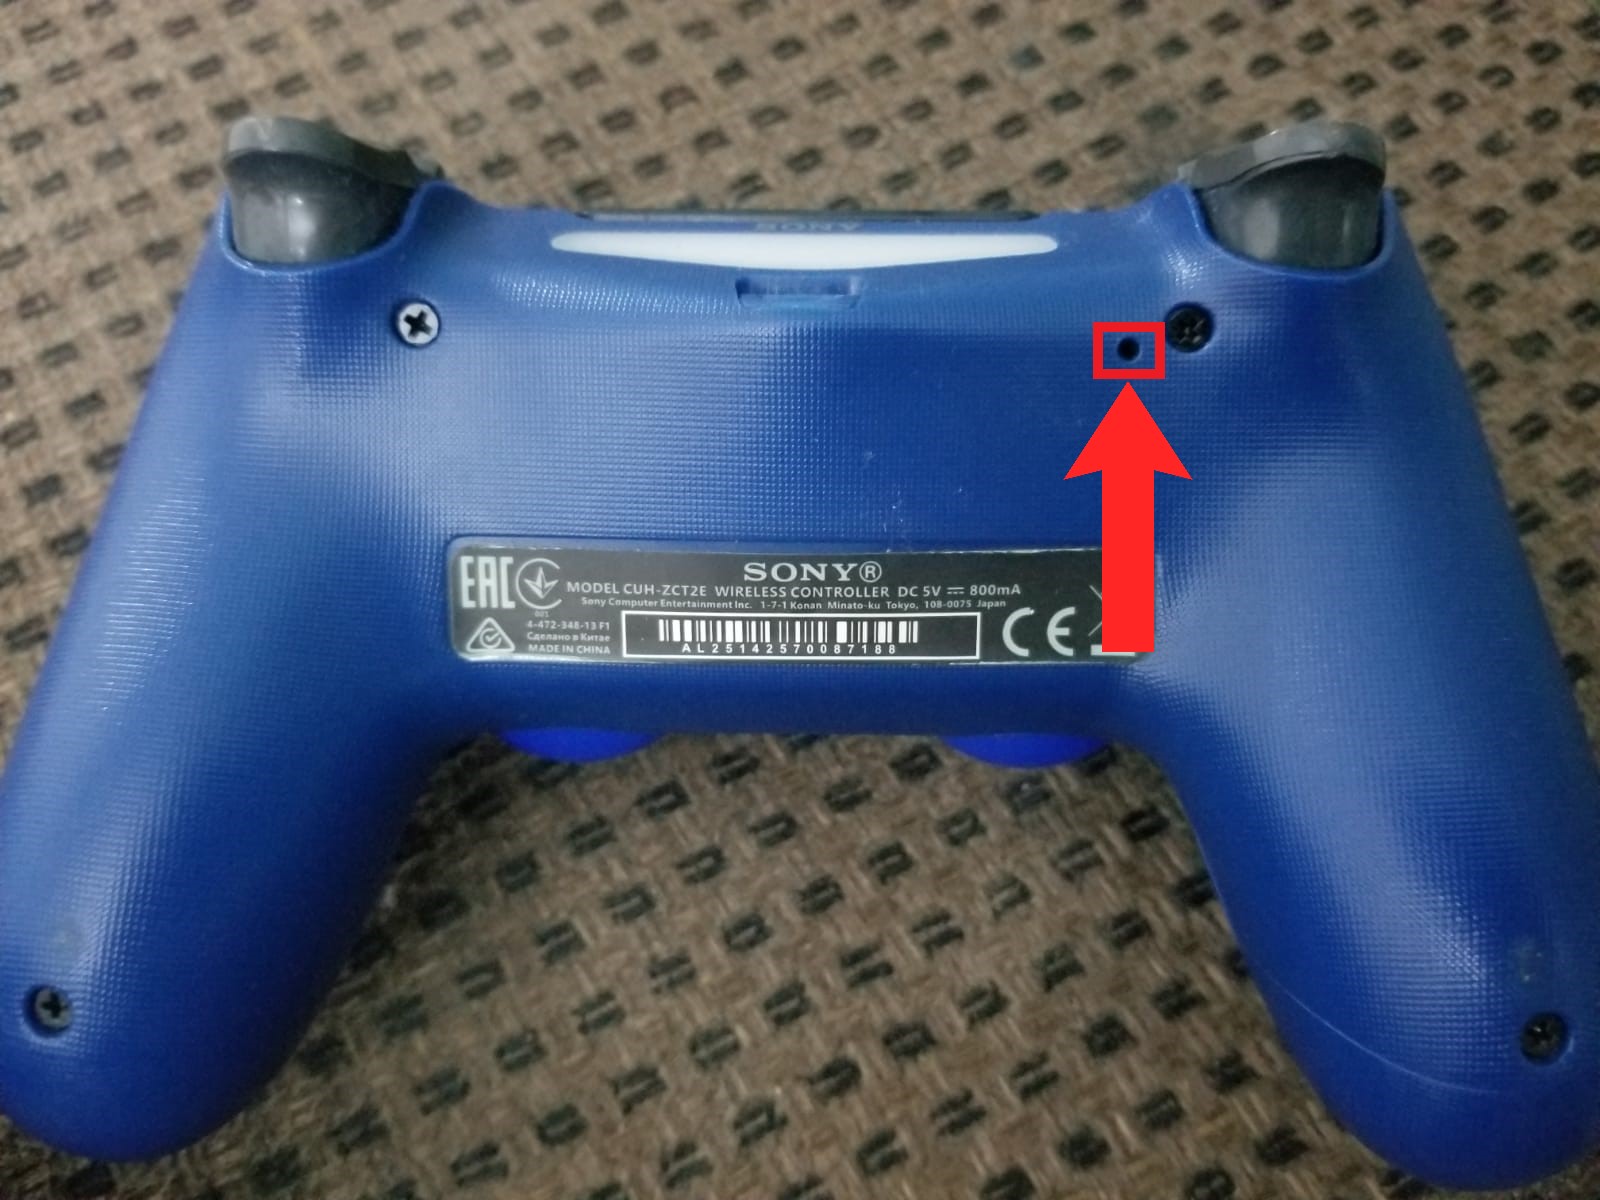
There should be a small hole near the L2 button and near the screw - A button should be present inside. With whatever object you’ve inserted in the hole, press down the button for around 5 seconds.
- After doing this, remove the pin/tool from the hole.
- Finally, connect the controller to your console via the charging cable and start up your console using the PS button.
6. Replacing the battery
Potential fix for: Case #3, Case #6
If your controller is 3-4 years old at this point, it’s highly likely that the battery has reached the end of its life. In this case, the only solution is to replace your battery. Grab a replacement battery from Amazon or another retailer and replace the battery yourself, or if you’re not confident enough, you can have someone else do it for you. YouTube can provide detailed videos for the whole procedure.
7. Cleaning/Replacing the ribbon cable
Potential fix for: Case #3, Case #4
The ribbon cable connects the USB cable with the battery. If the ribbon cable is defective, it can prevent the controller from being charged. To examine the ribbon cable, you’ll need to open up and disassemble your controller. Again, YouTube can provide detailed guides as to how you can do this.
First, check whether the ribbon cable is connected to the battery properly. Alternatively, try cleaning the ribbon cable with a clean lint-free cloth dipped in cleaning alcohol.
If this does not fix the issue, it is highly likely that your ribbon cable is no longer functional. In this situation, Amazon sells replacement ribbon cables. Follow a guide from YouTube on how to replace the ribbon cable or get an expert to do it for you.

8. Replacing the USB port of the controller
Potential fix for: Case #1, Case #3, Case #4
Any type of hardware replacements should be your last resort. If nothing that has been stated above works, maybe the controller’s USB port has been damaged and needs to be replaced. Once again, Amazon can help you out regarding the replacement parts and YouTube is your guide for the whole procedure.
In this case, however, it would be best to have a technician handle this, especially if you’re an amateur.
Conclusion
The red-light issue, irrespective of the case, on the DualShock 4 controller is a fairly common occurrence. Normally, the issue can be overcome through the fixes stated above. Unfortunately, if the problem remains unresolved, it would be best to just get a new controller.
Granted, getting the controller repaired by someone would be cheaper but there’s no guarantee that the controller will function as flawlessly as it did before.
Hopefully, with these fixes, your controller will be good to go and you can go back to enjoying your weekends and grind peacefully.
If your DualShock 4 controller is exhibiting a flashing white light issue instead, please refer to our detailed guide for troubleshooting steps. If you’re unable to connect your DualShock 4 to your console regardless, refer to our article to fix the issue.
 Reviewed by


