How to Fix “0x000006e4” Printing Error on Windows 11
Microsoft can’t catch a break. Ever since Windows 11 launched, there’s at least one problematic update that fixes one thing while breaking another each month. The latest occurrence? The November KB5007247 ends up causing the 0x000006e4 (RPC_S_CANNOT_SUPPORT) error when the user tries to connect to a remote printer shared on a Windows print server.
Update: Depending on the type of printer that you’re using, you might also encounter the 0x00000709 (ERROR_INVALID_PRINTER_NAME) or 0x0000007c (ERROR_INVALID_LEVEL) error instead. These error codes are also directly linked with the bad KB5007247 error.
After investigating this particular issue thoroughly, we realized that several different scenarios might be causing this issue. Here’s a list of potential culprits that might be responsible for this issue:
- Hotfix for KB5007247 is not installed – Keep in mind that Microsoft has already announced that it’s investigating this particular issue and is working on a fix. Although we don’t have a delivery date yet, the word around the ‘Microsoft Tech street’ is that the hotfix will be out by the end of this month. Depending on when you end up reading this article, the first thing you should do is install any available update via WU.
- Generic printer inconsistency – Depending on the printing equipment that you’re using, you might be able to resolve the issue automatically simply by running the Windows Printer Troubleshooter and applying the recommended fix. This won’t work for situations where you’ve installed this problematic update on a Domain Controller (DC).
- Inconsistent Print Providers reg keys – As it turns out, this particular issue can also be repeated to a series of conflicting keys related to the Client Side Rendering Print Providers that are currently active for your network printers. To fix this issue, you’ll need to use the Registry Editor to delete the reg inconsistency.
- Printer Package glitch – If you noticed that this issue only started to occur after more computers were added to the local network and you’re using Windows 11, chances are you’re dealing with a reasonably common printer package glitch. To fix this issue, you’ll need to use the Print Management utility to temporarily remove the printer package from your print server before adding it back up.
- Poorly configured print jobs – If you’re on Windows 11 and only see this error when you attempt to install new printers to the network, you might be able to get away from the issue by running an automated Powershell script on every affected machine. This fix can only be deployed from an elevated PowerShell script.
- Missing Print Server Registry keys – One of the tricky things that this update ends up doing is removing a series of Reg. keys that are important to the printing flow. One way to fix it is to re-add the missing keys (RestrictDriverInstallationToAdministrators) and (RpcAuthnLevelPrivacyEnabled) back to your printing server.
- Rendering of print jobs is enabled – If you’re experiencing this issue, are the two removed reg keys mentioned above. Another way to ensure that your printing protocols keep functioning is to disable the ‘Render print jobs on client computers’ option using the Print Management utility.
- Outdated / Corrupted Printer driver – The KB5007247 is not always responsible for this particular error on WIndows 11. The issue can also be rooted in an improper driver (either outdated or corrupted after an upgrade). You will need to install the latest printer driver (either manually or via Windows Update) to fix this problem.
This problem is widespread, judging by the sheer number of people talking about it on the internet.
Fortunately, there are a lot of viable fixes that have surfaced from all of these discussions about Microsoft’s inability to fix one thing without breaking another.
Here’s a list of methods that other affected users have successfully used to fix the 0x000006e4 printer error on Windows 11.
1. Install hotfix via Windows Update
Since Microsoft already acknowledged that it’s working on a hotfix to fix the issuer brought about by the KB5007247, the first thing you should do when troubleshooting this issue is see if the hotfix is waiting to get installed.
If you have any pending updates waiting to get installed and one of them is a cumulative update, chances are one of the issues addressed is the 0x000006e4 (RPC_S_CANNOT_SUPPORT) error.
Note: Even when Microsoft is ready to release this hotfix, the updating will be handled upon segments, so don’t expect to get your prompt to update immediately after MS announces it.
Follow the instructions below for step-by-step instructions on installing the hotfix and ensuring that you’re using the latest available build for Windows 11.
Here’s what you need to do:
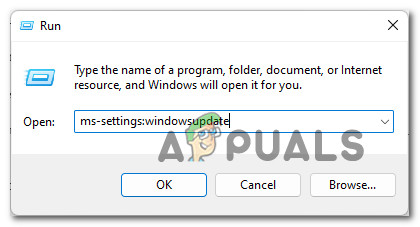
- Open up a Run dialog box by pressing Windows key + R. Next, type ‘ms-settings:windowsupdate’ and press Enter to open up the Windows Update page of the Settings menu.
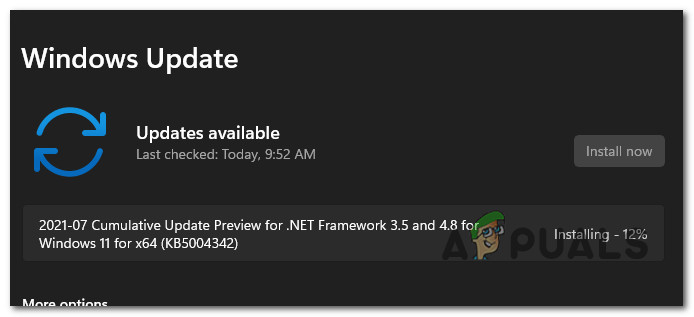
Accessing the Windows Update screen - Once you’re inside the Windows Update screen, move over to the right-hand section of the screen and click on download Now if any new updates are available.
- Once the download is complete, click on Install Now in case the installation doesn’t start automatically.
- If the hotfix is successfully installed and you’re not prompted to restart, do so manually.
Install Windows Updates - After your PC boots back up, attempt to connect your Windows 11 PC to the network printer again and see if the problem is now fixed.
In case no hotfix is available in your case, move down to the next potential fix below.
2. Run the Windows Printer Troubleshooter
If you’re dealing with a standard printer inconsistency, chances are your Windows 11 installation will be able to fix the issue automatically.
To test this theory, you should try running the Windows Printer Troubleshooter and applying the recommended fix.
Note: This utility will start analyzing your current situation and determine if any of the repair strategies that this tool knows are applicable in your scenario.
For detailed instructions on how to do this, follow the instructions below to run the Windows Troubleshooter and apply the recommended fix:
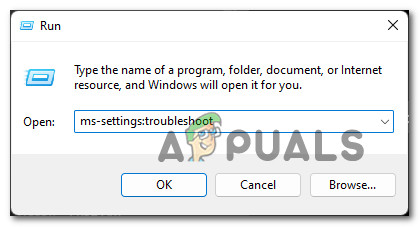
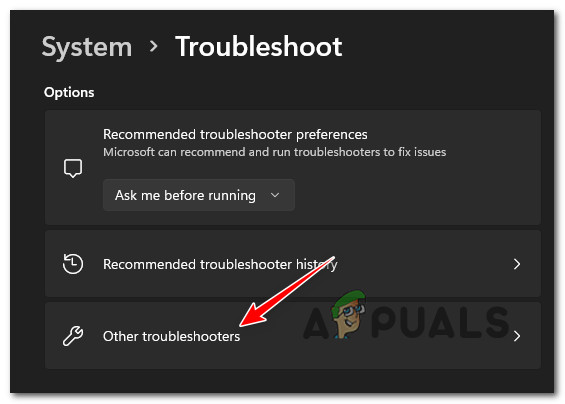
- Press Windows key + R to open up a Run dialog box. Next, type’ ms-settings:troubleshoot’ inside the text box and press Enter to open up the Troubleshooting tab of the Settings app.
Accessing the troubleshooting tab - Once you’re inside the Troubleshooting tab, move over to the right-hand section and click on Other Troubleshooters.
Accessing the Other Troubleshooters tab - Next, from the Other Troubleshooters tab, click on the Run box associated with Printer.
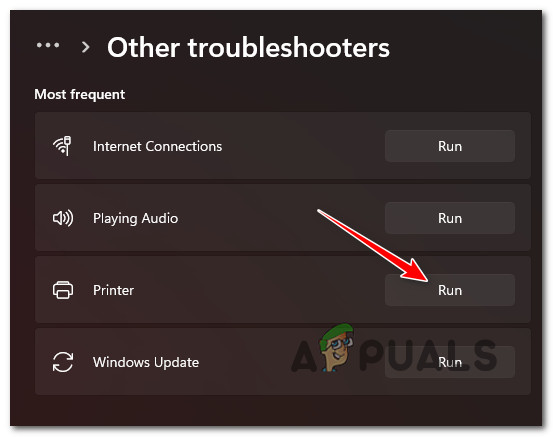
Opening the Printer tab - Wait until the initial scan detects any potential issues with your currently connected Printer.
- If a viable fix is identified, click on Apply this fix and wait until the utility automatically repairs your connection with the Printer.
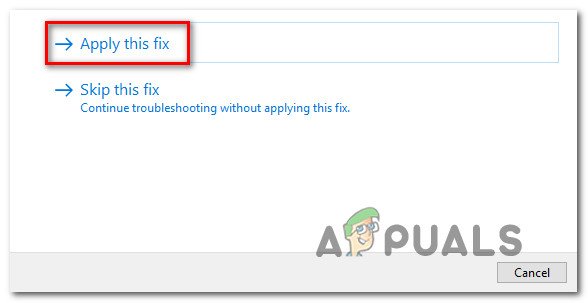
Applying the fix - Once the operation is complete, reboot your PC and see if you’re still dealing with the same 0x000006e4 error.
If the problem is still not fixed, try the next potential fix below.
3. Remove Client Side Rendering Print Providers reg key
As it turns out, you might expect to see this error due to an inconsistent key related to the Client Side Rendering Print Providers that are currently active for your network printer.
Other users dealing with this issue (particularly network administrators) have managed to fix this issue by using the Registry Editor utility to delete the Providers value before restarting the Print Spooler service and adding the Printer once again.
If you haven’t tried this fix yet, follow the step-by-step instructions below to deploy it:
Note: Before starting this process, it’s essential to take your time to back your registry data in advance.
- Press Windows key + R to open up a Run dialog box. Next, type ‘regedit’ inside the text box and press Ctrl + Shift + Enter to open the Registry Editor with admin access.
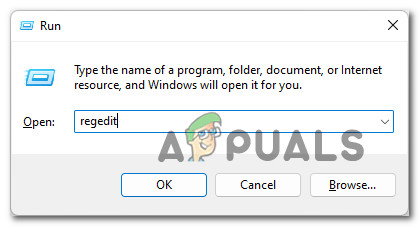
Open up the Registry Editor - When the User Account Control prompts you, click Yes to grant admin access.
- Once you’re inside the Registry Editor, use the left-hand menu to navigate to the following location:
HKLM\SOFTWARE\Microsoft\Windows NT\CurrentVersion\Print\Providers
Note: You can either navigate to this location manually or paste the full path directly into the navigation bar to get there instantly.
- Once you arrive in the correct location, right-click on the Providers key and choose Delete from the context menu that just appeared.

Deleting the Providers key - Once the Providers key has been deleted, close the regedit window.
- Press Windows key + R to open up another Run box. Next, type ‘services.msc’ and press Enter to open up the Services screen.
Open up the Services screen Note: If the User Account Control prompts you, click Yes to grant admin.
- Once you’re inside the Services screen, scroll down through the list of services and locate the Print Spooler service.
- When you locate the service, right-click on it and click on Stop from the context menu.
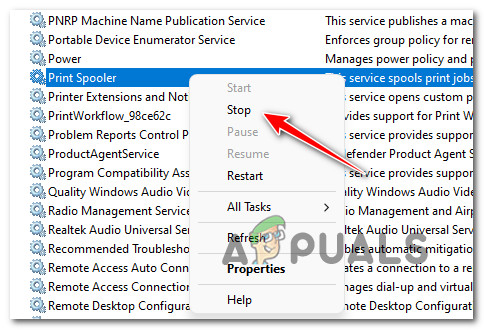
Restart the Spooler Service - Next, right-click on the same Print Spooler service again and click on Start this time.
- Close the services screen, try adding the Printer once again and see if the same 0x000006e4 error is still occurring.
If you’re still unable to your network printer, move down to the next potential fix below.
4. Remove the printer package via Print Management
If you’re managing your Printer via Print Management, another thing you should try is to remove the printer package from the utility before making the connection once again.
This will be effective in those cases where the problem only started to occur after more PCs were added to the local network that was all using the same printer server.
Follow the instructions below to remove the printer package via Print Management temporarily:
Note: The instructions below should work on every recent Windows version where the Print Management utility is present.
- Press Windows key + R to open up a Run dialog box. Next, type’ printmanagement.msc’ inside the text box, then press Enter to open the Print Management utility.
Accessing the Print Management utility - Depending on your UAC (User Account Control) settings, you might be prompted to grant admin access. If this happens, click Yes at the prompt.
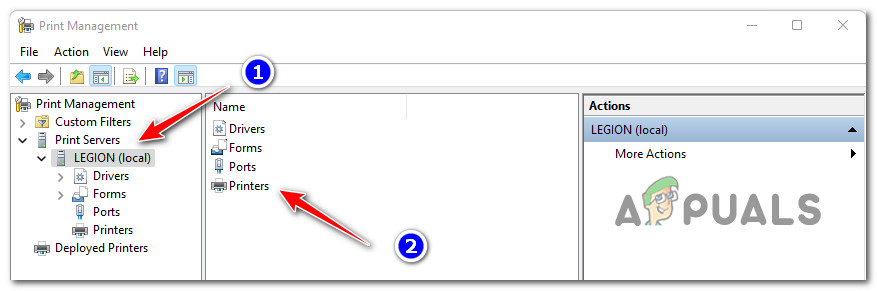
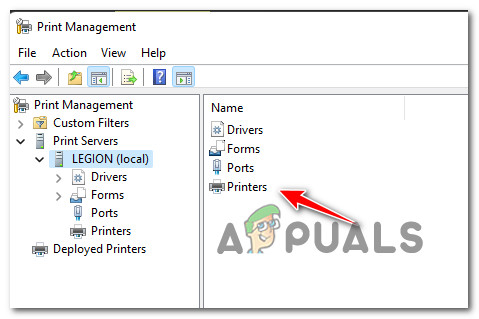
- Inside the Print Management Utility, access your current Print server from the menu on the left, then double-click on Printers from the central pane.
Accessing the Printers tab - Next, right-click on the Printer that is giving you troubles from the central pane and choose Delete from the context menu.
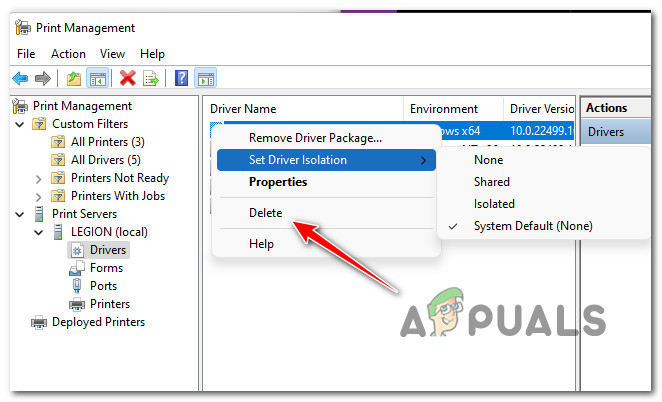
Deleting the Printer menu - Click Delete once again at the confirmation prompt to enforce the deletion of the printing package.
- Reboot your PC and start reinstalling your Printer once the next startup is complete.
If the problem is still not fixed even after removing the printer package via Print Management, move down to the next potential fix below.
5. Create an automated PowerShell script
Suppose you are dealing with this issue when attempting to install printers from a print server, and this problem started to occur immediately after installing the KB5006670 update. In that case, you can automate this process by re-configuring the server to render print jobs on the client computers.
However, if you have to do this for multiple printer servers, the best solution would be to automate the actual steps via Powershell. This way, you can quickly deploy the 0x000006e4 fix for every affected machine easily.
Here’s what you need to do:
- Press Windows key + R to open up a Run dialog box. Next, type ‘powershell’ inside the text box and press Ctrl + Shift + Enter to open up an elevated Powershell command.

Accessing an elevated PowerShell window - At the User Account Control, click Yes to grant administrative access.
- Once you’re inside the elevated Powershell window, run the following command to apply the automated solution:
Get-Printer -Full | ForEach-Object { If($_.RenderingMode -eq "CSR") { Set-Printer -Name $_.Name -RenderingMode SSR Set-Printer -Name $_.Name -RenderingMode CSR } If($_.RenderingMode -eq "SSR") { Set-Printer -Name $_.Name -RenderingMode CSR Set-Printer -Name $_.Name -RenderingMode SSR } } - Once the command is processed successfully, close the elevated CMD prompt and reboot the affected PC.
- After it boots back up, attempt to operate a printing job using the same printer error 0x000006e4.
If this problem is still not fixed, move down to the next potential fix below.
Re-add the removed reg keys onto the Print Server
As it turns out, one of the main reasons that label the kb5006670 update as bad is because, on some configurations, it ends up removing two reg keys – these keys (RestrictDriverInstallationToAdministrators) and (RpcAuthnLevelPrivacyEnabled) is a requirement for a lot of printers that are set up over a local network.
So if you want to get the old functionality back, one way to do it is to add both of these keys back to the print server, and you should be good to go.
Follow the instructions below for steps on doing this:
- Log in to your print server that’s currently experiencing the printer error.
- Add the following Reg keys:
[HKEY_LOCAL_MACHINE\Software\Policies\Microsoft\Windows NT\Printers\PointAndPrint\RestrictDriverInstallationToAdministrators]
[HKEY_LOCAL_MACHINE\System\CurrentControlSet\Control\Print\RpcAuthnLevelPrivacyEnabled]
- Attempt a printing job once again and see if the problem is now fixed.
If the same kind of issue is still occurring, move down to the next potential fix below.
6. Disable ‘Render print jobs on client computers’ for your Print Server (if applicable)
If adding the two reg keys that the problematic update has most likely removed didn’t fix the issue in your case, the next thing you should try is to see if you can select the problem by using the Printer Management utility.
Several affected users that we’re also dealing with this problem have confirmed that the problem was finally fixed after they accessed the Printer Server via the Print Management utility and disabled ‘Render print jobs on client computers’ from the hearing tab of the Printer that’s triggering the 0x000006e4.
Follow the instructions below for specific instructions on disabling the ‘Render print jobs on client computers’ feature from the Sharing tab of your Printer server via the Print Management utility:
- Press Windows key + R to open up a Run dialog box. Next, type’ printmanagement.msc’ inside the text box and press Enter to open the Print Management utility.
Accessing the Print Management utility - When the User Account Control window prompts you, click Yes to grant admin access.
- Once you’re inside the Print Management tool, use the left-hand pane to expand the Print Servers section from the left-hand pane, then right-click on your Printer from the list and choose Properties.
Accessing the Properties screen of your active Printer - Once you’re inside the Properties screen, access the Sharing tab from the menu at the top, then uncheck the box associated with Render print jobs on client computers before clicking on Apply to save the changes.
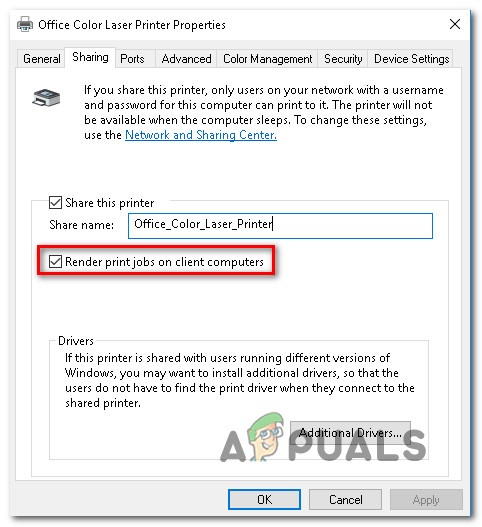
Uncheck render print jobs - Once you’ve disabled the ended print jobs functionality and enforced the change, reboot your PC and see if the printing issue is fixed once the next startup is complete.
If the same 0x000006e4 error is still occurring, move down to the next potential fix below.
7. Install the latest printer driver
If you’ve come this far without tangible results, you should also consider that a problematic driver might be the root cause of this particular issue.
As it turns out, the 0x000006e4 error might occur if an outdated or corrupted printer driver ends up affecting the connection between the printer server and the Printer that’s connected to the local network.
If you find yourself in this particular scenario, there are two ways forward:
- Update your printer driver version manually
- Force Windows Update to install the latest compatible printer driver
Fortunately, you don’t have to choose between the two methods since we covered both potential approaches.
Follow one of the sub-guides below, depending on the system that you wish to take.
7.1. Update printer manually
If you decide to go this route, you will essentially rely on Device Manager to scan for a new driver version that’s newer than the one you’re currently using for your Printer. Depending on your printer model, this might work, or it might not. Results will vary.
Here’s what you need to do:
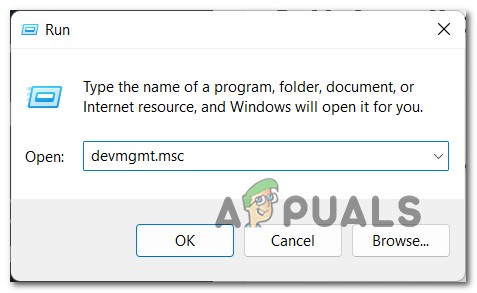
- Press Windows key + R to open up a Run dialog box. Type ‘devmgmt.msc’ and press Enter to open up the Device Manager utility inside the text box.
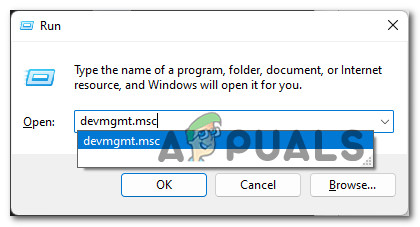
Opening up Device Manager - When the User Account Control prompts you, click Yes to grant admin access.
- Once you’re inside Device Manager, go ahead and scroll down through the list of installed devices and expand the drop-down menu associated with Printers (Print Queues).
- Next, right-click on the Printer that you’re having issues with and choose Update Driver from the context menu that just appeared.
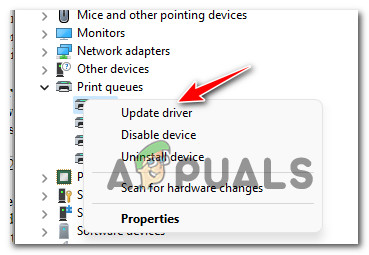
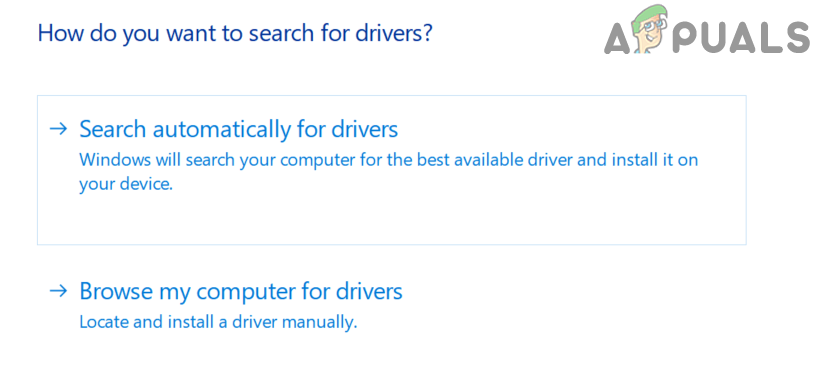
Update the Print driver - After you get to the next screen, click on Search automatically for updated driver software and see if the utility manages to find a newer version of your current printer driver.
Search for the updated driver version - If a new printer driver version is identified and installed, follow the remaining on-screen instructions to complete the installation.
- Reboot your PC and repeat the action that was previously causing the error to see if the problem is now fixed.
7.2. Update Printer via Windows Update
Another way to go around fixing this issue is to rely on force Windows Update to download the latest compatible driver version for your Printer.
The way you do this is by using Device Manager to uninstall the printer device. By doing this, you’ll force your operating system to download and install the latest compatible version the next time you boot up.
Follow the instructions below:
- Press Windows key + R to open up a Run dialog box. Next, type’ devmgmt.msc’ inside the text box and press Enter to open up Device Manager.
Open up Device Manager - Once you’re inside Device Manager, scroll down through the list of devices and locate Printers (Print Queues).
- After you locate the correct menu, expand the drop-down menu and right-click on the Printer that gives you troubles.
- Next, from the list of options available in the context menu, click on Uninstall Device.
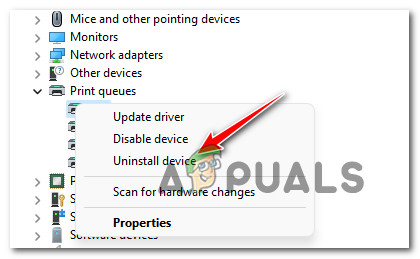
Uninstall the printing device - At the confirmation prompt, click Uninstall once again and wait until the operation is complete.
- At this point, you have two options:
- Access your printer manufacturer’s website and download & install the latest printer driver compatible with Windows 11
- Restart your PC and force your OS to use Windows 11 to download and install the latest compatible printer driver
- Regardless of your choice, reboot your PC and see if the problem is fixed once the next startup is complete.
If you’re still encountering the same 0x000006e4 error after following the instructions above, move down to the following method below.
8. Uninstall problematic Windows Update
If you’ve come this far without a solution, it’s time to get back to the root of the issue.
We know for sure that the KB5007247 is responsible for this printing issue on Windows 11. So if everything else has failed, the final thing you can try is to uninstall the bad update and see if the printing connectivity resumes.
But keep in mind that just uninstalling the KB5007247 update won’t be enough – you’ll also need to use a specialized utility to hide the update and make sure it doesn’t install again (at least until MS releases an official fix)
Follow the instructions below to uninstall and hide the problematic KB5007247 Windows Update:
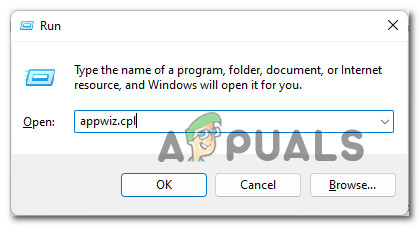
- Press Windows key + R to open up a Run dialog box. Next, type’ appwiz.cpl’ inside the text box, then press Enter to open up the Programs and Features menu.
Open up the Programs and Features menu. Note: If prompted by the User Account Control window, click Yes to grant admin access.
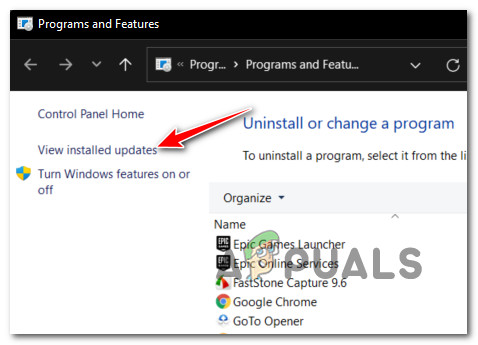
- Once inside the Programs and Features menu, click on View installed updates from the side menu on the left.
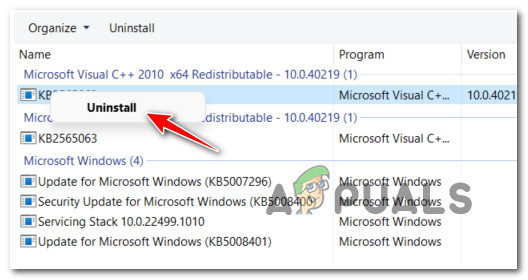
Accessing the ‘View Installed Updates’ menu - Once you’re inside the View installed updates menu, look for the KB5007247 update. When you see it, right-click on it and choose Uninstall from the context menu.
Uninstall the KB5007247 update - At the confirmation prompt, click Uninstall once again and wait until the operation is complete.
- Next, download the Windows Show/Hide Update Troubleshooter from this download page.
- Extract the contents of the wushowhide archive to an easy-to-access location.
- Next, right-click on wshowhide.diagcab, then choose Run as administrator from the context menu that just appeared.
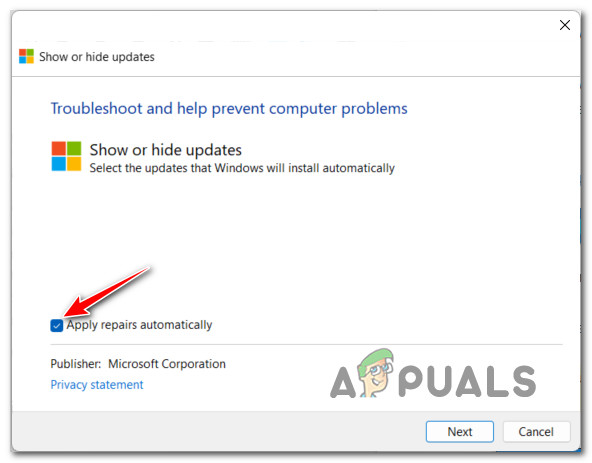
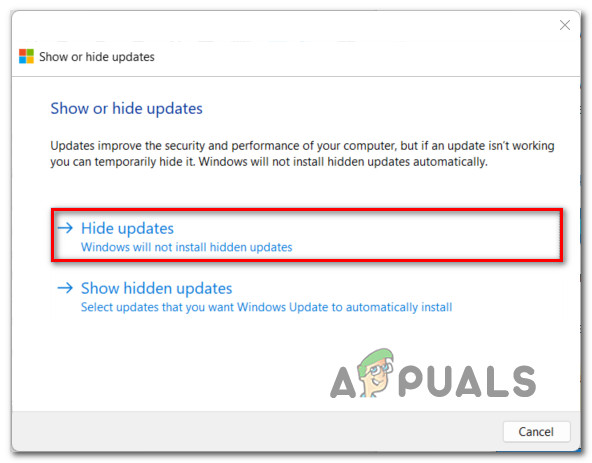
- Once you get to the first window of the Show or hide updates Troubleshooter, click on the Advanced hyperlink, then check the box associated with Apply Repairs Automatically, then click on the Next button.
Apply repairs automatically - Wait until the initial scan is complete, then click on Hide Updates from the list of presented options.
Hiding the updates - Next, from the list of updates, check the box associated with the KB5007247 update, then press Next once again and wait until the update is hidden.
- Reboot your PC and attempt to connect to your printer server – you should have no issues doing so.
Note: Once Microsoft finally gets around to releasing a fix for this issue, you can use this utility again to unhide the update. To do so, click on Show Hidden update instead and select KB5007247.


