How to fix ‘Inaccessible Shared Printer’ after the KB5005565 Update?
The KB5005565 is a security update that was mainly released to patch the PrintNightmare vulnerability in the depreciated Point and Print technology. In the Point and Print technology, a client PC is connected to a remote printer that is managed by a print host or server system without requiring installation media at the client side.
The printer driver and configuration files are pulled from the host/server system and installed locally on the system. The print job created on the client PC is relayed to the host’s print queue for the print.
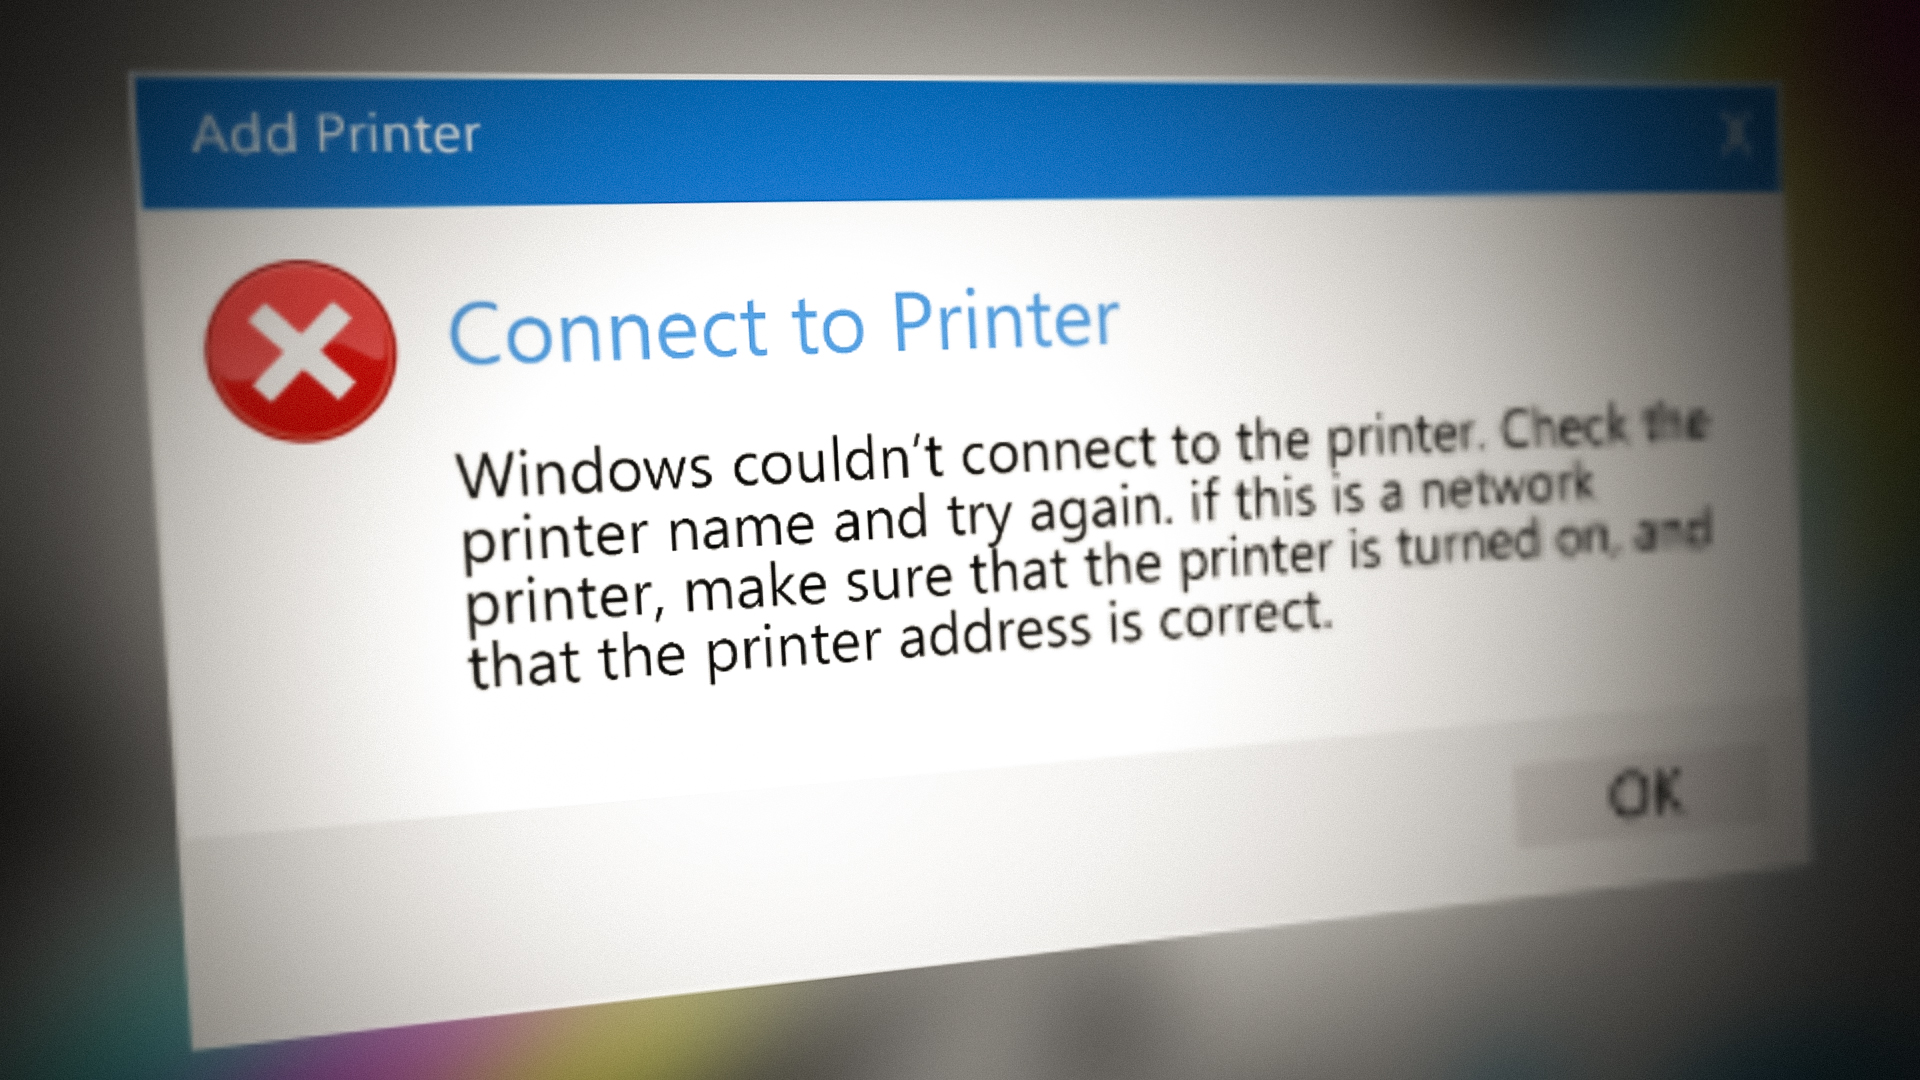
With the PrintNightmare vulnerability in the Point and Print technology, a hacker may be able to bypass the security setup of an organization and may gain administrative privileges on the systems. Despite the update’s usefulness, this update caused a lot of trouble for some organizations/users, when the users could not access the shared or networked printer (sometimes with an error code).
The shared printer access issue after the KB5005565 update (despite the update’s itself incompatibility with the system) was mainly caused by the following:
- Incompatible or Outdated Printer Driver: As the KB5005565 update enabled the new printer technology (replacing the older Point and Print) and the client system is still using the older one, it may not be compatible with the KB5005565 update, resulting in the loss of the printer connectivity.
- Outdated OS of the Client System: If the client system is outdated whereas the print host/server is updated to the latest, both systems may become incompatible with each other, resulting in the printer issue at hand.
Update the PC’s Windows to the Latest Build
The KB5005565 mainly patches the old print technology (i.e., Point and Print) against the PrintNightmare exploit and if any of the PCs involved (print server or client) are not updated to the latest Windows build, then that may not be compatible with the newer update which may cause the printer access issue at hand. Here, updating the PCs’ (print server and client) Windows to the latest build may solve the problem.
- On the Print Server system, click Windows, search and open Check for Updates.
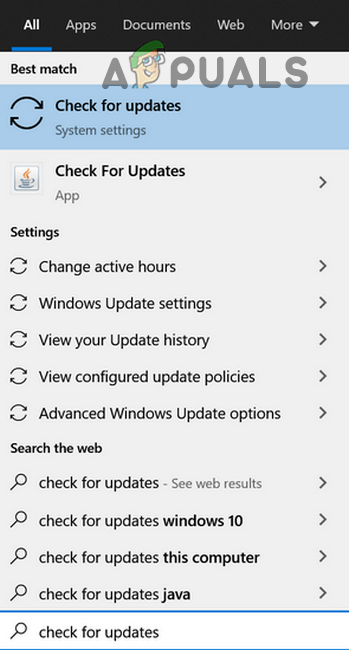
Open Check for Updates - Now click on the Check for Update button and if updates are available, download and install the updates. Make sure to install Optional Updates as well.
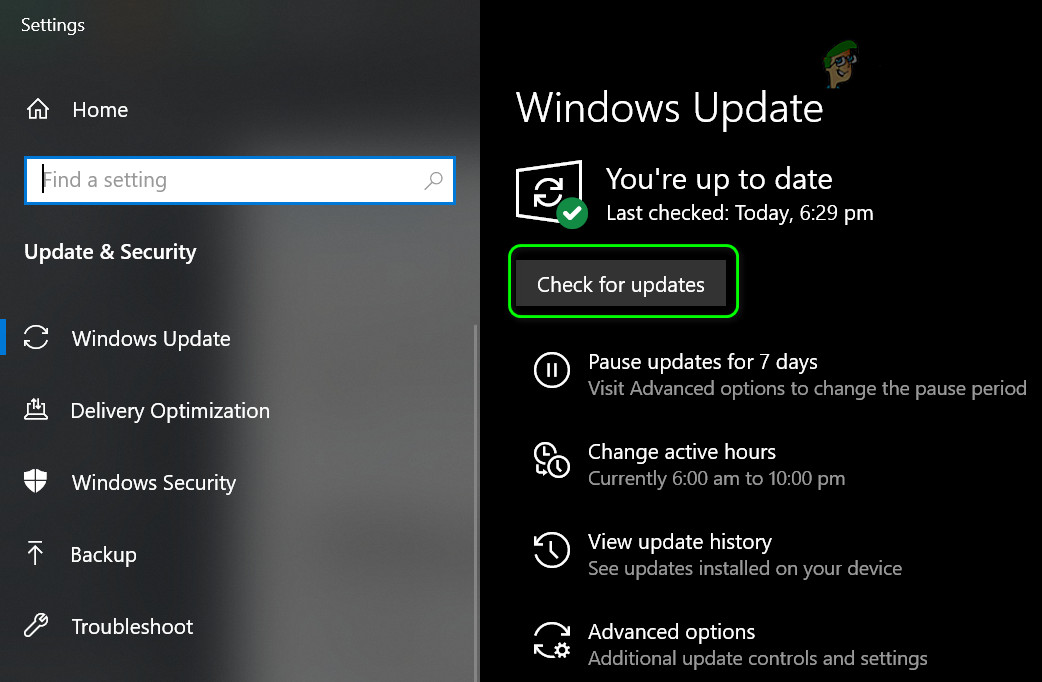
Check for Windows Updates - Once the updates are installed, restart your print server system.
- Then repeat the same on the client system (or systems) and once all the systems are updated, check if the shared printer can be accessed.
Re-add the Printer and Reinstall its Driver
The KB5005565 update has redefined the printer technology used between the client and print server which may cause incompatibility between the both, resulting in the shared printer issue. Here, re-adding or reinstalling the printer may solve the problem.
Re-add the Printer
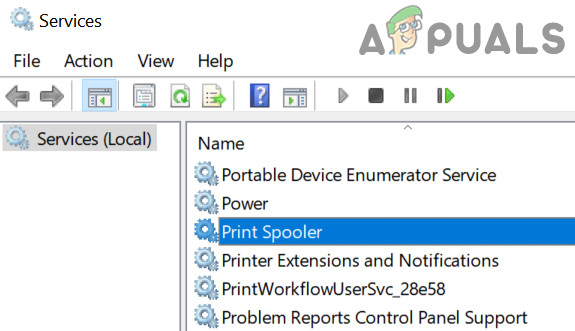
- Click Windows, search for Services, right-click on it, and select Run as Administrator.
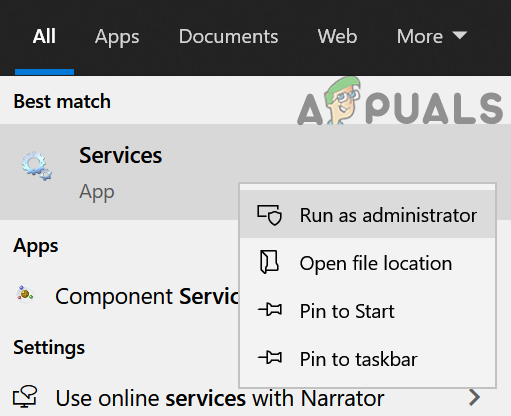
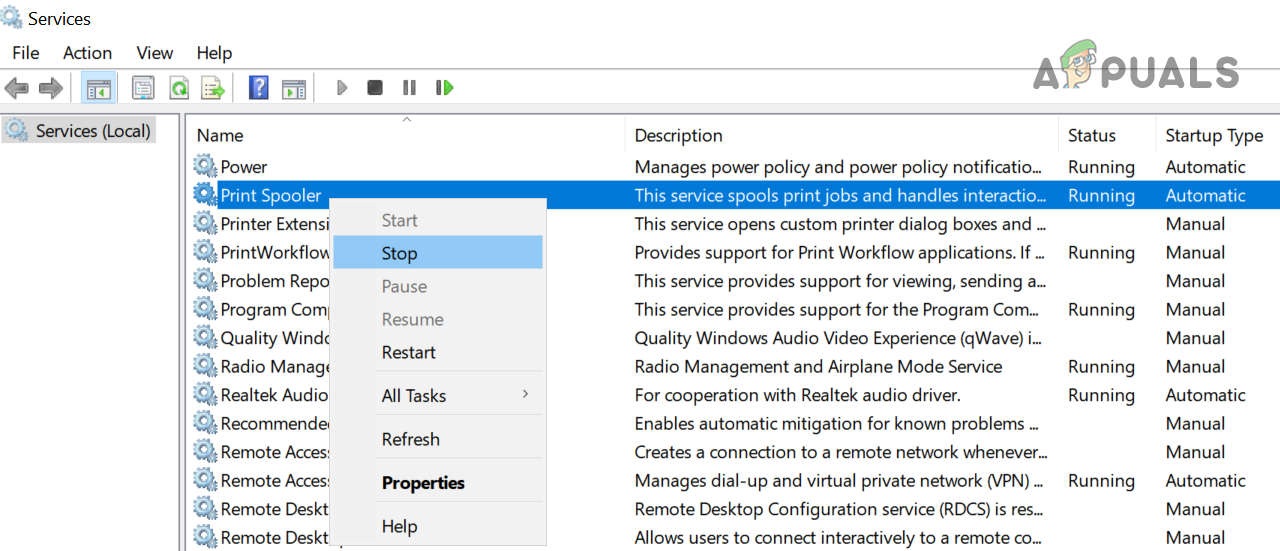
Open Services as Administrator - Now, double click on the Print Spooler service and set its Startup Type to Automatic.
Double-click the Print Spooler Service - Then click on the Stop button and afterward, click on the Start button.
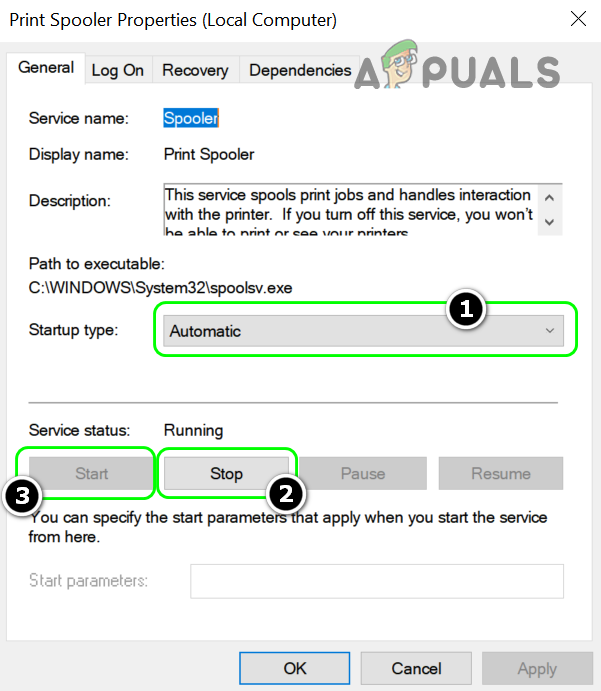
Set the Startup Type of the Print Spooler Service to Automatic and Stop/Start the Service - Now, right-click on Windows and select Settings.
Open Windows Settings - Then open Devices and head to the Printers and Scanners tab.
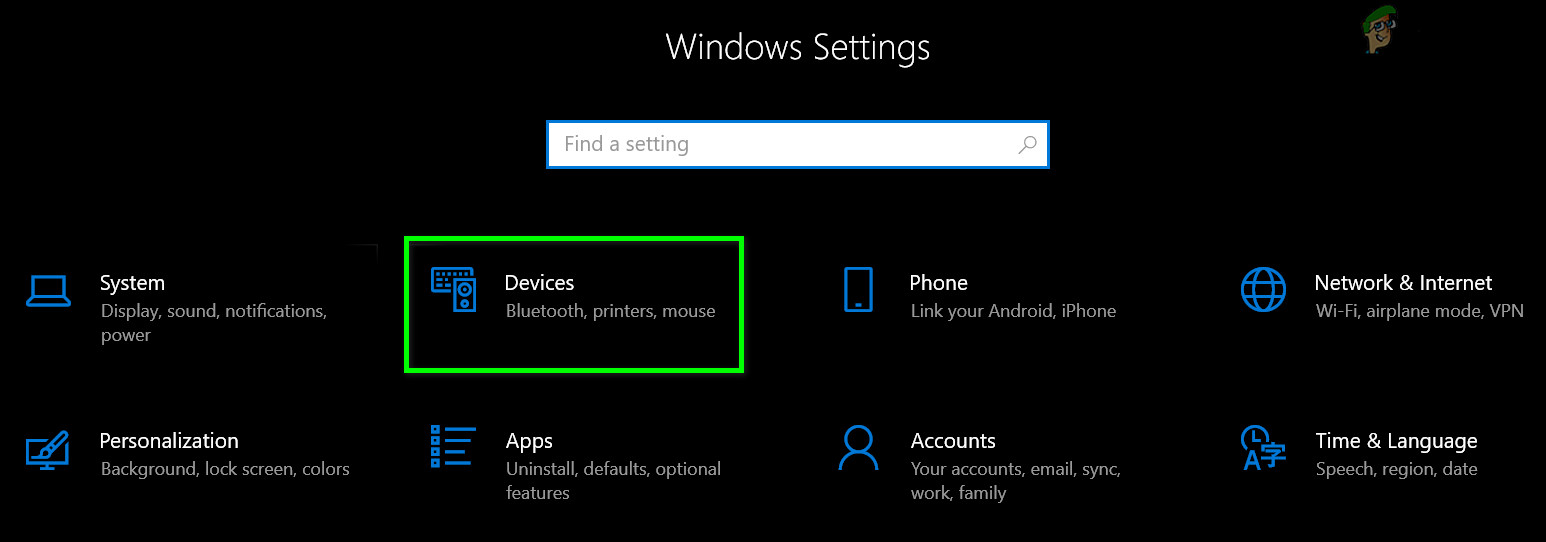
Open Devices in Windows Settings - Now select the problematic printer and click on Remove Device.

Remove Device in Printers and Scanners - Then confirm to remove the device and wait till the device is removed.
- Now, remove all the other printers that use the same driver as the problematic printer.
- Then, click on Print Server Properties in the right pane of Devices>> Printers and Scanners.

Open Print Server Properties - Now, head to the Drivers tab and remove the problematic printer driver from there as well.
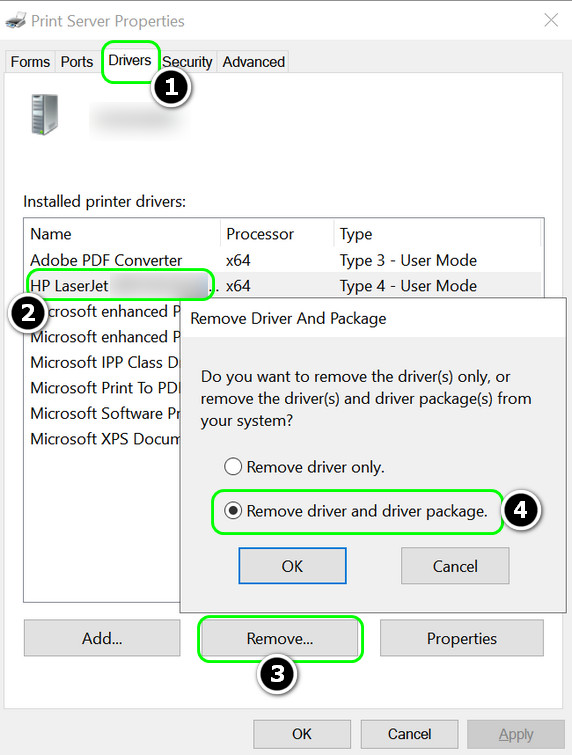
Remove Driver and Driver Package in the Print Server Properties - Afterward, restart your system and upon restart, head to Settings>> Devices>> Printers and Scanners.
- Then, in the Printers and Scanners window, click on Add a Printer or Scanner and re-add the printer to check if the shared printer is accessible.
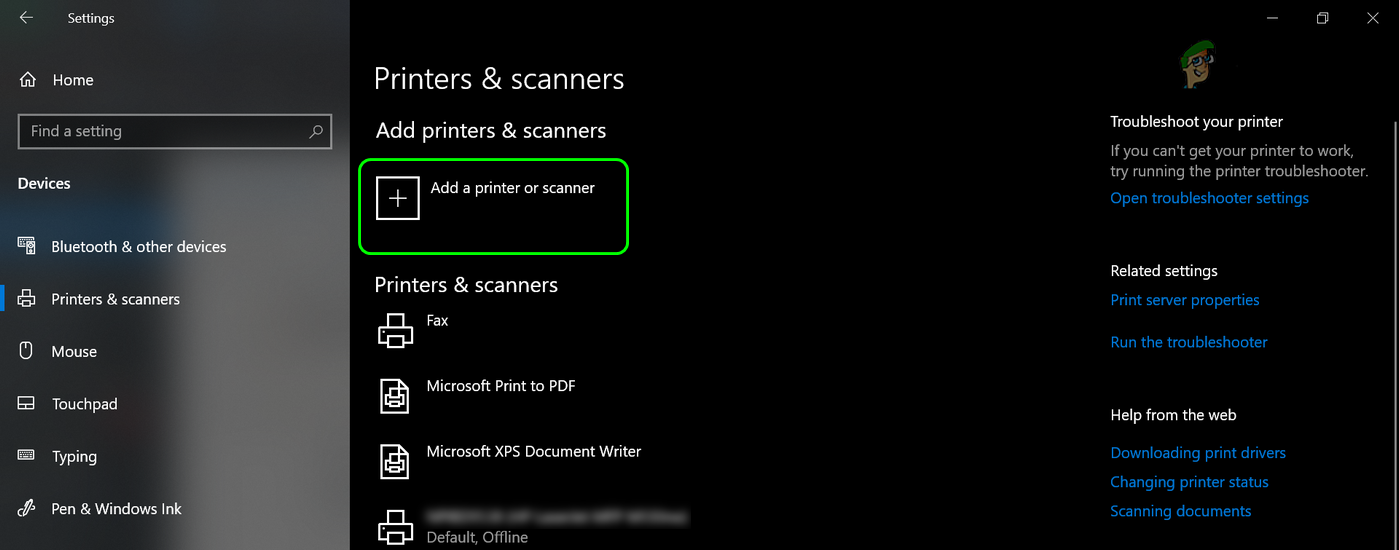
Click on Add a Printer or Scanner
Keep in mind, in the case of Windows 7 client systems, firstly, disable password-protected sharing on the printer host. Then map a local port to the shared printer using the following command (make sure to replace the PC Name and Printer Name as per your environment).
net use lpt1 \\pc-name\printer-name /persistent:yes
Afterward, locally install the printer driver and check if that resolves the shared printer issue on Windows 7 systems.
Update the Driver Through the Device Manager
- Right-click Windows and select Device Manager.
- Now expand Printers (or Print Queues) and right-click on the problematic printer.
- Then select Update Driver and select Search Automatically for Drivers.
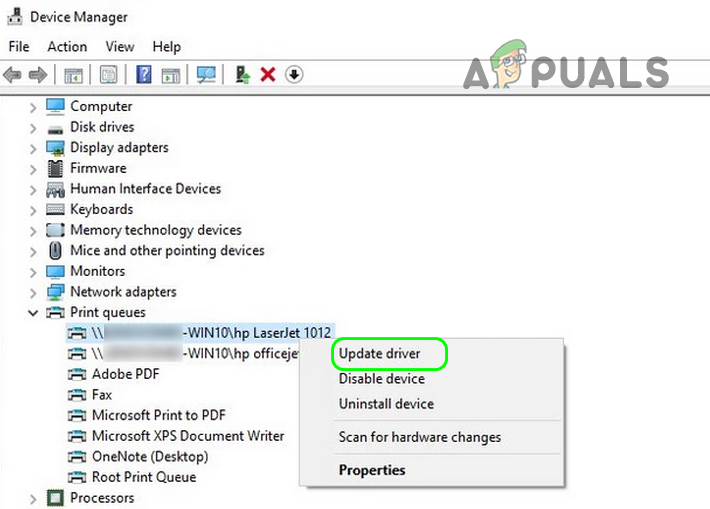
Update the Network Printer Driver in the Device Manager - Now select Search for Updated Drivers on Windows and afterward, check if the shared printer issue is resolved.
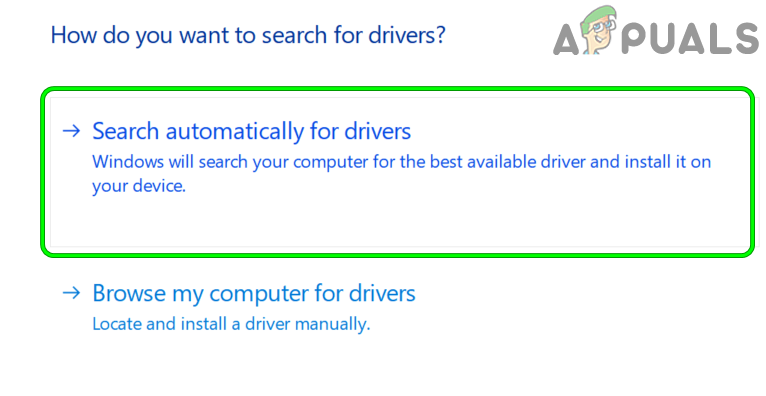
Search Automatically for Drivers - If not, then check if reinstalling the printer driver clears out the printer problem.
Add the Print Server Credentials to the Credential Manager of the Client System
As the printer cannot be accessed from the client system, adding the print server credentials to the credential manager of the client system may let the user access the printer.
- Firstly, remove the problematic printer from the client system.
- Now, in an administrator account on the client system, click Windows, search and open Credential Manager.
Open Credential Manager - Then head to the Windows Credential tab and click on Add a Windows Credential.

Add a Windows Credential of an Administrator Account of the Print Server - Now add the user like ServerPCNAME\UserName of the print server account and enter the password. Make sure you are using the credentials of the administrator account of the print server.
- Now restart the Print Spooler service on the client and print server system.
Restart the Print Spooler Service - Then, on the client PC, click Windows, search: Command Prompt, right-click on it, and select Run as Administrator.
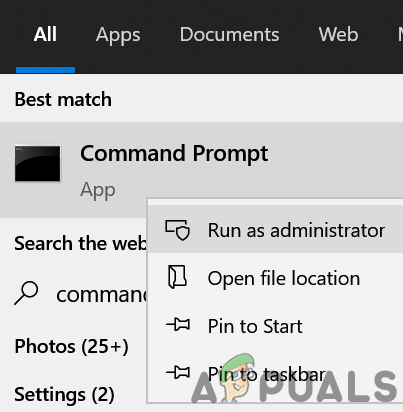
Open Command Prompt as Administrator - Now execute the following (that will launch printer install UI in administrator mode):
rundll32 printui.dll,PrintUIEntry /il
- Then follow the prompts to add the printer and afterward, check if the printer access issue is resolved.
Edit the System’s Registry
The main object of the KB5005565 update was to patch the print spooler vulnerabilities and for this purpose, the update enables the RpcAuthnLevelPrivacyEnabled registry value. But if any of your systems (print server or client) are not RPC_C_AUTHN_LEVEL_PKT_PRIVACY compliant, then the shared printer may not be accessible. In this scenario, disabling the RpcAuthnLevelPrivacyEnabled in the system’s registry may solve the problem.
Warning:
Proceed at your own risk as editing the system’s registry is a skillful task and if not done properly, you may expose your system to threats. Also, do not forget to create a backup of the system’s registry.
- Click Windows, type: Registry Editor, right-click on it, and select Run as Administrator on the host machine.
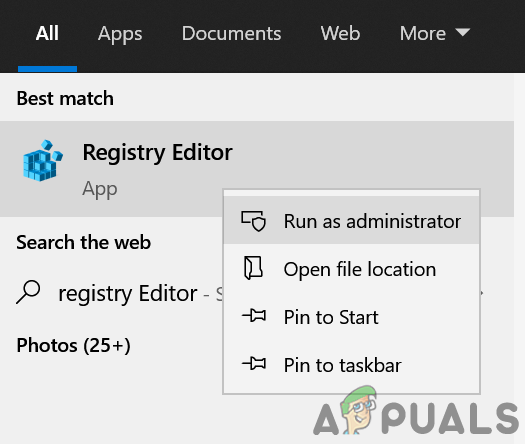
Open Registry Editor as Administrator - Then click Yes (if the UAC prompt is shown) and head to the following path:
HKEY_LOCAL_MACHINE\System\CurrentControlSet\Control\Print
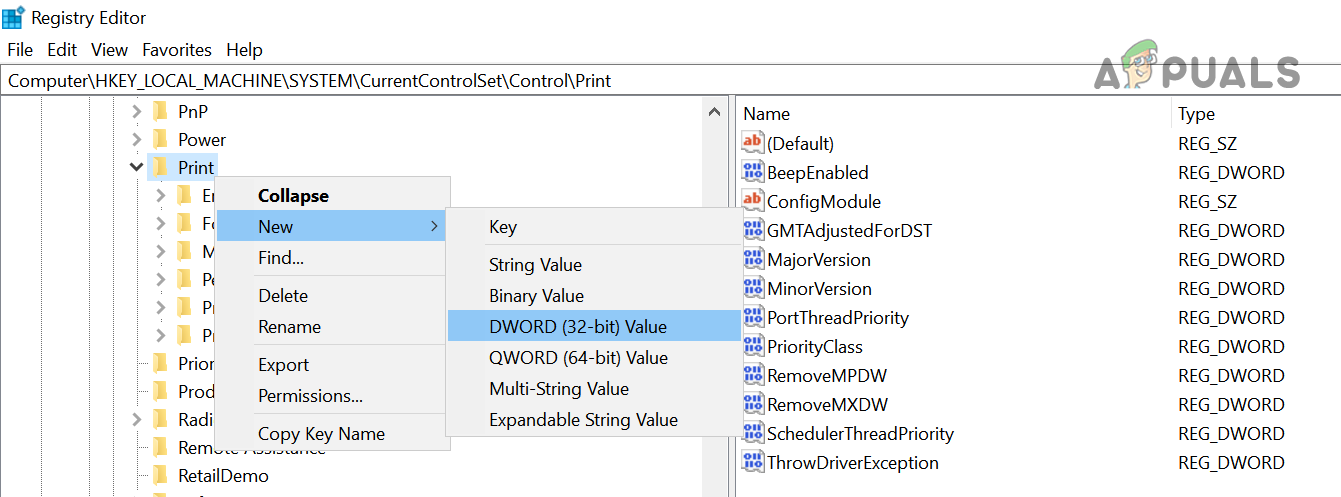
Create a New DWORD (32-bit) Value Under the Print Key - Now, in the left pane, right-click on the Print key and select New>> DWORD (32-bit) Value.
- Then name the key as RpcAuthnLevelPrivacyEnabled and double-click on it.
- Now set its value as 0 and close the editor.
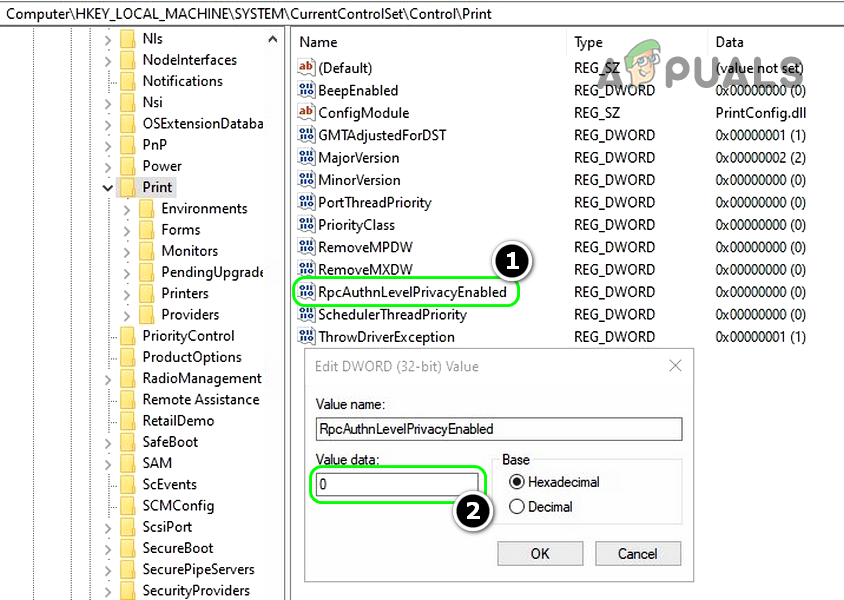
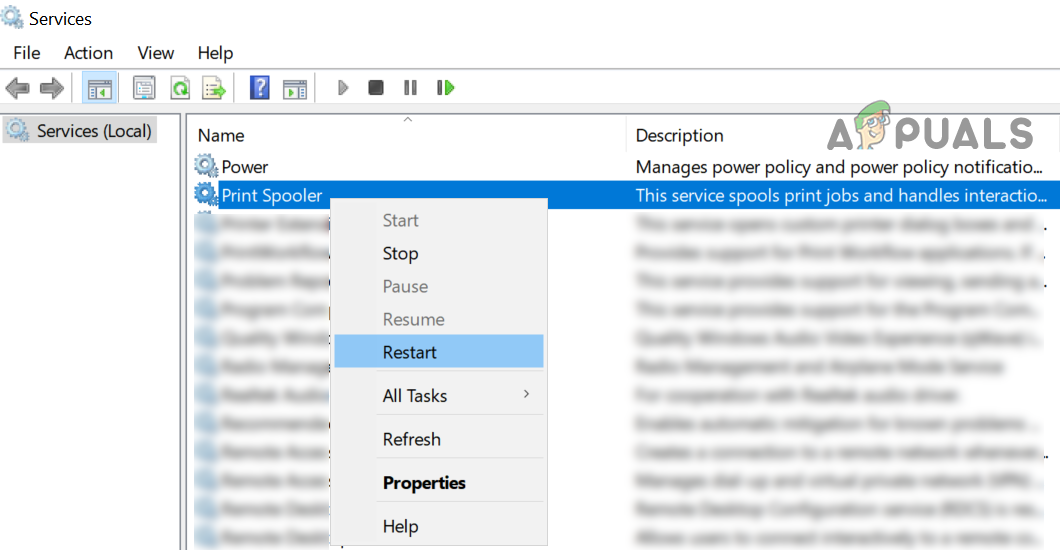
Name the Value as RpcAuthnLevelPrivacyEnabled and Set its Value to 0 - Then click Windows, search for Services, right-click on it, and select Run as Administrator.
- Now, right-click on the Print Spooler service and select Restart.
- Then check if the shared printer is accessible to the client systems.
- If the issue persists, then restart the print server as well as client systems and check if the printer issue is resolved.
- If that did not work, check if making the above registry edit on the clients solves the problem.
- If the issue is still there, then check if executing the following command on the client systems in an elevated Command Prompt solves the issue:
rundll32 printui.dll,PrintUIEntry /il
Uninstall the KB5005565 Update
If the update KB5005565 is not compatible with your particular print setup and other methods are not working, then uninstalling the KB5005565 update may solve the printer problem.
Remove the KB5005565 Update
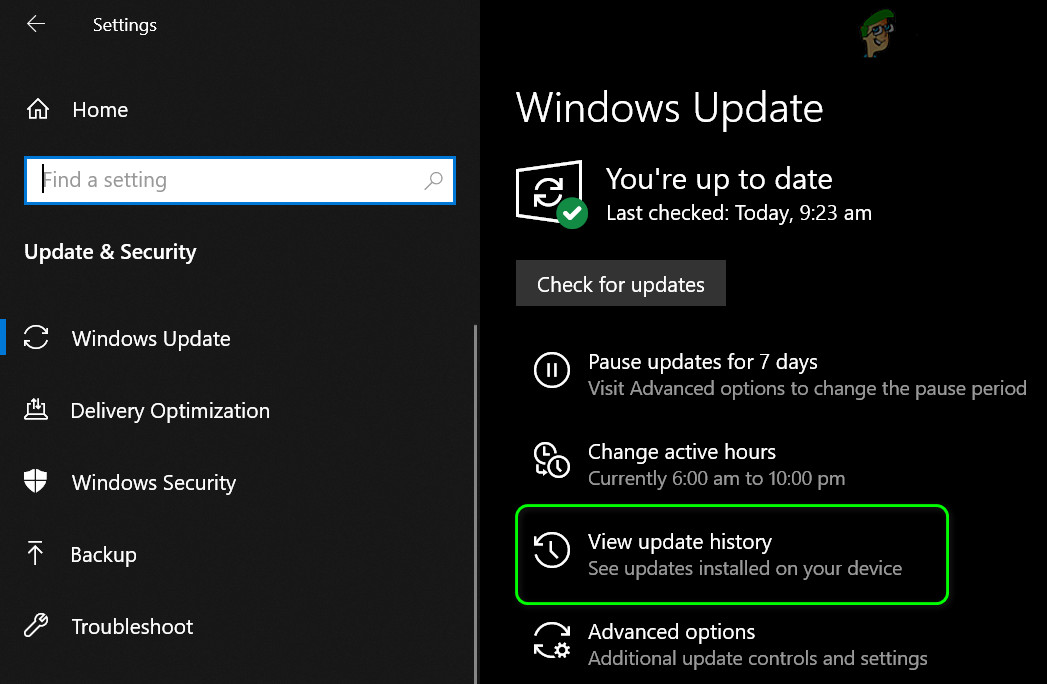
- On the host system, click Windows, search, and open Check for Updates.
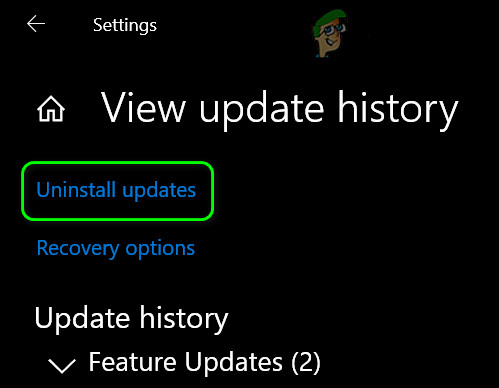
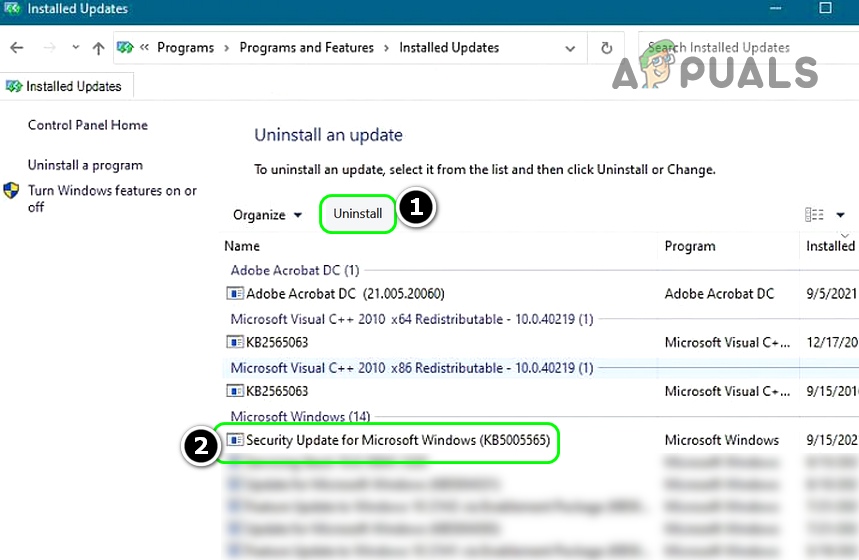
- Now open View Update History and near the top, click on Uninstall Updates.
View Update History of Your System - Then select the KB5005565 update and click on Uninstall.
Open Uninstall Updates - Now follow the prompts on your screen to complete the KB5005565 uninstallation.
Uninstall the KB5005565 Update - Once completed, restart your system, and upon restart, repeat the same on the client systems as well. Now check if the shared printer is accessible.
If the issue persists and you have KB5006670, then check if uninstalling it clears out the issue. If you cannot uninstall the KB5005565 update, then performing a system restore to the point when the update in question was not installed, may solve the problem.
Perform a Network Reset After Uninstalling the Update
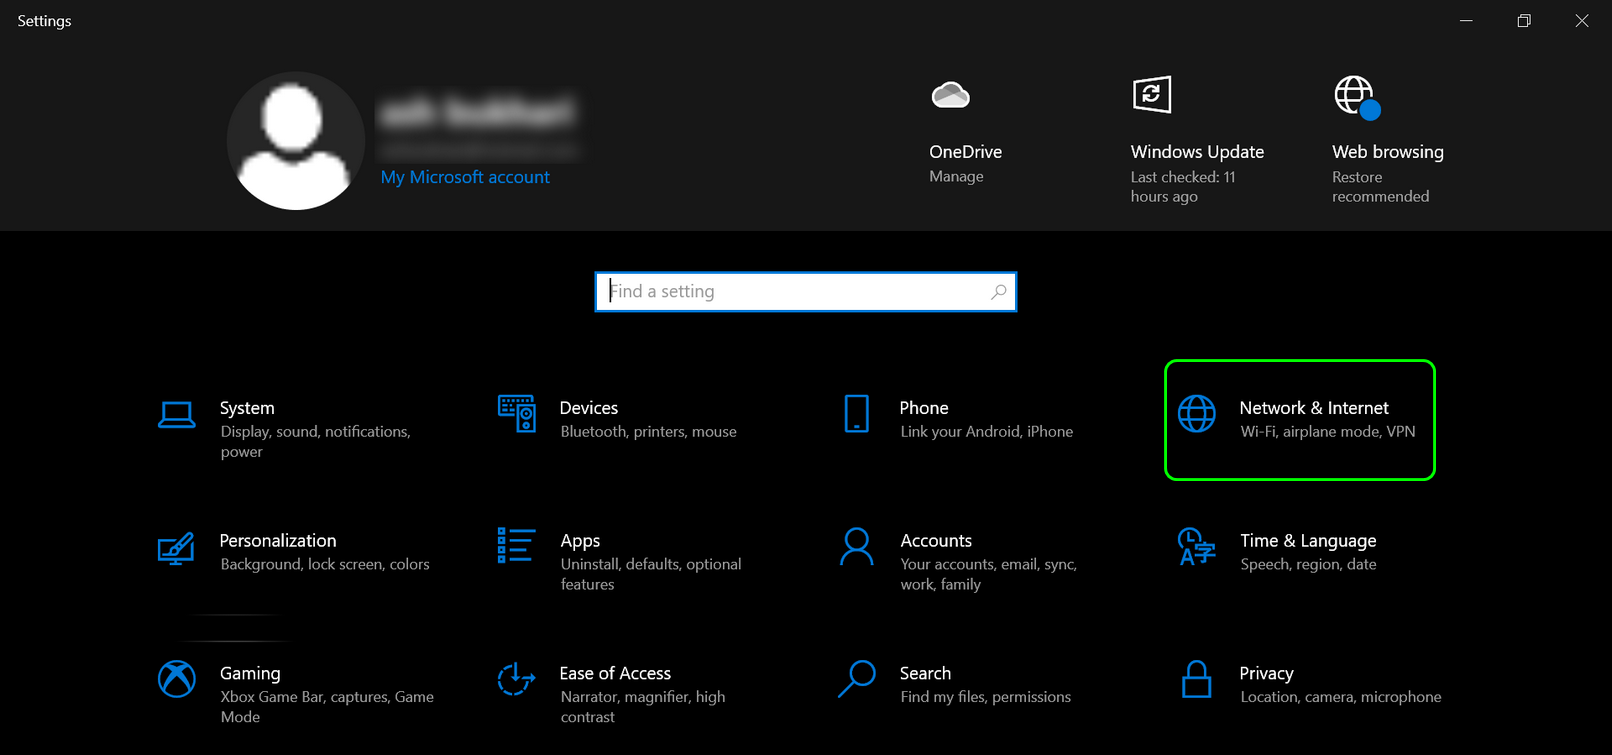
- If uninstalling the update did not work, then right-click Windows and select Settings on the host system.
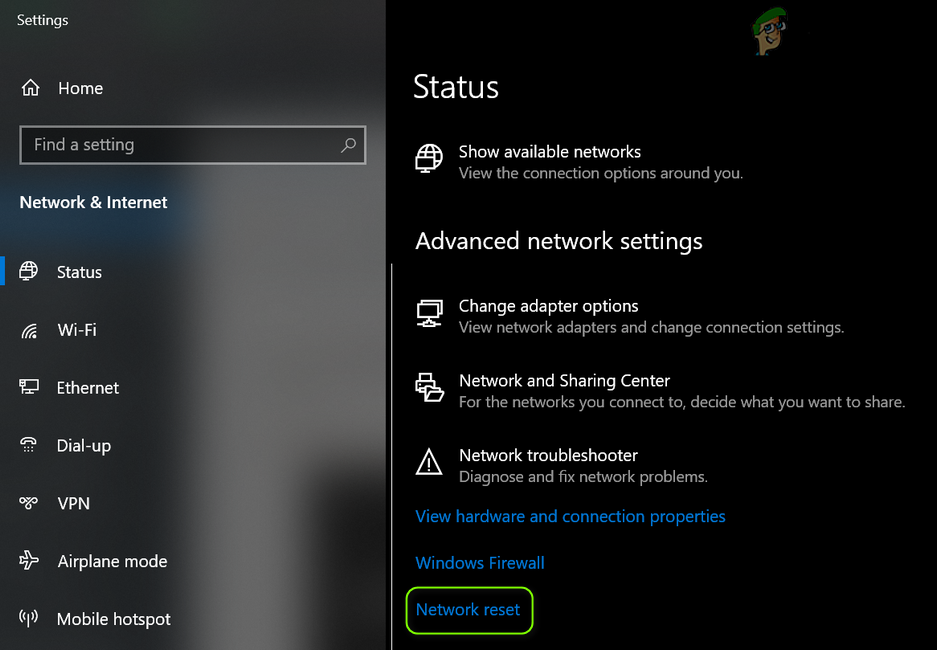
- Now open Network and Internet and click on Network Reset.
Open Network & Internet in the Windows Settings - Then click on Reset Now and afterward, connect the system to a network (if required).
Open Windows Network Reset - Then repeat the same on the client computers and check if the printer access issue is resolved.
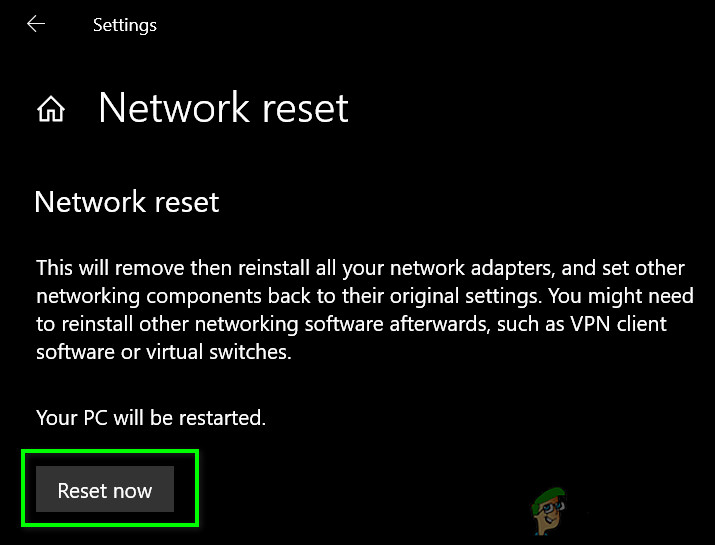
Press Reset Network Button
Re-apply the Registry Edit and Reinstall the KB5005565 Update
If the registry edit discussed above did not work for you, then it may work after removing the update and may let you reinstall the update again. You may try this only on the host system.
- Remove the RpcAuthnLevelPrivacyEnabled registry key from the system (if present) and restart your system.
- Upon restart, re-add the RpcAuthnLevelPrivacyEnabled key to the registry and set its value to 0.
- Now restart your system and upon restart, check if the shared printer is working fine.
- Then download and install the KB5005565 update.
- Now restart your system and upon restart, check if the shared printer issue is resolved.
Remove the Printers from the Spool Folder and Reinstall the KB5005565 Update
If the printer has become inaccessible after reinstalling the update, then deleting the printers from the Spool folder and reinstalling the update may let you keep the update.
- Firstly, remove the RpcAuthnLevelPrivacyEnabled registry key from the system (if present) and restart your system.
- Now remove any GPO applied printers from the system.
- Then click Windows, search for Services, right-click on it, and select Run as Administrator.
- Now, in the Services window, right-click on the Print Spooler service and select Stop.
Stop the Print Spooler Service - Then right-click on Windows and select Run.
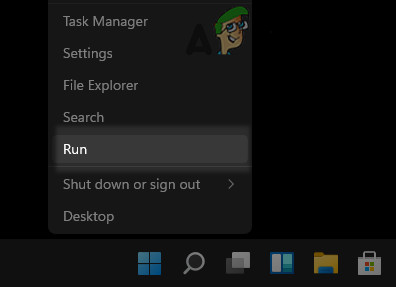
Open the Run Command Box from the Quick Access Menu - Now navigate to the following path and if asked to, click Continue to allow access to the directory:
\Windows\System32\spool\PRINTERS
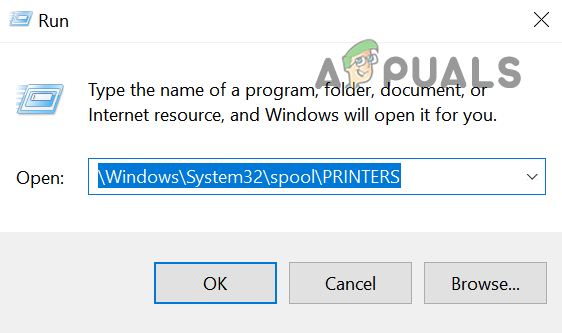
Open the Printers Folder in the Spool Directory - Then delete all the printers present there and uninstall the KB5005565 update.
- Now, re-add the RpcAuthnLevelPrivacyEnabled key to the registry and set its value to 0.
- Now restart your system and upon restart, repeat the above process on the client PC as well. Make sure to stop the print spooler service on the client system.
- Then restart the Print Spooler service on the printer server system and afterward, start the Print Spooler service on the client system.
- Now, re-configure and re-share the printer (if required) and then reinstall the KB5005565 update to check if the printer issue is resolved.
- If that did not work, then on a safe system (proceed at your own risk), where KB5005565 update is not installed, copy the Win32spl.dll file (in the Properties>> Details tab, it should show a version less than 1320) from \Windows\System32 folder and place the same on the host PC. Afterward, check if that resolves the issue.
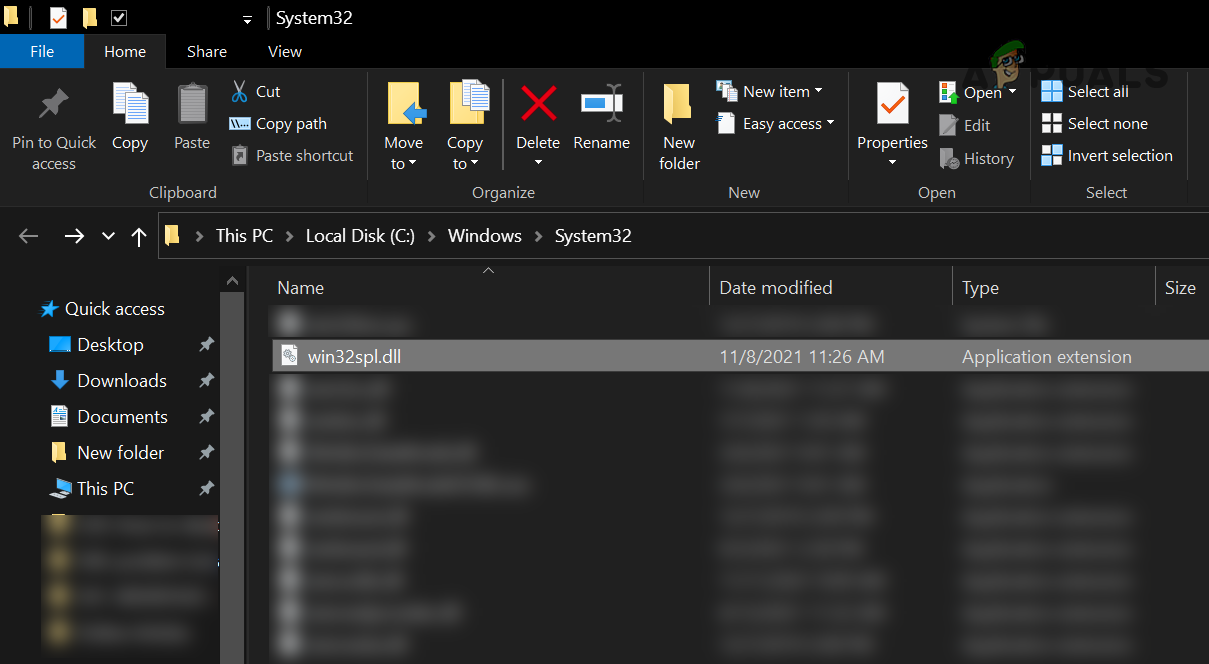
Copy the Win32spl.dll File from a Safe System
If removing the update does the trick for you, but the update is installed again, then you may have to pause or hide the update.
If none of the above has worked for you and your printer has the ethernet or Wi-Fi capability, then you may set up your printer through that channel to access it.


