How to Automate Patch Management for Microsoft Servers, Workstations and Third-Party Apps?
Security is one of the biggest of system administrators till this day and why shouldn’t it be, with the amount of devices having the capability of communicating over the internet now – courtesy of the Internet of Things or IoT if you will. Sure, the work of a system administrator is now way easier than what it used to be quite a few years back. Back then, you would have to do everything manually, one computer at a time. This would consume a lot of time if the network happened to be large.
However, thanks to the modern tools and utilities, those days are gone. Now, with the push of a button, you are able to push out updates and install various stuff on multiple computers at the same time. Patch Management has always been a nightmare for system administrators, especially when you used to install every patch on a computer individually. We can only imagine how hard and time consuming that would have been.
To keep your systems compliant and bug free, you have to install the updates released for them by the respective manufacturer. Be it the operating system or any other third-party application, there’s no workaround here. Other than fixing bugs, updates often contain vulnerability fixes that are quite the threat as they can be exploited by unwanted users. Instead of doing all this manually, why not automate the whole process and have a software look for known vulnerabilities in your devices. That is the primary purpose of this article as there are still networks that rely on WSUS (Windows Server Update Services).
Downloading the Patch Manager
At this time, there are probably tons of patch managers available out there that you can download and use. However, choosing the right patch management tool is a critical task. Why? Because you don’t want to rely on a tool that is responsible for patching up your network if it has its own set of drawbacks and flaws. Therefore, in this case, we will be looking towards Solarwinds as their products are unrivaled and unmatched.
Solarwinds Patch Manager (downloaded here) is a patch management software that addresses your software vulnerabilities that expands on your WSUS. With SCCM integration, you can also manage patches for third-party applications like Adobe, Mozilla Firefox, Skype and many more. With the help of Patch Manager, you will be able to discover the status of various vulnerabilities as well as a list of suggested updates that are needed for your systems so that you are always on top of your security system.
Installing the Patch Manager
For this article, we will be using the Solarwinds Patch Manager to achieve the specified task. Therefore, go ahead and download the tool from the link provided. You can avail the free trial provided by Solarwinds that lasts a month with the tool being fully functional to evaluate the product for yourself.
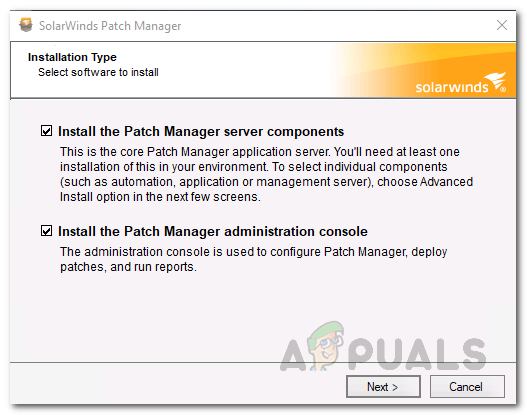
The installation process is quite simple and is very well explained during the Setup wizard. To install the tool, unzip the downloaded file and then run it. You will be asked to choose if you wish to install only the administration console, the Patch Manager server components or both. Choose whatever suits you and then go through the installation which doesn’t require any specific configuration. Once you are done, wait for the components to be installed on your system and then move down below.
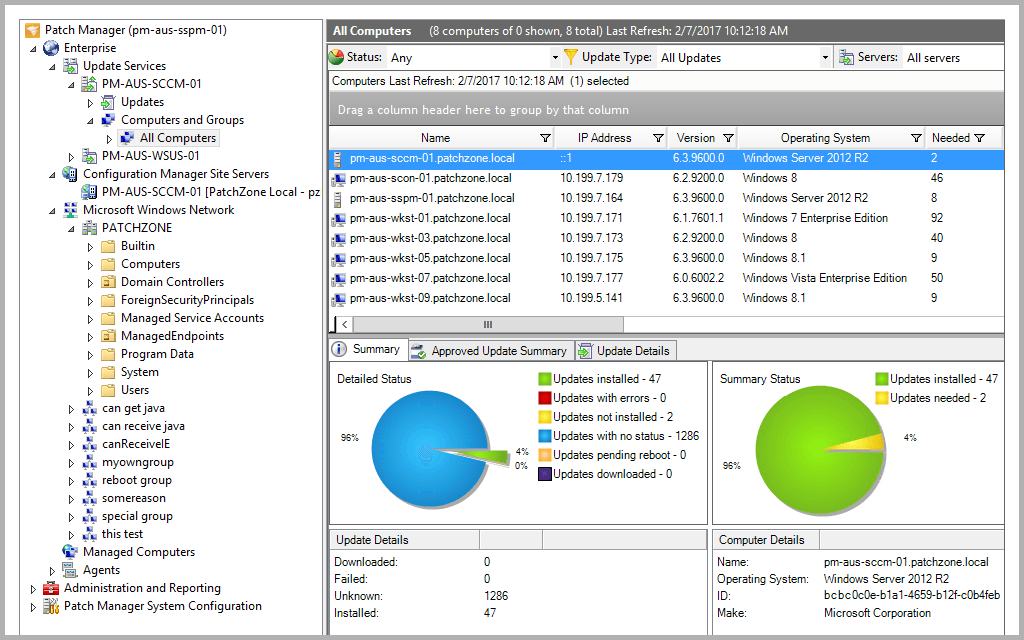
Adding your Environment to Patch Manager
Now that you successfully installed Patch Manager on your system, we will be moving on the gist of the article. To be able to manage patch management for Microsoft servers, workstations and other third-party apps, you will have to add WSUS to the Patch Manager. But before you do that, make sure that it has been installed on your system. Also, you can entertain extended features by downloading the WSUS Extension Pack as well as SCCM Extension Pack.
The extension pack includes a feature that forces the real-time download and installation of the updates from the server. Other than that, it also contains an Extended Inventory Reporting as well as a feature that discovers and identifies rogue machines in the network. You can get these packs by checking the respective boxes when you open the Patch Manager Console for the first time. To add your environment to Patch Manager, follow the below instructions.
- First of all, open up the Solarwinds Patch Manager Console.
- Once you have opened it up, you will be prompted if you want the WSUS and SCCM Extension Pack. If you want to utilize the extended functionality, get them.
- After that, you will have to add devices to your Patch Manager environment. To do this, click on the Tell us About Your Environment option.
- After that, click on the Add Computer option provided and then provide the requested details. You can click the Resolve option if you wish to add the current system to Patch Manager. That will enter the required details for you. You will have to choose the operating system from the drop-down menu yourself though.
- Once you have added the system, click Next.
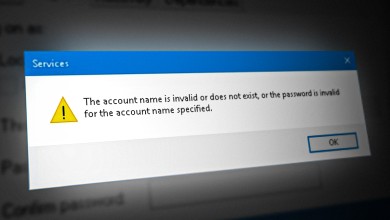
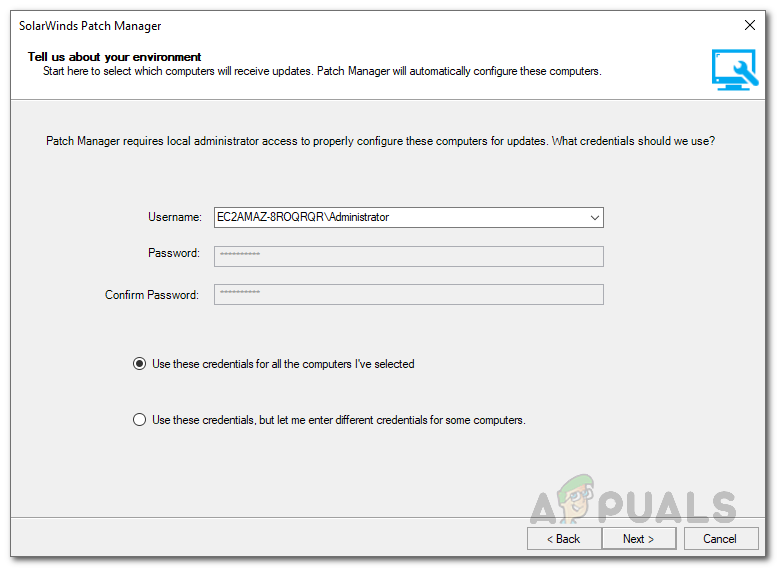
Adding Devices to PM - Now, Patch Manager will ask you for an account which it will use to configure the systems for the updates. You can provide a credential for all the computers or different for different PCs by choosing the respective option provided down below.
Account Credentials - Click Next. Now, the tool will start gathering information from the provided computers. This might take a while so wait for it.
- Once done, click on the Install Patches to continue installing any required updates.

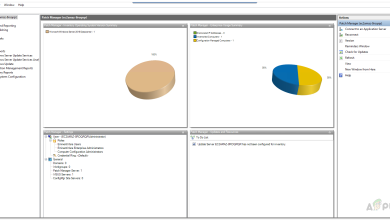
Patch Manager Welcome - The tool will list the updates, select the devices for which you wish to install the updates and then click Finish.
- With that, your Patch Manager is ready and you can create schedules to automate update publishing.
Adding Third-Party Applications to WSUS
In order to update the third-party application updates to the devices provided automatically, you will have to add them to Windows Server Update Services. From there, you can choose which third-party applications updates are to be published directly to the servers. Here’s how to do it:
- On the Patch Manager Console, go to Administration and Reporting > Software Publishing.
- Then, choose the third-party application that you wish to add to WSUS. After that, on the right-hand side, click on the Auto-Publishing of 3rd Party Apps to WSUS option.
- Select the devices that you wish to add it to and then click Next.
Adding Third-Party Apps to WSUS - After that, on the new window, provide the required information. Give the schedule a description and you can add notifications if you wish.
- By default, the updates will be published each time after the synchronization with the Patch Manager content server. If you wish to schedule it differently, you can do so by using the provided options.
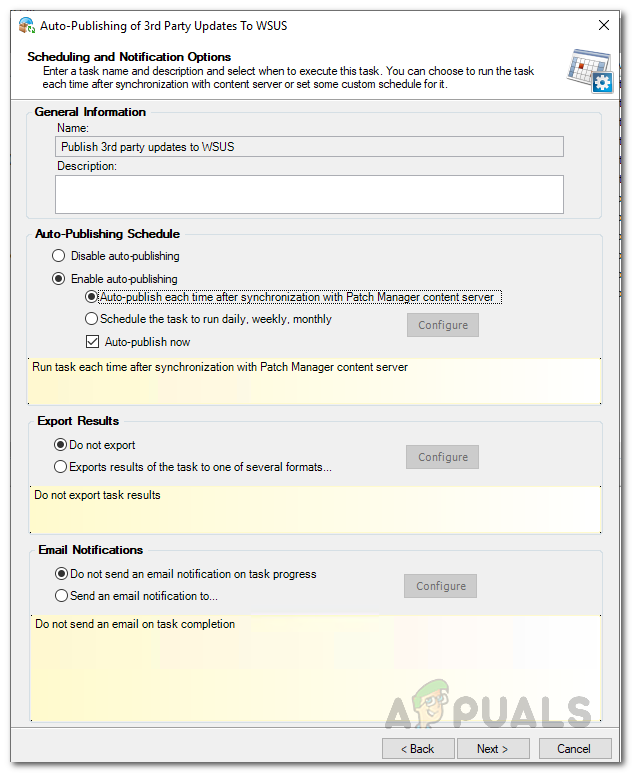
Scheduling Third-Party App Update Publishing - You can have it scheduled daily, weekly or monthly. It is entirely up to you.
- To do that, click on the Send an email notification to option and then click the Configure button. Provide the required information and then click the OK button.
- If you want, you can also have the results exported to a file via the provided option.
- Click Next and then finally click the Finish button.