Troubleshooting Outlook 365 Indexing Problem on Windows 11
The Outlook 365 Indexing Problem is a Windows issue that occurs when users try to manually index their Outlook files from the Advanced Options menu. This problem arises during the indexing process, as the utility seems to pause for no apparent reason after a certain number of files have been indexed. This issue is exclusive to Windows 11.
Since Microsoft has already addressed this issue, you might see this behavior if you are missing one or more Windows infrastructure updates.
However, another potential cause for this issue could be that you have too many applications running on your computer. Try closing the unused apps and also restarting Windows Search to clear all the cache files that are affecting it.
This could also happen on your system if a registry entry is not allowing the indexing process to work properly. You can fix this by enabling the correct registry entry.
Besides the scenarios covered above, the indexing issue could also be caused by system file corruption.
Here is a list of confirmed methods that should help you fix the issue.
Run the Search and Indexing Troubleshooter.
This issue could be caused by a generic system error that affects the indexing. This can have many different triggers, but fortunately, there is a fix that can be applied in most scenarios. If you haven’t done so already, try running the Search and Indexing Troubleshooter to identify the problem and fix it automatically.
To do this, you need to access the Windows Settings and search for the troubleshooter’s section. Then, run the Search and Indexing Troubleshooter to see if it can identify the problem by leveraging any of the included automated repair strategies.
Here are the steps you need to follow:
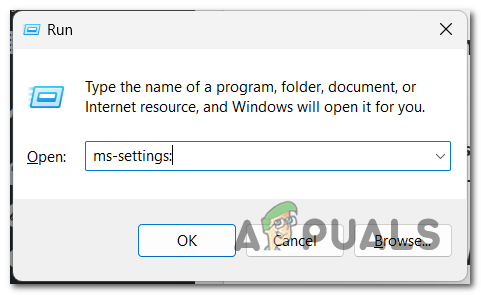
- Open a Run dialogue box by pressing the Windows key + R.
- Inside the search bar, type ‘ms-settings:’ and press Enter to open the Windows Settings.
Opening the Windows Settings - From the System menu, scroll down until you see the Troubleshoot section. Access it once you find it.
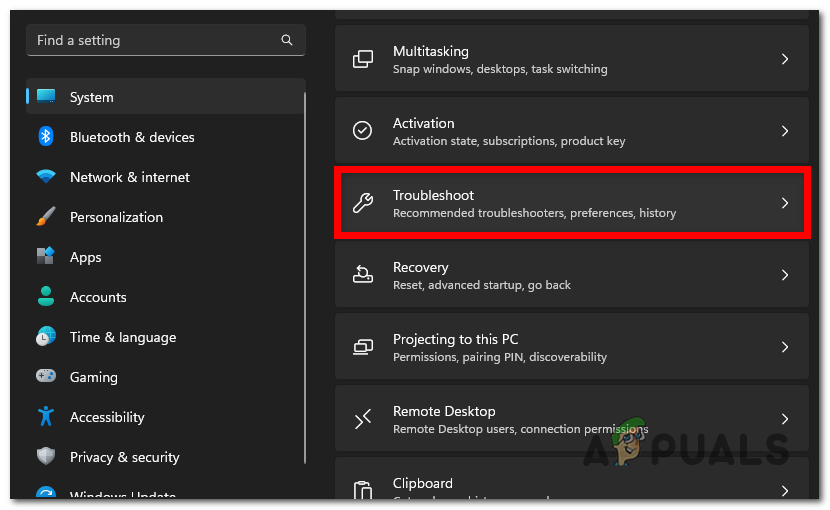
Accessing the Troubleshoot section - Select the Other troubleshooters button.
- Scroll down through the list of troubleshooters until you find the Search and Indexing troubleshooter.
- Click on the Run button when you see it.

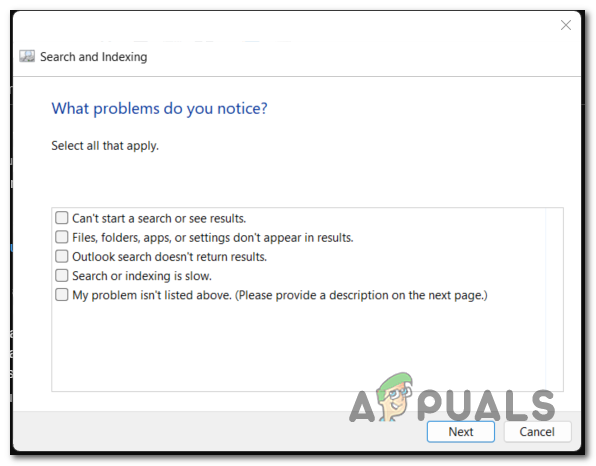
Running the Search and Indexing troubleshooter - Now select all the problems that you encounter to help the troubleshooter fix your issue.
- Click on Next when you are done.
Selecting the problems that this issue causes - If you want, you can enter a short description of the error. Select Next when you are done.
- Select the ‘Try Troubleshooting as an Administrator‘ button to grant admin permissions.
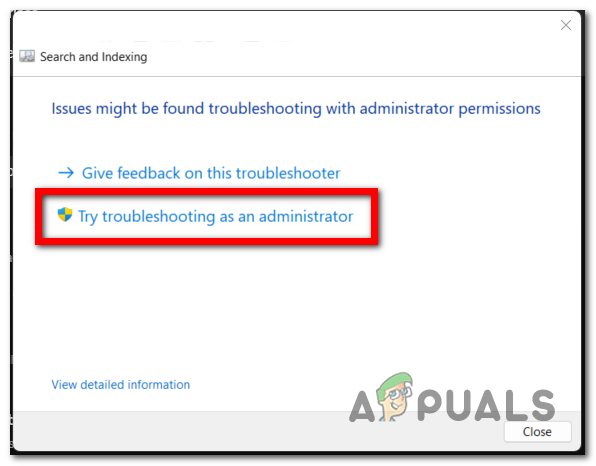
Giving the troubleshooter admin permission - Now repeat the process from steps 6 and 7 to see if the troubleshooter detects and fixes your issue.
Install pending Windows updates.
This issue could also appear if you’re missing a key Windows infrastructure update.
To ensure this is not the case, make sure your Windows is up-to-date – this issue was addressed with a series of hotfixes that Microsoft has pushed on every update channel (both public and insider channels).
All you need to do is go to the Windows Updates screen and check if there are any available updates. If there are, install all of them.
- Press the Windows key + R to open a Run dialog box.
- Type ‘ms-settings:‘ inside the search bar and press enter to open the Windows Settings.

Opening the Windows Settings - Access the Windows Update section from the left side.
- In case there are pending updates, they will be visible, and you will also see the ‘Install Now‘ button. Click on it to install them.
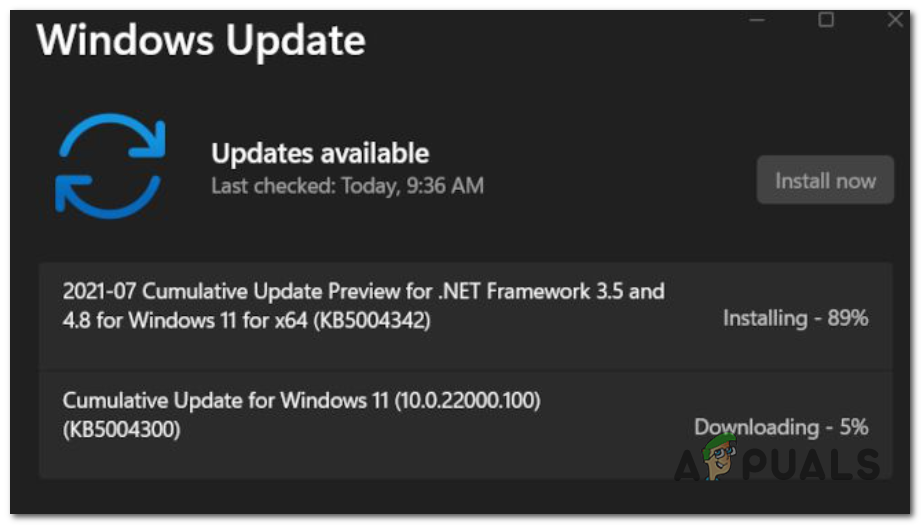
Installing the pending updates Note: If no updates are displayed when you first open this window, click the ‘Check for Updates‘ button to see if the scan detects any.
- After installing all available updates, restart your computer and wait for the subsequent startup to complete.
- Once your computer has completely booted back up, test to see if the Outlook 365 Indexing problem still appears.
Restart the Windows Search Service.
Another cause for this issue could be that an associated dependency (Windows Search) is encountering problems. The Windows Search process is the primary method for indexing files on both Windows 10 and Windows 11, so having it correctly configured is mandatory for the indexing process to work.
In this case, all you need to do is restart the Windows Search process. This can be done from the Task Manager. Go to the Details section and end the SearchHost process.
Here are the steps you need to follow to do this:
- Press the CTRL + Shift + ESC keys simultaneously to open the Task Manager.
- Now you need to select the Details section from the left side menu.
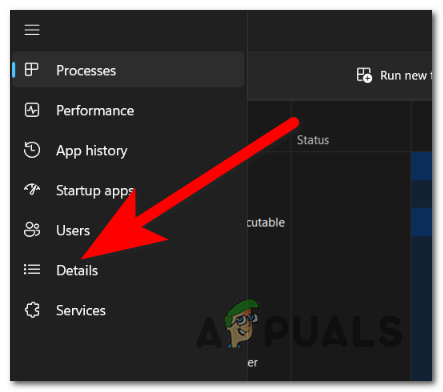
Accessing the Details section - You need to search through the list of processes for SearchHost.exe. To find it faster, simply type the first few letters, and it will appear.
- Right-click on it, select “End task,” then click on “End process” again to turn off the process.
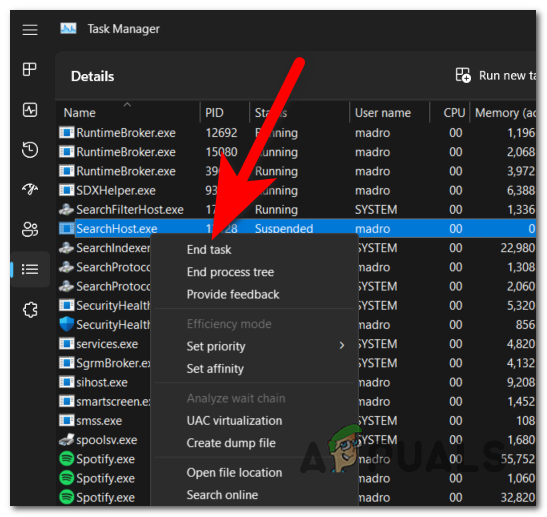
Restarting the Windows Search process - To restart it, all you have to do is open the taskbar of your computer.

Opening the Windows Search option - Now test to see if the Outlook 365 Indexing Problem has been fixed.
Remove Outlook from the indexing service.
The Outlook database files may be unable to work properly with the indexing service due to an interlock between them. In this case, you can try removing Outlook from the indexing service in order to use it properly.
To do this, you need to access the Indexing Options and remove the location for Outlook.
Note: The only issue with this method is that the search function in Outlook will operate somewhat more slowly after implementing this fix. Therefore, if you need optimal performance, you do not need to follow this procedure.
Follow these steps to learn how to remove Outlook from the index service:
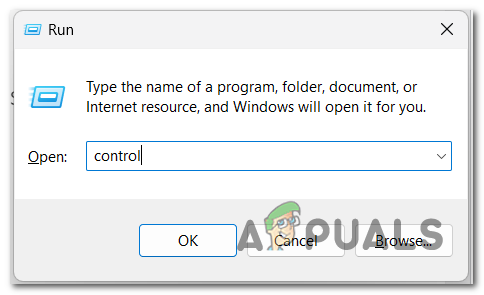
- Press the Windows key + R to open a Run dialog box.
- Type ‘control‘ inside the search bar and press Enter to open the Control Panel.
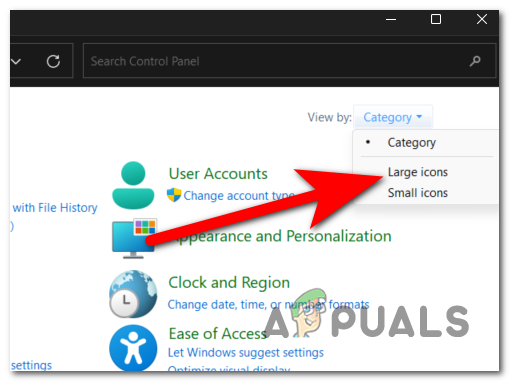
Opening the Control Panel - Now click on the drop-down menu next to the View by button and select Large icons.
Selecting the Large icons view mode - Through the list of settings, search for Indexing Options and select them.
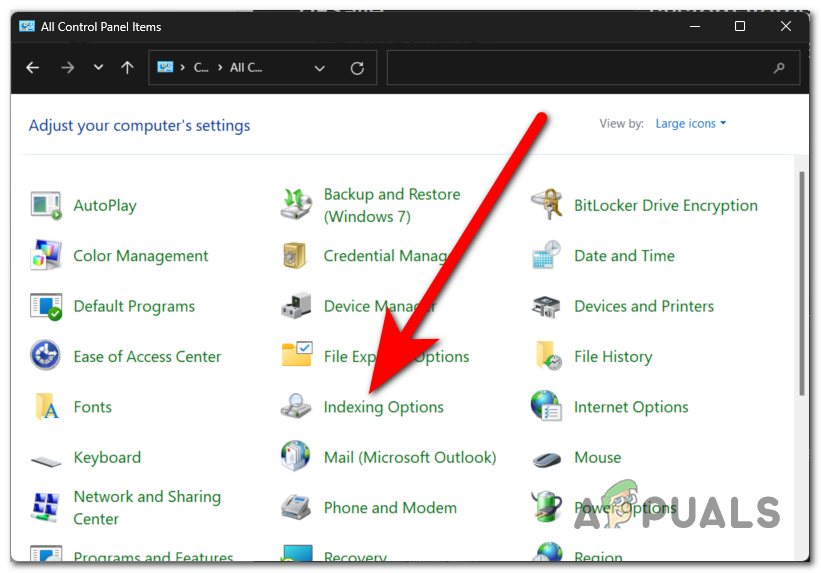
Opening the Indexing Options - Click on the Modify button to be able to change the locations for indexing.
- The box next to the Microsoft Outlook location should be checked. Make sure to uncheck it to remove Outlook from your index service. Press OK when you are done.
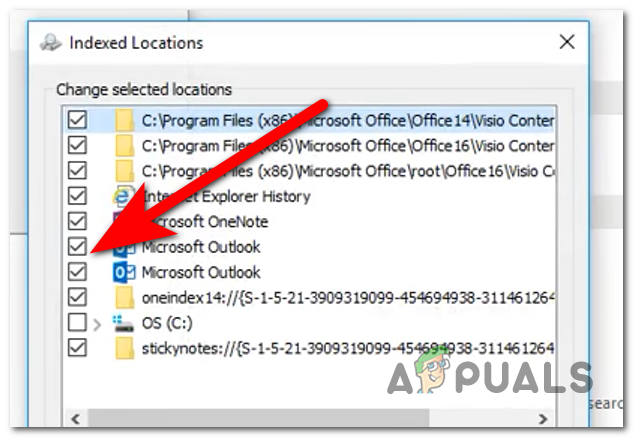
Removing Microsoft Outlook from the index service Note: If there are multiple locations for Microsoft Outlook, disable all of them.
- Now test to see if you can use Outlook properly.
Close all the apps in use.
The Outlook 365 indexing problem could also be caused if your computer is unable to allocate enough resources to the indexing service. Your PC might be working slowly because there are too many apps running simultaneously, which can result in the indexing pausing or working very slowly.
You can try to let your computer focus on the indexing process by closing all the other apps that are turned on and that you aren’t using. The easiest way to do this is via the Task Manager.
Here are the steps you need to follow:
- Open the Task Manager by pressing the CTRL + Shift + ESC keys at the same time.
- Select the Processes section and sort them to see which are using the most of your computer.
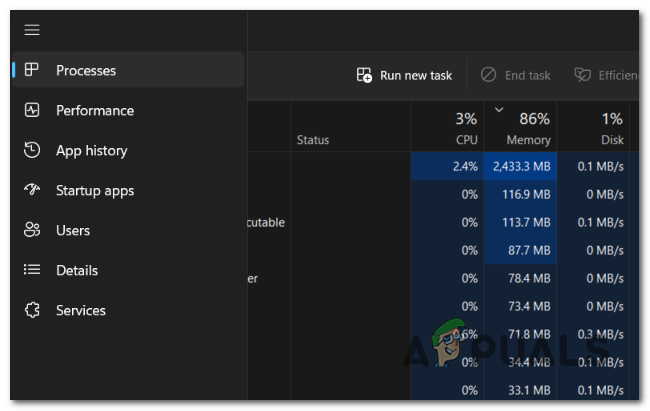
Selecting the Process section - Now right-click on the process you want to turn off and click on End task.
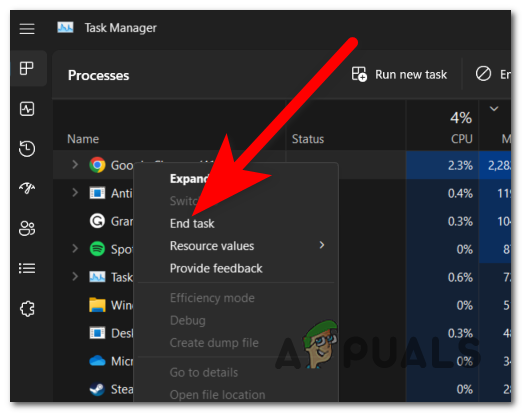
Ending the task - Repeat this process with the rest of the apps that you do not use.
- When you are done, close the Task Manager and test it to see if the indexing remains problematic.
Enable the PreventIndexingOutlook registry entry.
Another cause for your indexing problem could be that the Windows Desktop Search is not working properly, or it’s being misconfigured by a registry key.
You can fix this by forcing your computer to turn off the Windows Desktop Search via the Registry Editor; this way, you will make Outlook use its built-in search option.
This can be done by creating a registry entry in the Registry Editor. You can always turn it off if it is not helping you.
Here is a guide that will show you how to create the registry entry that you need:
- Press the Windows key + R to open a Run dialog box.
- Inside the search bar, type ‘regedit‘ and press Enter to open the Registry Editor.

Opening the Registry Editor - You will be prompted by the User Account Control (UAC). Click on Yes to give administrator permission.
- Now, use the search bar located on the upper side and search for the following subkey:
HKEY_LOCAL_MACHINE\SOFTWARE\Policies\Microsoft\Windows
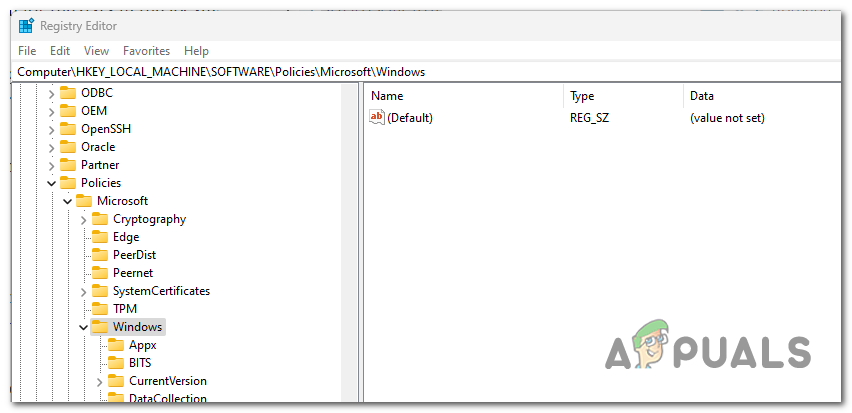
Searching for the subkey - Right-click on the Edit button and click on New, then click on Key.
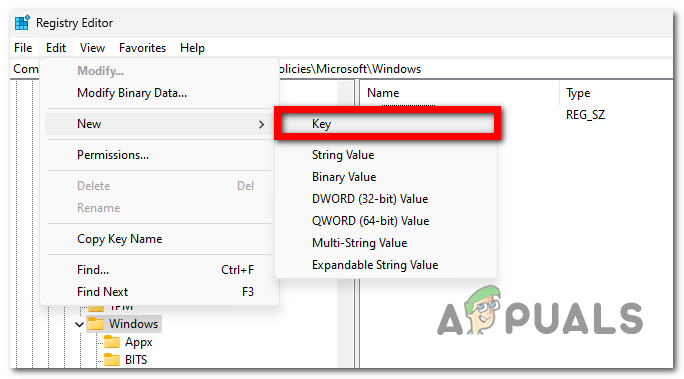
Creating a new key - Name the key ‘Windows Search‘ and press Enter to save it.
- Select this key, click on Edit and New, and then select DWORD (32-bit) Value.
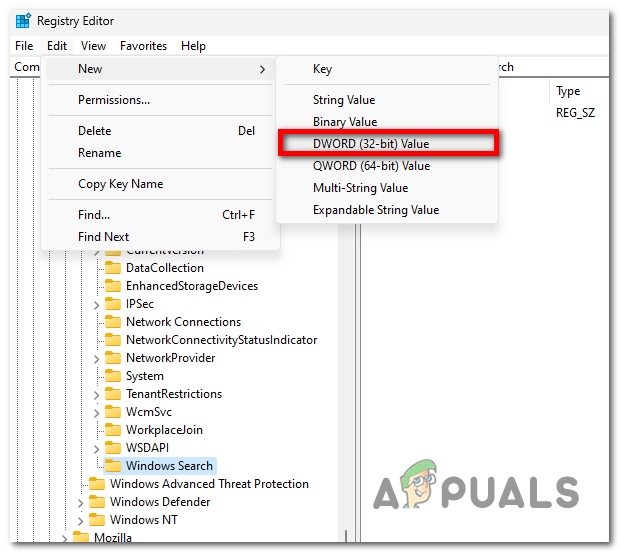
Creating a new DWORD Value - You need to name the DWORD Value ‘PreventIndexingOutlook‘ and press Enter to save it.
- Right-click on this value and click on Modify.
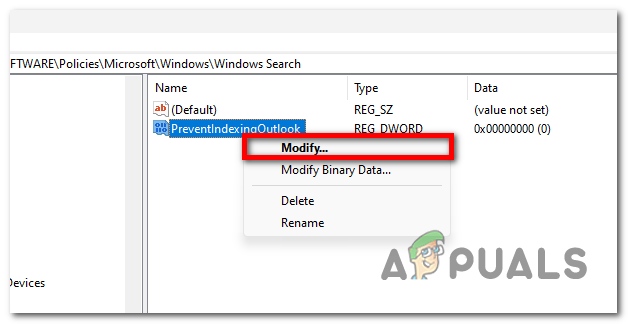
Modifying the DWORD Value - You need to change the value data to 1 in order to enable this option. Once you are done, click on ‘OK‘ to save it.
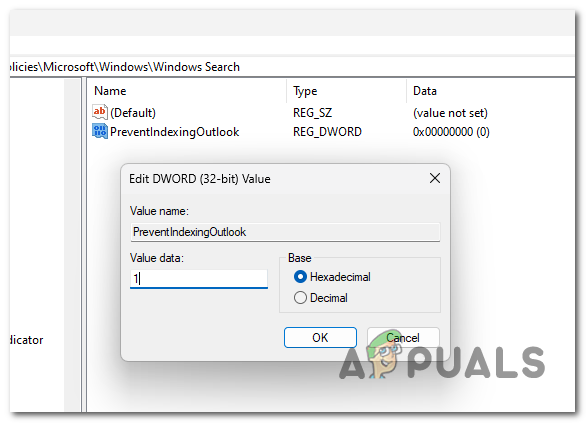
Enabling the PreventIndexingOutlook option - Close the Registry Editor and restart the app to see if the Outlook 365 indexing problem has been fixed.
7. Repair, install, or clean install your Windows.
If you’ve come this far without a viable fix, this Outlook issue could also be caused by some corrupted files that are affecting your computer. In this case, you can resolve these problems by refreshing all the files that your system possesses.
Here are two different ways to do this:
- Clean install – This procedure will reinstall your Windows, replacing every corrupted file with a healthy equivalent. The system problems should disappear, but remember that you will also lose all your personal files currently stored on your computer.
- Repair Install – If you don’t want to lose all the personal data stored on your computer, you should opt for a repair install. This procedure will fix all the corrupted files in your system while also preserving the data you don’t want to lose.