How to Fix ‘Out of Video Memory’ Error in Hogwarts Legacy?
The out of video memory error occurs when you have run out of graphics card memory while playing Hogwarts Legacy. This can happen when your graphics settings in the game are not in accordance with the graphics card installed on your computer.
Using higher graphics settings requires more VRAM or video memory. High-end graphics cards are able to handle the load with their limited memory, however, older cards often struggle with it and end up running out of memory.
In this article, we will take you through a number of methods that you can implement to resolve the error message in question.
1. Change Resolution from Config File
The first thing you should do when starting to troubleshoot the error message is to change your in-game resolution. Using higher resolutions is one of the most consuming tasks on your graphics card as there are more pixels to render. This can result in the graphics card running out of memory, thus preventing you from playing the game.
In such an instance, you will have to change the game resolution to see if that fixes the issue. If you are encountering the error message startup, you will not be able to change the resolution from the game’s menu. In such a case, you can use the config file stored on your system to change the in-game resolution.
Follow the instructions below to do this:
- First, press the Windows key + R on your keyboard to open the Run dialog box.
- In the Run dialog box, type in %localappdata% and hit Enter.
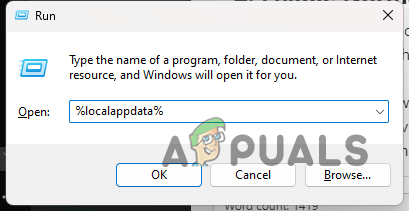
Navigating to Local AppData Directory - This will open a File Explorer window. After that, navigate to the Hogwarts Legacy > Saved > Config > WindowsNoEditor directory.
- There, open the GameUserSettings.cfg file.
- Inside the config file, locate the LastUserConfirmedDesiredScreenWidth and LastUserConfirmedDesiredScreenHeight variables.
- Lower your resolution from there and save the config file.
- With that done, open the game to see if the problem is still there. In case the problem goes away, you can fiddle around with the resolution to find one that works for you without any issues.
2. Change Windows Power Plan
Windows Power Plan is a set of settings that control how the power is distributed on your computer. This can help you achieve performance or even save energy on laptops. If your power plan is not preferring performance over power saving, the components on your computer will not be able to perform to their full potential which can result in the out of video memory error message.
Therefore, you will need to change the power plan of your computer to ensure it maximizes the performance of your PC components. Changing your power plan is also an important step in optimizing your PC for gaming and the best performance.
Follow the instructions below to change your power plan:
- Open the Start Menu and search for Power Plan. Choose the Change a Power Plan option.
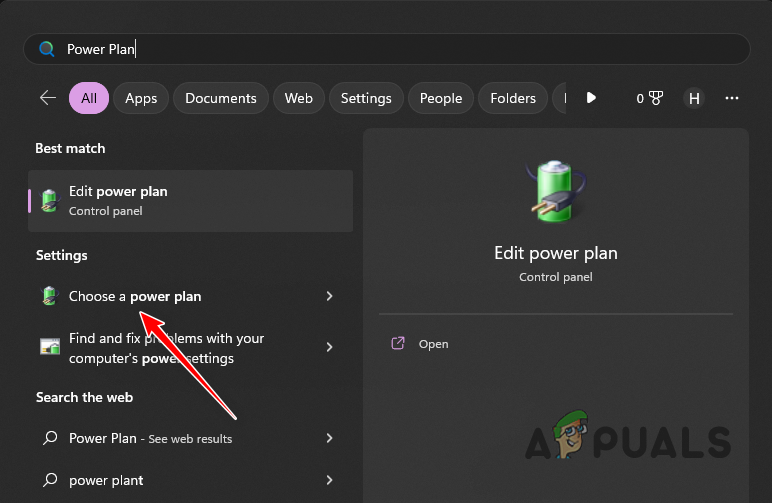
Opening Power Options Window - Then, on the Power Options screen, choose the High Performance plan.
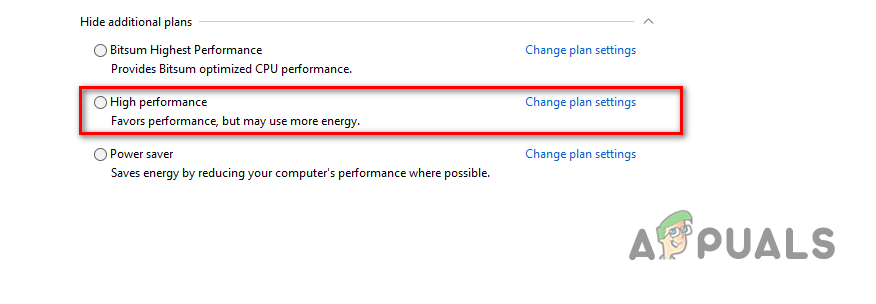
Choosing High Performance Plan - Once you do that, launch the game to see if the error message still occurs.
3. Update Graphics Drivers
The graphics drivers installed on your computer can also trigger the error message in question. This can happen when the graphics drivers have not been updated for a long time or they are damaged due to a recent Windows update or otherwise.
In such a scenario, you will have to reinstall the graphics drivers on your computer. This will also help you in updating the graphics drivers to the latest version available. To do this, you can use a third-party utility like Display Driver Uninstaller (DDU) which removes all traces of the drivers from your computer.
Follow the instructions below to do this:
- First, download the latest version of Display Driver Uninstaller from the official website here.
- After that, extract the downloaded file to any location on your computer.
- Then, navigate to the extracted directory and open the Display Driver Uninstaller.exe file.
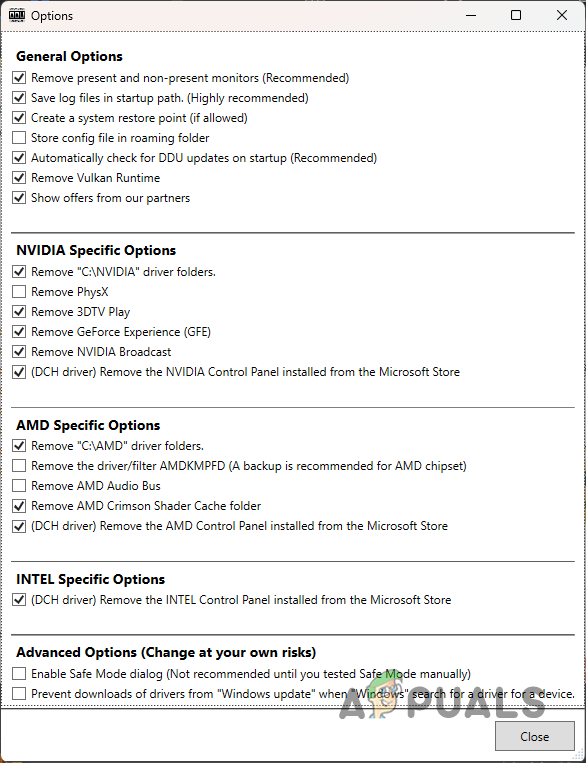
- Once DDU launches, you will be shown the General Options window. Click on the Continue option to proceed.
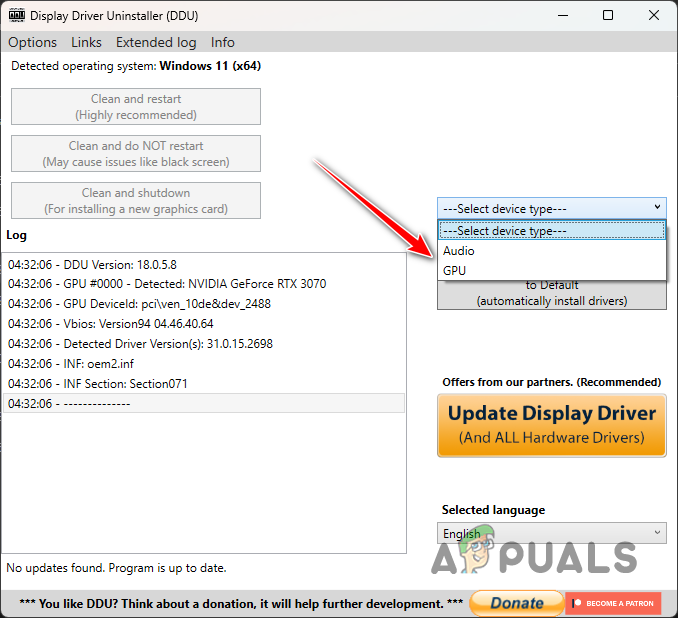
DDU General Options - Start with choosing GPU from the Select device type drop-down menu.
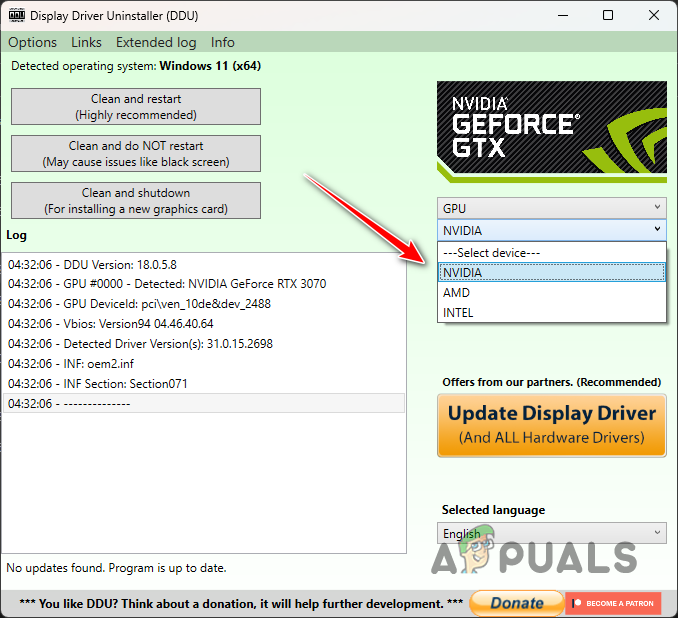
Selecting GPU as Device Type - After that, select the manufacturer of your graphics card from the Select device drop-down menu.
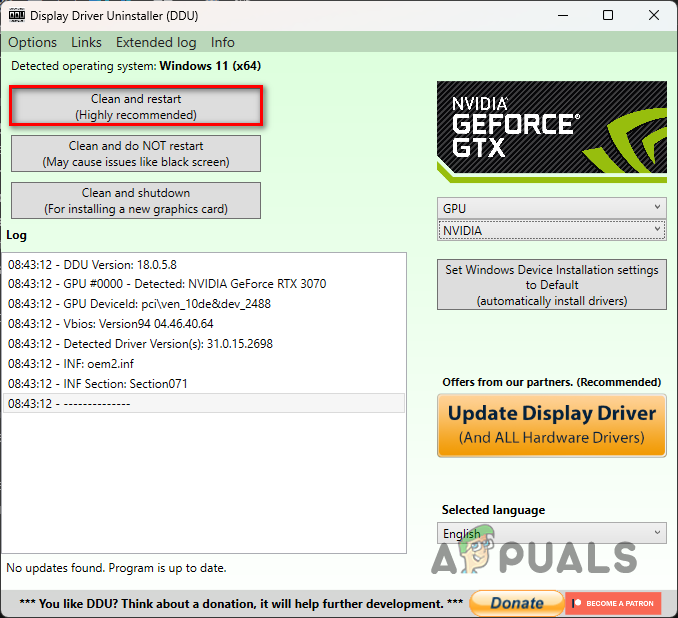
Selecting GPU Manufacturer - Finally, click the Clean and restart option to uninstall your current graphics drivers.
Uninstalling Graphics Drivers - After your PC boots up, head to your manufacturer’s website and download the latest drivers for your graphics card.
- Install the new drivers on your computer and restart your computer.
- Open the game to see if the error message still appears.
4. Delete Config Files
Every game stores config files on your computer that contain your user settings along with additional configuration. The config files are loaded automatically when you start the game. In this case, you can mitigate the issue by deleting the config files on your system.
Doing this will force the game to start in its default settings and generate new config files, as per your system specifications. This will result in the error message going away as the graphics settings causing the issue are no longer applied. Follow the instructions below to do this:
- First, open the Run dialog box by pressing the Windows key + R on your keyboard.
- In the Run dialog box, type in %localappdata% and hit Enter.
Navigating to Local AppData Directory - After that, in the File Explorer window, navigate to the Hogwarts Legacy > Saved > Config > WindowsNoEditor folder.
- There, press CTRL + A to select all of the files and press Delete.
- Once you do that, empty your Recycle Bin and open the game.
- Finally, open the game to see if the error message still occurs.
5. Increase Virtual Memory
Another way you can tackle the error message in question is by increasing the size of virtual memory, also known as a swap or paging file, on your computer. Virtual memory comes in handy when your computer is running low on memory resources in which case the virtual memory provides a temporary expansion.
To do this, the computer has to use a part of your hard drive. Increasing the virtual memory on your computer will allow the system to handle more data at the same time. However, there is a performance hit as your hard-drive memory is slower comparatively.
Follow the instructions below to increase the virtual memory size:
- First, press the Windows key + I on your keyboard to open the Settings app.
- Navigate to System > About > Advanced system settings.
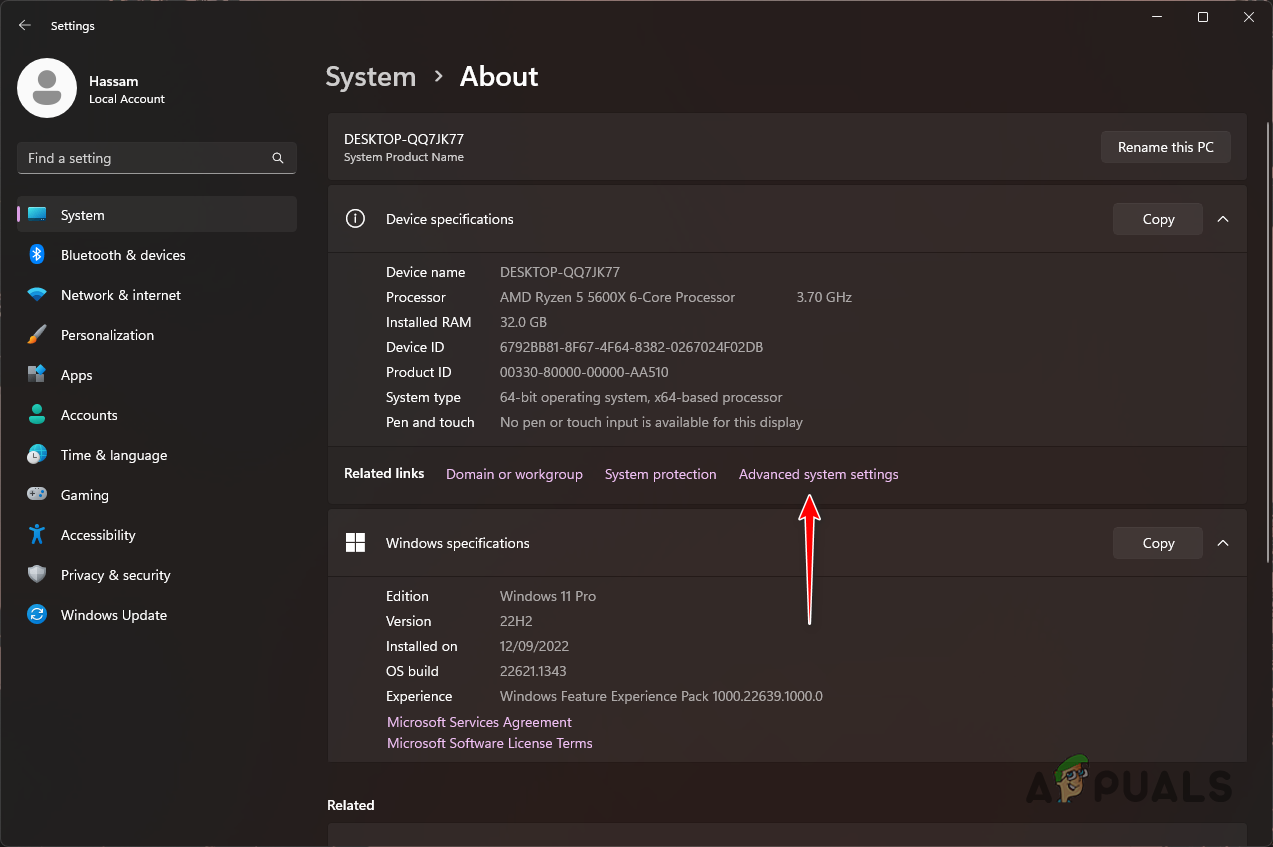
Navigating to Advanced System Settings - On the System Properties window, click on the Settings option under Performance.
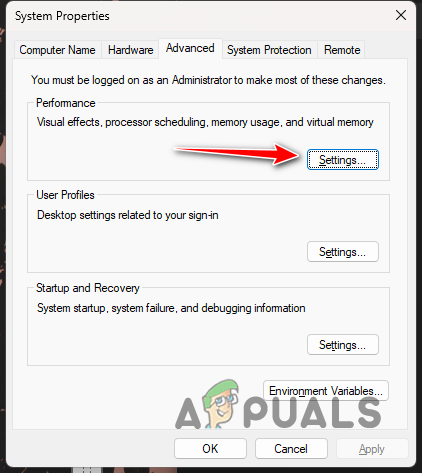
Navigating to Performance Settings - Then, switch to the Advanced tab and click on the Change button.
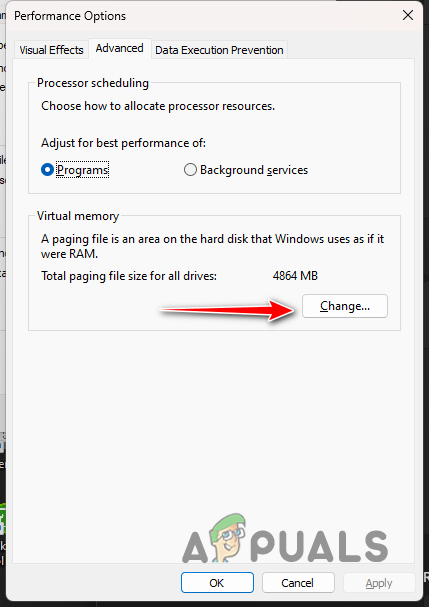
Changing Virtual Memory - Untick the Automatically manage paging file size for all drives option at the bottom.
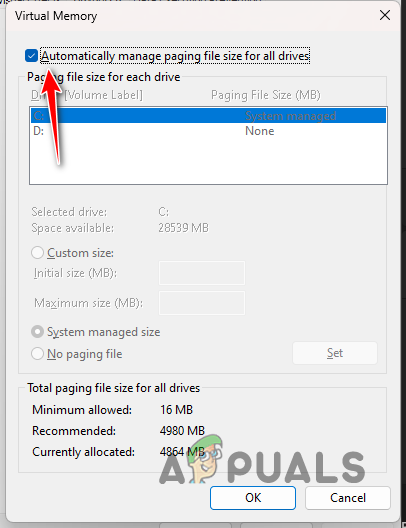
Removing Automatic Management of Paging File - Choose the Custom size option and increase the size from the currently allocated value.

Setting Custom Virtual Memory Size - Finally, click OK and Apply.
- Open the game now to see if the problem still appears.
6. Remove Overlock
Finally, if none of the above methods has fixed the problem for you, the error message is likely due to any overclocked components on your computer. Overclocking your components is generally very beneficial as it unlocks the full potential of your computer.
However, in some instances, this can also result in different issues, especially with games. From crashes to video memory errors, the number of problems can vary. If you have overclocked any of the components on your computer, be it the CPU or the graphics card, we recommend removing it temporarily to see if that rids you of the error message in question.


