Is your Ooze Pen Not Working? Try these easy solutions
 Reviewed by Muhammad Zubyan
Ooze pens typically stop working due to an incompatible charger or as a result of a clogged cartridge. Since these pens involve several compounds, they are prone to getting clogged, and this behavior is standard across the industry. If you think it is clogged, try sucking the air more forcefully from the pen. This will clear the air pathways.
Issues with the pen range from:
- The pen’s airflow is stuck
- It is not powering on
- Refuses to charge with no light indication
- Flashing different light indications
- Stuck on a single light (red or green).
For some users, the issue occurs when preheating the pen while for others, it starts flashing whenever a cartridge is plugged in.
How can I fix this issue? It’s easy follow the methods mentioned down below to get your issue resolved. Here are the methods:
- Power on Ooze Pen’s Battery
- Try a different Charger
- Try another cartridge
- Re-screw the cartridge
- Clean the Pen and cartridge
- Pull the Central Pin of the Pen / Cartridge
- Get your Pen Repaired
Let’s follow each method in detail to get your issue resolved in no time.
1. Power on Ooze Pen Battery
If your pen’s battery is discharged, it will not work, which is very obvious. What isn’t obvious is that some pens have auto-inhale, where you don’t need to turn on the device. Getting confused between models is a very common occurrence.
- Within two seconds, press the button five times but without pausing between the button presses.
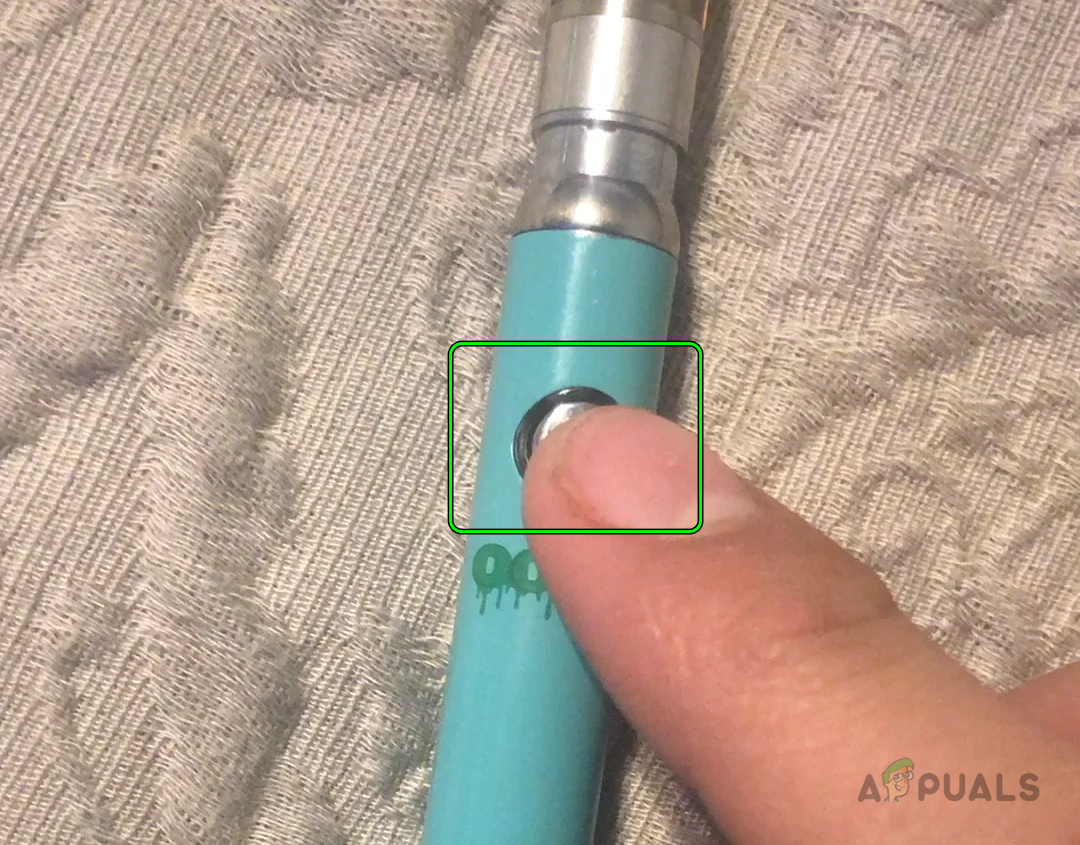
Press the Button on the Ooze Pen 5 Times in 2 Seconds Without Pausing - A light will illuminate around the button (if the battery is charged) and then the atomizer will power on.
- Check if the pen is operating correctly.
- If that does not work and your Ooze pen supports resetting of voltage on the pen, check if resetting the pen’s voltage does the trick.
2. Try Another Charger
The Ooze pen will fail to operate properly if the charger in use is not able to charge the pen’s battery because it doesn’t meet the required specifications. Trying another charger will solve the problem. We’ve seen this problem first-hand where one universal charger doesn’t work with another device.
- Switch off the Ooze pen and connect to another charger. It is preferred to charge on a USB port of a computer, laptop, car, console, etc., and to avoid any wall charger.
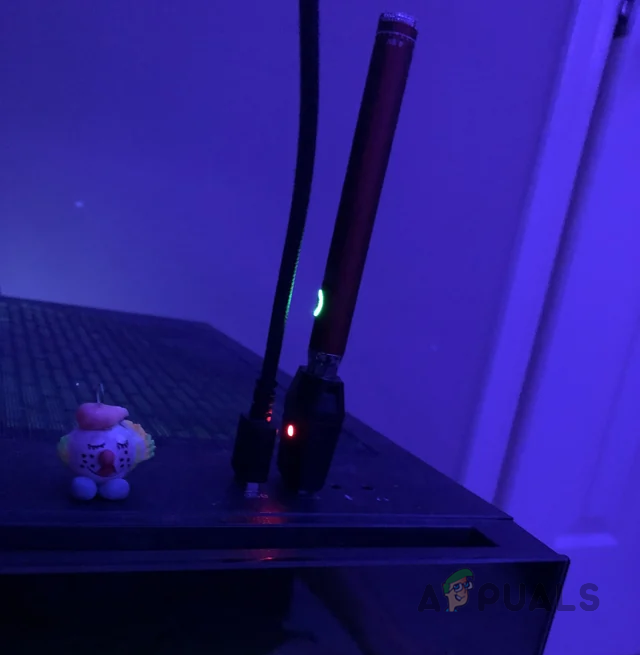
Charge the Ooze Pen Through the PC’s USB Port - Wait for 2 hours and once charged, check if the Ooze pen is working correctly. A point to remember is that tiny batteries of Ooze pens should not be charged for more than 2 hours (even if it appears that the pen is still charging).
- If that fails, let the pen’s battery completely drain and charge it for 2 hours again.
- Once charged, check if the Ooze pen is operating normally.
If no other charger is available, remove the charger from the power source and open the charger’s seam (where both halves meet). Check if any of the wire is disconnected. If so, you may connect them by hot glue or re-solder the wires. You should also consider replacing the charger.
3. Try Another Cartridge
The Ooze pen will not work if the cartridge you are trying to use with the pen is faulty or not compatible. Trying another cartridge will resolve the issue. This is also a very common occurrence. Cartridges often don’t work, even if they are brand new. If you have a receipt, you can have it exchanged if the cartridge is faulty.
- Disconnect the current cartridge from the pen and connect another compatible cartridge (make sure to check the compatible cartridge list on the Ooze website).
Try Another Cart on the Ooze Pen - Check if the pen is working correctly. If so, then check the threads of the original cartridge (if compatible with the pen) for any damage or debris.
If the cartridge is faulty, then you may shift its oil to another cart that is compatible with your Ooze pen.
4. Re-screw the Cartridge on the Pen
The Ooze pen will not work properly if the cartridge is too tight or too loose on the pen. Due to this, a proper connection will not establish between the pen and the cartridge. In such a case, tightening the cartridge on the pen will solve the problem.
- Disconnect the cartridge from the pen and then just screw (around half twist) the cartridge on the Ooze pen but do not tighten it all the way.
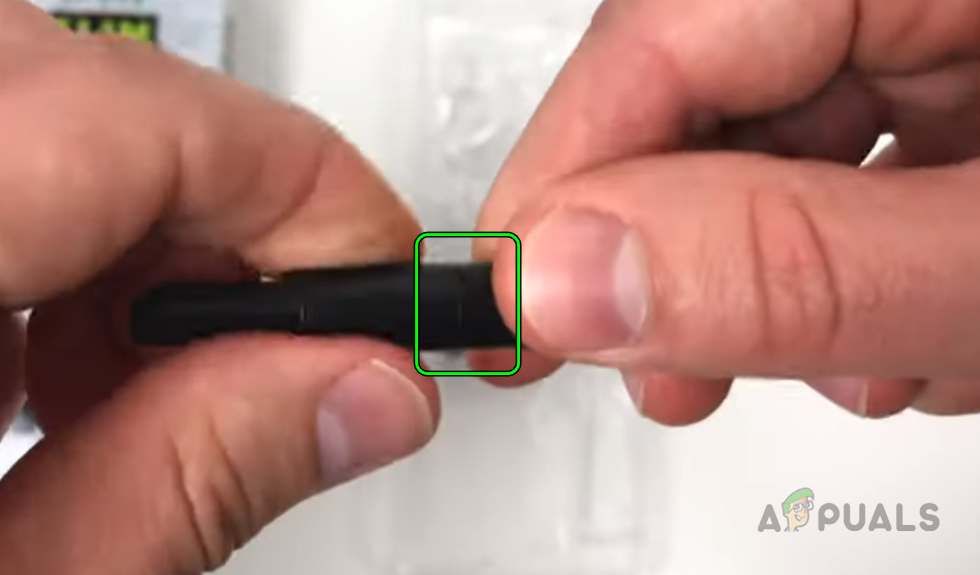
Unscrew the Ooze Pen a Bit - Check if the pen is working properly.
- If not, screw the cartridge in a bit more (half a twist) and check if the pen is working. You may keep on trying and screwing the cart a bit more after each attempt till the issue is resolved or the cart is fully tight.
Now check if the pen’s issue is cleared. - Keep unscrewing the cartridge till the pen hits or the lights turns solid. If so, try to remember that spot and tighten or unscrew the cartridge to that point in the future.
5. Clean the Ooze Pen, Charger, and Cartridge
If the connections of the pen, charger, or cartridge are not clean, that will lead to either the connection not being made or the battery shorting. In this scenario, cleaning the Ooze pen, charger and cartridge will resolve the issue.
You can use the following substances to clean:
- Isopropyl alcohol
- Ooze Resolution Res Gel
- Ooze Resolution Res Wipe
- Q tip
- Napkins
- Cotton swab
- Pipe cleaner dipped in Res Gel or alcohol
- Warm water dips
- Toothbrush soaked in a cleaning agent (like rubbing alcohol)
Below are the general instructions:
- Disconnect the pen from the charger and remove the charger from the power source.
- Now clean both ends (the charger side and pen side). Check if the pen is working.
- If not, remove the cartridge from the pen and clean both ends – pen and cart connections.
- Clean the bottom of the cartridge and check for any stuck items & dust.
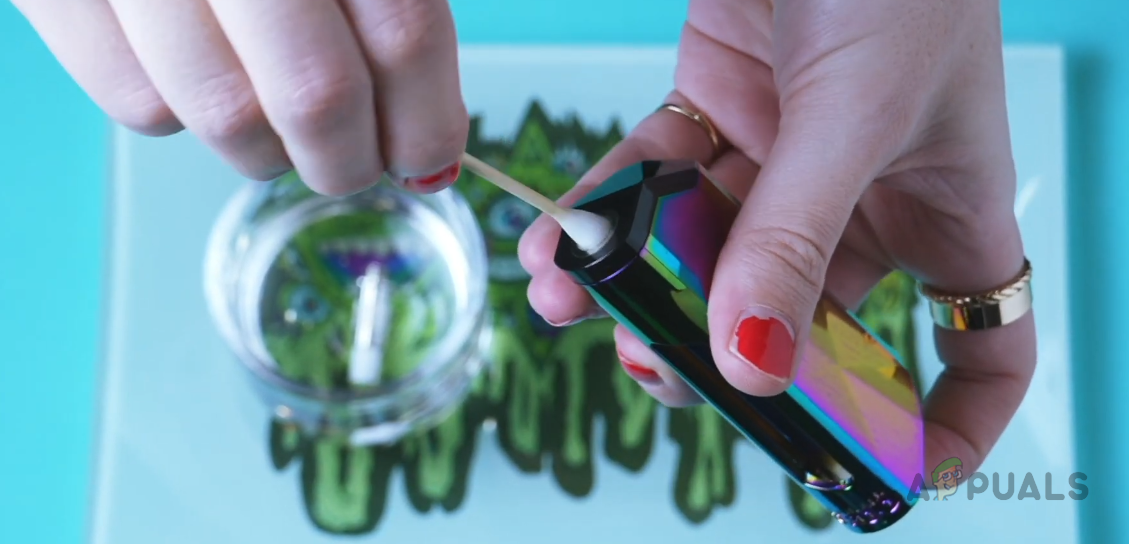
Clean Ooze Pronto - Connect it back to the pen and check if the Ooze pen is working correctly.
- If not, unscrew the pen’s coil tip and clean it.
- Pull out the glass mouthpiece tube and carefully clean it.
- Clean the magnetic connection, battery plate, base, and cap.
- Wait till the parts are completely dry if any form of liquid or spray was used during cleaning, and then reassemble the parts. Check if the problem is solved.
- If the issue persists, blow air (use a hot air blower) from the bottom of the charging port of the pen/cart and then blow through the inhale point. Check if that solves the problem.
6. Pull the Central Pin of the Pen/Cartridge
If the pen’s central pin has moved downward in its shell, the pen will not be able to make a proper connection with the cartridge. In this context, pulling the pen’s central pin a bit upward will solve the problem.
- Disconnect the cartridge from the pen and get a paper clip (unfolded), needle, or tweezers (or something similar).
- Now grip the threading with the tweezers or stick the paperclip in the track around the central pin and slightly move the tweezers or paperclip upward. Do not pull too much to pop the pin out of the shell or disconnect the internal wiring.
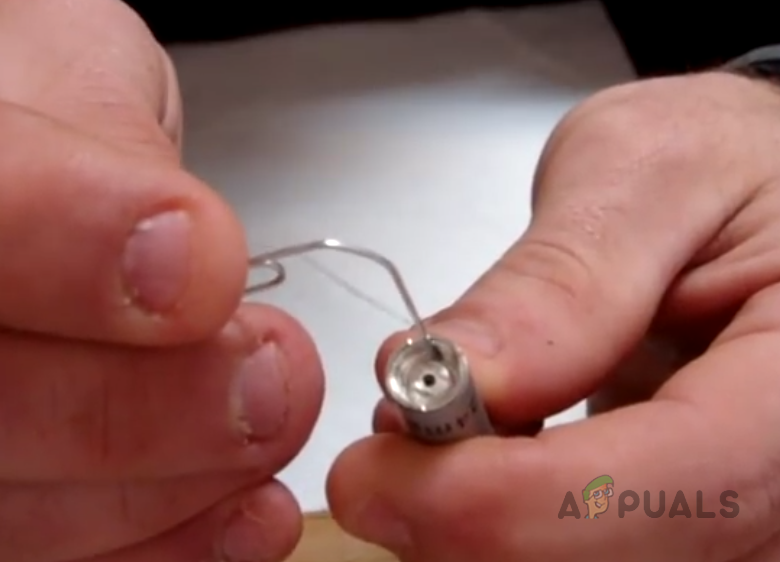
Use A Paperclip to Pull the Pen’s Central Pin Up - Connect the cartridge back to the pen and check if it is operating correctly. You may have try multiple times to pull the central pin to the required level.
- If that fails, check if connecting the cartridge to the pen at a certain angle can fix the issue.
7. Repair the Ooze Pen/Cartridge
If none of the above works, you will need to repair the Ooze pin manually. If you are not confident yourself, you can consult a professional.
For illustration, we will discuss the steps for Ooze QUAD (pen-style products). If your pen is in the warranty window, then it would be better to get the pen replaced or returned. There is a section on the Ooze website for claiming the warranty.
- Remove the pen’s top silver part where the oil or wax cart is attached. Be careful, not to pull it apart, just open it.
- Now you will notice two wires (which may be slack) and the problem could be in either of them.
- Check if either of these two wires is broken. Usually, the red one is reported to be broken.
- If so, then strip the problematic wire a bit and connect it to its required position (where solder may still be present). Apply tape on any naked part of the strip wire that is outside the required point.
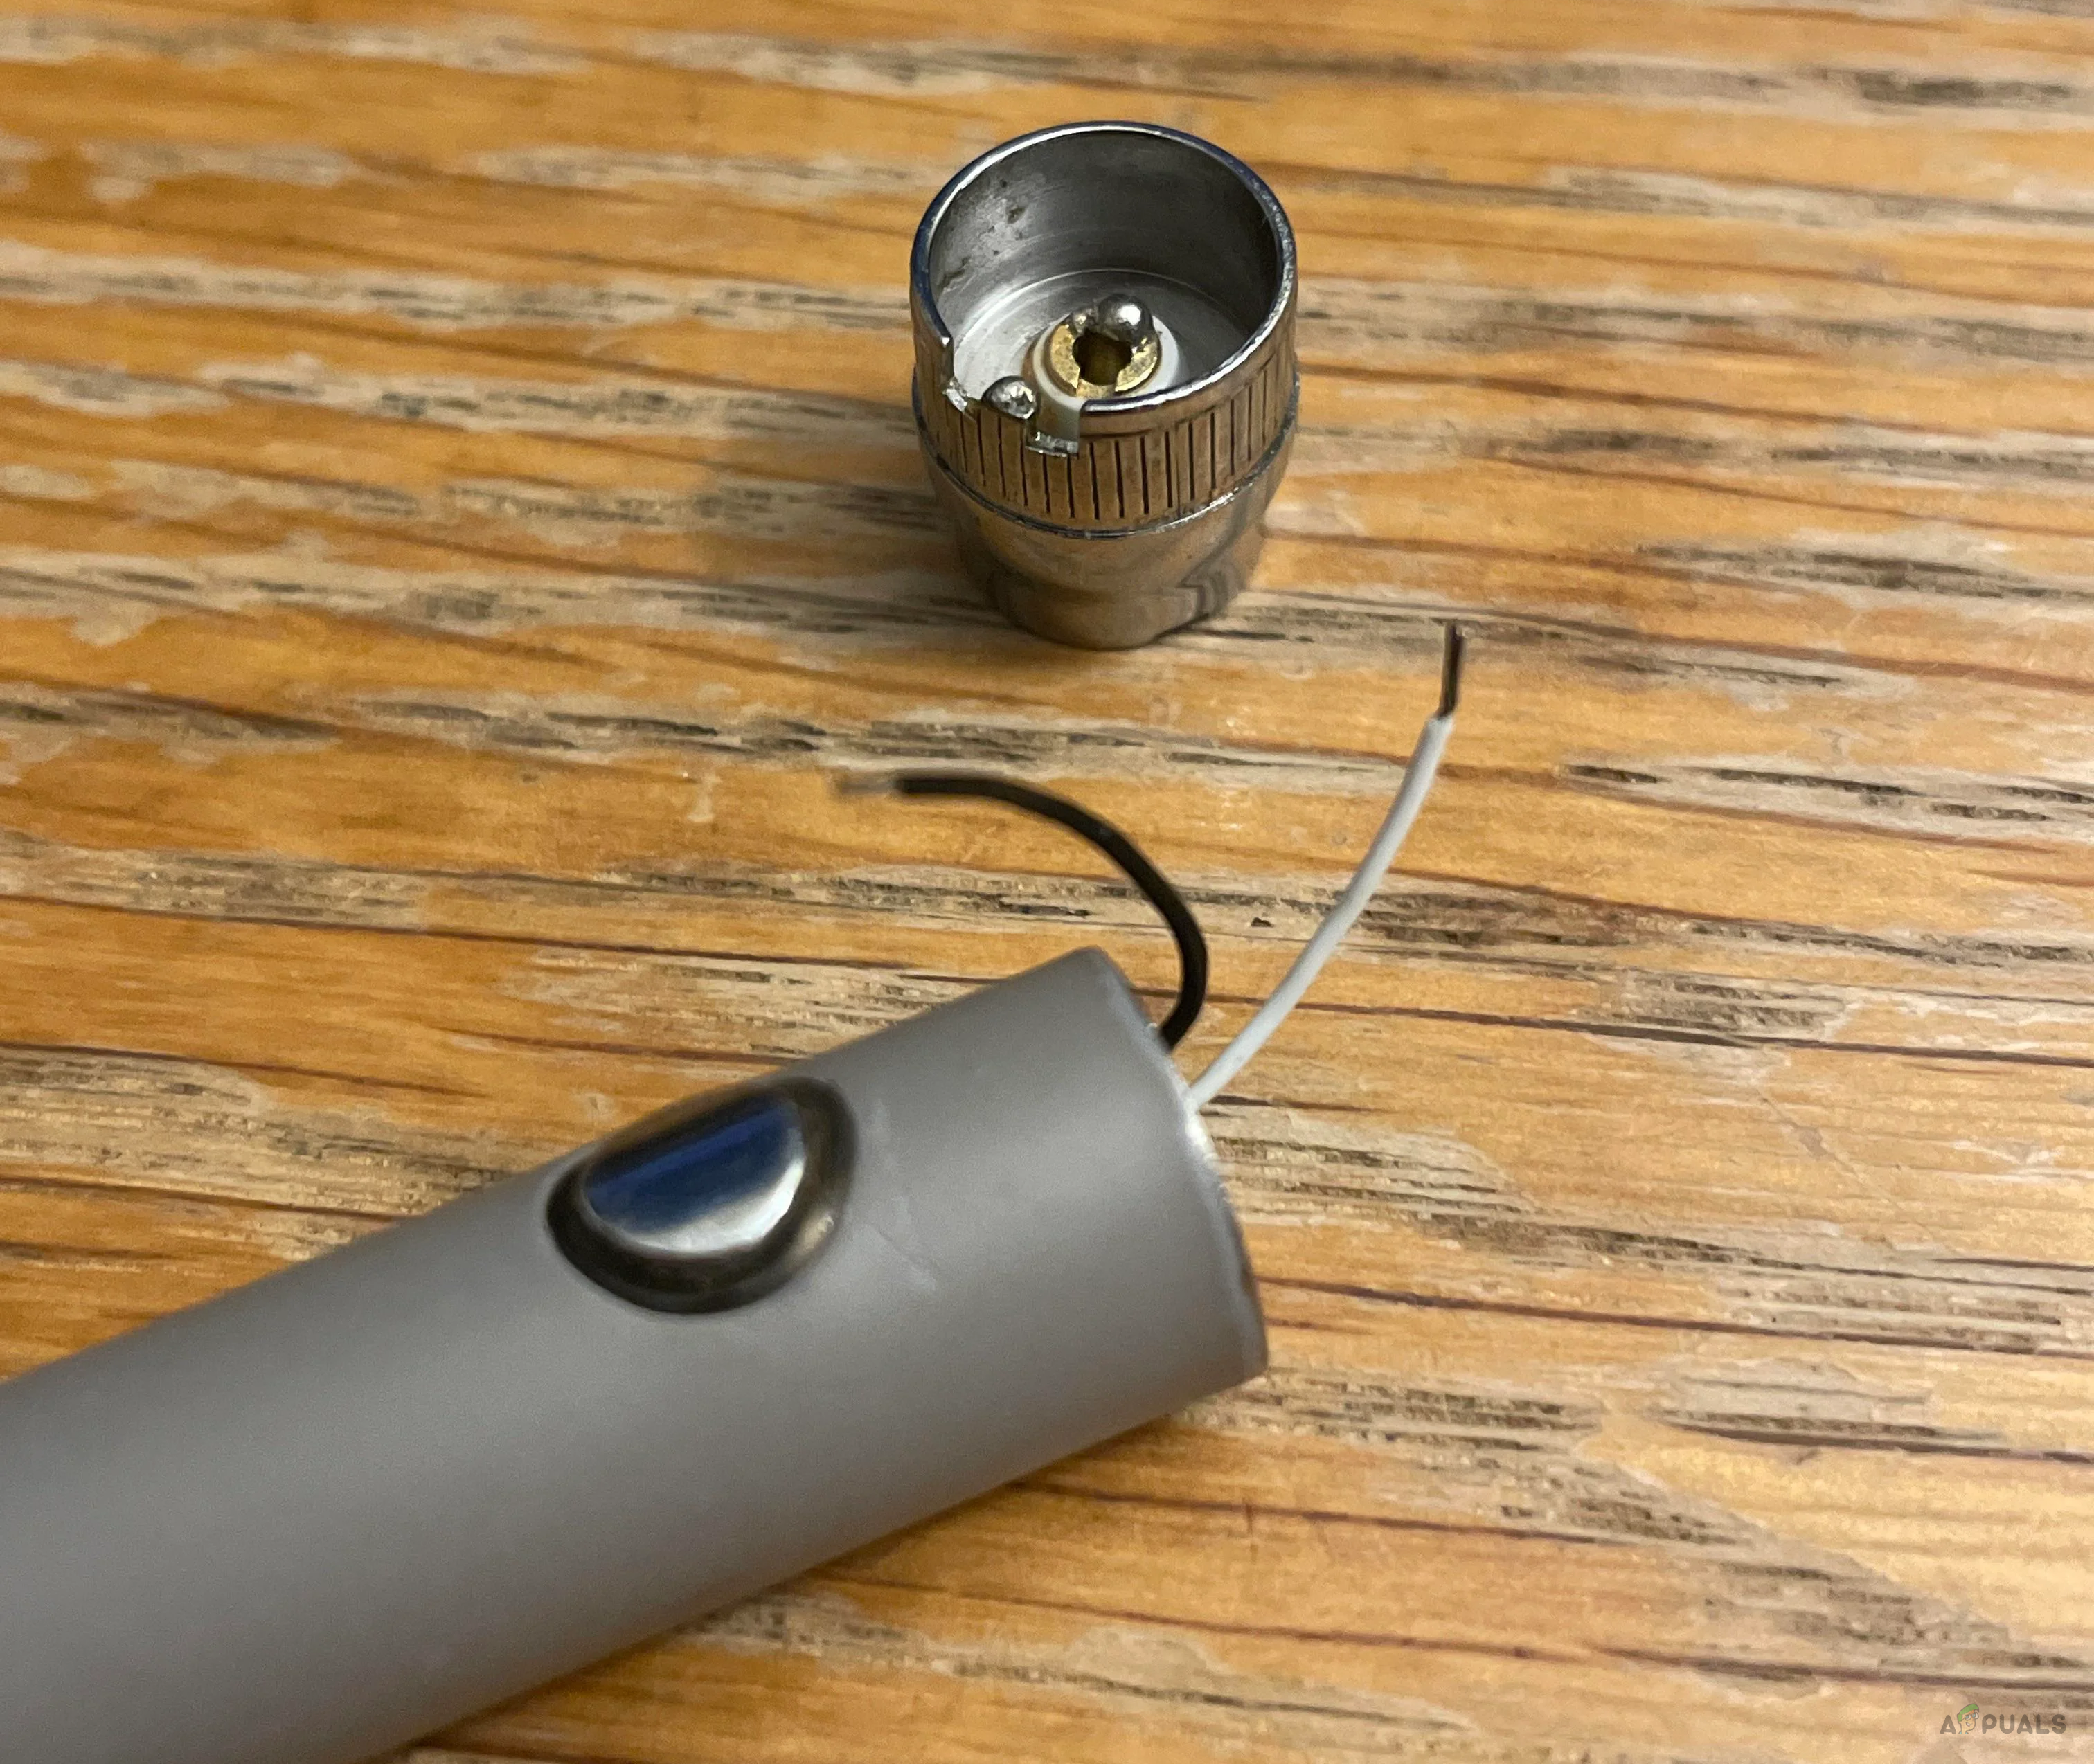
Solder the Wires of the Ooze Pen - If you have a soldering iron, it would be better to solder the wire back, otherwise, carefully, screw back the top silver part so that the wire does not disconnect.
- Connect the cart to the pen and hopefully, the Ooze pen will be working correctly. You may have to try twice or more times to make it work.
Remember that there is also another wiring method to make the pen work by shortening the coil. That wire method can easily fry the coil and cause a fire, so, we are not covering it here.
Reviewed by Muhammad Zubyan