How to Fix ‘Only Up’ Game Crashing Issue?
 Reviewed by Huzaifa Haroon
Only Up crashes can be caused by various things on your computer, which can include the interference of overlays with the game files, insufficient permissions of the game process to run in your Windows background, and much more.
In some scenarios, the game can also crash when a third-party app on your system is interfering with the game process. This can include a third-party security program or any other app running in the background. In this article, we will show you a number of methods that you can execute to resolve the issue in question.
1. Enable DirectX11
The first thing that you should start off with when troubleshooting the problem is to force the game to use a specific version of DirectX. The game uses DirectX12 by default which has been causing game crashes on various computers.
In such a scenario, you will have to force the game to use DirectX11 on your system with the help of the launch options on the Steam client to resolve the issue. This is quite easy to do, follow the instructions below:
- First, bring up the Steam app on your system.
- Navigate to Library and right-click on Only Up. Choose Properties from the drop-down menu.
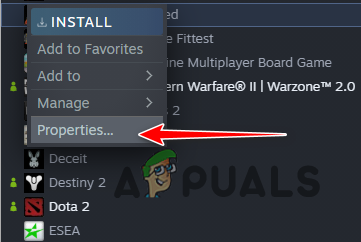
Opening Game Properties - On the Properties screen, scroll down to the Launch Options section.
- In the Launch Options area, add the -dx11 command.
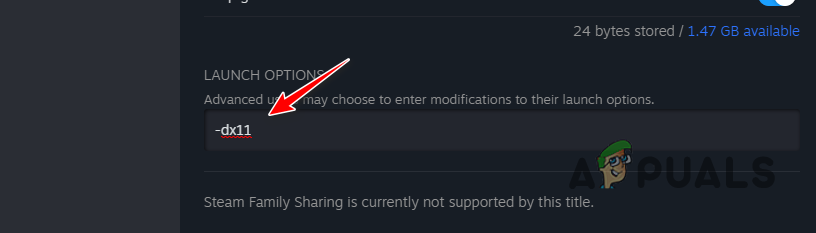
Enabling DirectX11 - Once you do that, close the Properties window and open the game.
- See if the problem persists.
2. Run Only Up as Administrator
In some scenarios, the ‘Only Up’ game can crash in your Windows environment because it does not have sufficient permissions to run. This happens when there are other processes interfering with it which causes it to crash. In most cases, this is caused by a third-party security program that you might be using on your computer.
If this instance is applicable, you can overcome the crashes by running the game with administrative privileges. With that, the game will have sufficient permissions and it will be able to run in the Windows environment without any issues. Follow the instructions below to do this:
- First, open the Steam client on your computer.
- Right-click on Only Up in the Library tab and choose Manage > Browse local files.
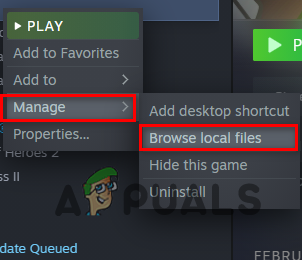
Navigating to the Installation Directory - This will open the File Explorer window in the installation directory of the game.
- Locate the OnlyUP.exe file and right-click on it. Choose Properties from the drop-down menu.
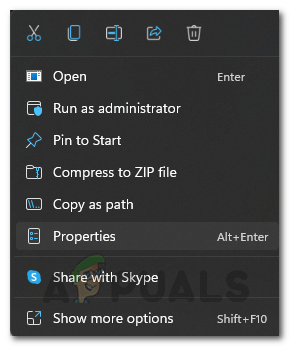
Opening Properties - On the Properties window, click on the Compatibility tab.
- There, tick the Run this program as an administrator checkbox.
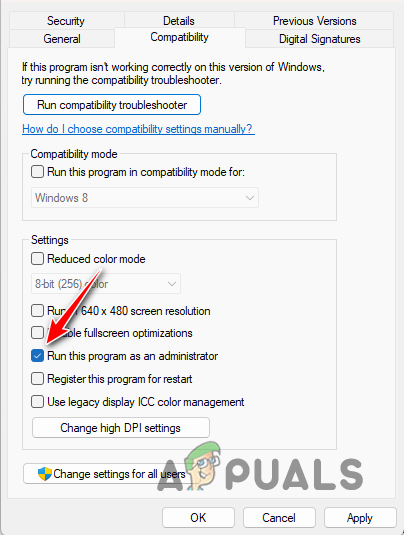
Running Game as Admin - Click Apply and hit OK.
- Finally, open the game via Steam to see if the problem persists.
3. Disable Steam Overlay
The Steam client comes with an in-game overlay that allows you to access various Steam features directly from the game. This prevents you from tabbing out of the game to reply to your friends on Steam or using the client in general, which is a great plus.
However, in order to provide the Steam overlay, the client has to interfere with the game files which can cause certain games to crash. In such a scenario, you will have to turn off the Steam overlay to prevent the issue from occurring. To disable the Steam overlay, follow the instructions down below:
- Launch the Steam app on your PC.
- Use the Steam drop-down menu in the top left corner and choose Settings.
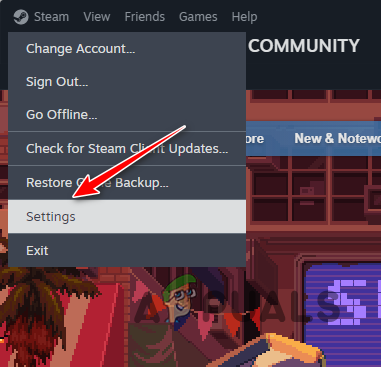
Opening Steam Settings - On the Steam Settings screen, switch to the In Game tab on the left-hand side.
- There, click Enable the Steam Overlay while in-game slider to disable the overlay.
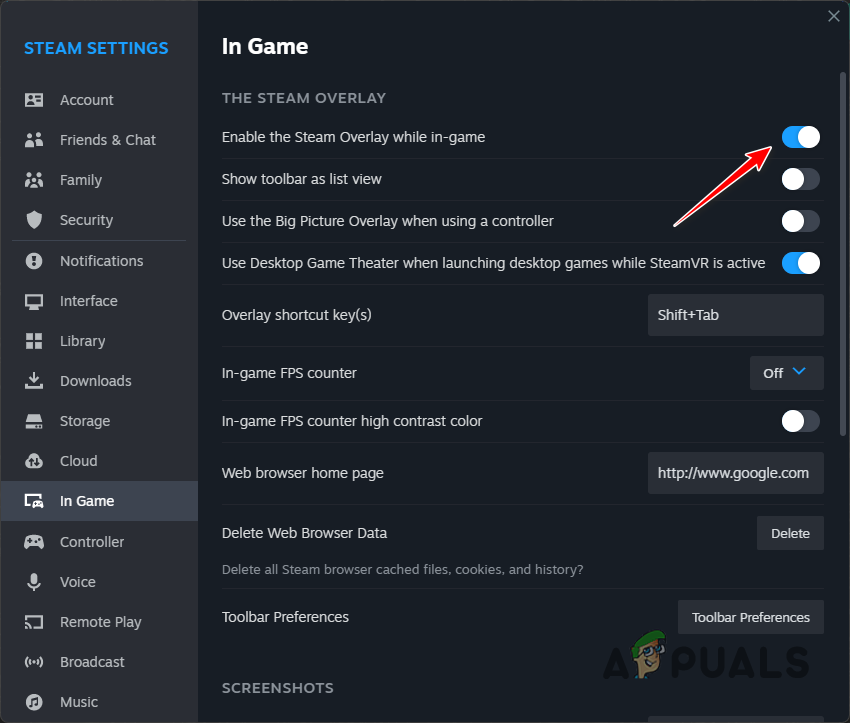
Disabling Steam In-Game Overlay - Once you do that, open the game to see if the problem persists.
4. Repair Only Up Files
In some instances, the game files on the PC can also cause various crashes. This happens when the Only Up files are either corrupted or damaged which prevents the game from running properly on your system. In such a scenario, you will have to repair the Only Up game files to resolve the issue.
You can use the ‘Verify Integrity of Game Files‘ feature on the Steam client to perform the repair. This allows you to scan the game files on the system for any corruption or discrepancies and download a fresh copy of any missing or damaged files from the Steam servers to your computer.
To verify the integrity of game files, follow the instructions below:
-
- Start with opening the Steam client on your system.
- Navigate to Library and right-click on Only Up.
- Then, click Properties from the drop-down menu.
Opening Game Properties - On the Properties window, click on the Local Files tab.
- After that, to repair the files, click on the Verify integrity of game files option.
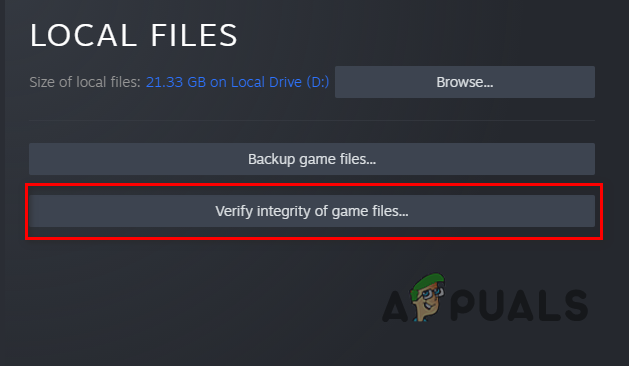
Verifying Integrity of Game Files - Wait for it to complete and see if that resolves the issue.
5. Update Windows
The absence of essential Windows updates can lead to several issues, from causing game crashes to even preventing the game from launching at all. This is because most new games rely on the newly introduced features provided by the operating system, which are exclusively accessible in the latest builds.
Therefore, it is important for you to install any pending Windows updates on your PC to address this problem. The process of installing Windows updates is relatively simple. Please follow the instructions below to do this:
- First, open the Settings app by pressing the Windows key + I on your keyboard.
- In the Settings app, navigate to the Windows Update section.
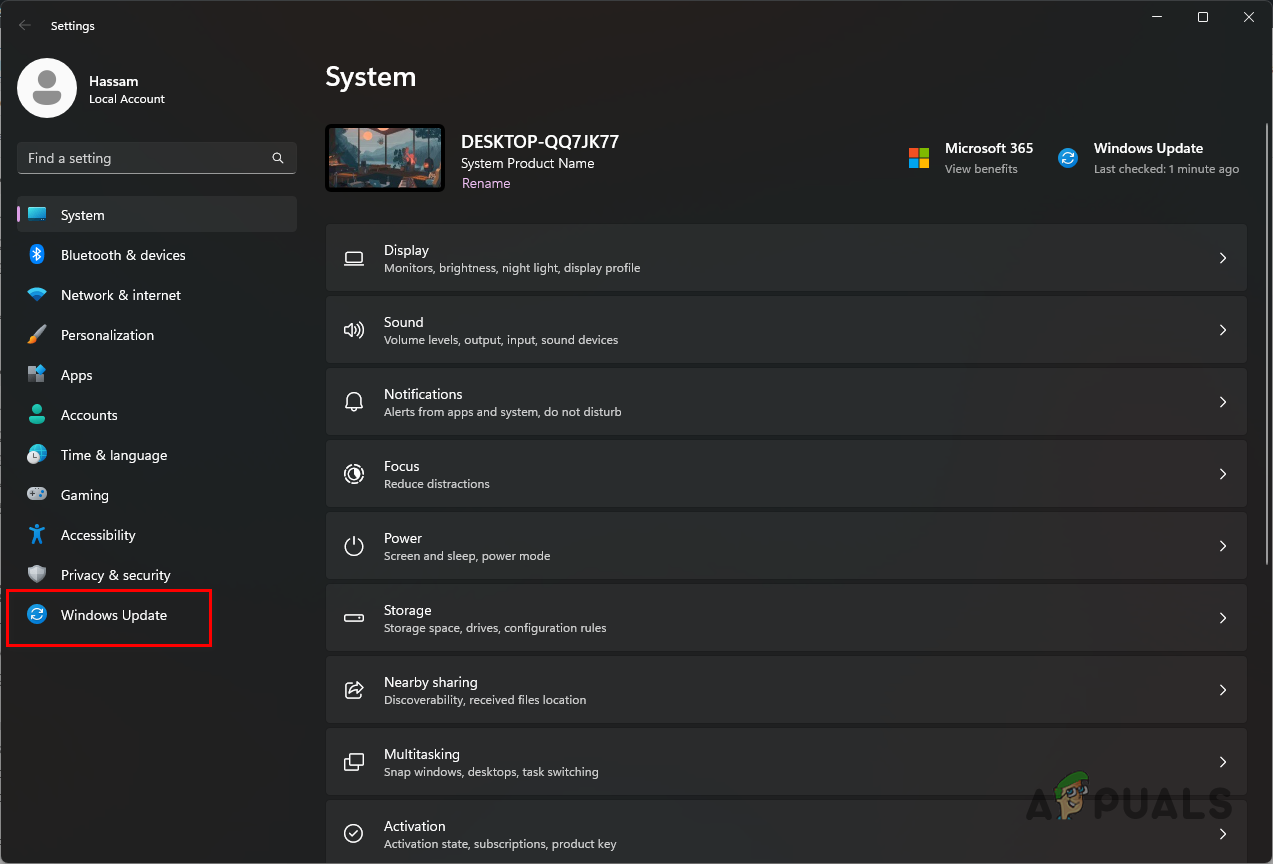
Navigating to Windows Updates - There, click on the Check for updates option to download and install any pending updates. If there are updates already available, you will be shown the Install button instead.
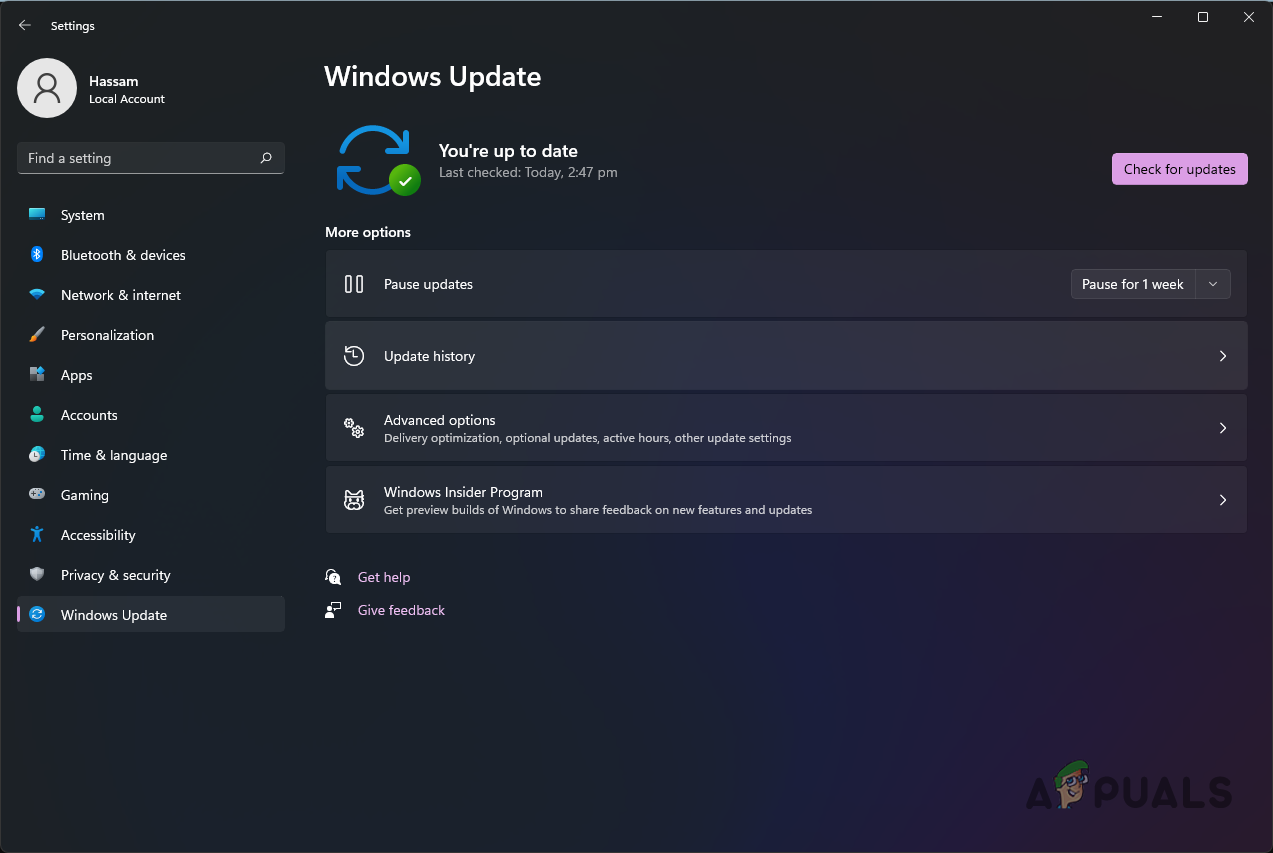
Windows Updates - Once you have updated Windows, open Only Up to see if the problem is still there.
6. Update Graphics Drivers
Graphics cards are quite important on your computer, especially when you are gaming. This is because these drivers facilitate communication between your computer’s graphics card and the software, and if they become outdated, it can cause games to crash entirely.
In addition, graphics drivers can sometimes encounter corruption or damage due to a recent Windows update or something similar. Therefore, it is important to update your graphics drivers when you encounter game crashes. To perform this update, you must download the latest version available from the website of your graphics card manufacturer and proceed with the installation.
However, before doing that, you will need to use a third-party utility such as Display Driver Uninstaller (DDU) to completely remove the drivers from your computer. You can use the AMD Cleanup Utility if you have an AMD graphics card. Follow the instructions below to update your graphics drivers:
- First, download the DDU utility via the official website here.
- Extract the downloaded file and open Display Driver Uninstaller.exe.
- Once DDU opens, you will be shown an Options window. Click Continue.

DDU General Options - After that, select GPU via the Select device type drop-down menu.
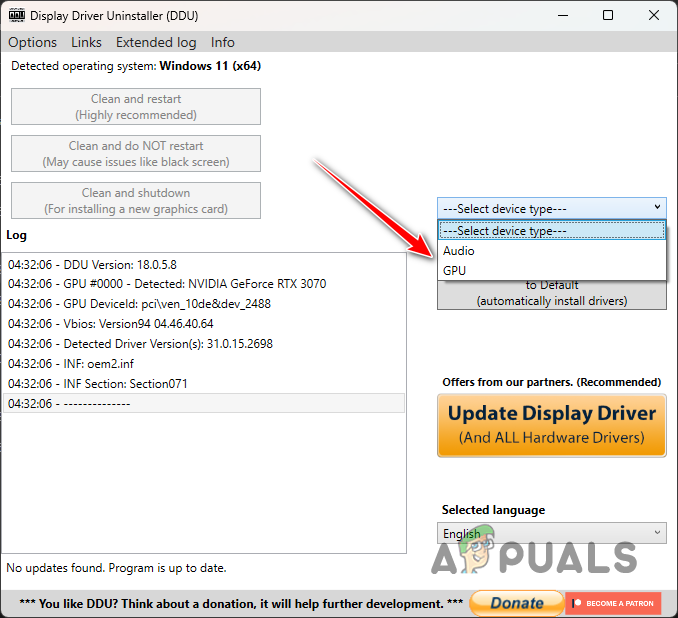
Select Device - Afterwards, select your graphics card manufacturer via the Select device menu.
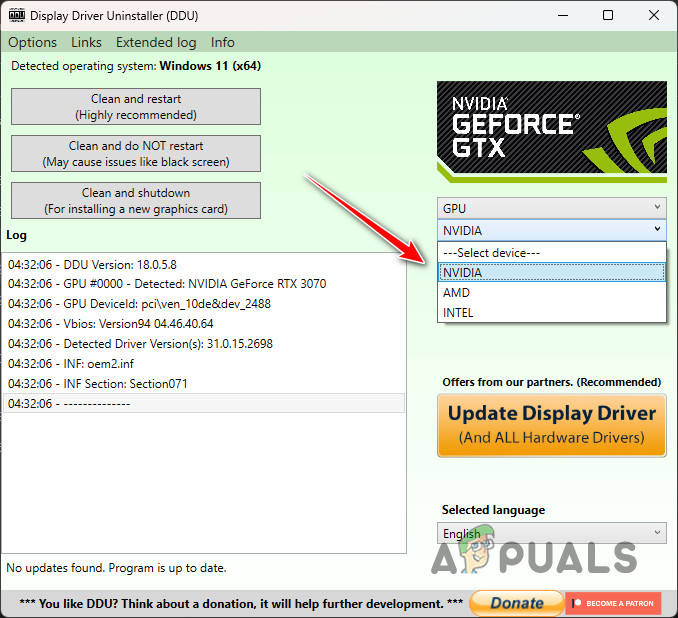
Selecting GPU Manufacturer - Finally, press the Clean and restart option to remove your current drivers.

Uninstalling Graphics Drivers - Once your PC starts again, head to the manufacturer’s site and search for the latest drivers for your graphics card.
- Install the new graphics drivers and see if that resolves the issue.
7. Perform a Clean Boot
Finally, if none of the above methods has resolved the issue, it is highly likely that a third-party program installed on your computer is interfering with the game which causes it to crash. In such cases, performing a Clean Boot can serve as a viable solution to determine if the game initiates without any complications.
A Clean Boot allows you to start Windows with only essential system services running in the background. Many third-party applications on your computer have services that automatically launch during system startup, which can potentially contribute to the problem. By performing a Clean Boot, you can mitigate such interference.
If the problem goes away during a Clean Boot, it will be evident that a background service is causing the issue. In this scenario, you will have to enable the services one by one to identify the culprit. Follow the instructions provided below to perform a clean boot:
- First, open the Run box by pressing the Windows key + R on your keyboard.
- In the Run app, put msconfig and hit Enter.
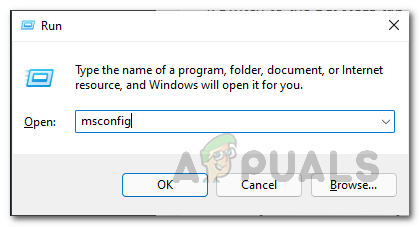
Open System Config via Run - This will open System Configuration.
- Change to the Services tab and tick Hide all Microsoft services.
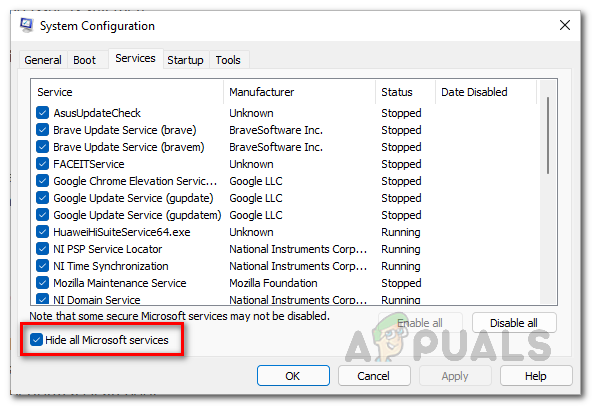
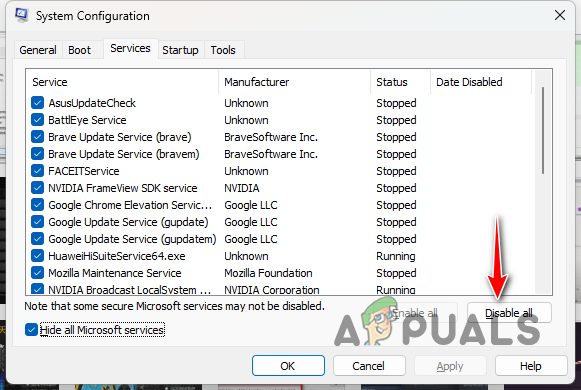
Hiding Microsoft Services - Then, prevent background services on startup by clicking the Disable all option and hitting Apply.
Preventing Third-Party Services - After that, switch to the Startup tab and click on the Open Task Manager option.
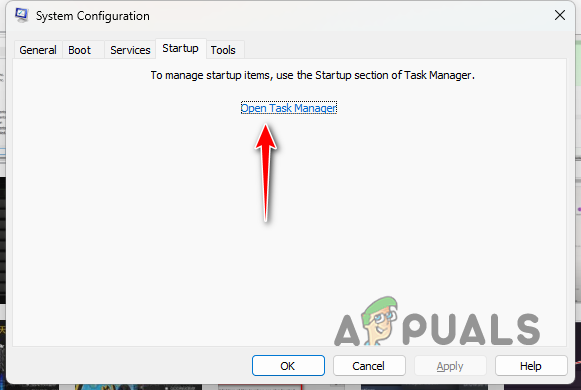
Opening Task Manager - On the Task Manager window, select the apps one by one and click Disable.
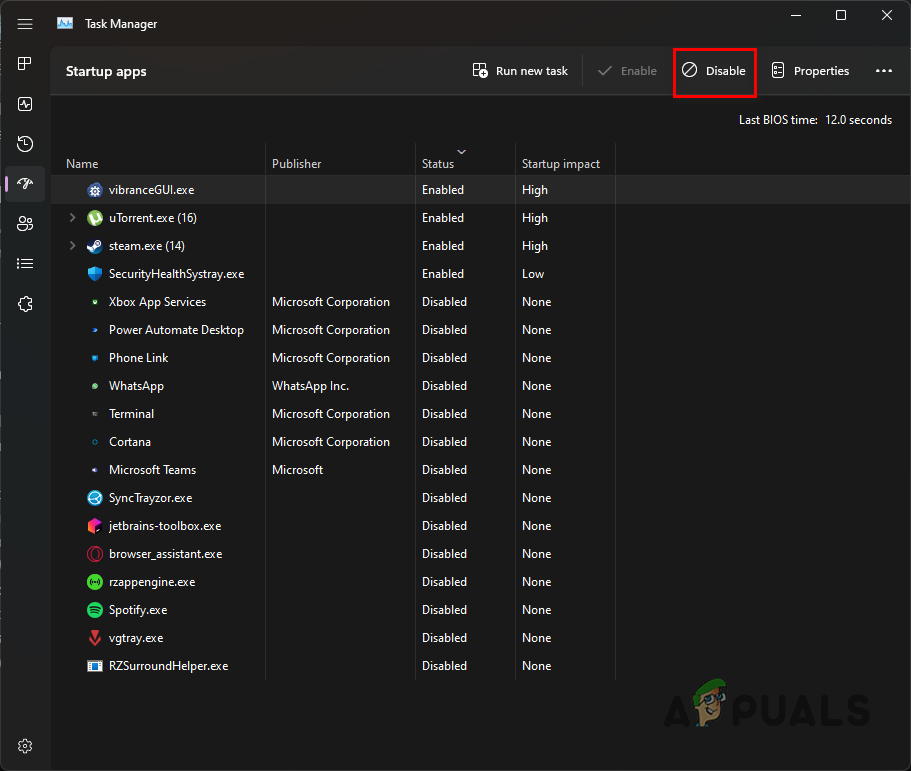
Preventing Third-Party Apps - Lastly, restart your computer to perform a clean boot.
Once your computer restarts, see if the game still crashes. If the problem goes away, you will have to identify the problematic program by enabling the services one by one.
Reviewed by Huzaifa Haroon


