How to Completely Uninstall Driver Tonic from your Computer?
Driver Tonic is a PC optimization tool that is promoted via other free applications. Most users who never downloaded this application directly but got it through another application would want to remove it. There are several ways to remove an application that the user does not require anymore.
Every user will consider this as a virus because it was installed by tricking the user when installing some other legit application. The notifications and pop-ups of this particular application can be very annoying which is why everyone is looking for how to uninstall Driver Tonic. In this article, we will show you the method through which you can easily uninstall it.
Uninstalling it through Settings App
The default method for removing any kind of application is through the Settings app or Control Panel. All the installed applications can be found there. It also allows users to uninstall any of the applications. You can check the below steps to uninstall the Driver Tonic:
- Hold the Windows key and press I to open the Settings App. Now click on the Apps option.
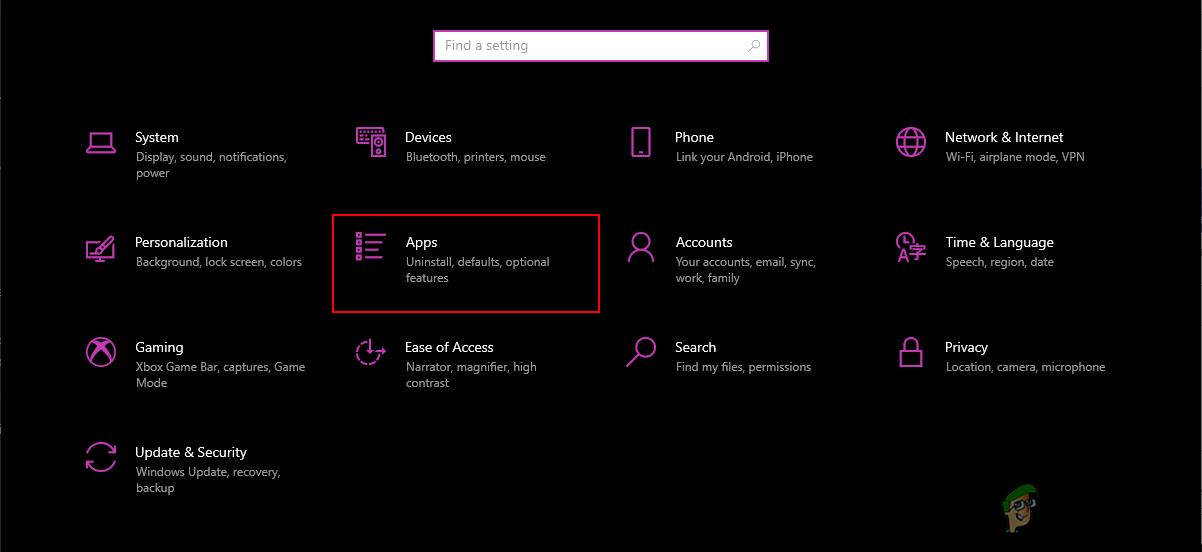
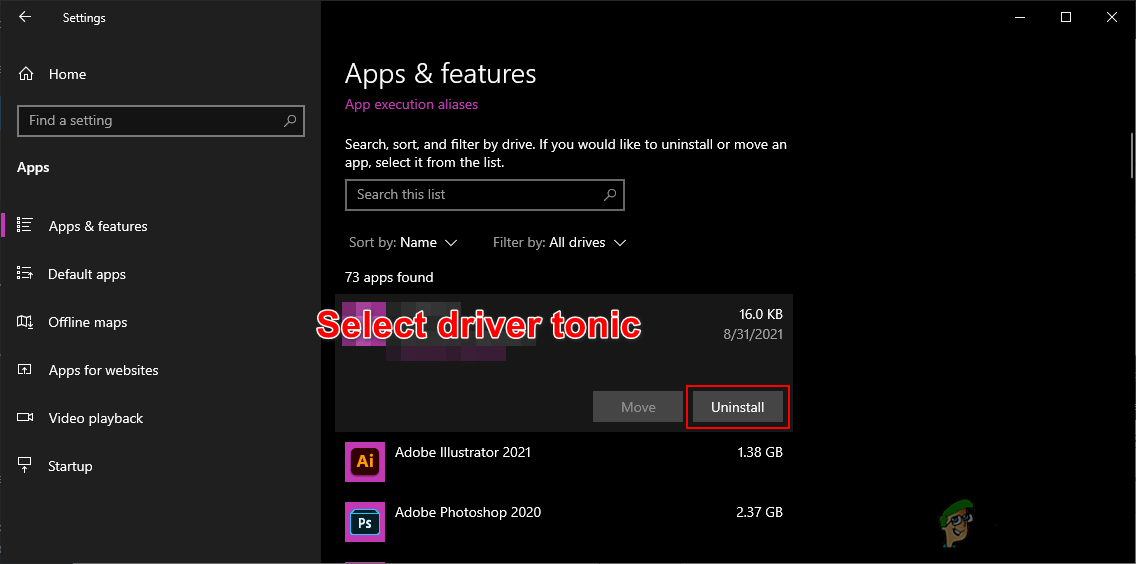
Opening Settings app - Search for the Driver Tonic in the installed applications list. Select the Driver Tonic and click on the Uninstall button. Follow the uninstallation instructions to completely uninstall it.
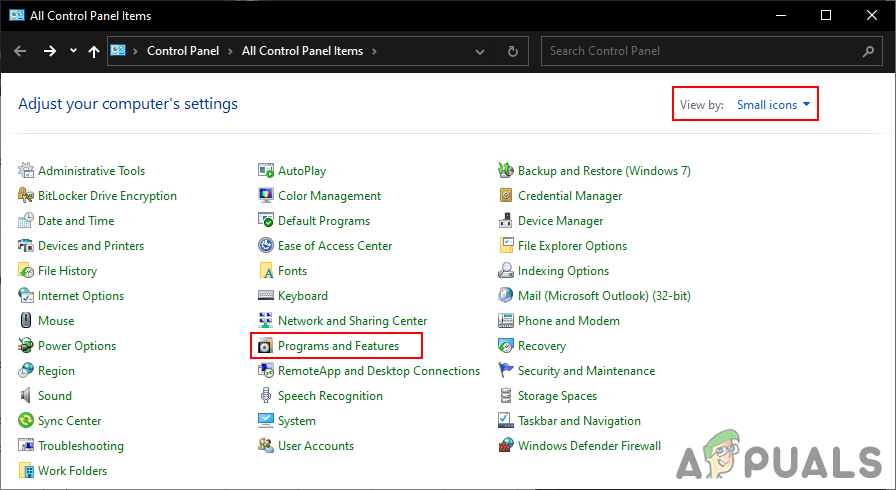
Uninstalling Driver Tonic - You can also uninstall the Driver Tonic in Control Panel. Search for Control Panel in the Windows search feature and open it.
- Now click on the Programs and Features option. Make sure View by is selected as Small icons.
Opening Programs and Features - Search for the Driver Tonic, right-click on it, and click on the Uninstall option. Follow the uninstallation steps to remove it from your system.
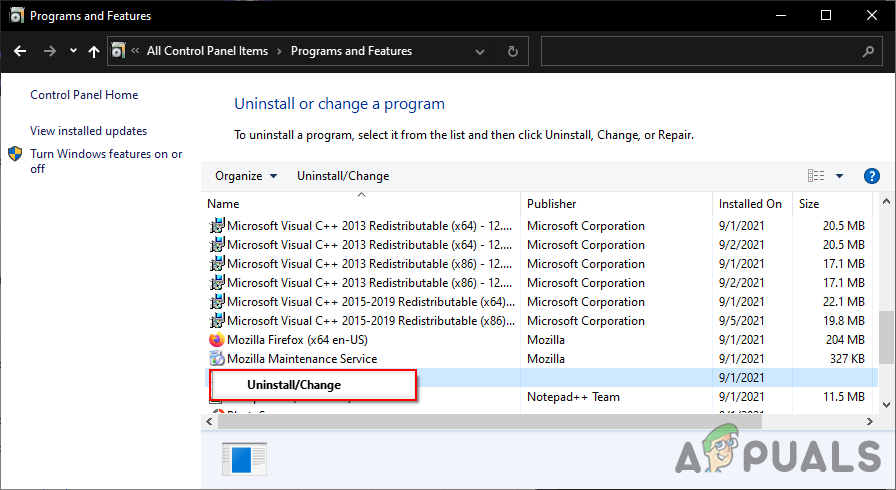
Uninstalling Driver Tonic from Control Panel
Deleting the Driver Tonic Folder
Sometimes the Driver Tonic will be unable to remove from the Settings app and Control Panel. It will show the “An administrator has blocked you from running this app” error even if you have admin privileges. Then in that case it is best to directly remove the application folder and all the related folders that you can find.
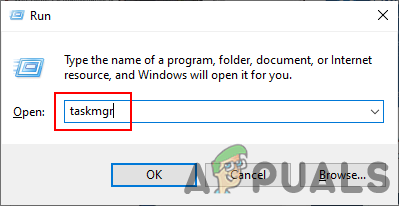
- Press the Ctrl + Shift + Esc buttons together to open the Task Manager. You can also open the Run command box by pressing Windows + R keys, then type “taskmgr” and press Enter key.
Opening Task Manager - Go to the Processes or Details tab and search for the Driver Tonic process. Select the process and click on the End Task button.
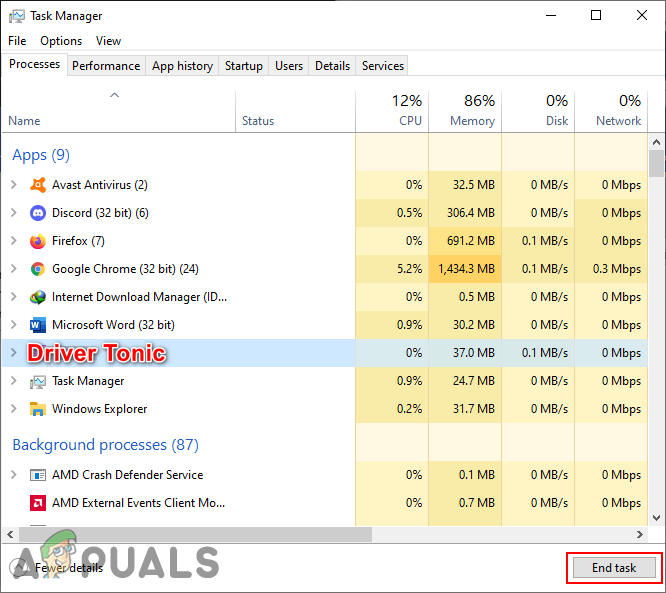
End Task Driver Tonic - Hold the Windows key and press E to open the File Explorer. Then navigate to the Driver Tonic folder in your system drive. The default location is “C:\Program Files“.
Note: You can also right-click on the application and open the file location.
Deleting Driver Tonic Folder - Select the folder and press the Shift + Del keys together to permanently remove the folder. Now you can use the first method to remove it from the Settings app or the Control Panel.
Uninstalling it through Third-party Application
There are also some third-party applications that allow you to remove installed applications. If you are unable to remove Driver Tonic from the Settings App or Control Panel, then you can use a third-party application. In this method, we are using CCleaner to demonstrate how it works. You can use any of the best know applications that you want to.
- Go to the CCleaner official site and download the application for your system. Open the setup file and follow the instructions to install the application.
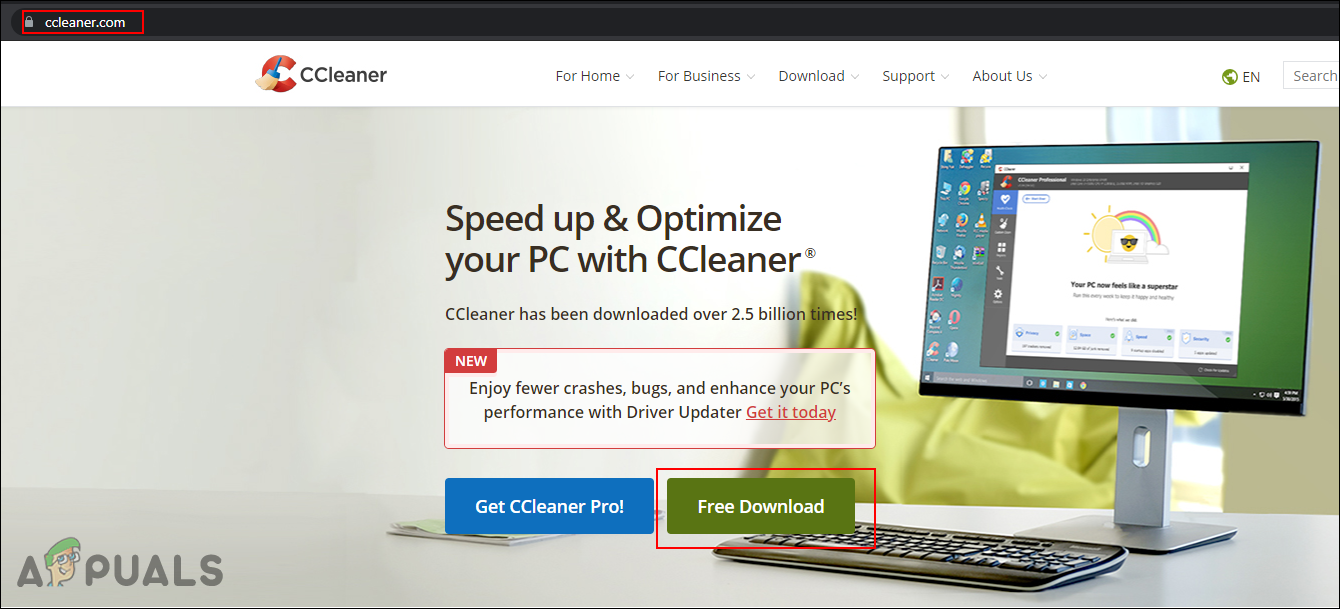
Downloading CCleaner - Open the CCleaner application by double-clicking on the shortcut. Click on the Tools option and search for the Driver Tonic from the list. Select the application and click on the Uninstall button.
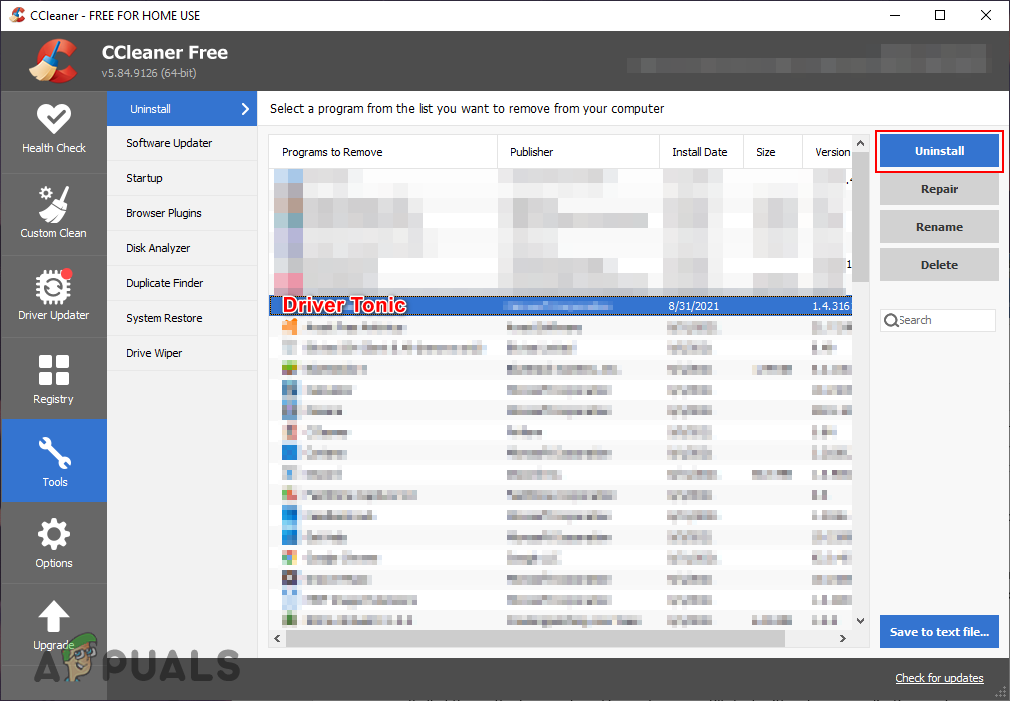
Uninstalling Driver Tonic from CCleaner - Continue with the uninstallation process of Driver Tonic to remove it from your system.
Running Malwarebytes to Scan System
If all of the methods are not working and you are still stuck with unknown applications and pop-ups, then it is best to run a malware scan. Malwarebytes is the best option to scan your system for any kind of possible virus. Follow the below steps to use it:
- Go to the official Malwarebytes site and download it. Install the Free version by following the installation instructions.

Downloading MalwareBytes - Now open the MalwareBytes application and click on the Scan button to start scanning your system.
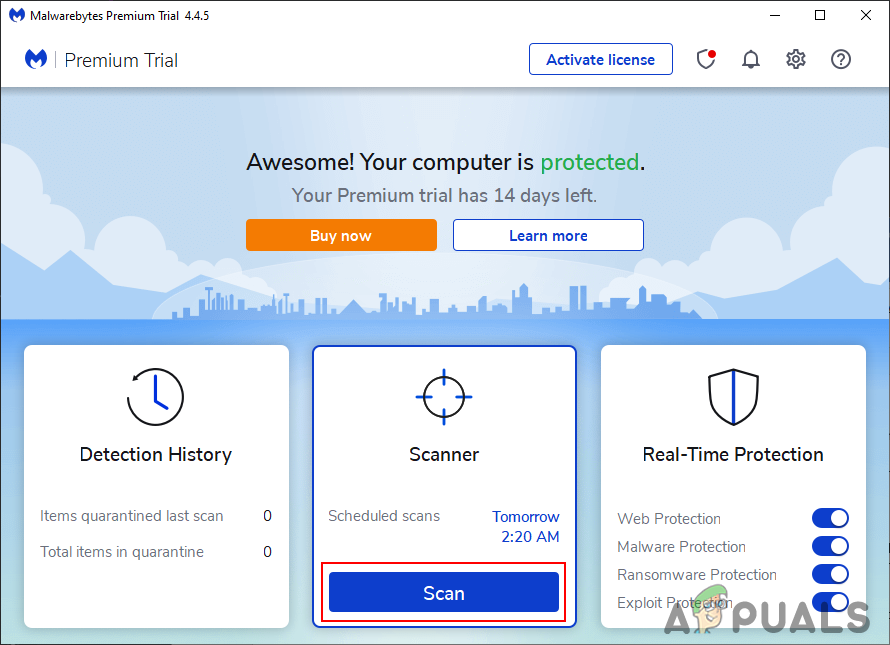
Scanning System - Once the scan is complete, you will find the issues listed in the report. You can then move them to Quarantine and remove them.


