How to Observe a Fully Centralized View of your IT Infrastructure?
No organization should ever overlook the maintenance and performance of its network. In this digital era, everything exists on a network and you can get ahead in these competitive times with a better-optimized network. This is not something new and everyone tries to do this one way or the other. However, if you do not have the proper and automated tools in place to get the job done, you are way behind in the race. Using automated tools for maintaining your IT infrastructure is the norm these days and you need to have a powerful solution deployed in your infrastructure as well.
As it turns out, there are a number of tools and solutions that you can use in order to monitor the performance of your cloud network. However, having a solution that offers you all of the different features in a single place can really be effective and beneficial. SolarWinds is a name that is not unknown when it comes to tools and solutions for network and system management. The new Hybrid Cloud Observability tool by SolarWinds can offer you an all-in-one solution for optimizing your network and rectifying any issues instantly.
With the Hybrid Cloud Observability tool, you can observe the performance of your network, applications and IT infrastructure from a single dashboard. In addition to that, you can monitor any physical devices that you might have along with any cloud Microsoft Azure or Amazon AWS accounts. Having said that, let us get started and show you can enjoy a fully centralized view of your IT infrastructure.
1. Installing Hybrid Cloud Observability
The first thing that you ought to do is to install the Hybrid Cloud Observability tool in your network. The process is essentially pretty easy, thanks to the Orion Platform that incubates almost all of the modern SolarWinds tools. As it turns out, you can opt for the free trial of the product before purchasing it which lasts for a whole month and you can enjoy the full functionality of the tool.
With that said, head over to this link and provide the required details to evaluate the product for yourself. Once you have downloaded the tool, follow the instructions given down below to install the tool:
- First of all, the downloaded file will be in ISO format so you will have to mount the image before you can install the tool. Go ahead and do that.
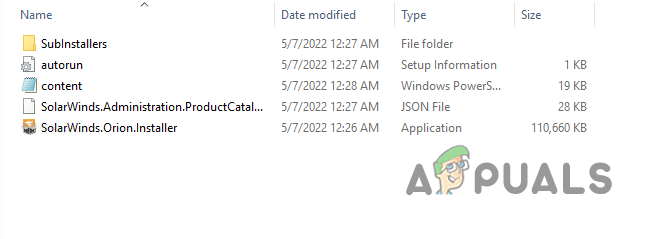
- Once you have mounted the ISO file, run the SolarWinds.Orion.Installer file inside.
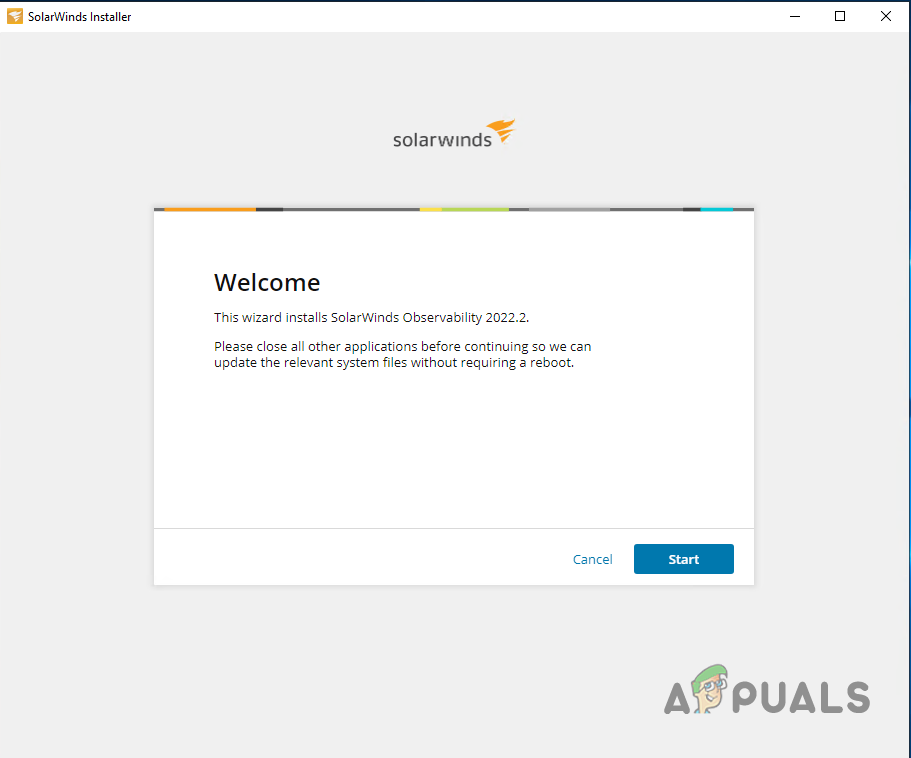
Running Orion Installer - This will open up the installer window. Click the Start button to begin.
Hybrid Cloud Observability Installer - After that, start off by choosing the type of installation you want and then click Next.
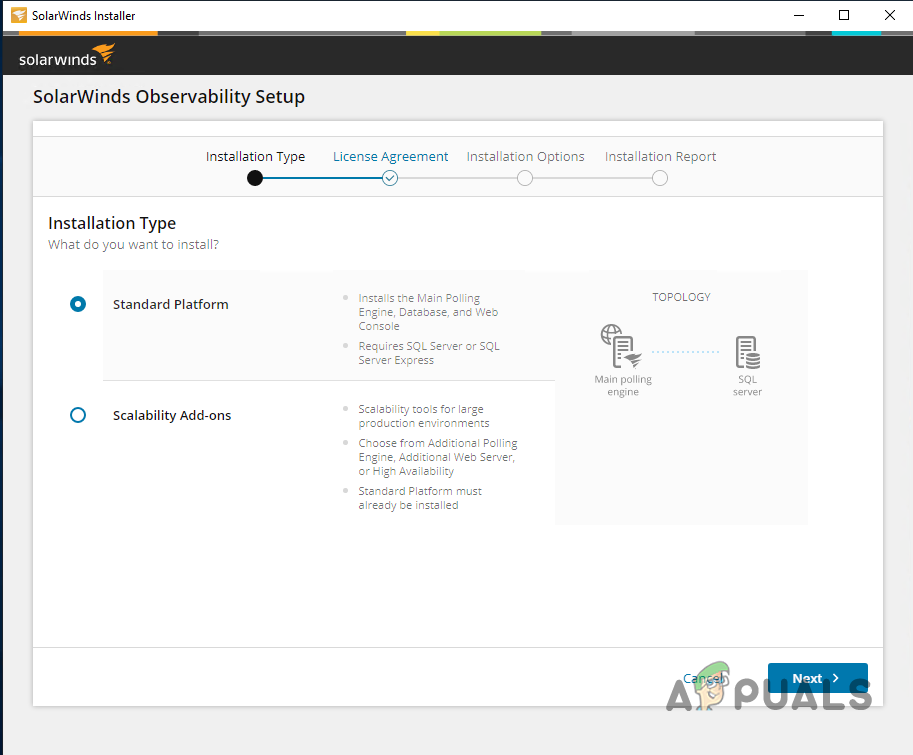
Choosing Installation Type - With that done, agree to the license agreement and click Next.
- Now, on the Installation Options page, you have two options to choose from. You can either choose to use an existing database or install a new one. SolarWinds recommends using a new SQL Server for evaluation purposes. Thus, if that’s your intention, choose the Install SQL Server Express option. Otherwise, you can choose the Use SQL Server option to proceed.
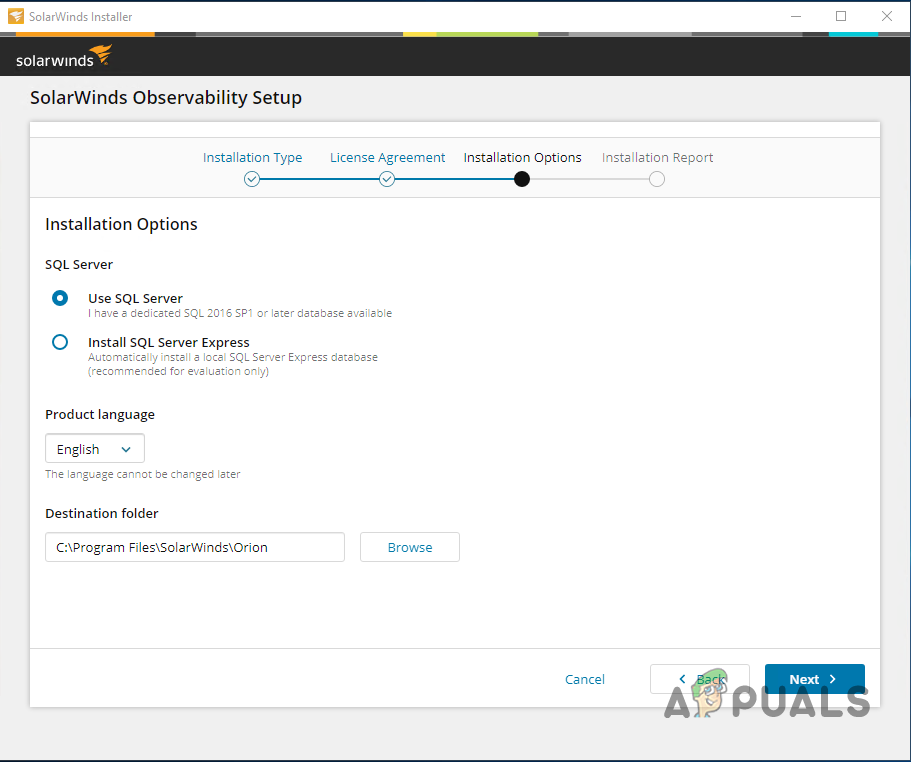
Installation Options - Then, click the Install button once the installation report process has been completed.
- The Orion installer will begin downloading and installing the required files on your device. Wait for it to finish.
- With that done, the Configuration Wizard will come up to configure the installation. If you chose to use an existing SQL Server, you will have to provide the database credentials that you wish to use at this point.
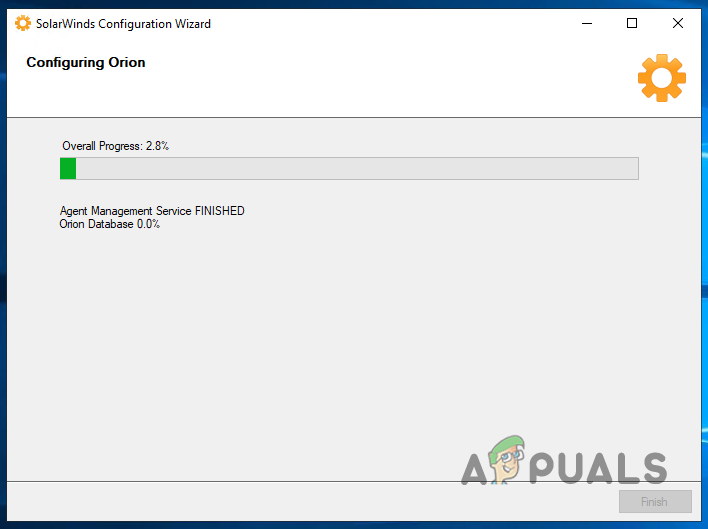
SolarWinds Configuration Wizard - Once the Configuration Wizard finishes, you will be able to start using the Hybrid Cloud Observability tool.
2. Adding Your Network
After installing the Hybrid Cloud Observability tool on your system, you can get started with using the tool. However, before you can do that, you will have to discover your network and then add it to the Orion platform so that it can be monitored. This can be done via the Network Sonar Wizard that comes in the Orion Platform. The process is pretty simple, follow the instructions given down below to do this:
- First of all, you will have to access the Orion Web Console. This opens up automatically once the Configuration Wizard closes. However, you can also access it manually by visiting HostnameOrIPAddress:Port in your browser window. The port used by SolarWinds Orion Platform is 8787 by default.
- When you open up the Orion Web Console for the first time, you will be asked to create a password for the admin account. Go ahead and do that.
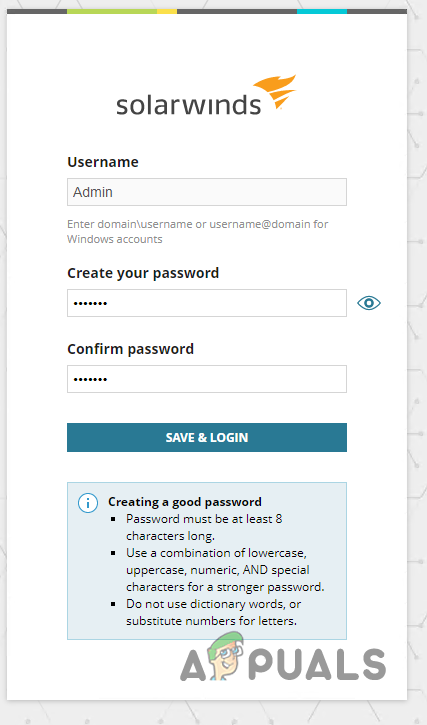
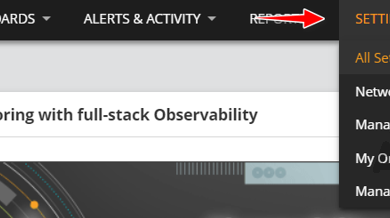
Setting up Admin Password - Once you have logged in, navigate to the Settings menu and choose the Network Discovery option.

Orion Settings Menu - There, click on the Add New Discovery button that is provided.
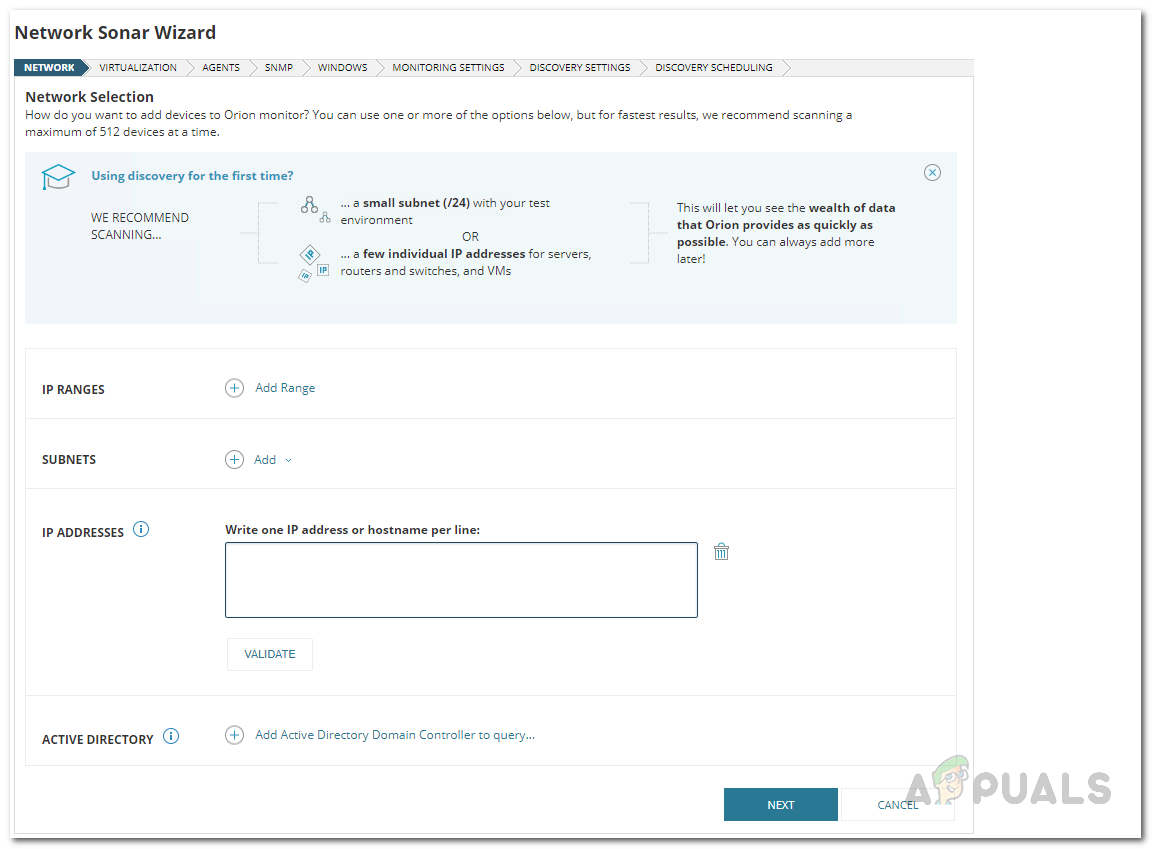
- You can choose from a number of methods to discover your network. On the Network Discovery page, you can either provide an IP address range, a subnet mask, along with other options. Choose one that fits you and then click Next.
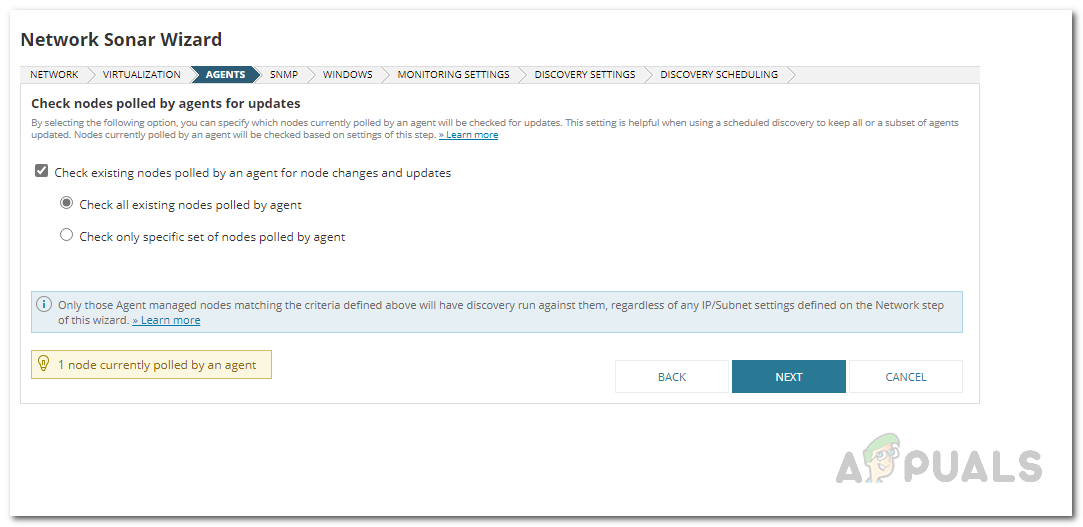
Discovering New Network - On the Agents page, choose from the provided options which are pretty self-explanatory. Then, click Next.
Agents Settings - After that, on the Virtualization tab, you can add any virtual hosts in the network by providing the required credentials.
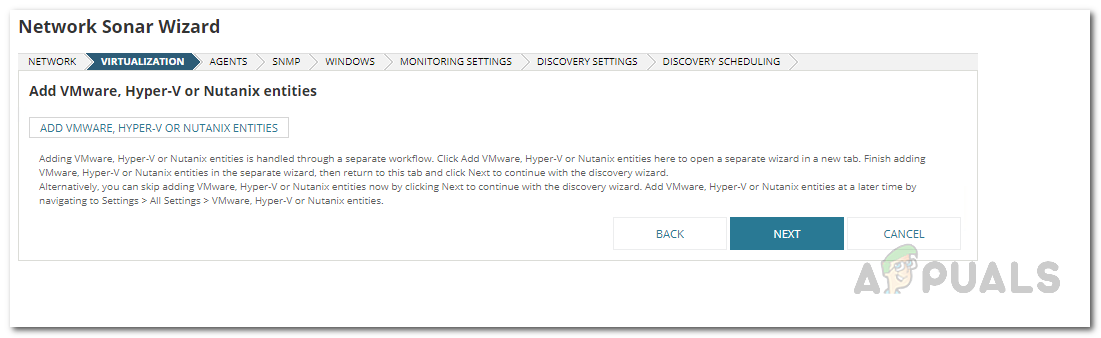
Virtualization Settings - Now, on the SNMP page, you can provide any SNMP strings that you might be using in the network. To do so, click the Add New Credential option.
- If there are any Windows devices that you might want to add to the tool, provide the required credentials on the Windows page.
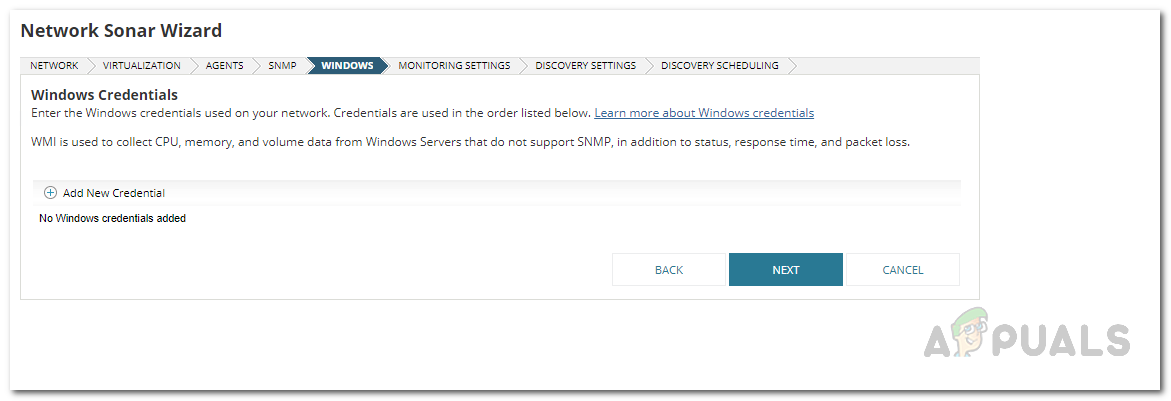
Windows Settings - Then, choose your preferred polling method on the Monitoring page and then click Next. It is recommended by SolarWinds to use WMI in case you are discovering Windows devices. For the other options, leave them as it is and click Next.

Monitoring Settings - If you wish, you can give this discovery a name on the Discovery Settings page.
- Finally, click the Discover button to begin the discovery on the Discovery Scheduling page.
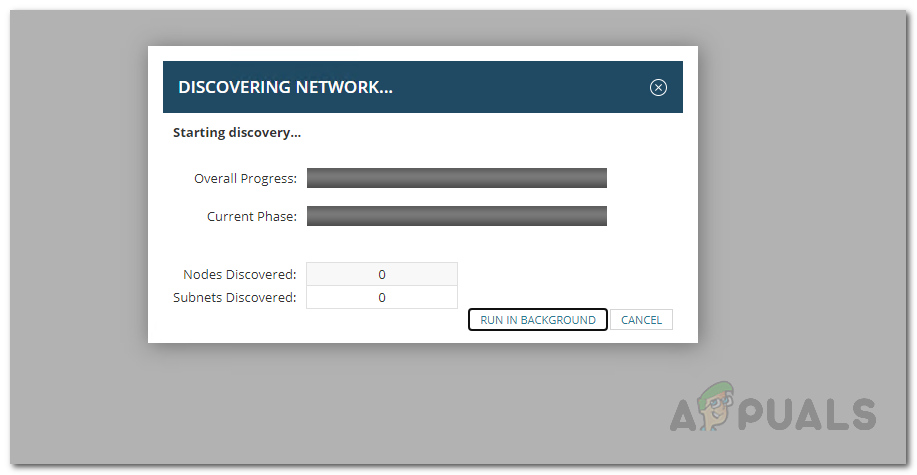
Network Sonar Wizard Discovery - With that done, wait for the discovery to finish.
3. Add Discovered Devices
Now that you have discovered various devices in your network, it is time for you to add them to the Hybrid Cloud Observability tool. This will allow the tool to monitor the devices and provide you with a summary of your network on the dashboard. To do this, follow the instructions down below:
- With the Network Sonar Wizard completed, you will be taken to the Network Sonar Results Wizard. Here, you will have to add devices to the tool.
- On the Devices page, choose what you wish to monitor and then click the Next button.

Discovered Devices - After that, on the Interfaces page, you can select the type of interfaces to be monitored.
- With that done, choose the volume types that you want the tool to monitor and then click the Next button.
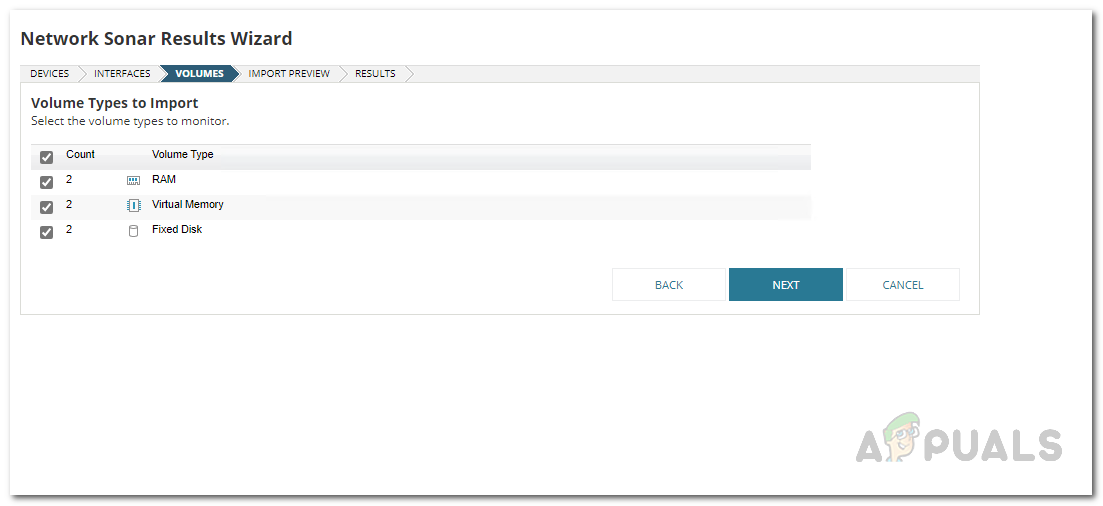
Choosing Volumes - Finally, you will be shown a summary of the details that you are about to import to the tool. Review it and then click the Import button.
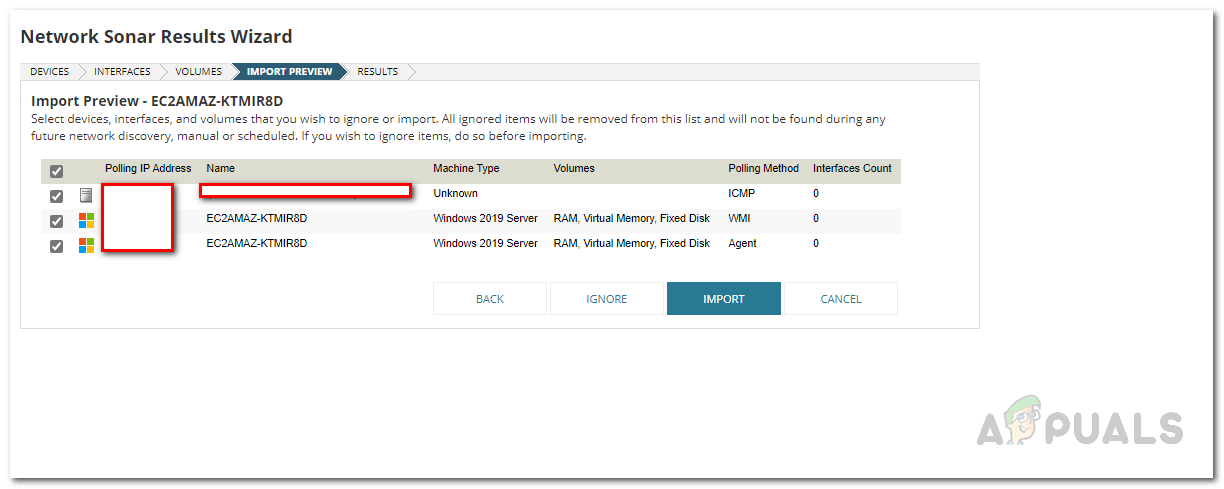
Previewing Import - Once that import has finished, click the Finish button.
With all of that done, you will be able to view the different metrics of your network on the dashboard page of the tool.
4. Add Cloud Accounts
If you have any cloud instances that you wish to add to the Hybrid Cloud Observability tool, you can do so pretty easily. This can include any cloud Microsoft Azure or AWS instances. To do so, you will first have to configure the cloud instances for the Orion Platform. To do this, follow this guide on the SolarWinds documentation page.
With that done, follow the instructions down below to add a cloud account to the Orion Platform for monitoring:
- First of all, on the Orion Web Console, navigate to My Dashboard > Home > Cloud.
- There, click on the Monitor my Cloud Instances option provided.
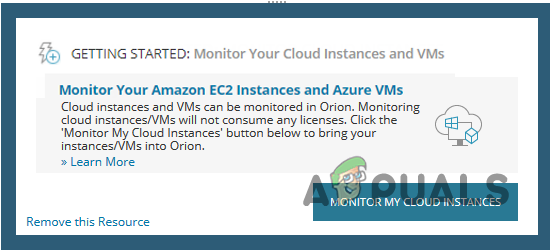
Monitoring Cloud Instances - This will open up a dedicated wizard.
- Start off by choosing the type of account that you wish to add to the Orion Platform i.e. Microsoft Azure or AWS. We will be taking the example of Microsoft Azure here.
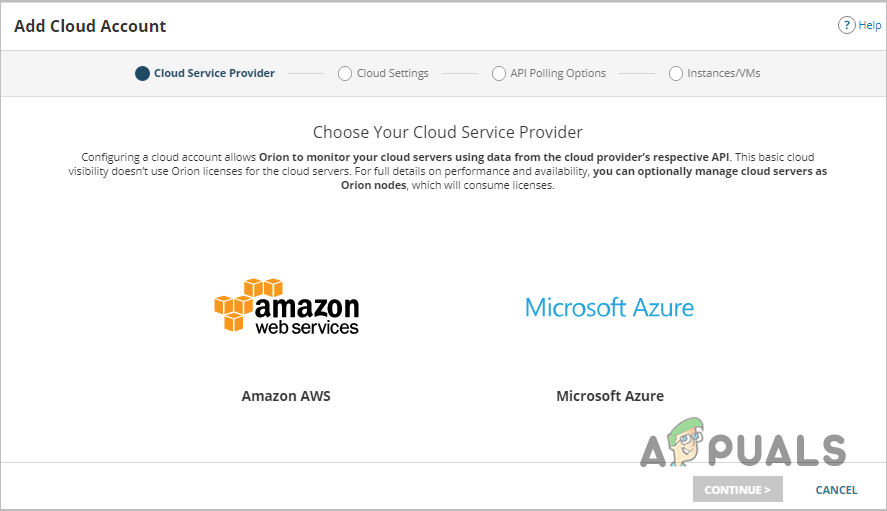
Adding Cloud Account - Then, provide the requested details on the Azure Cloud Settings page.
- After that, on the API Polling page, click the Continue button.
- Finally, on the Virtual Network Gateways tab, make sure to enable Virtual Network Gateways polling and then click the Finish button.
5. View Monitoring Summary
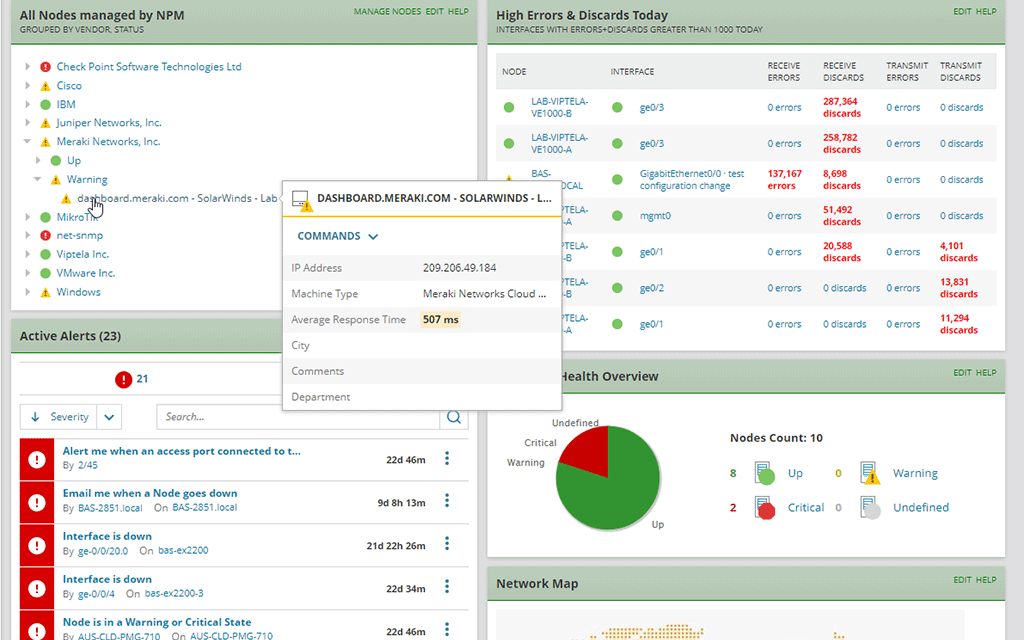
Once you added all of the required devices to the Orion Platform, the Hybrid Cloud Observability tool will begin its magic and start monitoring them for you. You will be able to view the summary and all of the different performance metrics on the dashboard. Enjoy a fully centralized view of your IT infrastructure.