Fix: Night Light Toggle Option Grayed Out in Windows
 Reviewed by Muhammad Zubyan
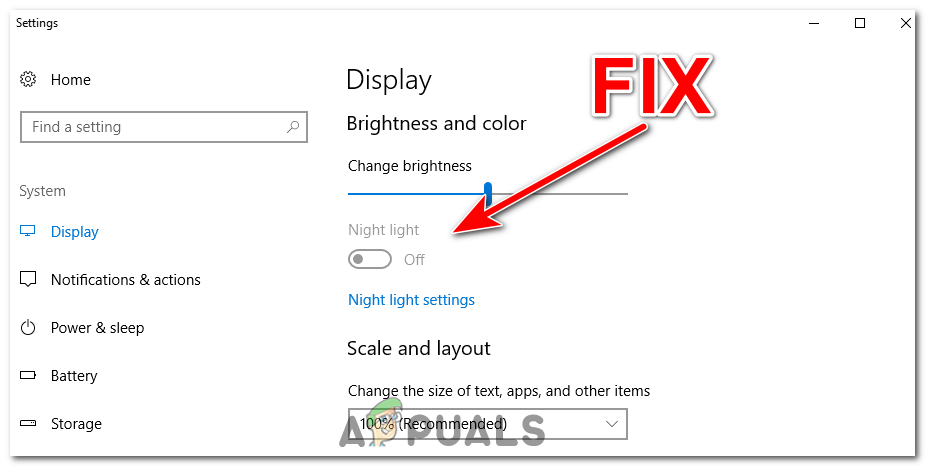
The Night Light option in Windows is a valuable feature that, when enabled, reduces the amount of blue light emitted by your display. But the option, just like any other feature, can sometimes become grayed out, making it unavailable. That is due to several reasons, including outdated system updates, corrupted registry entries, issues with graphics drivers, or compatibility problems with external displays.
The first course of action when you see the Night Light option grayed out is to restart your device. But if that does not work, it will require some more troubleshooting to fix the issue. Follow each fix one by one, until the problem disappears.
1. Use Registry Editor to Delete Blue Light Reduction Entries
You will need to access the Windows Registry and delete certain entries to make the Night light option usable again. To do so, follow these steps:
- Press Windows key + R to open the run dialog box.
- Type in “regedit” and press OK.

Type in “regedit” and press OK. - In the Windows Registry, go to the following path:
Computer\HKEY_CURRENT_USER\SOFTWARE\Microsoft\Windows\CurrentVersion\CloudStore\Store\DefaultAccount\Cloud
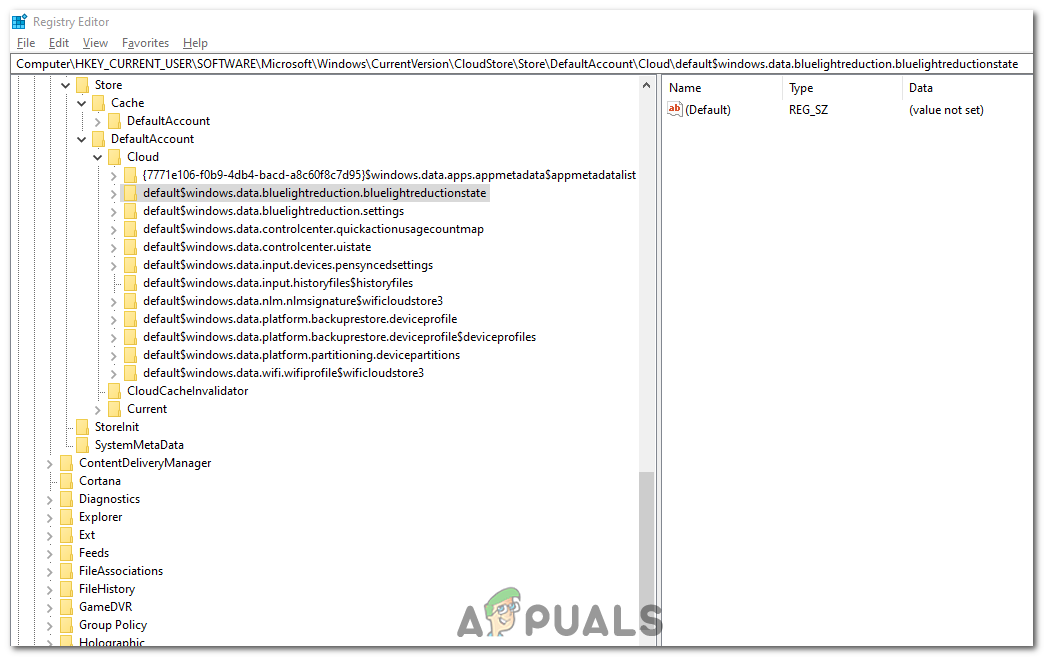
- In the Cloud folder, right click and delete both of these following entries:
default$windows.data.bluelightreduction.bluelightreductionstate

default$windows.data.bluelightreduction.settings
- Restart your Computer after deleting them. Check if its working now.
Note: The Windows Registry is a vital and sensitive part of the Microsoft Windows Operating System. It stores configurations for both the system and the installed software. Incorrect changes can lead to severe problems, up to and including making the system unbootable. So make sure you know what you are doing before proceeding with this fix.
2. Create a Night Light script using Notepad
If the above method does not work for you, alternatively, you can create a Night Light script using Notepad that you can run and add the option yourself.
- Press the Windows + S key to open the search dialog box.
- Type in Notepad and open the corresponding entry.
- Now paste this following script in the new Notepad file:
Windows Registry Editor Version 5.00
[HKEY_CURRENT_USER\Software\Microsoft\Windows\CurrentVersion\CloudStore\Store\Cache\DefaultAccount\$$windows.data.bluelightreduction.bluelightreductionstate]
[HKEY_CURRENT_USER\Software\Microsoft\Windows\CurrentVersion\CloudStore\Store\Cache\DefaultAccount\$$windows.data.bluelightreduction.bluelightreductionstate\Current]
"Data"=hex:02,00,00,00,54,83,08,4a,03,ba,d2,01,00,00,00,00,43,42,01,00,10,00,\
d0,0a,02,c6,14,b8,8e,9d,d0,b4,c0,ae,e9,01,00
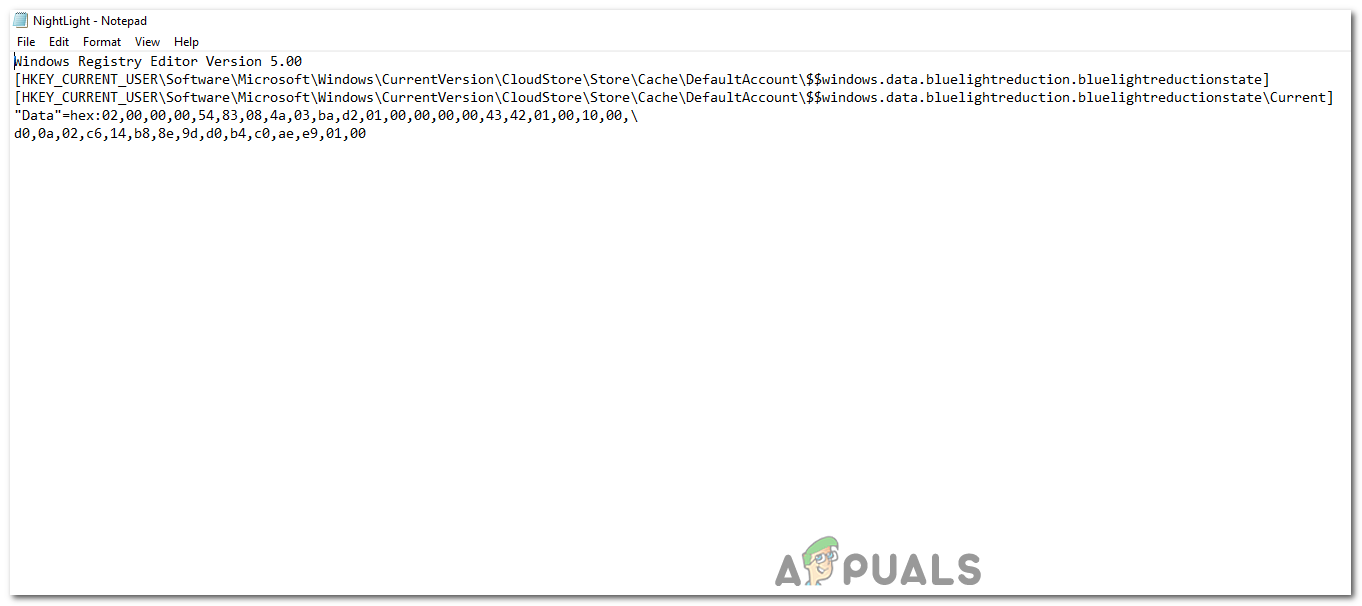
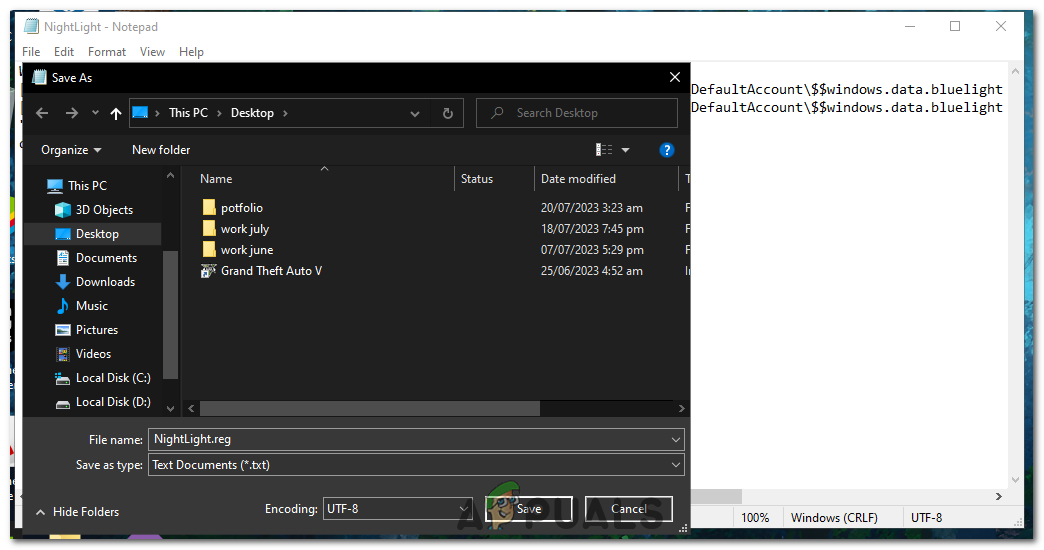
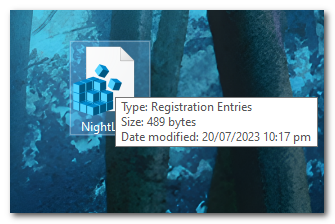
The Night Light script pasted in Notepad. - Click on “file”, select “Save as” and save it as:
NightLight.reg
- Note: Make to use the “.reg” extension to ensure that the Registry Editor can recognize and execute the script.
- Now Double click on the Script and press YES if prompted for administrator privileges.
Double click on the Script and press YES if prompted for administrator privileges. - Check to see if the Night Light option is working now.
3. Update Windows
This option being grayed out can be a bug caused by a Windows update. Which can be fixed by a next update containing various bug fixes. Normally, Microsoft sends these updates out every couple of weeks, so you should check and install these updates. To do so, follow these steps:
- Press the Windows key.
- In the Windows Search bar, type “Settings” and open the Windows Settings app.
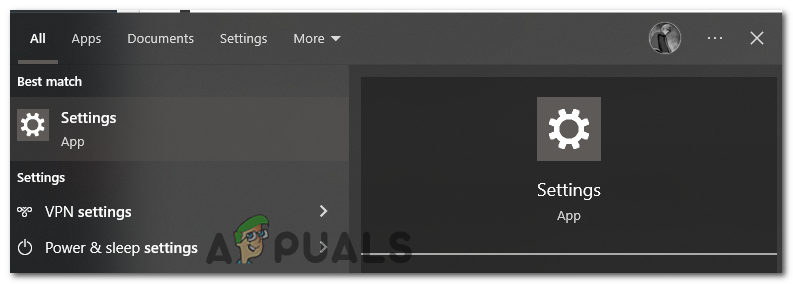
In the Windows Search bar, type “Settings” and open the Windows Settings app. - Click on Update & Security.
- In the Windows Update tab, left click on “Check for updates”.

In the Windows Update tab, left click on “Check for updates”. - Windows will check for any uninstalled updates. Press the Download button to download and install them.
4. Update Graphics Driver
Conflicts or bugs within your graphics driver can also lead to the “Night Light” feature becoming grayed out or not functioning as expected on Windows. These issues can often be resolved by updating the graphics driver to its latest version.
Your graphics driver is the software that allows your operating system and programs to use your computer’s graphics hardware. If you are experiencing issues with the Night Light feature, it might be due to an outdated, corrupted, or incompatible graphics driver. To update your Graphics driver, follow these steps:
- Press the Windows key + X and select Device Manager from the menu.
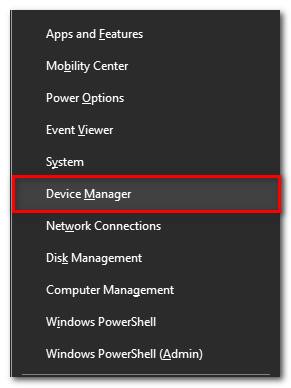
Press the Windows key + X and select Device Manager from the menu. - Expand the “Display Adapters” category by clicking the arrow to its left.
- Right click on your graphics driver and select “Update Driver”.
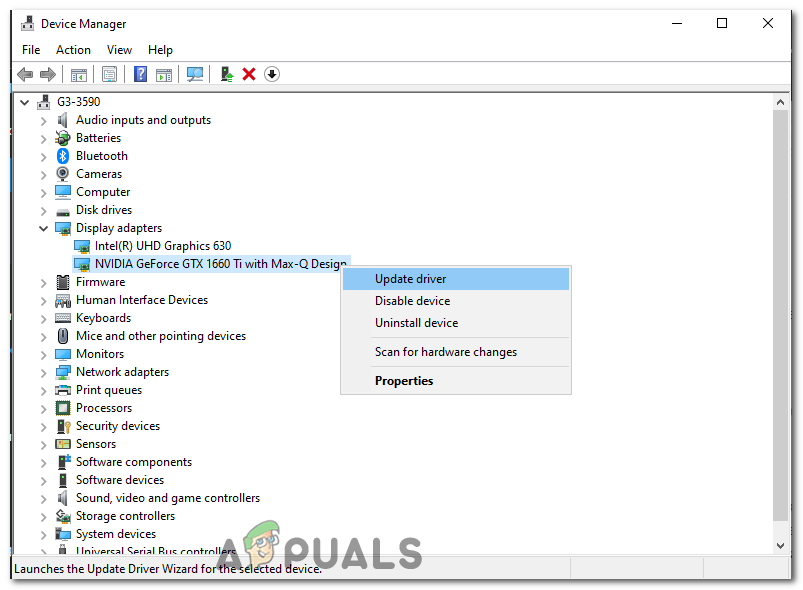
Right click on your graphics driver and select “Update Driver”. - In the new window, select “Search automatically for updated driver software”. Windows will then search your computer and the internet for the latest driver software for your device.
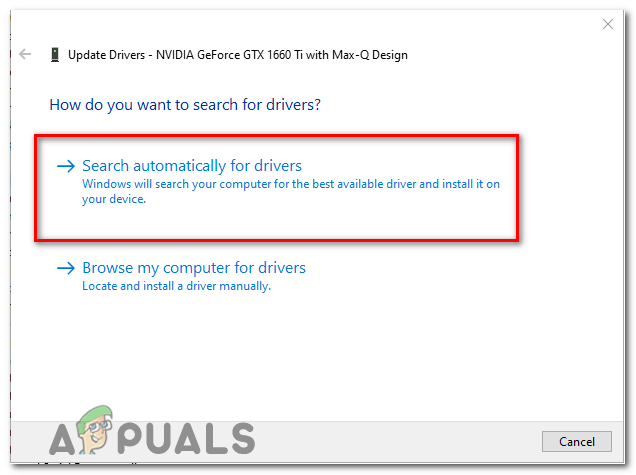
In the new window, select “Search automatically for updated driver software”. - If Windows does not find a new driver, you can try looking for one on the GPU manufacturer’s website and follow their instructions.
- After the update is complete, restart your computer and check to see if the Night Light option is now working.
If none of the above methods have worked, it might be worth considering a System Restore or even a clean install of Windows. But remember, both these methods should only be considered as a last resort. They will return your system to an earlier state or completely reinstall your operating system, which can result in loss of data. Therefore, make sure to backup your data before proceeding with those steps.
Need more help?
If you have tried all the fixes above and you are still experiencing the issue, you might want to contact Microsoft for further assistance. Their customer support team is trained to handle a variety of technical issues, including those related to Windows.
The Microsoft Support website is an extensive resource filled site with troubleshooting guides and frequently asked questions. Visit https://support.microsoft.com and type “Night Light not working” into the search bar. You will be directed to several articles related to your issue which may provide the solution you are looking for.
Night Light Option Grayed Out in Windows - FAQs
It is a feature that reduces the amount of blue light emitted by your display, making it easier on your eyes.
Several reasons can cause this, such as outdated system updates, issues with graphics drivers, or compatibility problems with external displays.
Yes, deleting specific blue light reduction entries in the Registry Editor can help resolve the issue.
Yes, creating and running the .reg script provided in the article can automatically fix this issue.
Yes, ensuring your display driver is up to date can solve many display related problems, including the Night Light feature being grayed out.
Reviewed by Muhammad Zubyan


