[FIX] Netflix Error Code U7353-5101
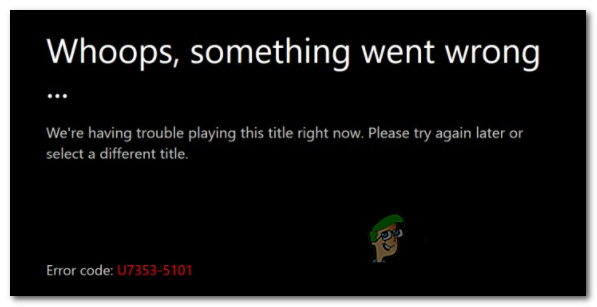
Some PC users are encountering the error code U7353-5101 whenever they attempt to view a TV show or movie that was previously downloaded locally. This problem seems to be specific to the UWP (Universal Windows Platform) version of Netflix (the one you download from the Microsoft Store).
After investigating this particular issue thoroughly, it turns out that there are several different causes that will cause this particular error code. Here’s a shortlist of potential culprits that might be responsible for this error code:
- Outdated UWP Version – As some affected users have reported, this problem will often occur in instances where the user attempts to play locally stored content from Netflix from an outdated Netflix version. To fix this problem, you’ll need to update the UWP version to the latest build available.
- Corrupted temp File – Another fairly common culprit that might produce this error is a corrupted temp file that gets used whenever you attempt to play certain locally stored titles. In this case, the best course of action is to reset the Netflix UWP app to the latest version available.
- Corrupted UWP Installation – Under certain circumstances (particularly after an unexpected shutdown while using Netflix UWP) the main Netflix application might become corrupted. In this case, the only viable fix is to uninstall it completely before reinstalling the latest version through the official channels (from the Microsoft Store).
- Bad DNS Range – As some users have confirmed, this issue can also occur when your ISP assigns a bad range that Netflix is unable to work with. In this case, you’ll most likely be able to fix the problem by forcing a DNS flush from an elevated Command Prompt.
Method 1: Update UWP Version to the Latest
According to a lot of affected users, you might expect to see this error if you’re attempting to play Netflix content that was downloading locally with an outdated Netflix UWP version.
This problem is typically reported to occur in situations where the involved PC wasn’t connected to the Internet so the Netflix UWP build couldn’t be updated. As it turns out, Netflix will essentially ‘lock’ the offline playback feature on it for security reasons.
If this scenario is applicable, you should be able to fix the problem by forcing the latest Netflix UWP update to install on your PC.
In order to do this on Windows 10, follow the instructions below to use the updating function on the Microsoft Store to update to the latest Netflix UWP build:
- First things first, ensure that your PC is connected to the Internet.
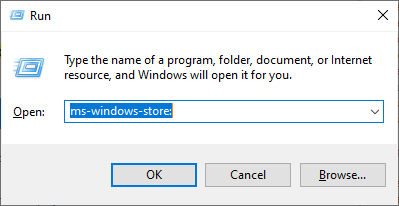
- Next, press Windows key + R to open up a Run dialog box. Then, inside the text box, type “ms-windows-store://home”, then press Enter to open up the default dashboard of the Microsoft Store.

Opening the Microsoft store via Run box - From the insides of the Microsoft Store, click on the action button (top-right corner), then click on the Downloads and Updates tab from the list of available options.
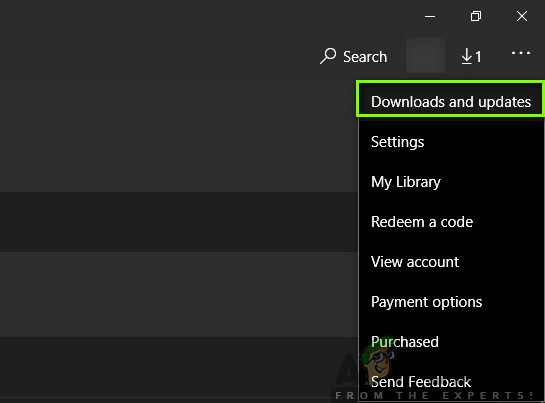
Downloads and Updates – Microsoft Store - Once you’re inside the Downloads and Updates screen, click on Get updates, then wait patiently until the Netflix UWP app updates to the latest version.

Get updates - Once the Netflix app is updated, restart your computer and see if the problem is fixed once the next startup is complete.
If you still see the same Error Code U7353-5101, move down to the next potential fix below.
Method 2: Resetting the Netflix UWP App
If updating the Netflix app to the latest build didn’t work for you, the next logical culprit you should investigate is an issue caused by a corrupted temporary file or by a cached file.
If this scenario is applicable, you should be able to fix this problem by resetting the Netflix UWP app from the Advanced Options menu associated with the Netflix UWP account.
To do this, follow the instructions below to use the Apps & Features menu to reset the Netflix app:
- Open up a Run dialog box by pressing Windows key + R. Next, type ‘ms-settings:appsfeatures‘ and hit Enter to open up the Apps & Features menu of the Settings app.
- After you’re inside the Apps & Features menu, go ahead and scroll down through the list of installed applications and locate the Netflix app.
- When you see it, click on it to expand the menu, then click on the Advanced Options menu (it’s located directly under the name of the app).
- From the Advanced Options menu, scroll all the way down to the Reset tab, then click on Reset to confirm the operation. This operation will revert the Netflix app back to the factory state. This means that the login info, the locally downloaded shows, and every bit of cached data will be cleared.
- Once the operation is complete, start the Netflix app once again, download a show locally and see if the problem is now resolved.
In case you’re still seeing the error code U7353-5101, move down to the next potential fix below.
Method 3: Reinstalling the Netflix UWP App
If a simple reset didn’t do the job for you, your next attempt at resolving the error code U7353-5101 should be to uninstall the entire Netflix UWP installation before doing a clean reinstall.
Several affected users have confirmed that this operation was the only thing that allowed them to finally play locally downloaded shows without getting an error at every attempt.
Here’s a quick step by step guide that will walk you through the process of reinstalling the Netflix UWP app:
- Open up a Run dialog box by pressing Windows key + R. Next, type “ms-settings:appsfeatures” and press Enter to open up the Apps & Features tab, then scroll down through the list of applications.

Accessing the App & Features screen - Once you’re inside the Apps & Features screen, scroll down through the list of installed applications until you locate the Netflix app.
- Next, select the Netflix app and choose the Advanced Menu hyperlink associated with it below.
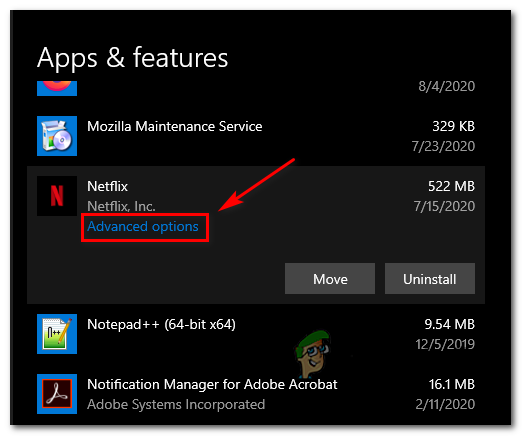
Accessing the Advanced Options on Netflix - Once you’re inside the Advanced Menu of Netflix, scroll down to the Uninstall section and hit Uninstall to kickstart the operation.
- Next, confirm the operation and restart your computer.
- After your computer boots back up, press Windows key + R to open up a Run dialog box. Inside the text box, type ‘‘ms-windows-store://home” and press Enter to launch the Microsoft Store.
Accessing the Microsoft Store - Once you’re inside the home screen of Microsoft store, use the search function in the top-right section of the screen to search for the ‘Netflix’ app.
- Next, download the latest version of Netflix and complete the installation before signing in with your account to see if the error Code U7353-5101 is now resolved.
In case this problem is still not resolved, move down to the next potential fix below.
Method 4: Flushing the DNS Cache
If none of the potential fixes above have worked for you, there is one potential fix that a lot of stuck users have successfully used to get around the problem. As it turns out, the U7353-5101 error code can also occur due to a DNS (Domain Name Address) inconsistency.
Several affected users have managed to fix this problem by flushing the DNS cache from an elevated Command Prompt. This will end up fixing every instance where this problem is caused by a bad DNS range that ends up affecting communications between your PC and the Netflix servers.
To make things easier for you, follow the instructions below:
- Open up a Run dialog box by pressing Windows key + R. Next, type ‘cmd’ inside the text box and press Ctrl + Shift + Enter to open up an elevated Command Prompt.

Running the Command Prompt Note: When you see the User Account Control (UAC) prompt, click Yes to grant admin access.
- Once you’re inside the elevated Command Prompt, type the following command and press Enter to flush the DNS cache:
ipconfig/flushdns
Note: By flushing your DNS cache, you’ll end up removing every bit of info related to your DNS cache. This operation will end up forcing your router to assign new DNS information.
- After this operation is complete, you’ll see a success message telling you the operation has been successful.
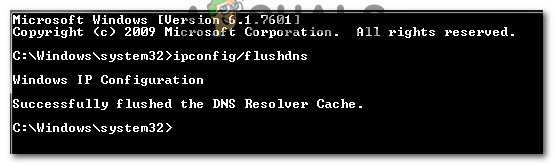
Example of a successfully flushed DNS Resolver Cache - Restart the Netflix app and see if the error code u7353-5101 is no longer appearing.