Fix: NBA 2K Error Code 56d85bb8 (5 Simple Solutions)
In the NBA 2K series, Error Code 56d85bb8 is a common connection error that disconnects players from their online sessions and prevents them from being able to play online game modes, like MyCareer.
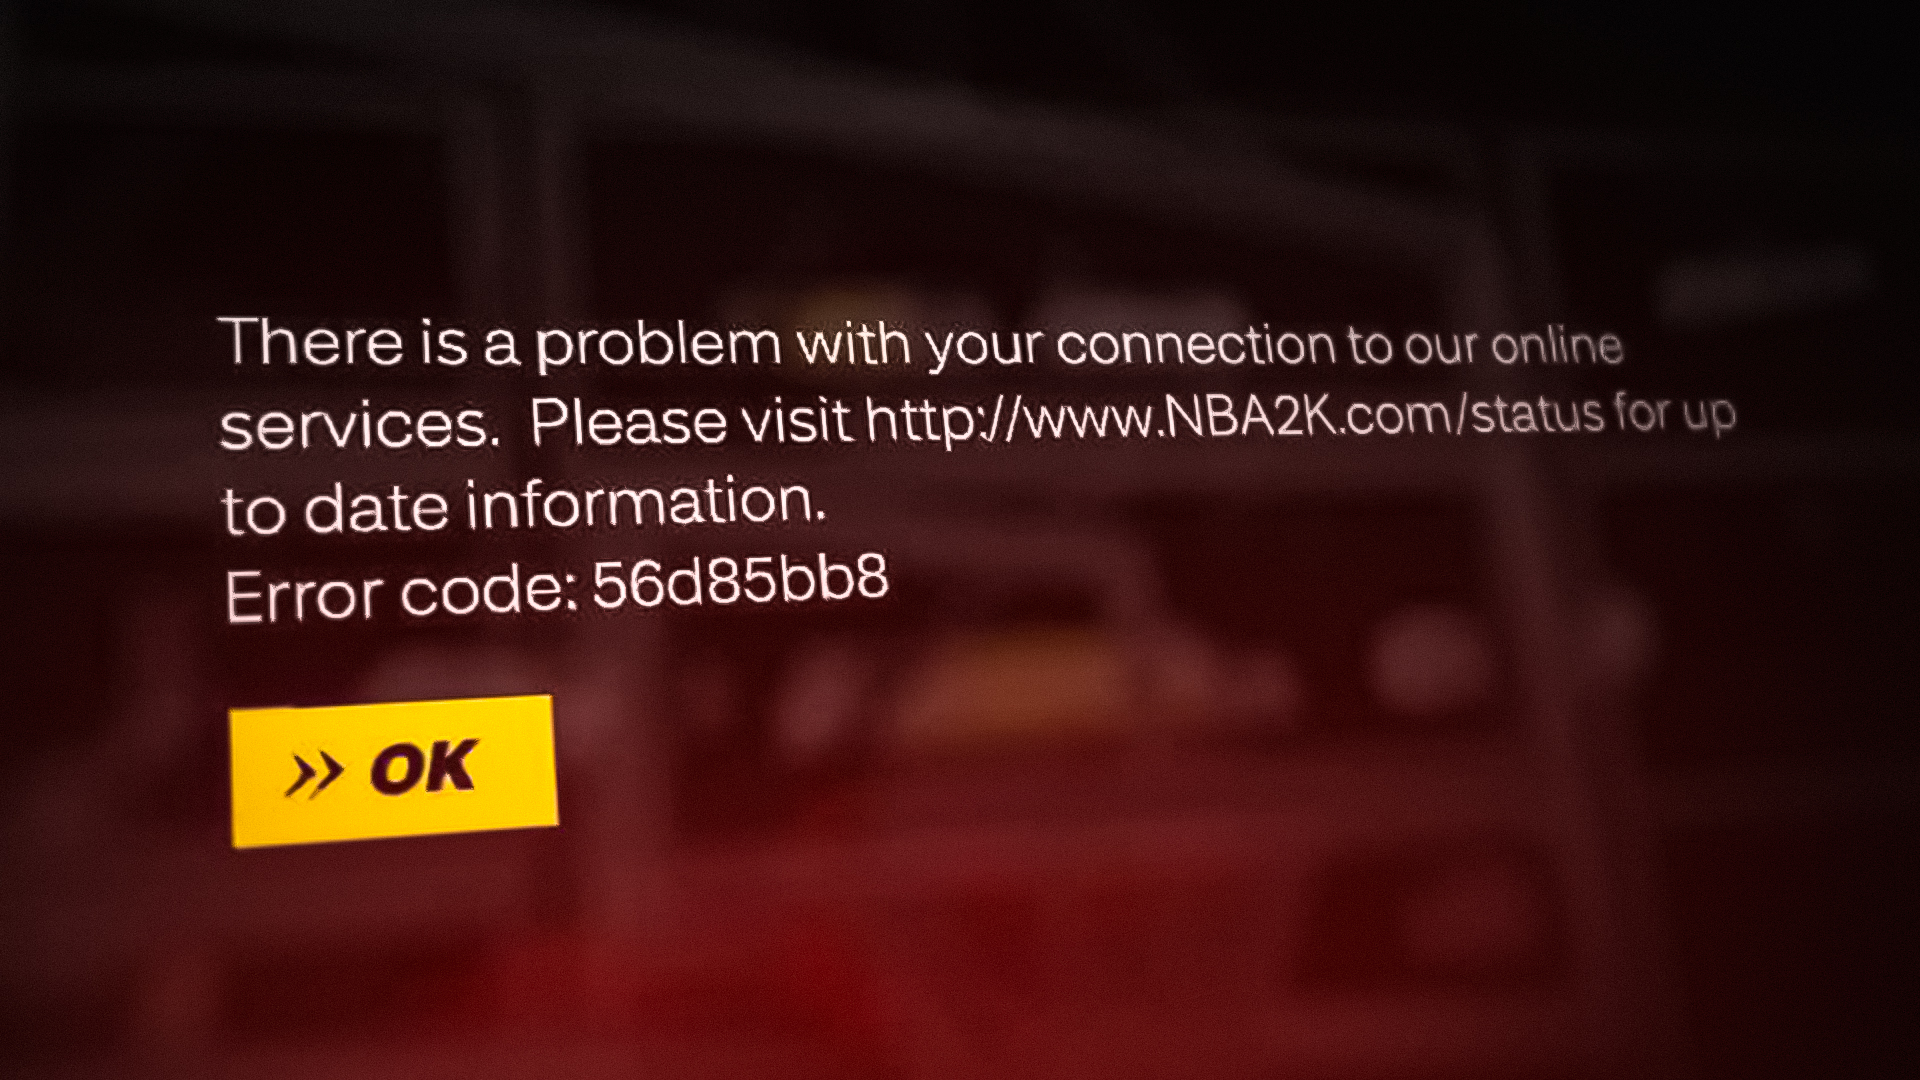
The most frequent cause of this error for most users is having a Dynamic IP Address and not having the necessary Ports Forwarded for their PC/console. This can easily be fixed by changing your IP Address configuration to Static and forwarding the relevant ports. But other than these causes, there are also some other factors which can be the reason behind this error.
To help you figure out what’s causing this error, this guide will walk you through the most common causes of the error and the most effective solution for each cause.
1. Check the Status of the Game Servers
Before you try changing your IP configuration or forwarding any ports, it’s a good idea to check the status of the NBA 2K servers as a prerequisite. The game’s online servers could be experiencing turbulence or may be down for maintenance.
And when the game’s servers are offline or under heavy load, the cause of the error is not on your end – it’s originating from the servers themselves. If this is the case, there’s nothing you can do to fix the error except for waiting. You will need to wait for the servers to come back online.
And once the servers are fixed, the error will go away on its own and you’ll be able to play MyCareer and other online game modes without any issues.
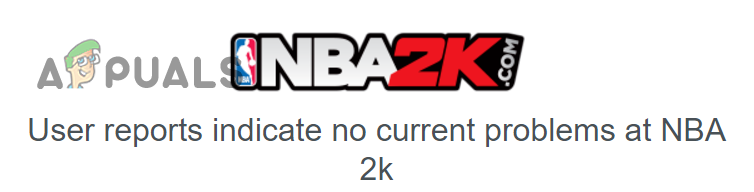
To check whether the servers are functional, simply go to the Downdetector website and search for “NBA 2K“. This website will show you whether other users have also been reporting connection issues.
If the website displays the message “User reports indicate no current problems at NBA 2k”, it means that the servers are completely fine and the error is being caused by an issue on your end. In this case, follow the solutions we’ve listed below to fix the error.
2. Verify the Integrity of Game Files (For PC Users)
If you play NBA 2K on PC, the first solution to this error is to verify the integrity of your game files. One of the most frequent causes of errors in games is corrupted game files. Therefore, verifying your game files can be a quick and easy fix to this error.
To verify your game files, you can use the “Verify the Integrity of Game Files” feature of Steam. Follow the steps listed below to use this feature:
- Launch the Steam App.
- Open your Steam Library.
- Right-click on NBA 2K.
- Select the “Properties” option.
- Navigate to the “Local Files” tab.
- Click on the “Verify integrity of game files…” option.

Verifying Integrity of Game Files through Steam
This file verification process will take a few minutes to complete. After it’s completed it will inform you whether it found and fixed any corruption in NBA 2K’s game files. If you see a message that says “All files successfully validated“, it means that it was unable to find any issues with the game files.
After verifying the game files, launch the game and see if you’re able to connect to the online servers. If you’re still encountering the error, move on to the next solution we’ve listed below.
3. Set a Static IP Address (For Console Users)
According to many user reports on the NBA 2K forums, the most effective solution to this connection error is to assign a Static IP Address for your console (Xbox/PlayStation/Nintendo Switch).
Having a Static IP Address for your console provides many benefits. It’ll allow you to easily forward specific ports (more on that in the next solution) and avoid IP conflicts.
If you have a Dynamic IP Address, your Xbox may get a different IP Address every time it goes online. This often results in IP conflicts, as multiple devices on the same network can acquire the same IP address. These IP Conflicts lead to all types of connectivity errors. Therefore, if you have a Static IP Address, you won’t have to worry about any of these connectivity issues.
3.1 Finding the IP and MAC Address of the Console
To assign a Static IP Address to your console, you’ll first need to find out the IP and MAC Address of the console.
PS4:
- From the dashboard of your PlayStation 4, scroll up to the top navigation bar and select the Settings icon (on the far right).

Opening the Settings menu of your PlayStation 4 - Select the “Network” option.
- Click on “View Connection Status.”
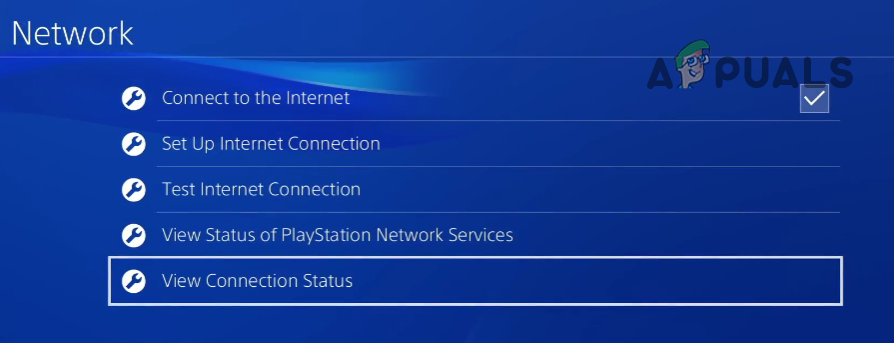
Select the View Connection Status option - Note down the IP Address and MAC Address of the device.
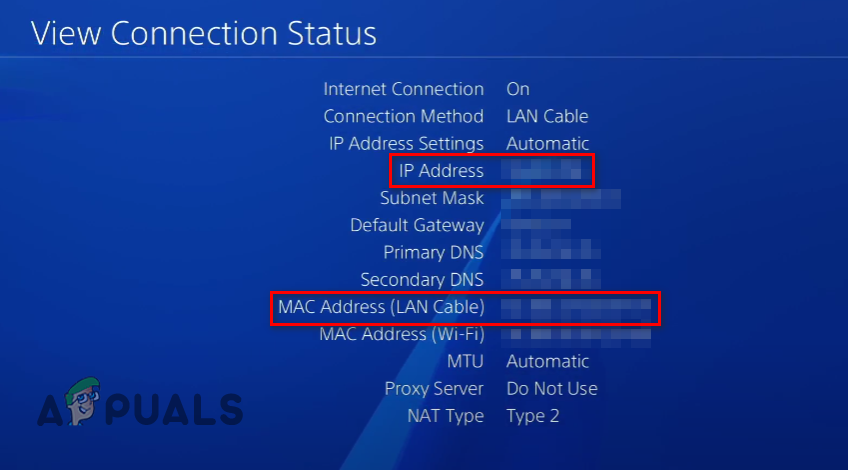
Finding the IP and MAC Address of your PS4
Xbox One:
- From the dashboard of your Xbox One, highlight your account name in the upper-left corner and then press A on your controller.
- Navigate to the gear icon in the far right corner of the menu using your controller’s left analog stick.
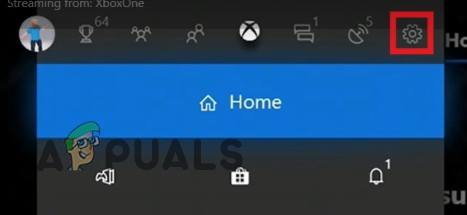
Opening the Settings Menu of your Xbox One - Select the “Settings” option.

Select the Settings option - Scroll down to the “Network” tab and select the “Network Settings” option.
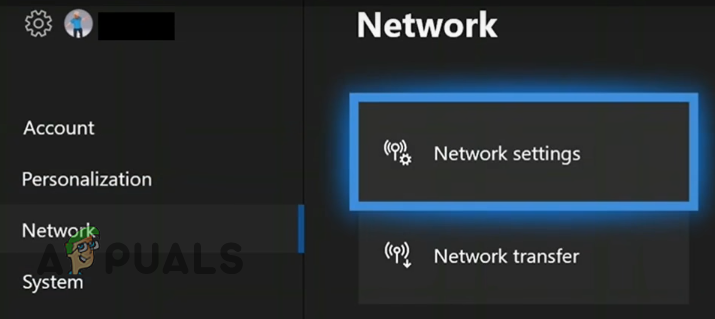
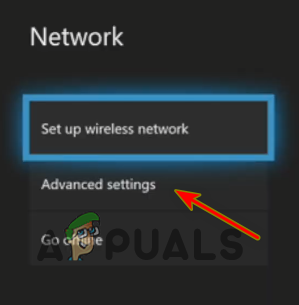
Opening Network Settings of your Xbox One - Scroll down to the “Advanced Settings” tab.

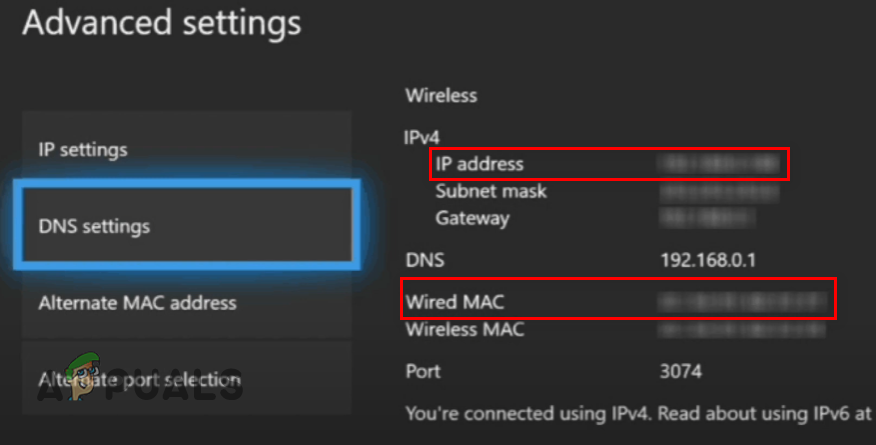
Opening Advanced Settings - Note down the IP Address and MAC Address of the device.
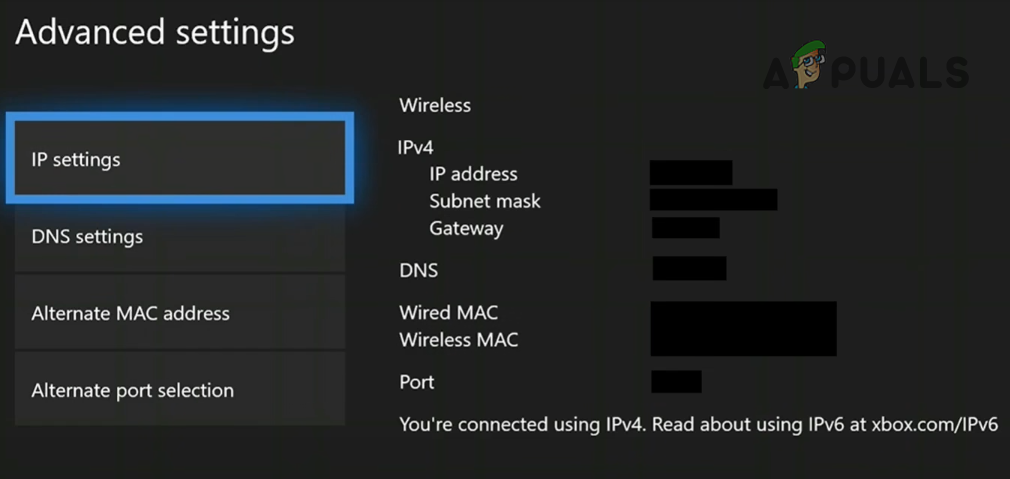
Finding the IP and MAC Address of your Xbox One
PS5:
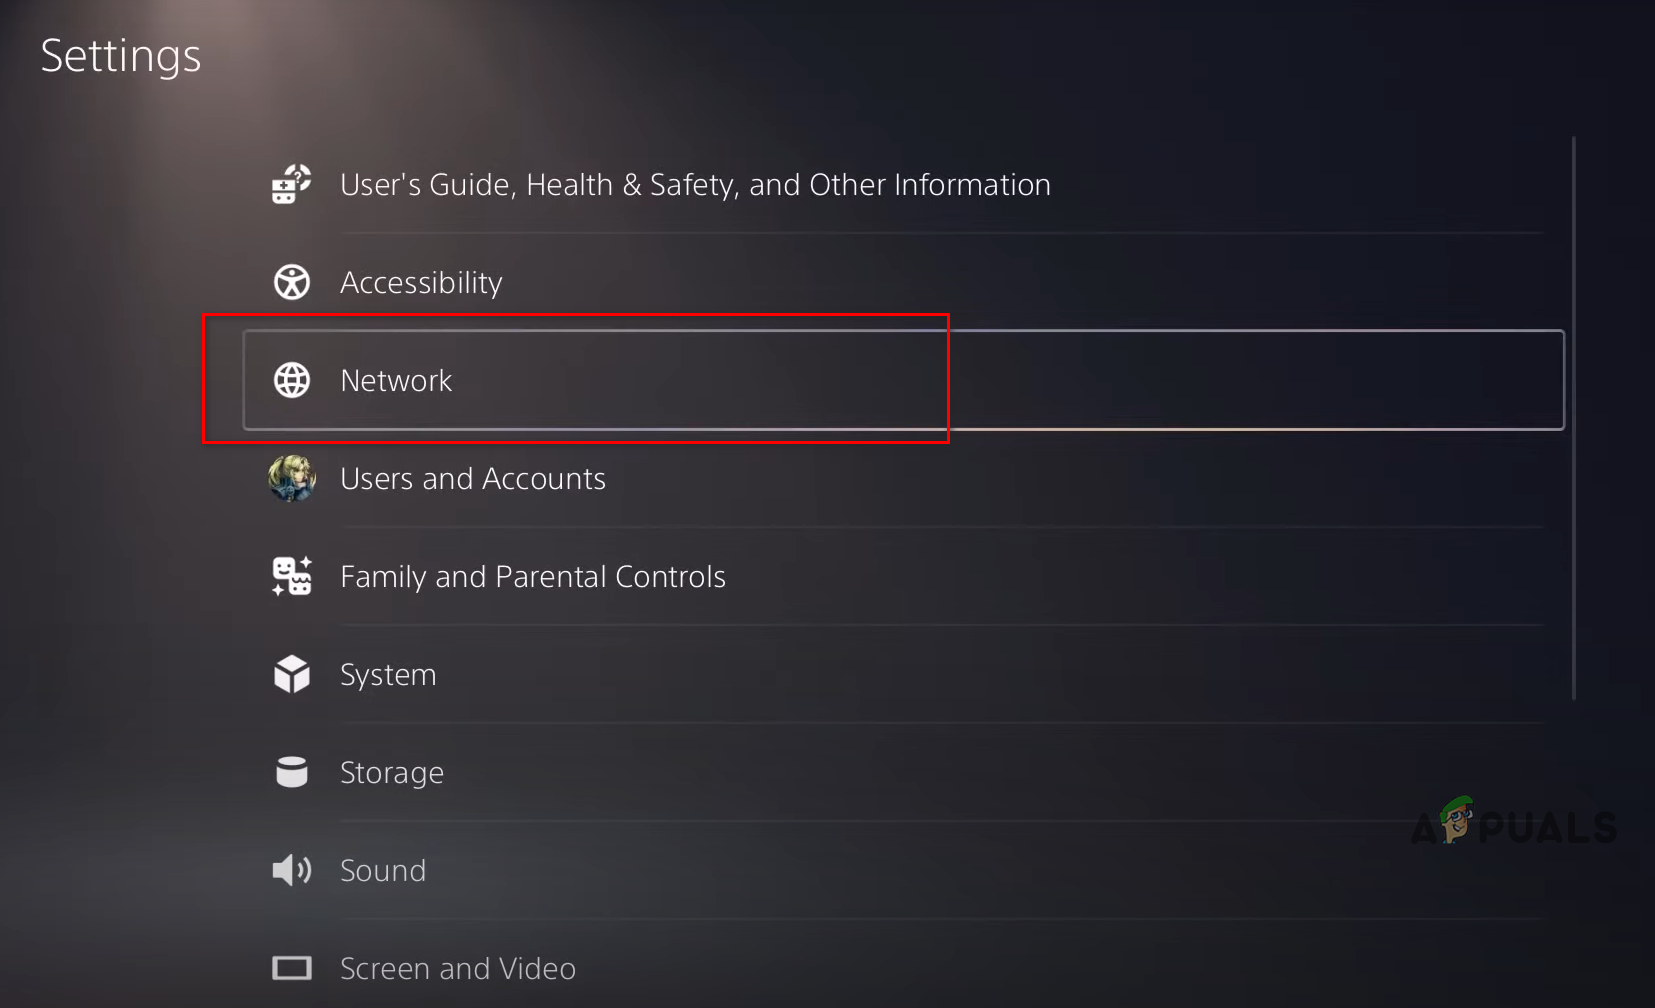
- From the dashboard of your PS5, select the Settings icon in the top-right corner, next to your avatar.
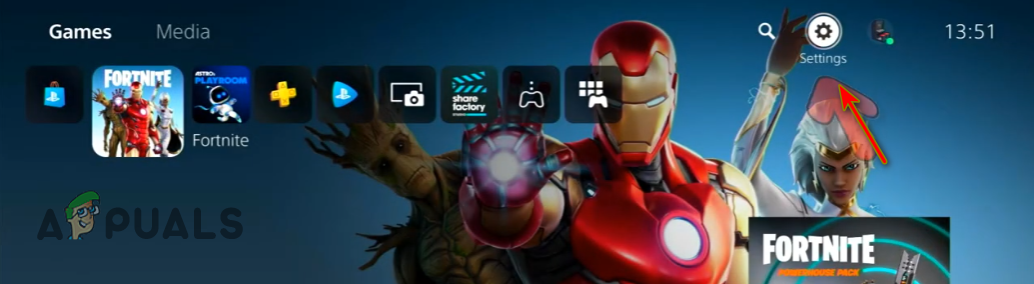
Opening the Settings menu of your PlayStation 5 - In the Settings menu, select the “Network” option.
Opening PS5 Network Settings - In the Network menu, select the “View Connection Status” option.
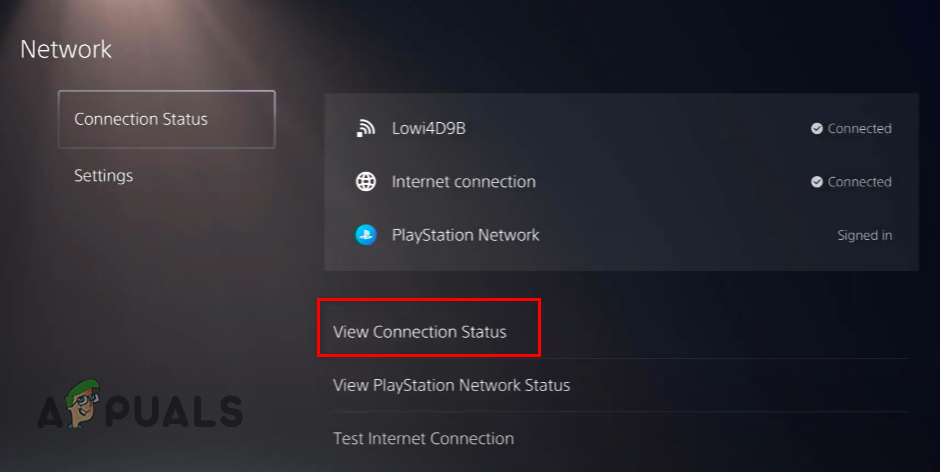
Select View Connection Status - Note down the IP Address (IPv4) and MAC Address of the device.
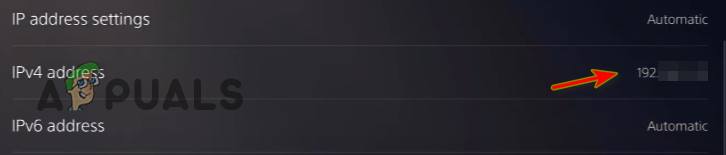
Finding the IP and MAC Address of your PS5
Xbox Series S/X:
- From the dashboard of your Xbox Series S/X, press the Xbox button in the center of your controller.
- In the Profile and System tab, select the “Settings” option.

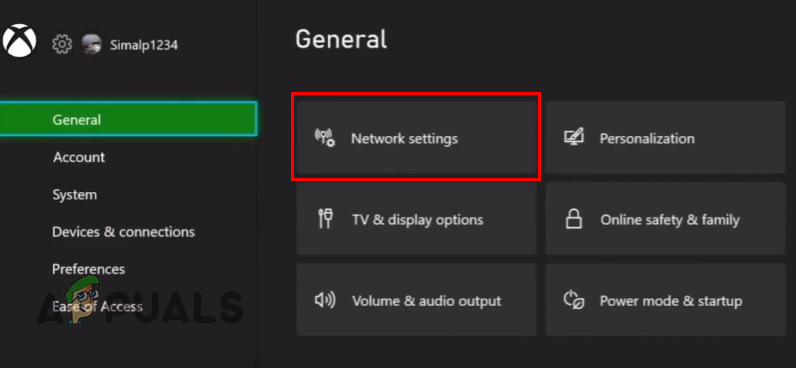
Opening the Settings Menu of your Xbox Series S/X - In the Settings menu, navigate to the “General” tab.
- Click on the “Network Settings” option.
Opening Network Settings of your Xbox S/X - Scroll down to the “Advanced Settings” tab.
Opening Advanced Settings - Note down the IP Address and MAC Address of the device.
Finding the IP and MAC Address of your Xbox Series SX
Nintendo Switch:
- From the dashboard of your Nintendo Switch, click on the gear icon at the bottom of the screen to open System Settings.
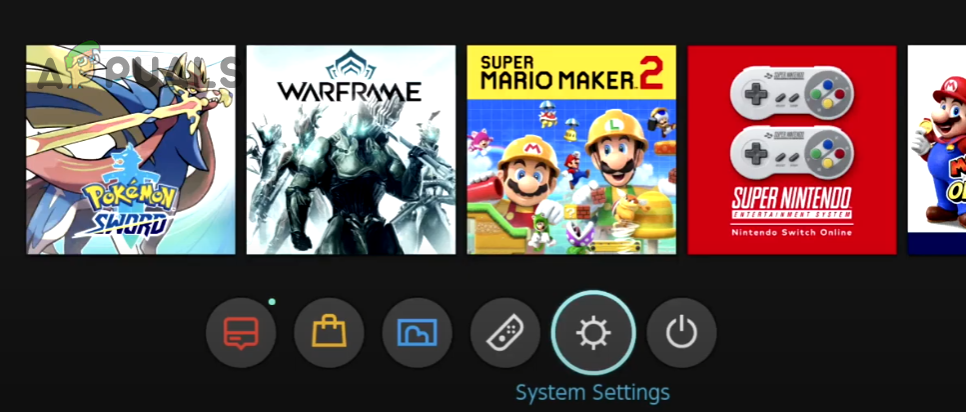
Opening System Settings Menu on your Nintendo Switch - In the System Settings menu, scroll down to the “Internet” tab.
- Note down the IP Address and MAC Address of the device.
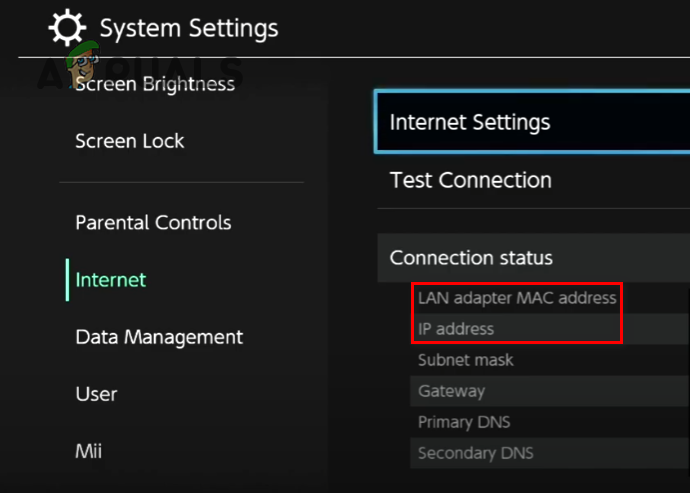
Finding the IP and Mac Address of your Nintendo Switch
Now that you know what your console’s IP and MAC Addresses are, you can assign a static IP to it. To do this, you’ll need to open your router’s settings page. This page can be opened by entering the Default Gateway (IP Address) of your router in a web browser.
3.2 Find the Default Gateway and Login Credentials of your Router
If you don’t know what your router’s Default Gateway is, there’s no need to worry as you can find it out within a few seconds using a computer connected to the router.
Open any PC/laptop that’s connected to the router and follow these steps to find its Default Gateway:
- Press Windows Key + R to open the Run dialog box.
- Type cmd and press enter.
Opening Command Prompt - Type the following command in the Command Prompt Window and press enter:
ipconfig
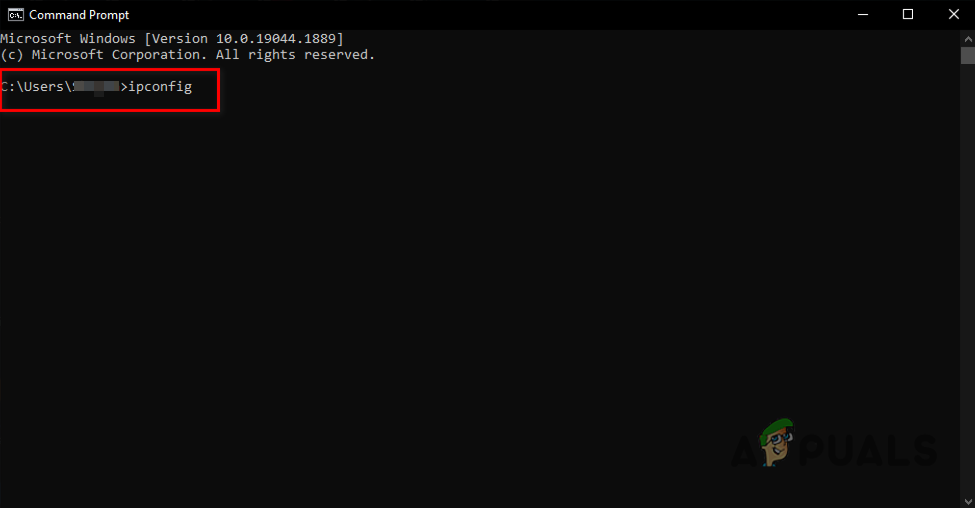
Entering ipconfig command in Command Prompt - Copy the block of numbers listed next to “Default Gateway”.
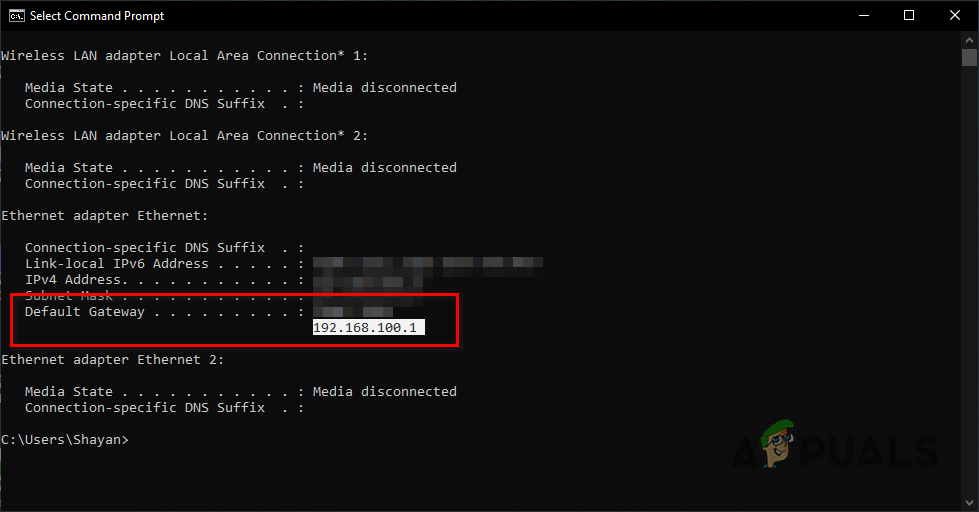
Finding routers IP Address
This is your IP Address. You can now paste this into the search bar of your browser and press enter to open your router’s settings page. Once you’ve opened this page, you’ll have to enter a username and password.
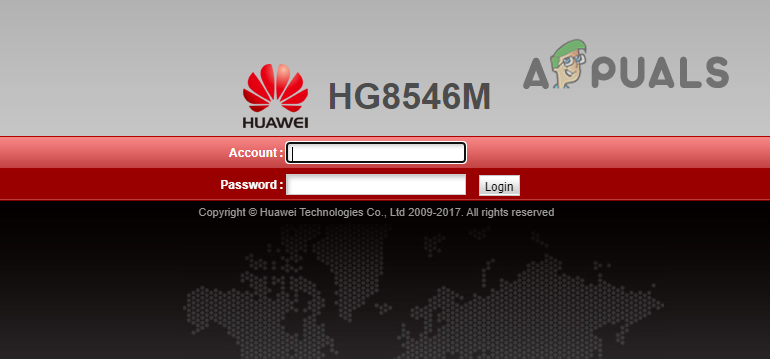
If you don’t know what the username and password of your router are, the first thing to do is to check the back of the router itself. Many Internet Service Providers (ISPs) attach a sticker on the back of their routers which has the device’s username and password written on them.
If there’s no sticker on the back of the router, simply note down the model number of the router and then go back to your computer. In your browser’s search bar, type “(router model number) default Username and Password)” and press enter.
Enter the default username and password you find online into the login page. This has a very high chance of working as many routers come with their factory default login credentials.
But if this doesn’t work either, you will have to contact your Internet Server Provider and ask them to give you the login credentials.
3.3 Assign a Static IP for your Console
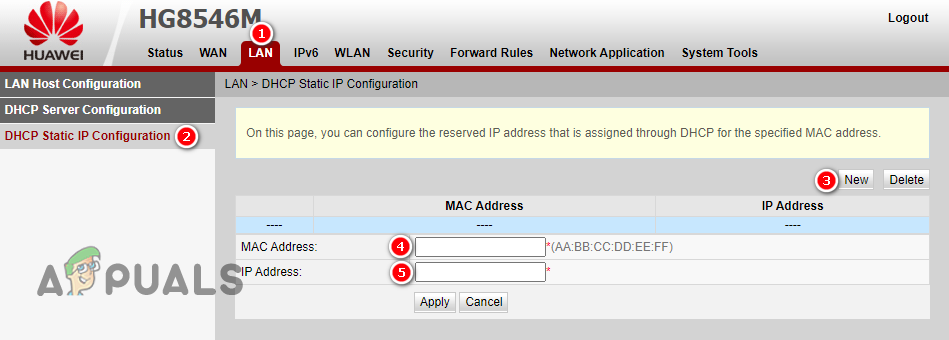
Once you have the username and password, enter them into the login page to open your router’s Settings menu. The setting we are looking for is called “Static IP Configuration”.
Each router model has its own menu layout, so it’s difficult to say where exactly you’ll find this setting. The setting may even have a completely different name in your router’s Settings menu. If you’re having trouble finding it, you can use your router’s manual, or search online to find where this setting is located.
Note: If your router does not allow manual Static IP Configuration, you will have to contact your ISP and ask them to assign the Static IP Address for you.
Once you’ve located the setting, click on the “New” button, enter your console’s IP and MAC Address and press enter. After that, restart both your router and your console.
Once the devices have booted up, you can launch NBA 2K and check whether the error has been resolved. The success rate of this method is very high, meaning it should completely fix the error. However, if you still encounter the error, you can try the next method listed below, which is guaranteed to resolve the issue.
4. Forward Ports for NBA 2K
If assigning a Static IP to your console didn’t fix the error for you, you will have to forward some ports on your router.
If you don’t know what Port Forwarding is, it is a method that allows internet traffic to reach specific devices in a private network. In layman’s terms, it allows your router to direct incoming traffic to a specific device (your console) on your network, instead of just blocking the traffic from coming altogether.
Your router is likely blocking incoming traffic for the specific ports that the game uses. Therefore, Port Forwarding can fix this connection error because it will tell your router to allow incoming traffic instead of blocking it. This will allow you to establish a stable connection to the NBA 2K servers.
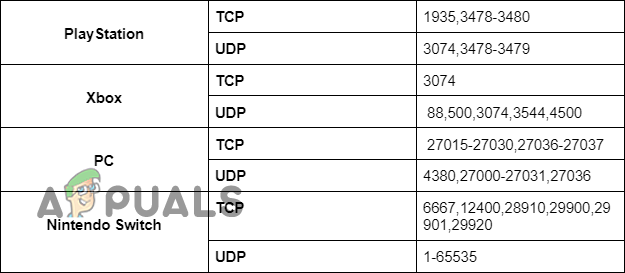
To find out what ports you need to forward for your console, take a look at the table below.
Forwarding Ports is a much more straightforward process than it seems. To forward ports for NBA 2K, follow the steps we’ve written below:
- Open your router’s settings page.
- Navigate to the Port Forwarding Page. It may be called “Port Forwarding”, “Forward Rules”, or “Virtual Server” depending on the router model. Search online for help if you’re unable to find this page.
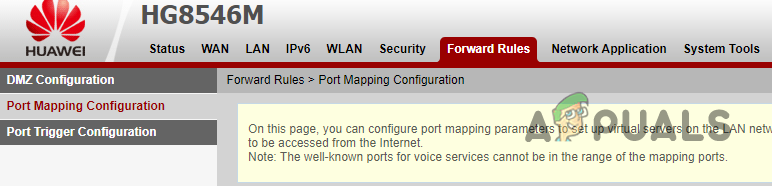
Navigating to the Port Forward menu - Click on the “New” button then select “Add.”
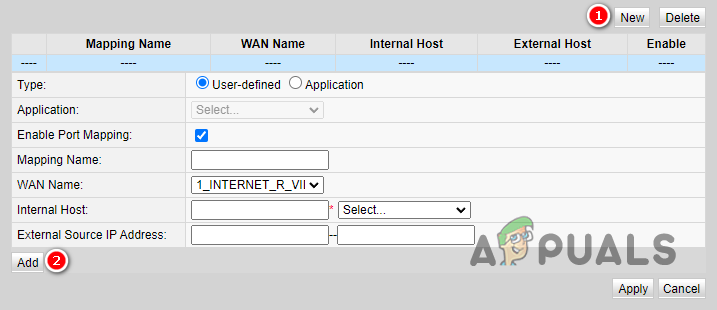
Adding new Ports - Enter “NBA 2K” as the name of the ports you’re about to add.
- In the “Internal Host” section (name may change depending on router model), add your console’s IP Address.
- In Protocol, select “TCP” first, then type its respective ports in both the “Internal port number” and “External port number” sections (names may change depending on the router model).
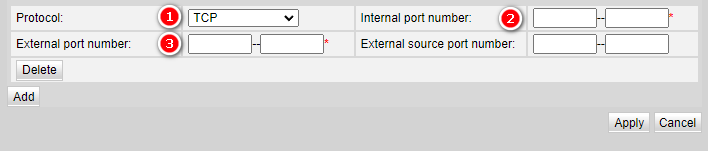
Entering the Ports for the game - Click on the “Add” button again and select “UDP” as Protocol this time, then type its respective ports.
- In this way, add all the necessary ports for your console.
- Click on the “Apply” or “Save” button to save all your ports.
Note: If you get confused at any step of this process or are unable to find the settings/options mentioned in the steps, look for help online. And if your router model does not allow manual Port Forwarding, you will have to contact your ISP and tell them to do it for you.
After you’ve forwarded all the necessary ports for the game, restart both your router and console. After that, launch NBA 2K and enjoy an error-free online experience.
5. Reinstall NBA 2K
If none of the solutions above have resolved the connection error for you, the final solution is to do a fresh install of the game.
There could be some corruption deep within your game files that are preventing your game from working properly. Corrupt game files are usually a result of an unstable internet connection during the installation process. A fresh install of the game would ensure that there are no corrupt game files.
If you’re playing on a console, simply press the Options button on your console while hovering over the game’s icon and select the “Delete” option to uninstall the game. You can then re-install the game the same way you originally installed it on the system.
If you’re playing on PC, follow these steps to uninstall the game:
- Press Windows Key + I at the same time to open the Windows Settings menu.
- Select “Apps.”
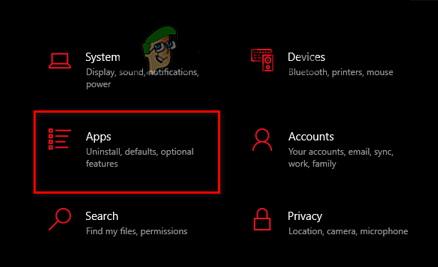
Opening the Apps menu - Type NBA 2K in the search bar of the Apps menu.
- Select NBA 2K and click on the Uninstall button.
After uninstalling the game from your system, you can reinstall it from Steam.
This should finally solve the connection problem.


