How to Manage DHCP Scopes running out of IP Addresses?
Every single device in a network has an IP address. It enables them to access the internet and communicate over the network. This includes sending over data to the other devices in the network as well as communicating with the web servers. Without an IP address, the web server would not know where to send the information or where it came from. The IP address is like the identification of a device with the help of which other devices know who is communicating with them. The internet is evolving and many more devices are having the capability of communicating over the internet. This ultimately involves having to assign more and more IP addresses to the devices in a network.
Manual assignment of IP addresses is fine as long as you have to do it for specific devices and not every single device available in the network. That way, the task would become just a nightmare, to be honest. This is because you will have to keep track of the devices that you have assigned IP addresses to and those which are still awaiting. That is why, there are two standards that are responsible for assignment of the IP addresses. These two standards automate the process so that network admins do not have to worry about the assignment. Dynamic Host Configuration Protocol or DHCP is a protocol that automates the process of IP address assignment. Whenever a device in a network needs an IP address, it contacts the DHCP server in the network and thus an available IP address is assigned to the specific device.
What is DHCP Scope Monitor?
DHCP Scope Monitor is a tool that comes in the Engineers Toolset by Solarwinds using which you can poll DHCP servers to find out the scopes that are running out of IP addresses. With the help of DHCP Scope Monitor, you will also be able to view the assigned and unassigned IP addresses of each server so you have a grasp over the IP address allocation.
Why to Monitor DHCP Scopes?
Where do these DHCP servers save the provided IP addresses ranges, you may ask. The answer is pretty simple, these DHCP servers have what are called scopes that are basically a range of available IP addresses for assignment. So, whenever a device requires an IP address, the said IP address is taken from the DHCP scope and assigned to the device. DHCP scopes determine which IP addresses are allocated to the DHCP clients.
Now, eventually the range of IP addresses provided to a DHCP scope is going to run out of the addresses as more devices request an IP address. Once the scopes are empty, the automated process will stop and your network devices will not be able to communicate with each other. Therefore, it is important for a network administrator to monitor the DHCP scopes so that this can be avoided. We will be showing you how to do this in this guide, so just follow along.
Downloading the DHCP Scopes Monitor
Developed by Solarwinds ETS/DHCP Scopes Monitor (download here) is a network software that comes with over 60 tools that can be used in troubleshooting errors, diagnostics, monitoring your network as well as managing it, along with tools that help in log management and more.
We’ll be using the toolset for this guide so will have to download it from the link provided and install it on your system. Bear in mind, Solarwinds provide a 14 day fully functional evaluation period during which you can use the tool and make up your mind.
With features like automated network discovery, you can use an array of network tools including Switch Port Mapper and more along with having the ability of tracking device availability, memory utilization etc.
Steps to Configure DHCP Scopes
To manage your DHCP scopes and to know which scopes are running on IP addresses, we’ll be using the DHCP Scope Monitor. The process is pretty simple and you have the results in mere minutes. Here’s how to do this:
- First of all, open up the Engineers Toolset Launch Pad by searching for it in the Start Menu.
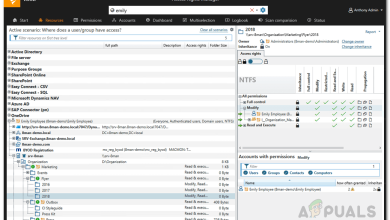
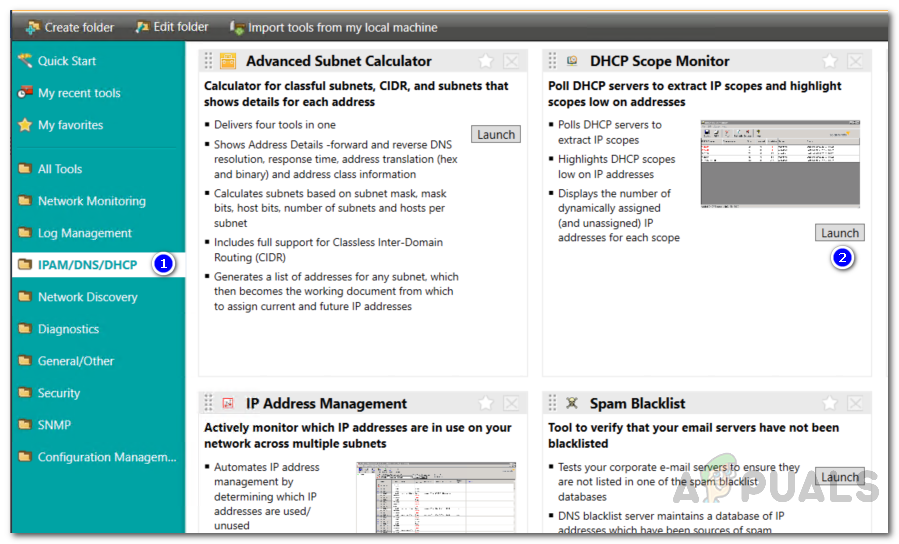
- After that, once it has loaded, go to the IPAM/DNS/DHCP option on the left-hand side and then click the Launch button for the DHCP Scope Monitor tool.
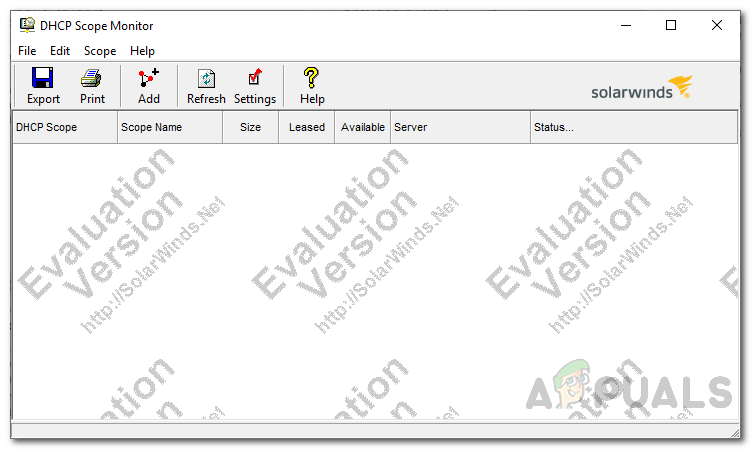
Launching DHCP Scope Monitor - This will open up the DHCP Scope Monitor tool. To add a DHCP scope, click on the Add button. The Add DHCP Scope window pops up.
- Provide the IP address of the DHCP scope that you wish to scan and then follow it up with the Simple Network Management Protocol (SNMP) community string. You can also add SNMP v3 credentials using the Add button provided.
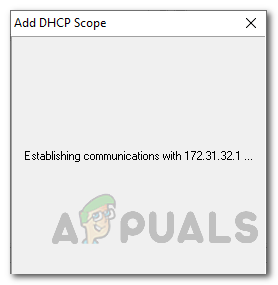
- Once you have filled out the fields, click the OK button to add your DHCP Scope. The tool will try to establish a connection with the scope.
Adding a Scope - On the table, you will be shown the information you wish to see that includes the IP addresses assigned and the number of IP addresses left in the DHCP Scope.
- For further configuration, you can choose to change the polling period as well as have alerts when a specific number of IP addresses or less are left.
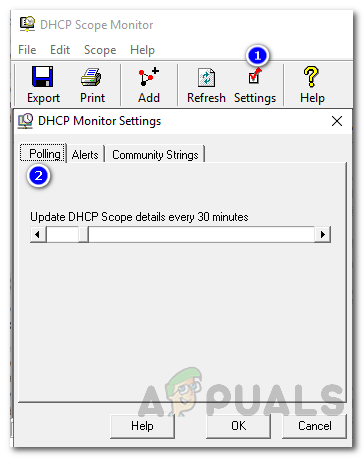
- To do this, click on the Settings button in the bar provided.
- On the Polling tab, provide the period after which the DHCP Scope should be polled. The default value is set to 30 minutes. You can decrease or increase it per your requirement.
Adjusting Polling Period - To get alerts, go to the Alerts tab on the DHCP Scope Monitor Settings window.
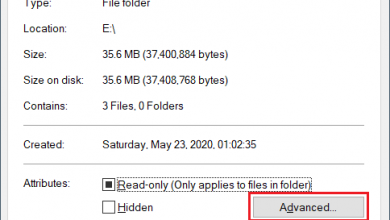
- Adjust the number of IP addresses left for the status to be critical. By default, the tool has a value of 5. That means, if there are 5 or less than 5 IP addresses left in the DHCP scope, the status will be critical which can be seen under the Status column.
- Finally, you can choose to add Community Strings so that they are saved for future use using the Community Strings tab.
- If you wish, you can poll the scopes manually at any time using the Refresh button provided.
- Also, you can export the scan results to a number of file formats provided by clicking the Export button.
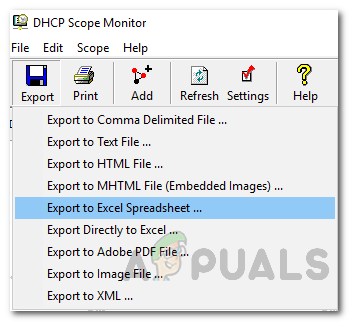
Export Formats