Make Windows 11 Taskbar Look Like macOS Dock?
How to Customize Windows 11 Taskbar To Look Like macOS Dock?
While Windows 11 has been available for a while now in the Insiders Preview, the first stable release has been made available to everyone recently. Now, the operating system, in general, has a lot of bugs to fix as of now but they are not major issues and won’t hinder your day-to-day activities. One thing that had everyone excited about the new Windows 11 is the feature of moving your taskbar icons to the center. The general opinion on this goes both ways, some people really like it while others are not so fond of it. Fortunately, those that do not appreciate the centered icons, they can still go back to the left-aligned icons.
As it turns out, with the center icons, Windows 11 has given itself more of a macOS look. While it is not completely the same, for obvious reasons, it isn’t way far off as well. Due to this, users are now able to change their taskbar to look like the macOS dock. Now, there were ways you could make the Windows 10 taskbar like the macOS dock as well, however, that required more effort than it does now. With the new Windows 11, you will be able to replicate the macOS dock look on your Windows machine in just a few minutes and it looks really good.
In this article, we will be taking you through this process and showing you how to customize your Windows 11 taskbar to look like a macOS dock. As it turns out, there are multiple ways that you can achieve this on Windows 11 as well, however, we would be showing the easiest way to do this. On top of that, it won’t eat away your resources in the background either so you can really enjoy the whole macOS feel without giving away much in the resources department. With that said, let us get started without any further delay.
Download RoundedTB
As it turns out, in order to give your taskbar the macOS dock look, you will first have to download a utility that will make your taskbar rounded. In addition to that, there are plenty more features that you can take advantage of using the RoundedTB utility. For example, it allows you to change the margins of your taskbar as per your liking. On top of that, there is a dynamic mode that restricts your taskbar to only the icons that are added as well as the system tray towards the end. This means that you won’t be seeing the whole taskbar lines like you normally do. Now, enough with that and it is time we show you how to get it, so let us get started.
- There are actually two ways you can get RoundedTB on your computer.
- The first and easiest way would be to get it through the Microsoft Store by clicking here. This also gives you the advantage of auto-updates so the utility will be automatically updated.
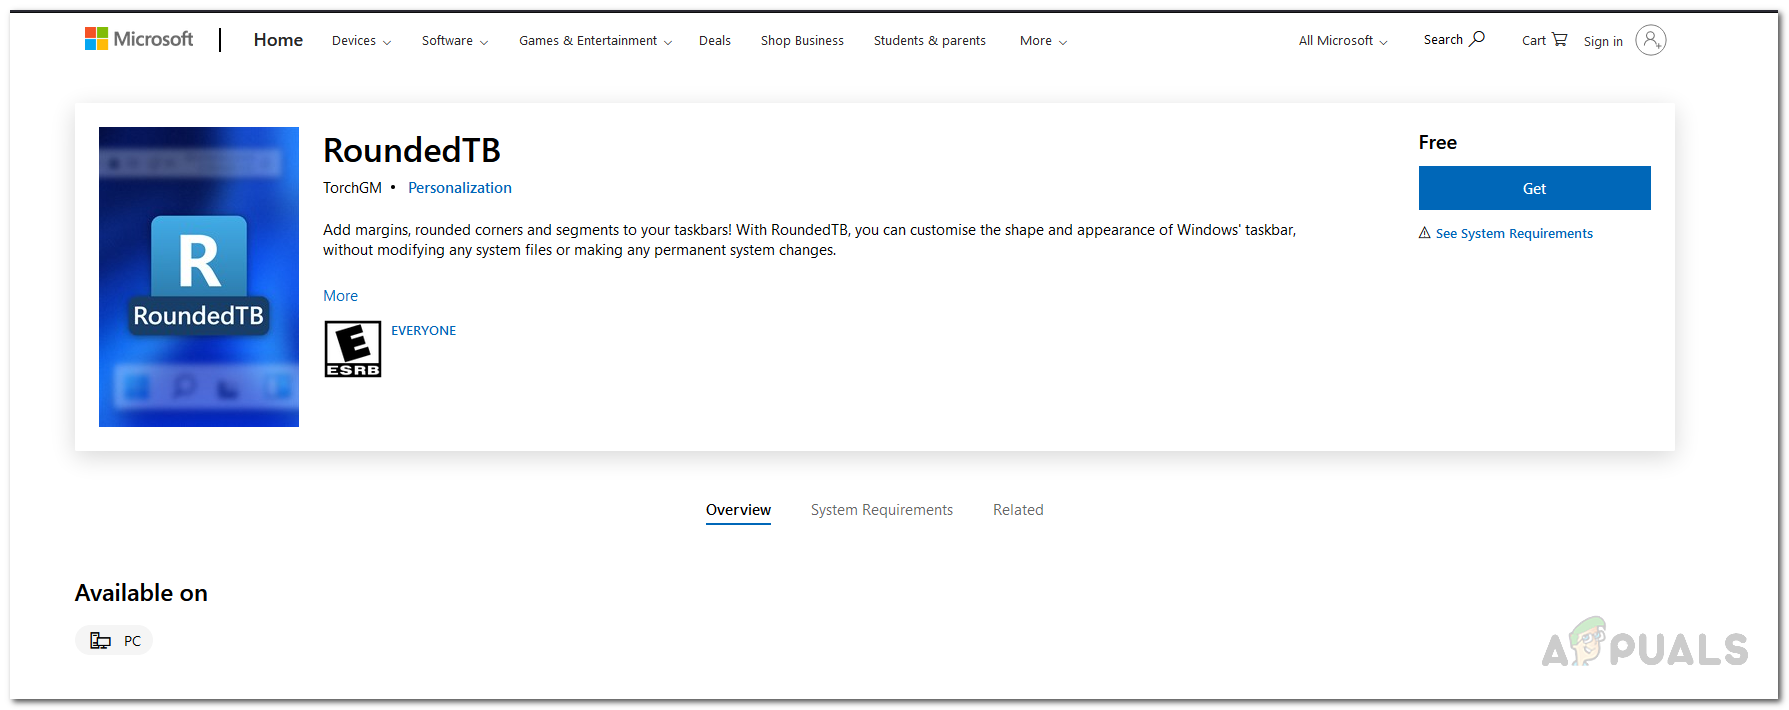
RoundedTB on Microsoft Store - Another way you can get the utility is by downloading it from the GitHub repository. To do that, head to this link here. Then, scroll down and click the RoundedTB_R3.zip file to download it.
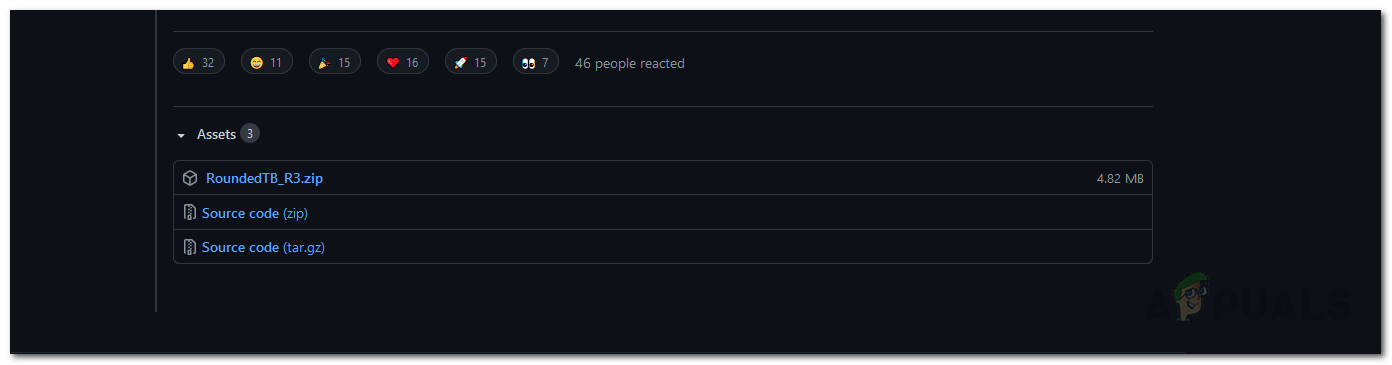
Downloading RoundedTB from GitHub - Once you have downloaded it, go ahead and extract it to a favorable location. We would recommend creating a folder in your system drive and then extracting it there.
- After that, navigate to the directory where you extracted the utility and double click the RoundedTB.exe file.
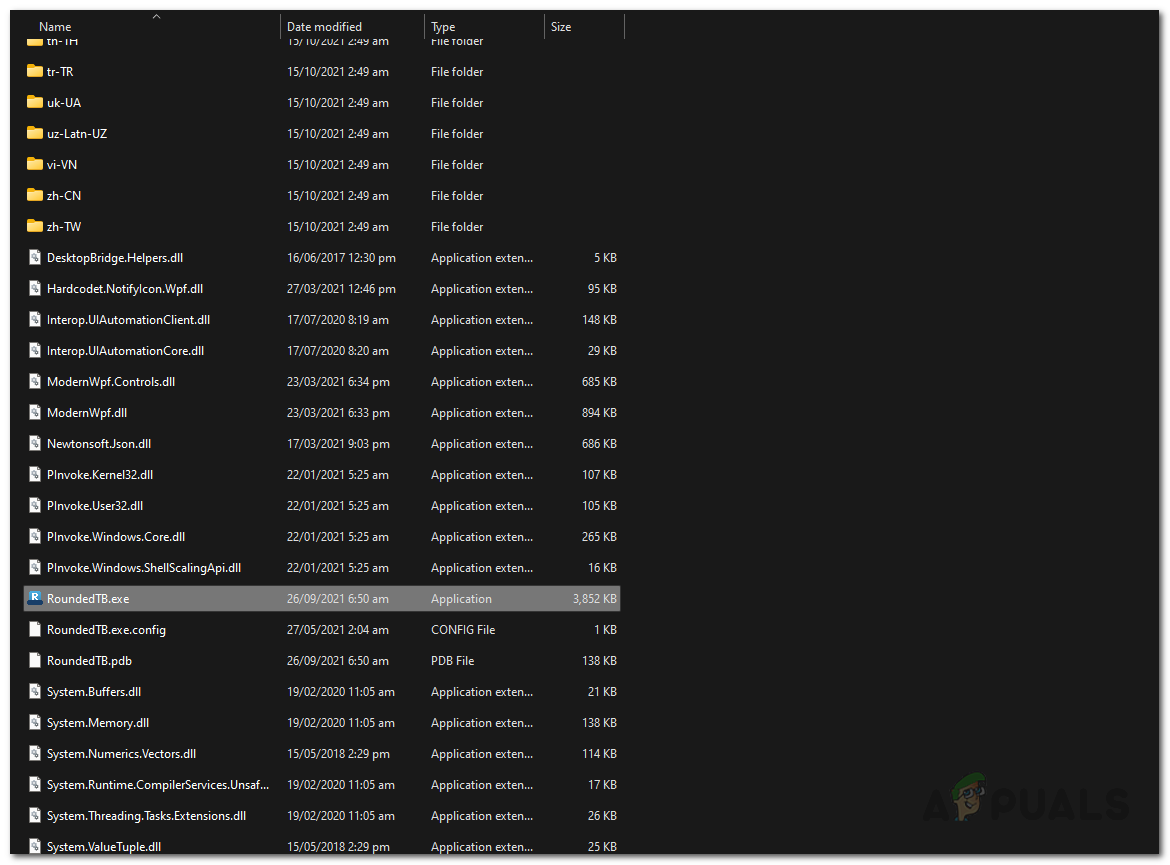
Running RoundedTB.exe - On the Windows-protected your PC pop up, click the Yes button. Do not worry, the utility is completely safe to use.
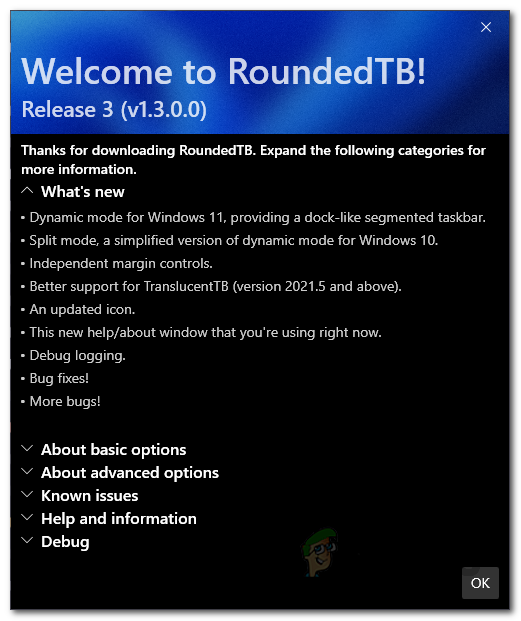
- At first, you will be shown the welcome page of RoundedTB. Click the OK button.
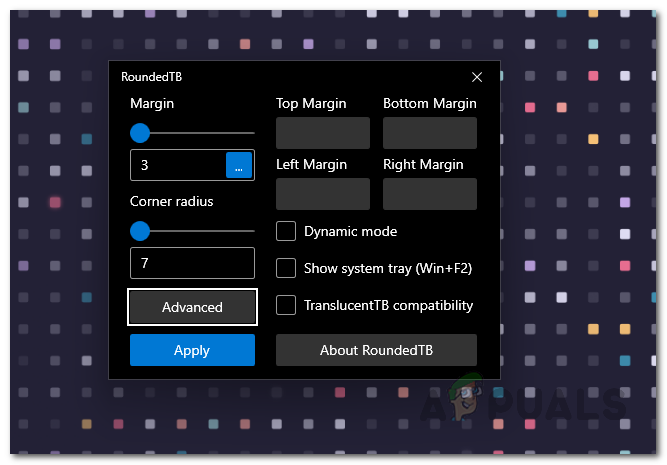
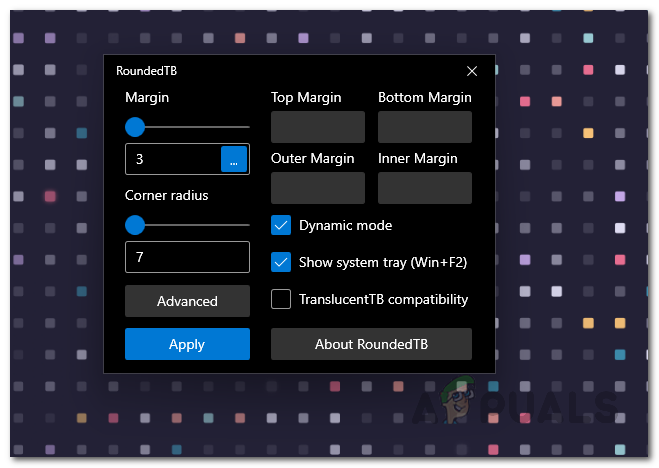
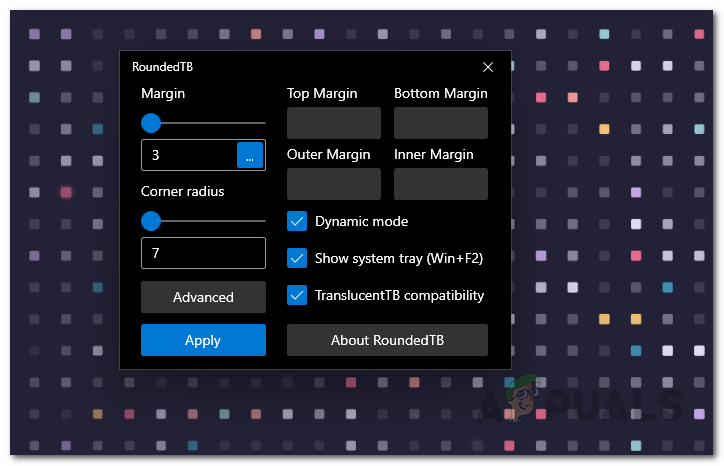
RoundedTB Welcome Page - After that, the RoundedTB application should appear. Here, you can adjust the margin and corner radius per your desire.
- Click on the Advanced button to reveal more options.

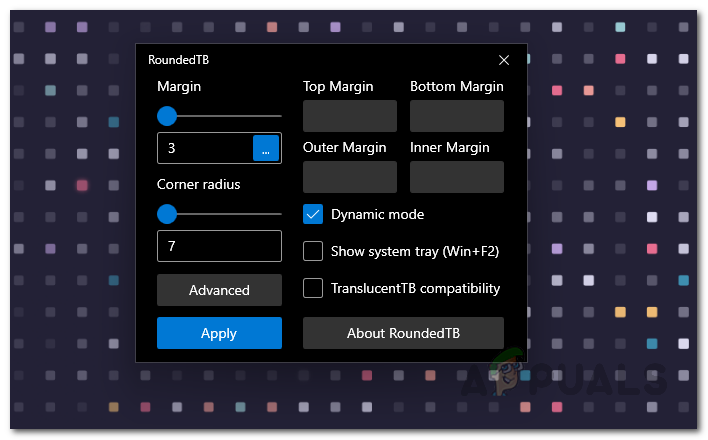
RoundedTB - Once you do that, you will be able to even more specifically provide the margins that you would like to use.
RoundedTB Advanced Options - Now, to get rid of the full taskbar, click the Dynamic mode option.
Enabling Dynamic Mode - It may not work properly at first but don’t worry, there’s an easy fix.
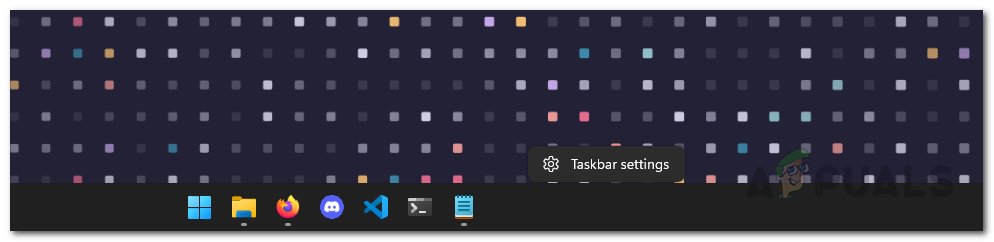
- To fix the taskbar in case it bugs out as shown above, right-click on the taskbar and click the Taskbar settings option.
Opening up Taskbar Settings - Scroll down and expand the Taskbar behaviors option.
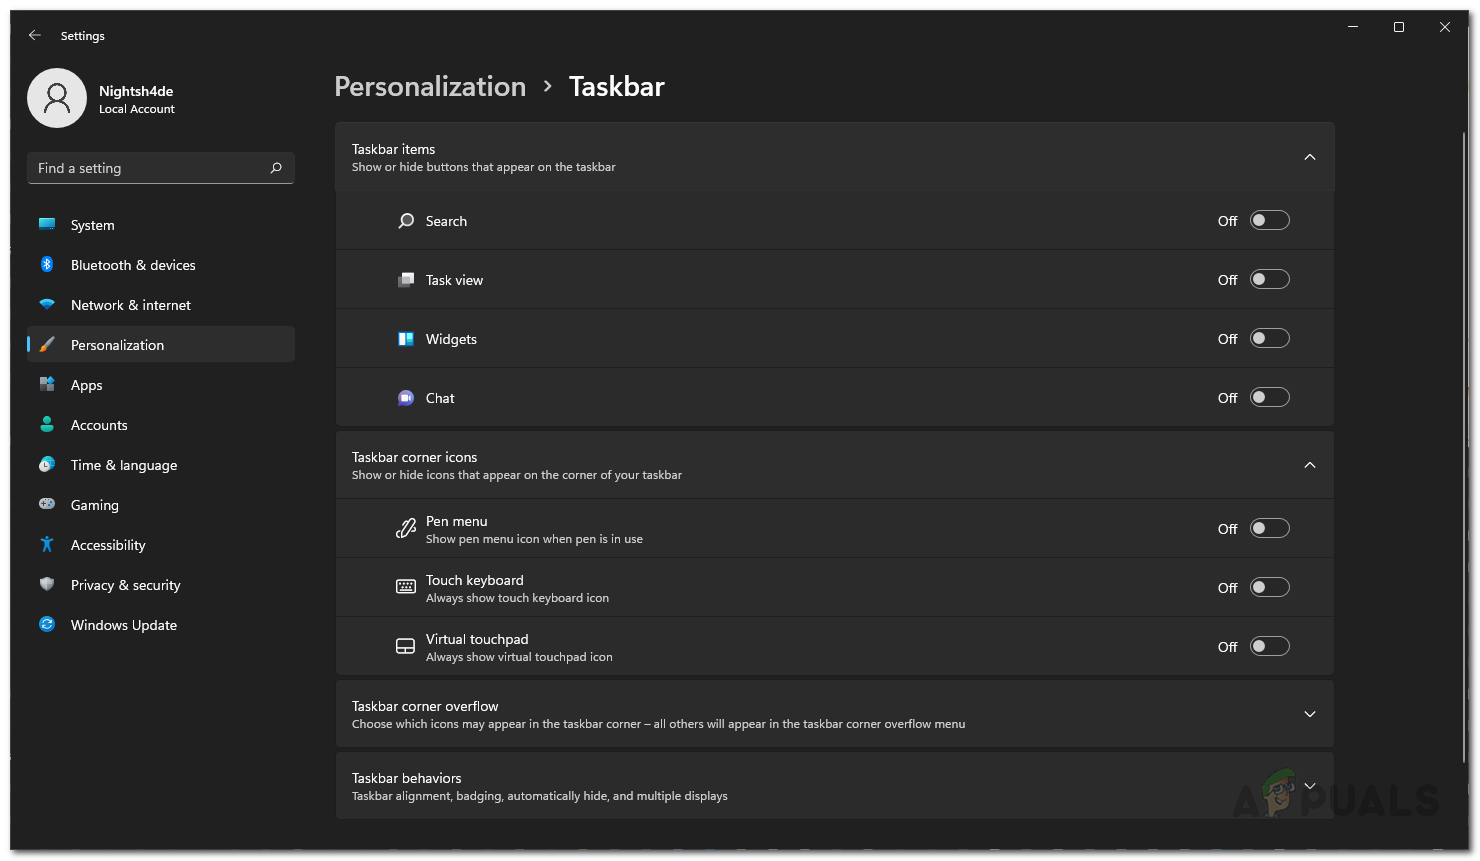
Taskbar Settings - Now, change the Taskbar alignment from Center to Left. After that, change it back from Left to Center.
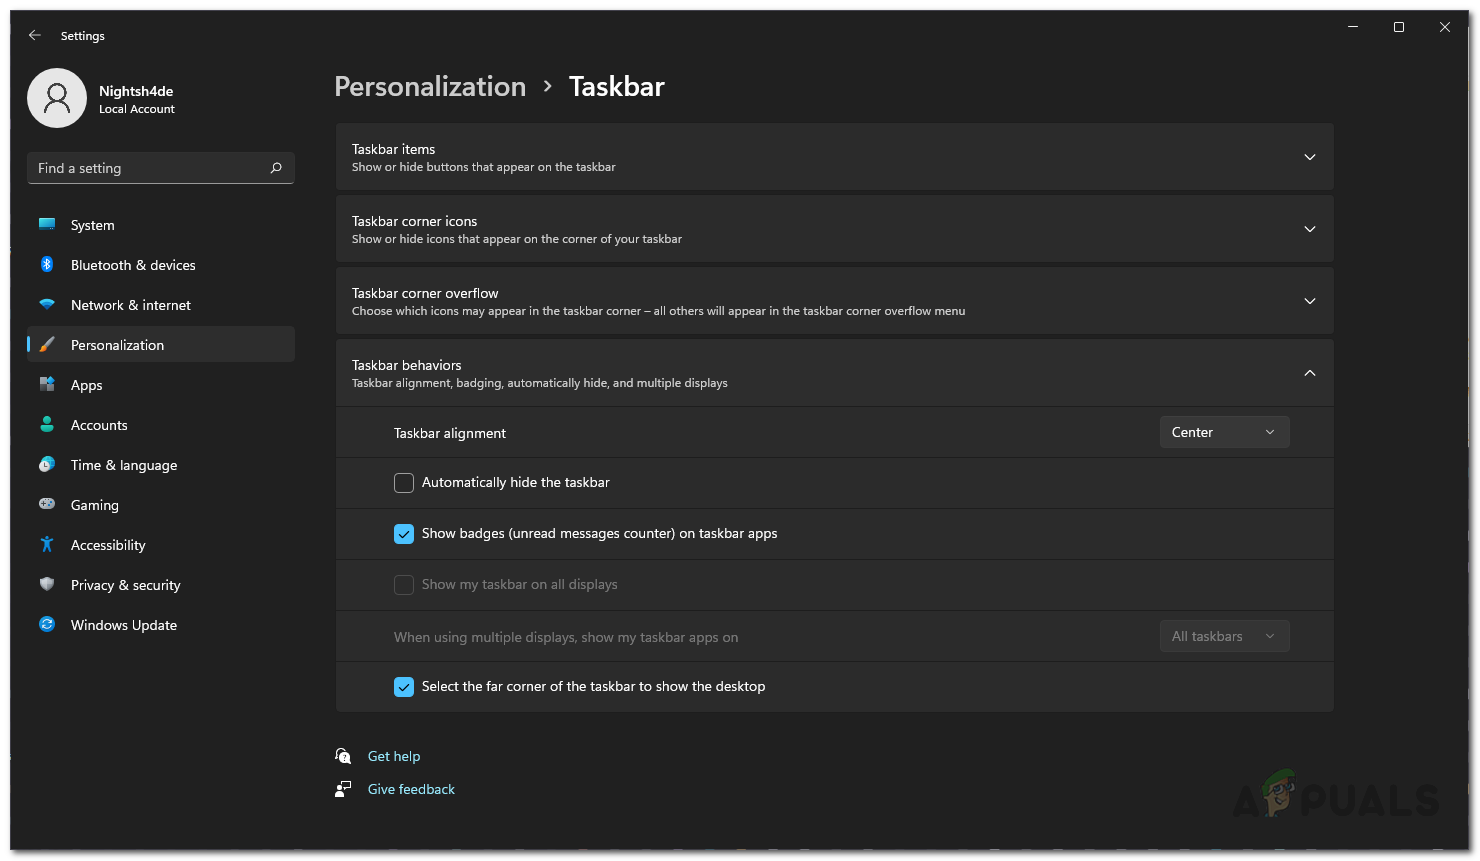
Changing Taskbar Alignment - Once you do that, the taskbar should now work properly. In case you wish to see the system tray includes the clock and other information, click on the Show system tray option in RoundedTB.
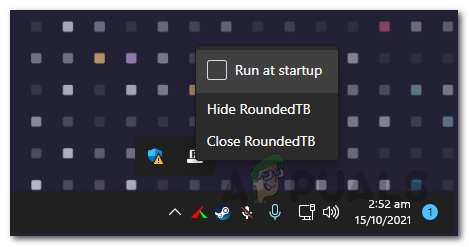
Enabling System Tray - After that, we have to make sure that the RoundedTB utility runs at startup. To do that, click on the upper arrow on your system tray and right-click on RoundedTB. From the menu that appears, make sure that the Run at startup checkbox is ticked.
Running RoundedTB at Startup - Finally, on RoundedTB, click the Translucent compatibility checkbox. With that done, we are ready to move on.
Enabling Transcluent Compatibility
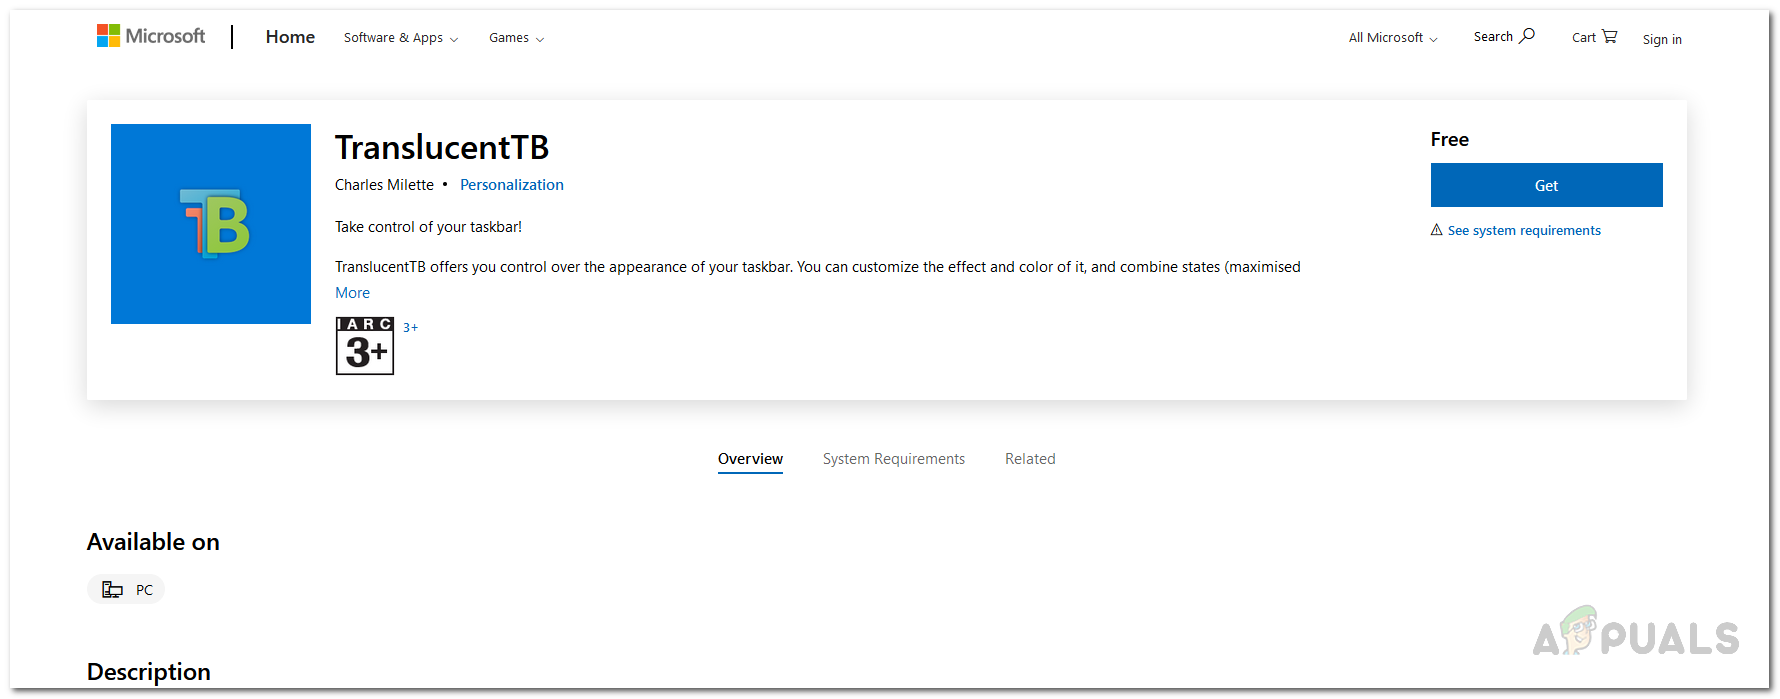
Download TranslucentTB
As the name suggests, TranslucentTB is basically a utility that makes your taskbar transparent or translucent which gives you more of the macOS feel. In addition to that, the utility only utilized a few MBs of RAM in the background and almost no CPU at all so it isn’t resource hungry as well. To download the utility, follow the instructions down below:
- The easiest way you can download TranslucentTB is through the Microsoft Store. Like the RoundedTB, this gives you auto updates so you don’t have to worry about updating it. Click this link here to get it on Microsoft Store.
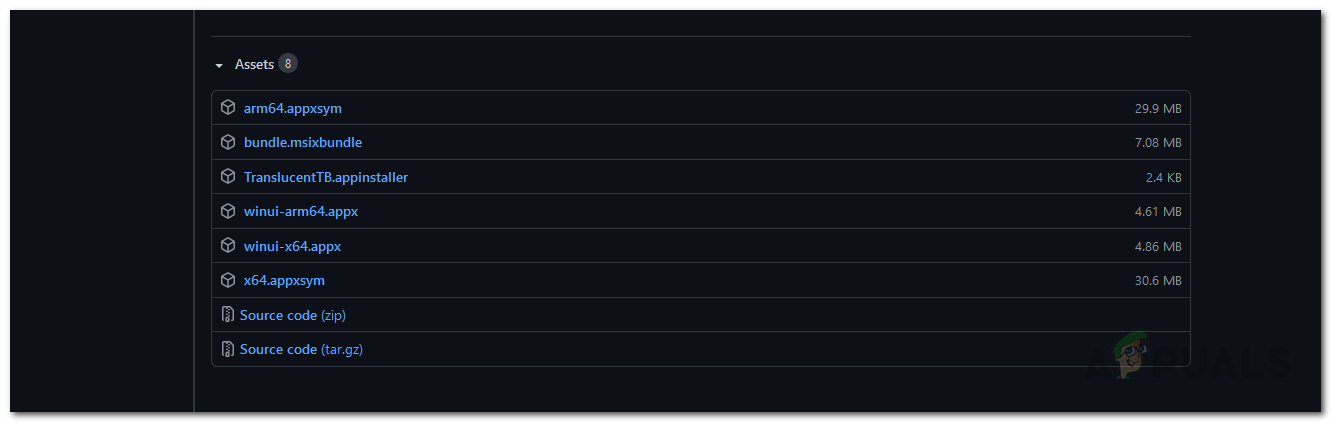
TranscluentTB on Microsoft Store - Alternatively, you can also use the GitHub repository to manually download the utility. Click this link here and download the TranslucentTB.appinstaller file.
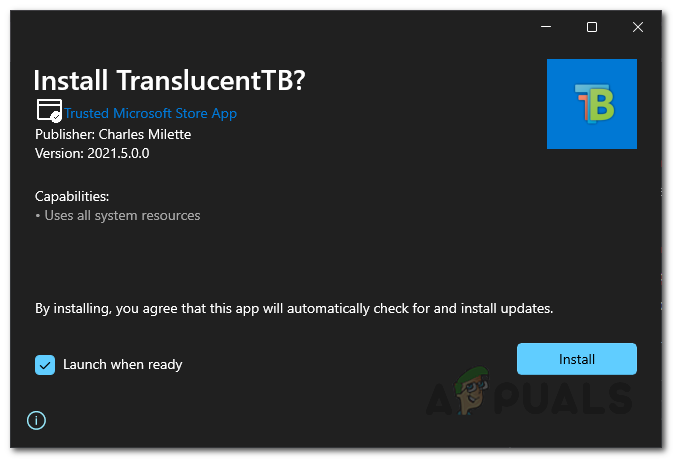
Downloading TranscluentTB from GitHub - Launch the installer file and on the pop up that appears, click the Install button.
Installing TranslucentTB - Once the install is complete, you will be shown the welcome screen of TranslucentTB. Click the Continue button.
- The moment you do that, the taskbar will become translucent. If you don’t like this, you can easily change it.
- Right-click on the TranslucentTB icon on your taskbar, and go to Display. There, you can choose how your taskbar looks.
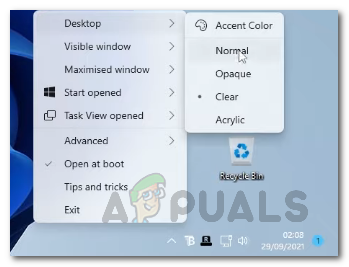
TranscluentTB Menu - Also, make sure that the Open at boot option is ticked.
- In addition to that, it allows you to change how the taskbar looks when the Start Menu is opened, when a window is maximized and more. Go through the settings to adjust it per your liking.
- Once you have done all of that, you are officially done. You have now made your taskbar look like the macOS dock.


Great!! really helpful article for me. Now the taskbar in my Windows 11 looking awesome like mac