How to Customize the Touch Keyboard on Windows 11
If you’re a fan of the Touch keyboard present on Windows 11 and you’re looking for training on personalizing and customizing it using the built-in options, we got you covered. To be fair, Windows 11 takes things forward allowing even more customizable elements than before.
Windows 11 makes it easy to adjust the theme of your touch keyboard, the keyboard size, and the key test size among other customizing options.
But before you’ll get busy customizing your Windows 11 touch keyboard, you might want to take the time and pin the touch keyboard to your taskbar. This is super helpful if you’re planning on using it constantly.
How to Pin the Touch Keyboard to Taskbar on Windows 11
- Press Windows key + I key to open up the Settings app in Windows 11.
- Inside the Settings screen, access the Personalization tab from the vertical menu on the left.
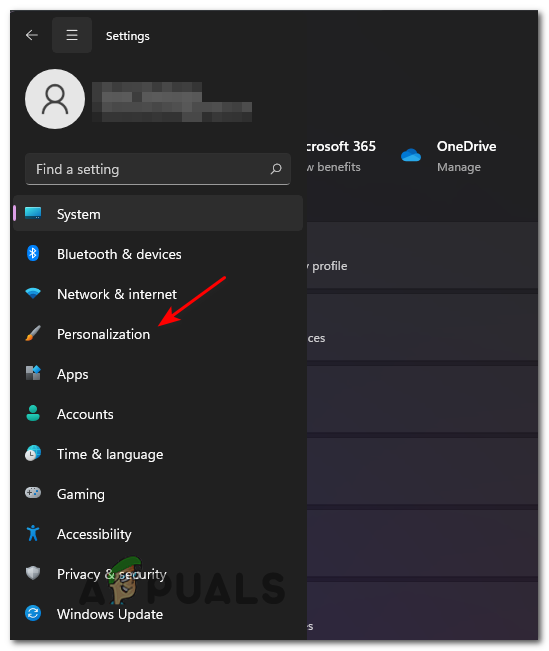
Accessing the Personalization tab Note: If this menu is not visible by default, you’ll need to click on the action icon (top-left corner of the screen) to make the vertical menu visible.
- Inside the Personalization tab, move over to the right-hand side menu and click on Taskbar to expand the dedicated menu.
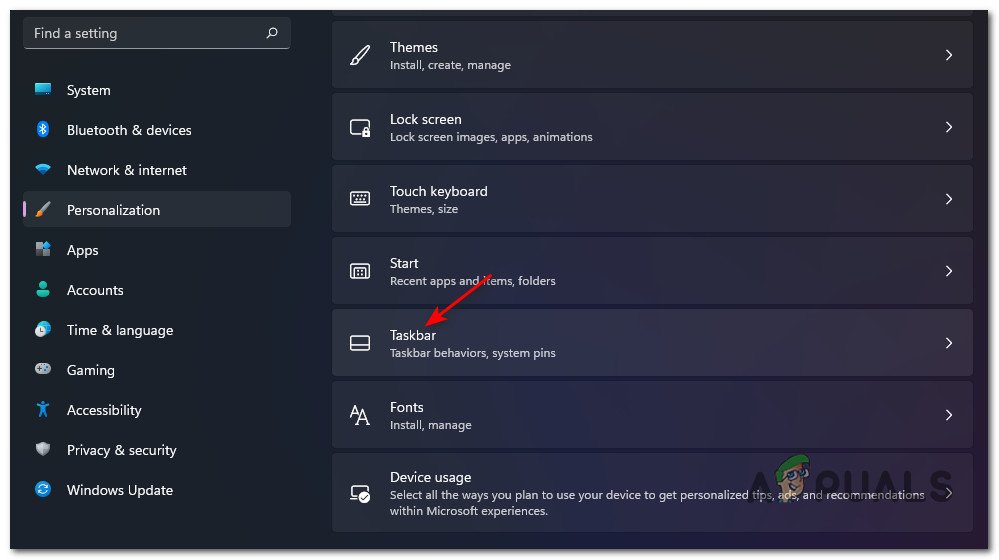
Accessing the Taskbar menu - Next, expand the Taskbar corner icons drop-down menu and enable the toggle associated with Touch keyboard.
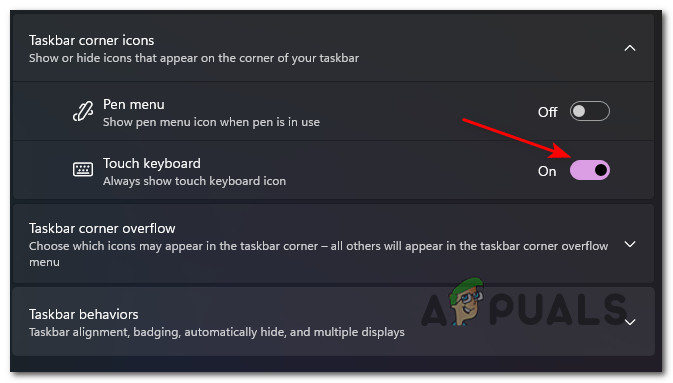
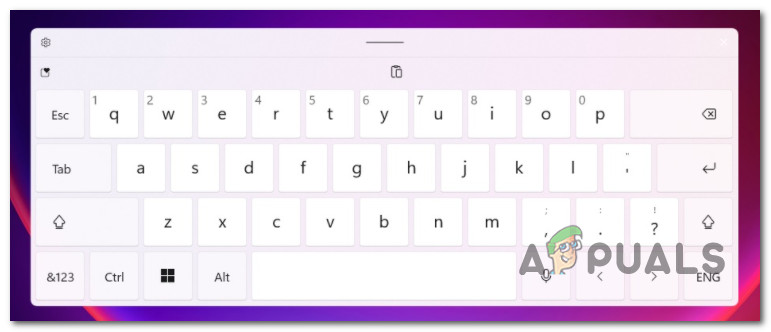
Enabling the Touch Keyboard - As soon as you complete the instructions above, the touch keyboard will become visible on the right side of the Windows taskbar. You can now access it simply by single-clicking the icon.
How to Customize the Touch Keyboard to Taskbar on Windows 11
Now that you’ve made sure that the Touch Keyboard is easy to access, let’s take the time to customize it according to your own preferences.
Here’s what you need to do:
- Press Windows key + I key to open up the Settings utility on Windows 11.
- Once you’re inside the main Settings screen, use the vertical menu on the left to click on Personalization.
Accessing the Personalization tab - Next, move over to the menu on the right and click on Touch Keyboard from the list of available options.
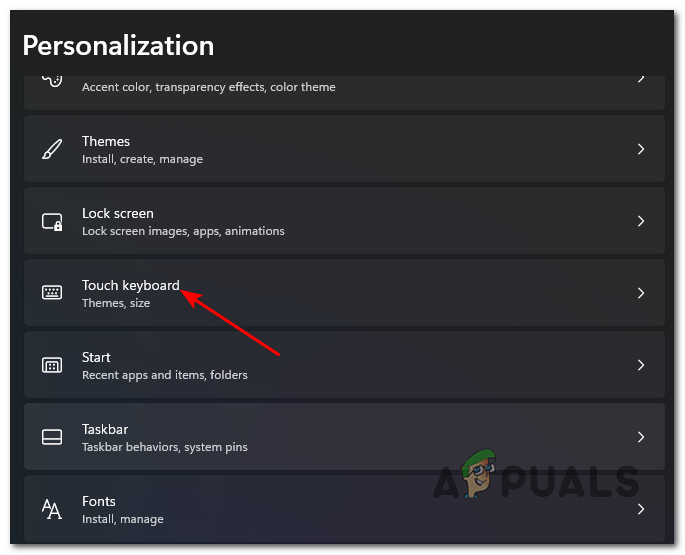
Accessing the Touch Keyboard - Inside the dedicated Touch Keyboard settings, you can start by adjusting the Keyboard size using the slider at the top.
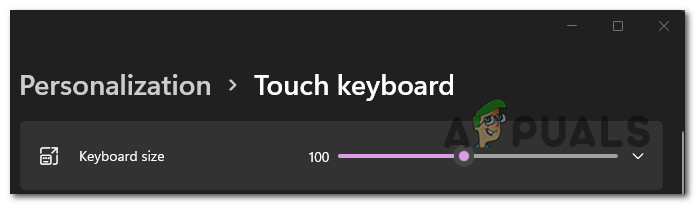
Adjusting the size of the touch keyboard Note: Dragging the slider to the left will make the keyboard keys smaller while dragging the slider to the right will make the keys bigger.
- Next, you can choose from various theme schemes (under Keyboard Theme) simply by clicking on the toggle associated with the touch keyboard screen that you want to enforce.
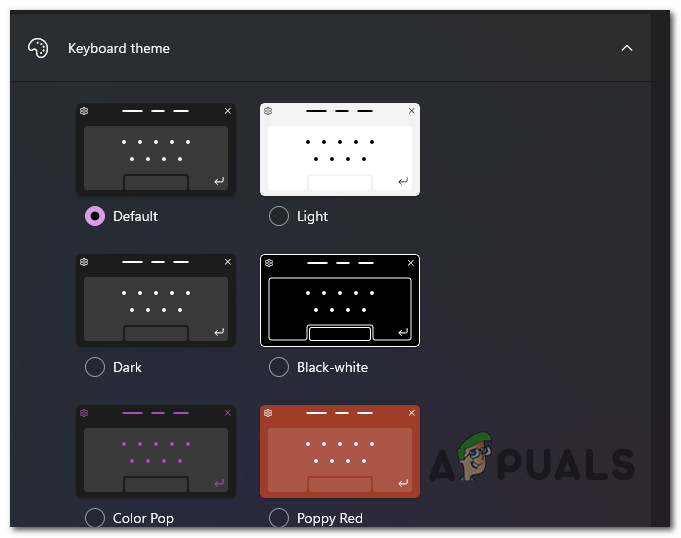
Choosing the Correct theme for the touch keyboard - Keep in mind that all of these themes are only cosmetic and will only adjust the colors and general aesthetic. But the functionality and the layout will remain the same regardless of the theme that you choose.
Note: You also have the option to create your own theme by selecting the Custom theme at the bottom and by clicking the Edit button. This will allow you to adjust the key text colors, the window size, the suggestion text color, and the background color.
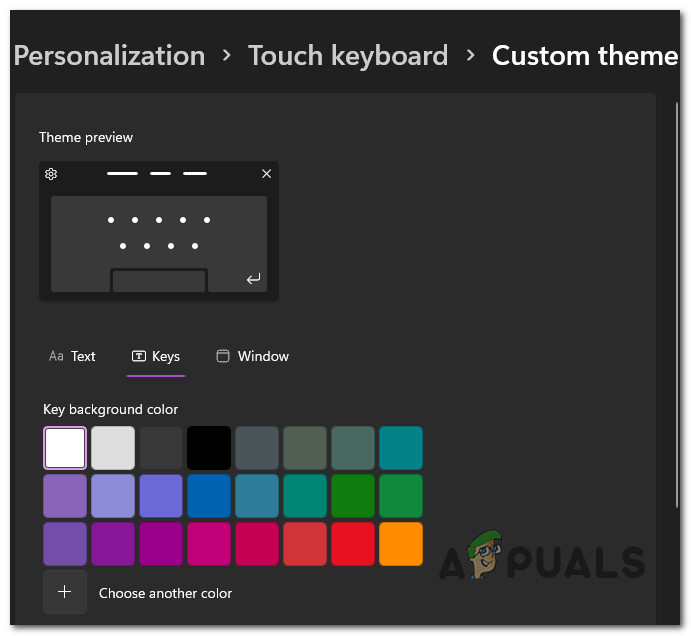
Creating and Customizing a Custom Theme - Directly under the Themes section, you have the option to enable or disable the keyboard background. This is essentially an effect that will add an additional background directly under the keys.
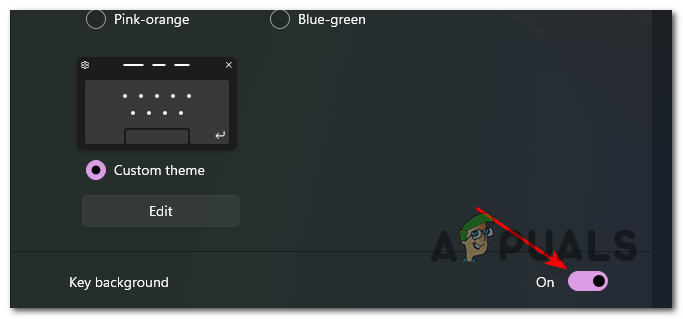
Adding or Removing Key background for the touch keyboards Note: Enabling Key background will make your keys slightly more visible, so enable this if you’re having trouble distinguishing between keys when using the default settings.
- Next, you have the option to customize the Key text size. Generally, bigger keys will allow you to type faster, but this depends on your own preference and the size that you’re personally used to.
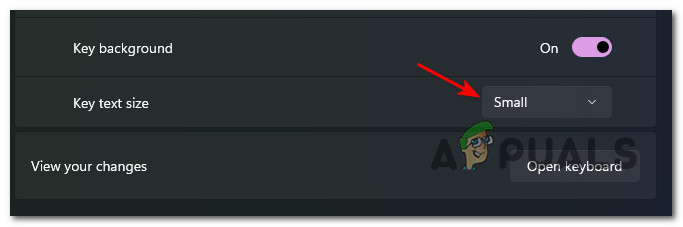
Adjusting the key text size Note: If you end up adjusting the keyboard size previously, our recommendation is to also tweak the key text size in order to make the size of the keys relative to the size of the keyboard.
- That’s it. You can now click on Open Keyboard from the same settings menu to view every change that you enforced to the default touch keyboard present on Windows 11.
How to Fix Touch Keyboard Not Appearing on Windows 11
If you try to open the Touch Keyboard conventionally but it doesn’t come on screen whatever you do, chances are this happens because the main service behind this functionality (Touch Keyboard and Handwriting Panel Service) is forcibly disabled.
In this case, you can get the touch keyboard to pop up again by accessing the Services screen and enabling the mandatory Touch Keyboard and Handwriting Panel Service service.
Follow the instructions below to learn how to do so:
- Press Windows key + R to open up a Run dialog box. Next, type ‘services.msc’ inside the text box and press Enter to open up the Services utility on Windows 11.
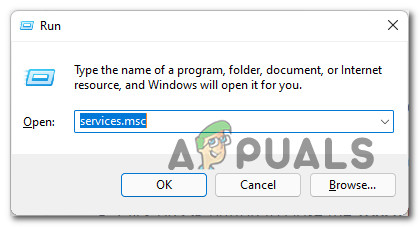
Accessing the Services screen - When you see the User Account Control, click Yes to grant admin access.
- Once you’re inside the Services screen, use the central pane to scroll through the list of services and locate the entry name Touch Keyboard and Handwriting Panel Service.
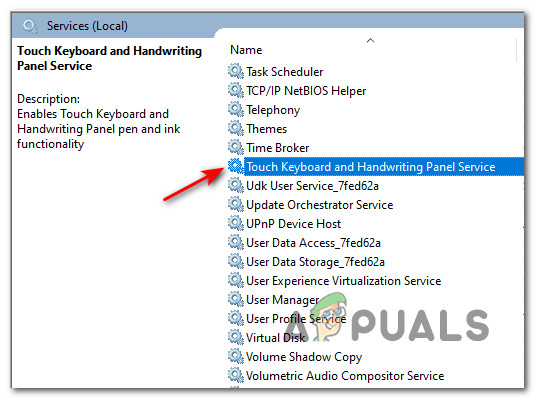
Accessing the Touch Keyboard - After you locate the correct service, double-click on it.
- Next, access the General tab and change the Startup type from Disabled to Manual before clicking Apply to save the changes.
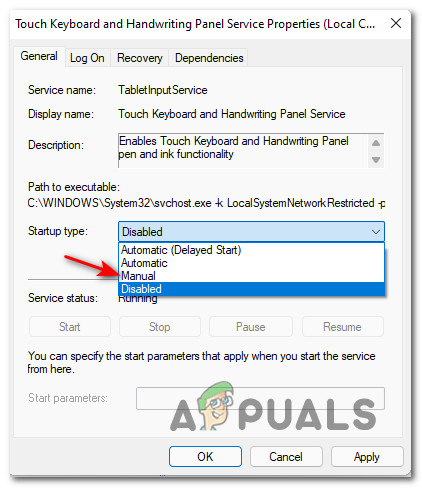
Changing the Behavior to Manual - Try opening the Touch Keyboard once again. You should have no issues opening it right now.


