How to Troubleshoot and Repair a Frozen Windows Taskbar
A frozen Windows taskbar occurs when it becomes unresponsive, preventing interaction with icons, the Start menu, or other interface elements. This issue often stems from a malfunction in Windows Explorer, which is responsible for the taskbar and other graphical components.
The most common cause is corrupted system files, but background programs or recent Windows updates can also contribute.
Method 1: Restart Windows Explorer
- Press the Ctrl + Shift + Esc keys to launch the Windows Task Manager.
- Search for Explorer in the Processes tab.
- Right-click on the Explorer entry and select Restart.
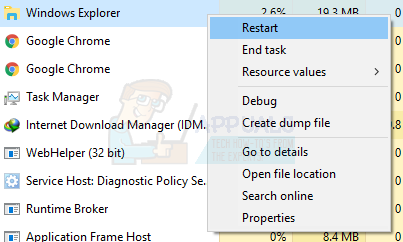
- Explorer will restart and the taskbar should start working again.
Method 2: Run an SFC Scan & DISM Scan
- Press the Ctrl + Shift + Esc keys to launch the Windows Task Manager.
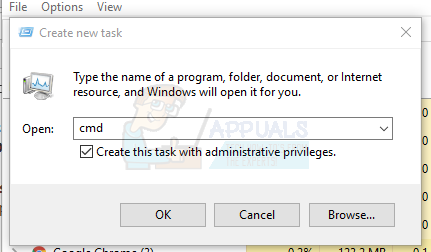
- In the Task Manager, click on Start > Run new task. Type cmd in the open box, then check the box “Create this task with administrative privileges” and click OK.
- In the command prompt, type the following commands and hit Enter after each command:
sfc /scannow

dism /Online /Cleanup-image /Restorehealth
This will run a system file check and repair all corrupt system files on your computer.
- Restart your PC and check if the frozen taskbar issue has been resolved.
SFC & DISM scans are built-in utilities provided by Microsoft, these utilities look for corrupted system files and try to repair them. You can learn more about SFC & DISM scan on Microsoft’s official page about them.
Method 3: Enable the User Manager
A disabled User Manager may result in a frozen Windows task bar. Try re-enabling the User Manager with these steps:
- Press the Windows Key + R, type services.msc, and click OK. This opens the services console.
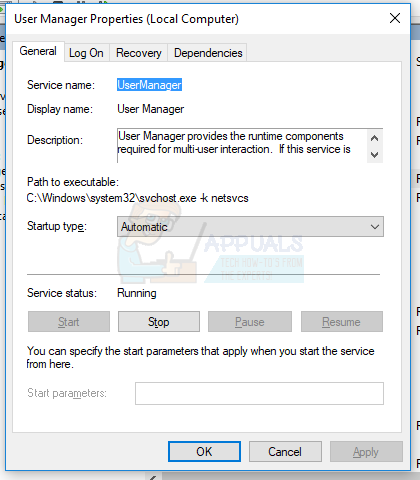
- Search for User Manager and double-click it.
- Set the Startup type to Automatic and Start the service if it’s been stopped. Click OK.
- Restart your PC and the taskbar should function properly.
Method 4: Uninstall Classic Shell (if applicable)
Certain applications have been identified by some users as causing the taskbar to malfunction. These applications are Dropbox and Classic Shell. If you suspect there are any applications causing this, you can remove them as well.
- Press the Windows + R keys to open the run prompt. Type appwiz.cpl and hit Enter.
- Locate the application in the installed applications list, double-click it, and follow the prompts to complete the uninstallation.
- Reboot your PC and then check if the taskbar functions properly now.
Method 5: Disable Recently Opened Items
Recently opened items can slow down the list launch. Disabling them makes it faster and prevents any freezing. Follow these instructions to disable recently opened items:
- Press Win + I to open the Settings app.
- Navigate to Personalization > Start.
- Slide the toggle button next to Show recently opened items in Jump Lists on Start or the taskbar to turn it off.

- Your taskbar shouldn’t freeze on boot after the next reboot.
Method 6: Create a New User Account
In some situations, the error might be triggered if your user account settings or configurations have not been properly set and also if there is any corruption in this configuration data. Therefore, as an alternative, you can try to create a new user account on your Windows 10 machine and then import the data from the older account later if it fixes the issue.
- Press “Windows” + “I” to open settings and click on the “Accounts” option.
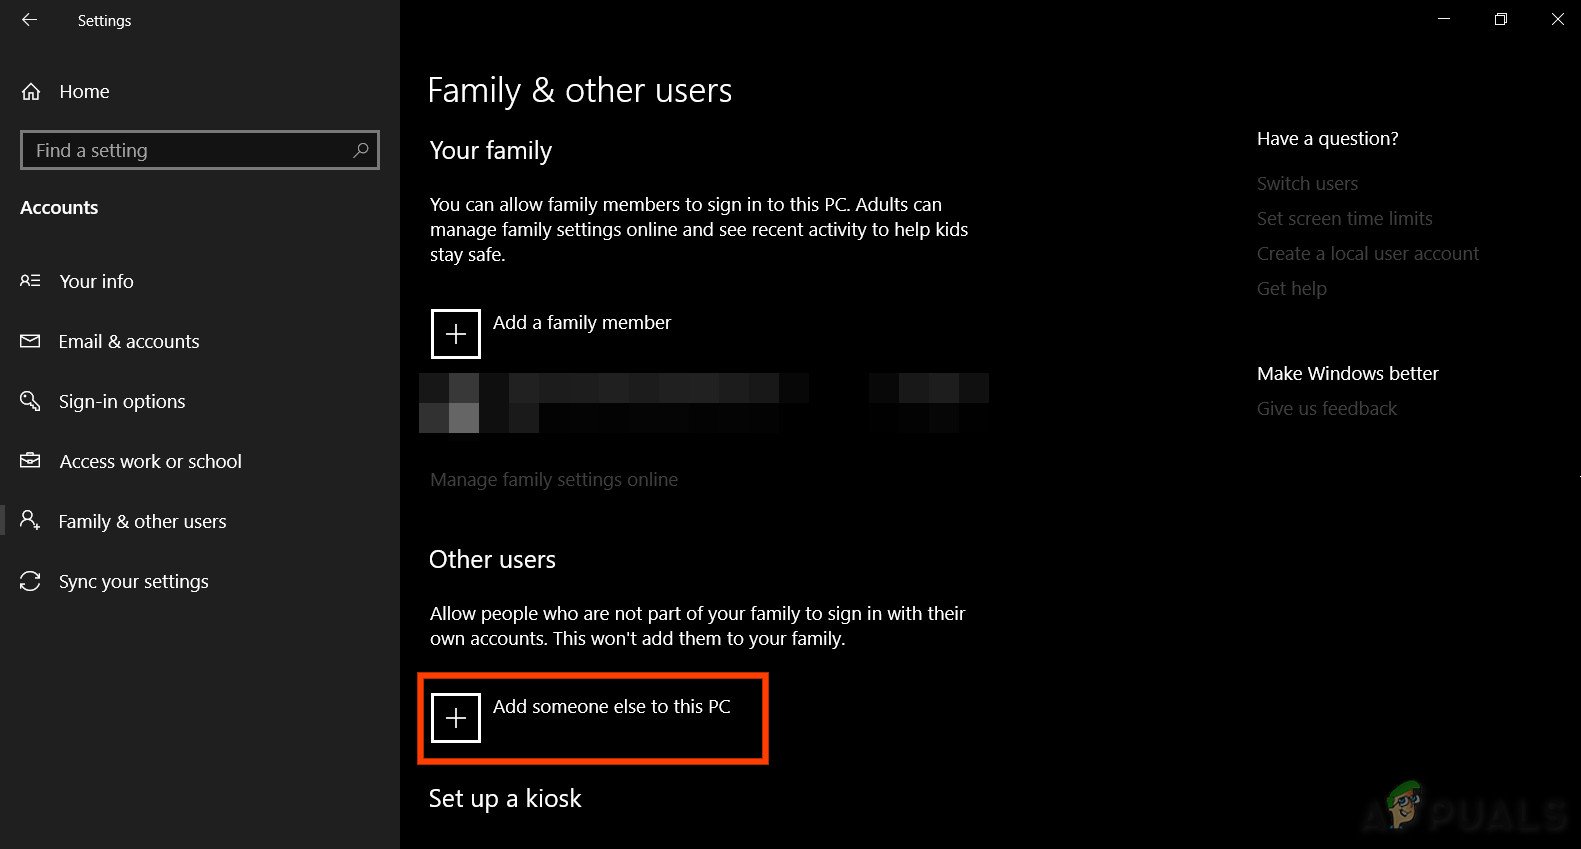
- In the accounts option, click on the “Family and Other Users” button from the left side.
- Select the “Add Someone Else to this PC” option from the menu.
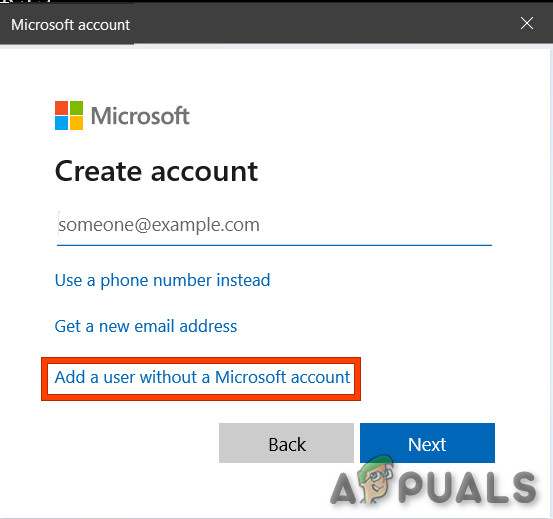
Add Someone Else to This PC - Click on the “I don’t have this person’s sign-in information” button in the next window.
- Click on the “Add a user without a Microsoft Account” option from the new window that pops up.
Add a user without Microsoft Account - Enter the user account’s username and assign it a password.
- Enter the security questions, answer them, and then click on the “Next” option.
- After creating this account, click on it and then select the “Change Account Type” option.
- Click on the “Account Type” dropdown and then select the “Administrator” option.
- Save your changes and log in to this account.
If doing so fixes the issue on your computer, make sure to import the user account data from the previous account onto this new one and continue to use it normally.
Method 7: Perform System Restore
Some users found that performing a simple restore to an earlier working date fixed their issue, but you will have to carefully select the restore point to which you will be restoring. It is recommended that you manually go through this process instead of using automatic restore.
- Press “Windows” + “R” to open the Run prompt.
- Type in “rstrui” and press “Enter” to open the restore management window.
Opening the System Restore wizard via Run box - Click on “Next” and check the “Show more Restore Points” option.

- Select a restore point in the list that is older than the date when this issue started occurring on your computer.
- Click on “Next” again and follow the on-screen instructions to restore everything to the date you selected from the restore window.
- Check to see if doing so fixes the issue with the frozen taskbar.
Method 8: Toggle System Icons
In some cases, the system icon setting might be glitched on your computer, causing this issue. Therefore, in this step, we will toggle these icons and then check to see if doing so fixes the issue. For that:
- Press “Windows” + “I” to open the settings and click on the “Personalization” option.

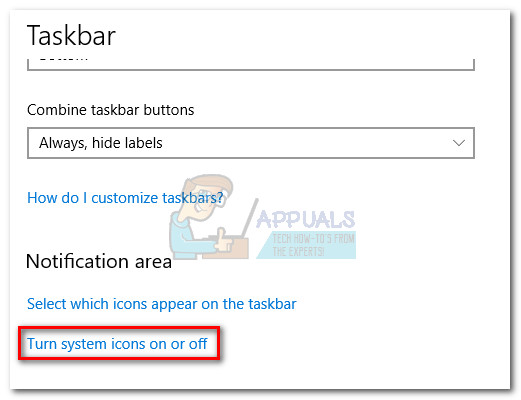
Personalization – Windows Settings - From the left side, click on the “Taskbar” button.
- Under the “Notifications Area” heading, click on the “Turn System Icons on or off” button.
- Toggle all of the icons in the next window one by one by turning them off for a couple of seconds and then turning them back on.
- After completing this process, navigate back to the desktop by closing out of this window.
- Check to see if doing so has fixed the issue.
Method 9: Perform an Update
The frozen taskbar issue was a very famous topic on most Microsoft forums, and apparently, a lot of Microsoft officials took note of it. Therefore, it is possible that this issue might have been fixed for some people in recent updates released by Microsoft. In this step, we will check for any available updates from Microsoft and install them on our devices.
- Press “Windows” + “I” to open the settings.
- In the settings, click on the “Update and Security” option and then select the “Windows Update” button from the left side.
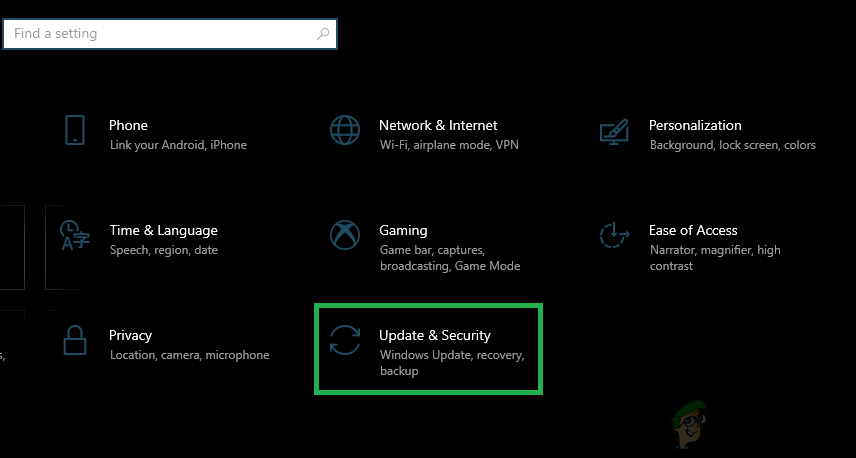
Clicking on the “Update and Security” option - In Windows Update, click on the “Check for Updates” button, and a prompt will be registered that will automatically check for any newly available updates.
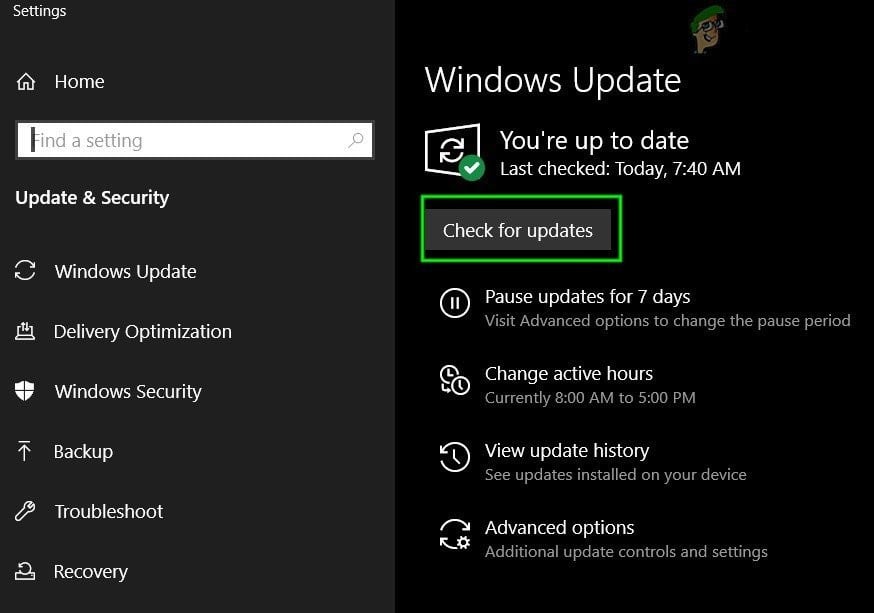
Check For Updates in Windows Update - Install these updates on your computer by following the on-screen instructions and restart your computer.
- Check to see if installing these updates fixes the issue on your computer.
Also in alternative 2, do you mean “explorer” or “windows explorer”. When your searching alphabetically, that is a big deal.