How to Make SD Card Default Storage on Android?
Having little internal storage or running out of internal memory is something that nobody ever wants when using a smartphone. This is pretty obvious because we all use our phones on a daily basis and store different things on the phone on a day-to-day basis as well. Be it pictures taken, apps installed, the videos that you have taken or anything else, it takes up the storage of your phone which is why it is such an important topic. Even though most phones these days come up with substantial storage, typically 128 GB, there are still cases where you might run out of it and would require additional storage to make up for your day to day to use and of course, to get rid of that annoying low internal storage warning that just won’t leave you alone.

That is where external or portable storage comes in. SD cards are widely used to make up for the lack of storage or are often used as a portable storage that lets you move your data from your phone to your computer or vice versa. However, what if you wish to expand your storage? Typically, you would have to move your photos or videos to your SD card and then remove them from your internal memory to free up some space. While that is a good approach, there is one even better which doesn’t require you to move your data just to free up some space. As it turns out, you can use what’s called Adoptable Storage on your Android device to expand your internal storage. Before we move onto showing you how to achieve or do this, let us first understand what is Adoptable and how does it actually work?
What is Adoptable Storage?
As it turns out, the clue is actually in the name itself. Google introduced the Adoptable Storage feature with Android 6 i.e. Marshmallow so it has been around for a while. Adoptable storage is a feature that basically lets you adopt the SD cards that you put in your smartphone as the internal storage. A serious drawback of using an SD card as external storage is that you are not able to install apps on the card. This is because the applications are installed on the internal memory and since the SD card is considered external storage, the functionality simply isn’t there.
That is something, however, that changes with adoptable storage. This is because adoptable storage makes your SD card the internal memory which enables you to install apps on your SD card which has been converted to internal storage. This gets rid of the serious drawback of using SD cards as external storages, however, adoptable storage has its own set of disadvantages itself.
Drawbacks of using SD Card as Internal Storage
Even though adoptable storage lets you use your external SD card as the internal memory, however, there are some drawbacks to it. Let us have a look at this in more detail.
First off, SD cards are essentially slow in speed. When compared with the internal memory that your smartphone ships with, they are comparatively slow in speed. This is due to the fact that often SD cards have a limited number of cycles when it comes down to reading and writing. If you use an SD card as internal memory, it sort of becomes permanent storage which means there is going to be a lot of read and write operations. Due to this, the performance of the SD card degrades over time.
Next up, when you use the adoptable feature, the SD card sort of becomes the permanent storage of that specific device. What this means is that you cannot remove the card from the device and then mount it to a different device. This is because the SD card is encrypted with a key that is stored on that specific Android device when it is converted to internal memory. This encryption is necessary to keep your data and used to encrypt the data on the SD card. You can, however, remove the card from the device and then put it back in. The Android device will recognize the card and you should still be good to go.
Finally, another serious drawback of this is that not every app can be installed on the device. This is due to the fact that Google lets the app developer decide whether he wants to enable support for adopted storage or not. Therefore, you cannot install apps that have disabled this feature which is something to consider when doing this.
Make SD Card Default Storage
Now that we have mentioned all of that and you know what you are getting yourself into, it is time we show you how to make your SD card the internal storage of your computer or the default storage, for that matter. However, before we proceed, it is important to note that your smartphone may not be able to do this. This is due to the fact that most major brands disable the adoptable storage on their phones due to performance and bad experience.
In addition to this, you will be required to format your SD card before it can be converted to internal memory and be used to store apps and files on it. In case your SD card won’t format, you will need to troubleshoot that before continuing. With that said, if your phone does support adoptable storage, then you can follow the instructions given down below to do this:
- First of all, take your SD card and put it in your Android phone.
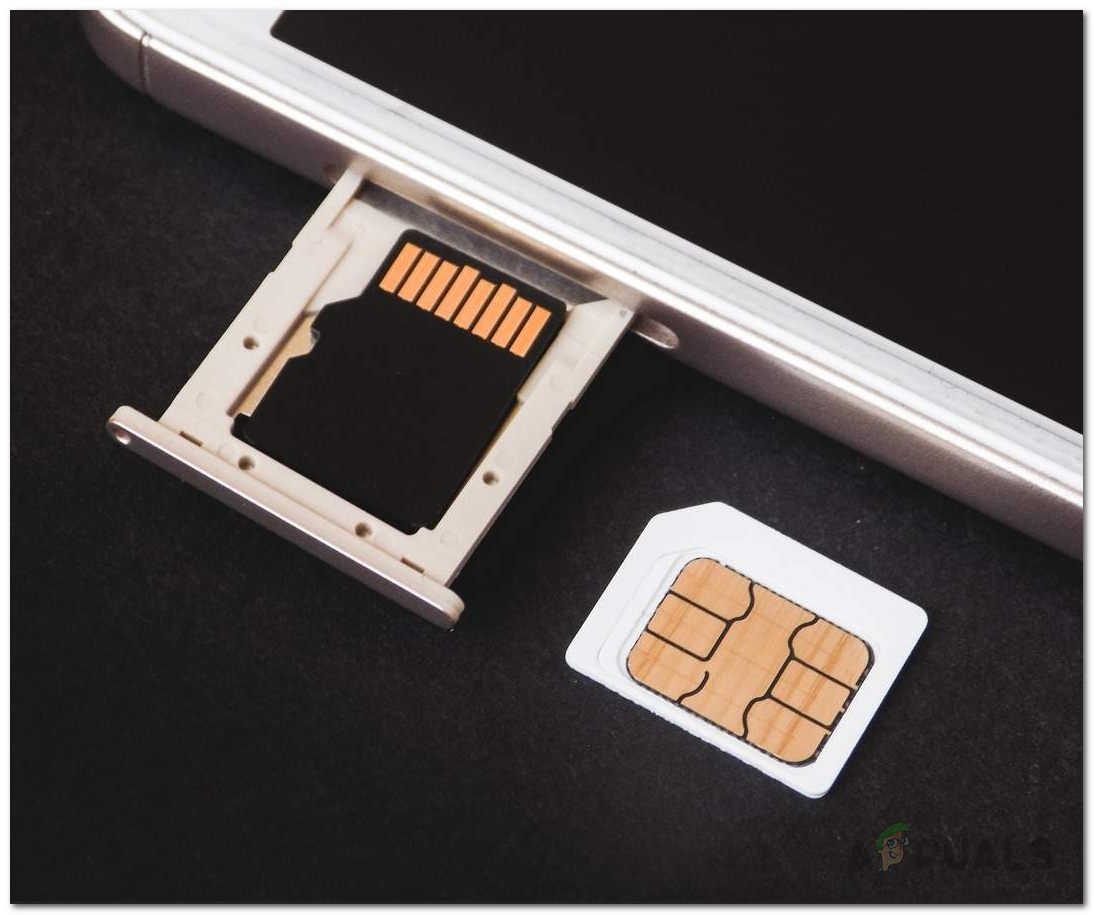
Inserting SD Card - When you do this, you should receive a prompt on the device asking how you wish to use the SD card.
- Choose the Phone storage option, this can vary depending on your brand.

Setting up SD Card as Internal Storage - Once you do that, you will be prompted to format the SD card. Choose the Format SD card option.
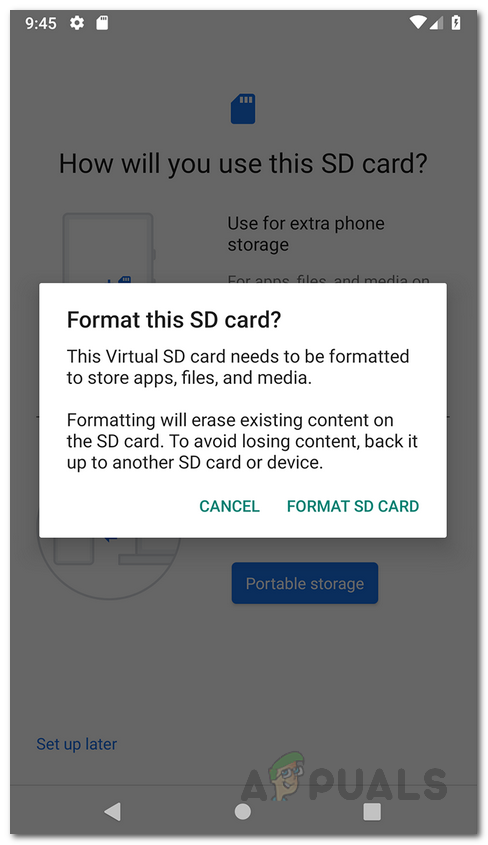
Formatting SD Card for Internal Storage - Wait for the format process to complete and then, if prompted to Move content to SD card, choose the Move content option.

Moving Contents of the Phone to SD Card - In case your smartphone does not give you this prompt automatically, you can still do this via the Settings app.
- To do that, open up your Settings app and then go to Storage.
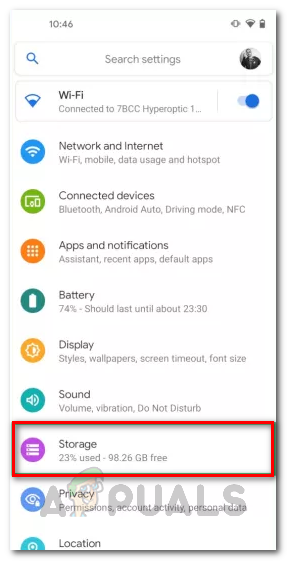
Android Settings - Choose your SD card from the devices shown.
- Then, on the Storage screen, tap the three dots at the top-right corner and then choose Storage settings.
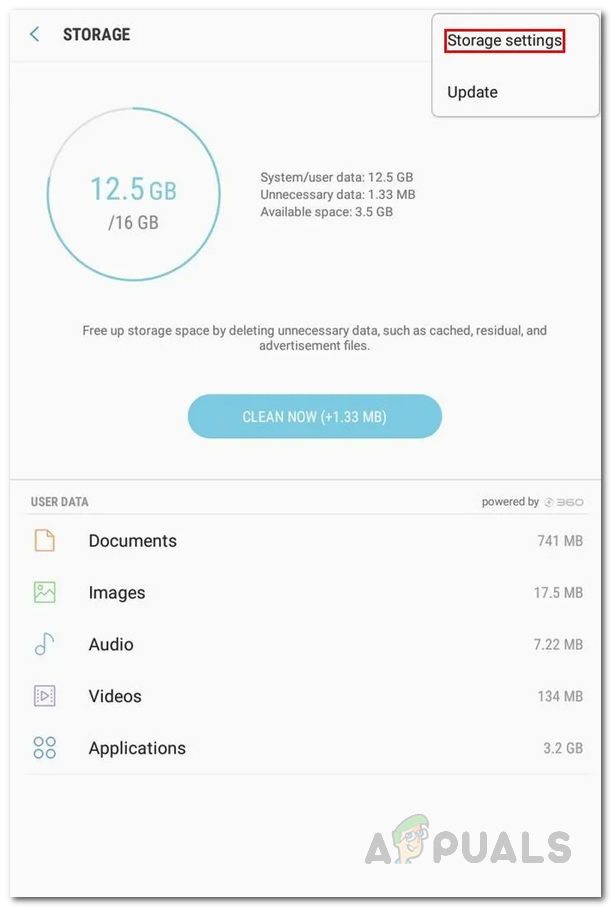
Going to Storage Settings - After that, tap the Phone storage option which might vary depending on your device. It may even be called Internal storage.
Setting up SD Card as Internal Storage - Once done, you will be prompted to format the SD card. Here, just tap on the Format SD card option.
Formatting SD Card for Internal Storage - After the card has been formatted, you will be prompted to move the contents of your phone to the SD card. Here, you can choose the Move content option to do so.
Moving Contents of the Phone to SD Card
Remove SD Card as Internal Storage
If you wish to stop using your SD card as the internal storage of your phone due to whatever reason, you can do so easily. However, it is not a simple process of just removing it from your phone. The card will be formatted first as portable storage before it is removed. To do this, follow the instructions given down below:
- First of all, open up the Settings app and then tap on Storage.
Android Settings - Choose your SD card from the devices shown.
- Then, tap on the three vertical dots that are located in the top right corner of your SD card storage screen.
- From the drop-down menu, choose the Format as portable option.
- On the next screen, you will be prompted with a warning. Tap the Format option to complete the process.
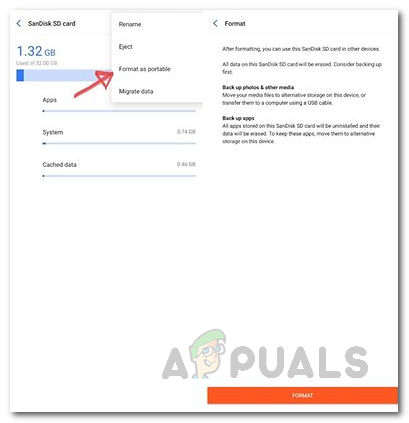
Formatting SD Card as Portable Storage - Once you have done that, your SD card will no longer be the internal storage but rather it can be used as portable storage.


In Android 12, there is no more such option to make SD Card as default storage. I still can do it for camera pictures and videos. But not all apps have this option. In the past, I used a phone with Android 8, there was option to select either internal storage or SD Card as the default.