How to Recover Text Messages without Root?
Losing text messages can be a nightmare, especially when they contain important information. There are various reasons why text messages get deleted, such as device malfunction, software updates, factory resets, and accidental deletion. Regardless of the reason, it’s crucial to know how to retrieve lost messages. However, most methods require root access, and many users prefer not to root their phones.
Thankfully, ADB commands can help recover deleted text messages on Android devices without rooting. In this article, we will provide you with a step-by-step guide on how to use ADB commands to retrieve your lost text messages.
However, there are a few things we recommend you do before proceeding with the hectic and time-consuming process of recovering deleted text messages using the ADB command.
1. Check your backups
If you regularly back up your Android device using a service like Google Drive, Samsung Cloud, or another cloud-based service, you may be able to restore deleted messages from a backup. Go to the backup settings on your device and check if there are any available backups that include the messages you want to recover.
2. Contact your service provider
To recover important messages for legal or other purposes, contact your mobile service provider; they may provide a record of your text messages, but this is not guaranteed and could necessitate a court order or legal process.
How to Retrieve Deleted Text Messages using ADB Command
Retrieving deleted text messages using the ADB command on Android is a complex process that requires technical expertise and knowledge of ADB commands. Here are the general steps you can follow to recover deleted text messages using ADB:
First, you must install ADB on your computer; then, you need to enable USB debugging on your Android device. To do this, go to the Developer Options menu in your device’s settings and turn on USB debugging.
Step 1. Install ADB
To use ADB, you first need to install it on your computer. You can install it using the Android SDK Platform-Tools package.
Step 2. Enable Developer mode on your Android device
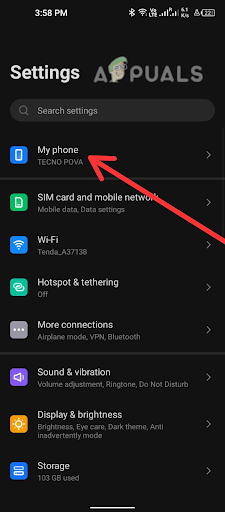
1. Go to the Settings app on your device.
2. Tap on My Phone. For some devices that have different Settings, tap on System > About phone.
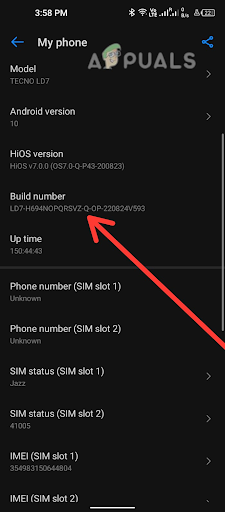
3. Find the Build number and tap it seven times to enable Developer mode.
4. Use a USB cable to connect your Android device to your computer.
Step 3. Recover Process
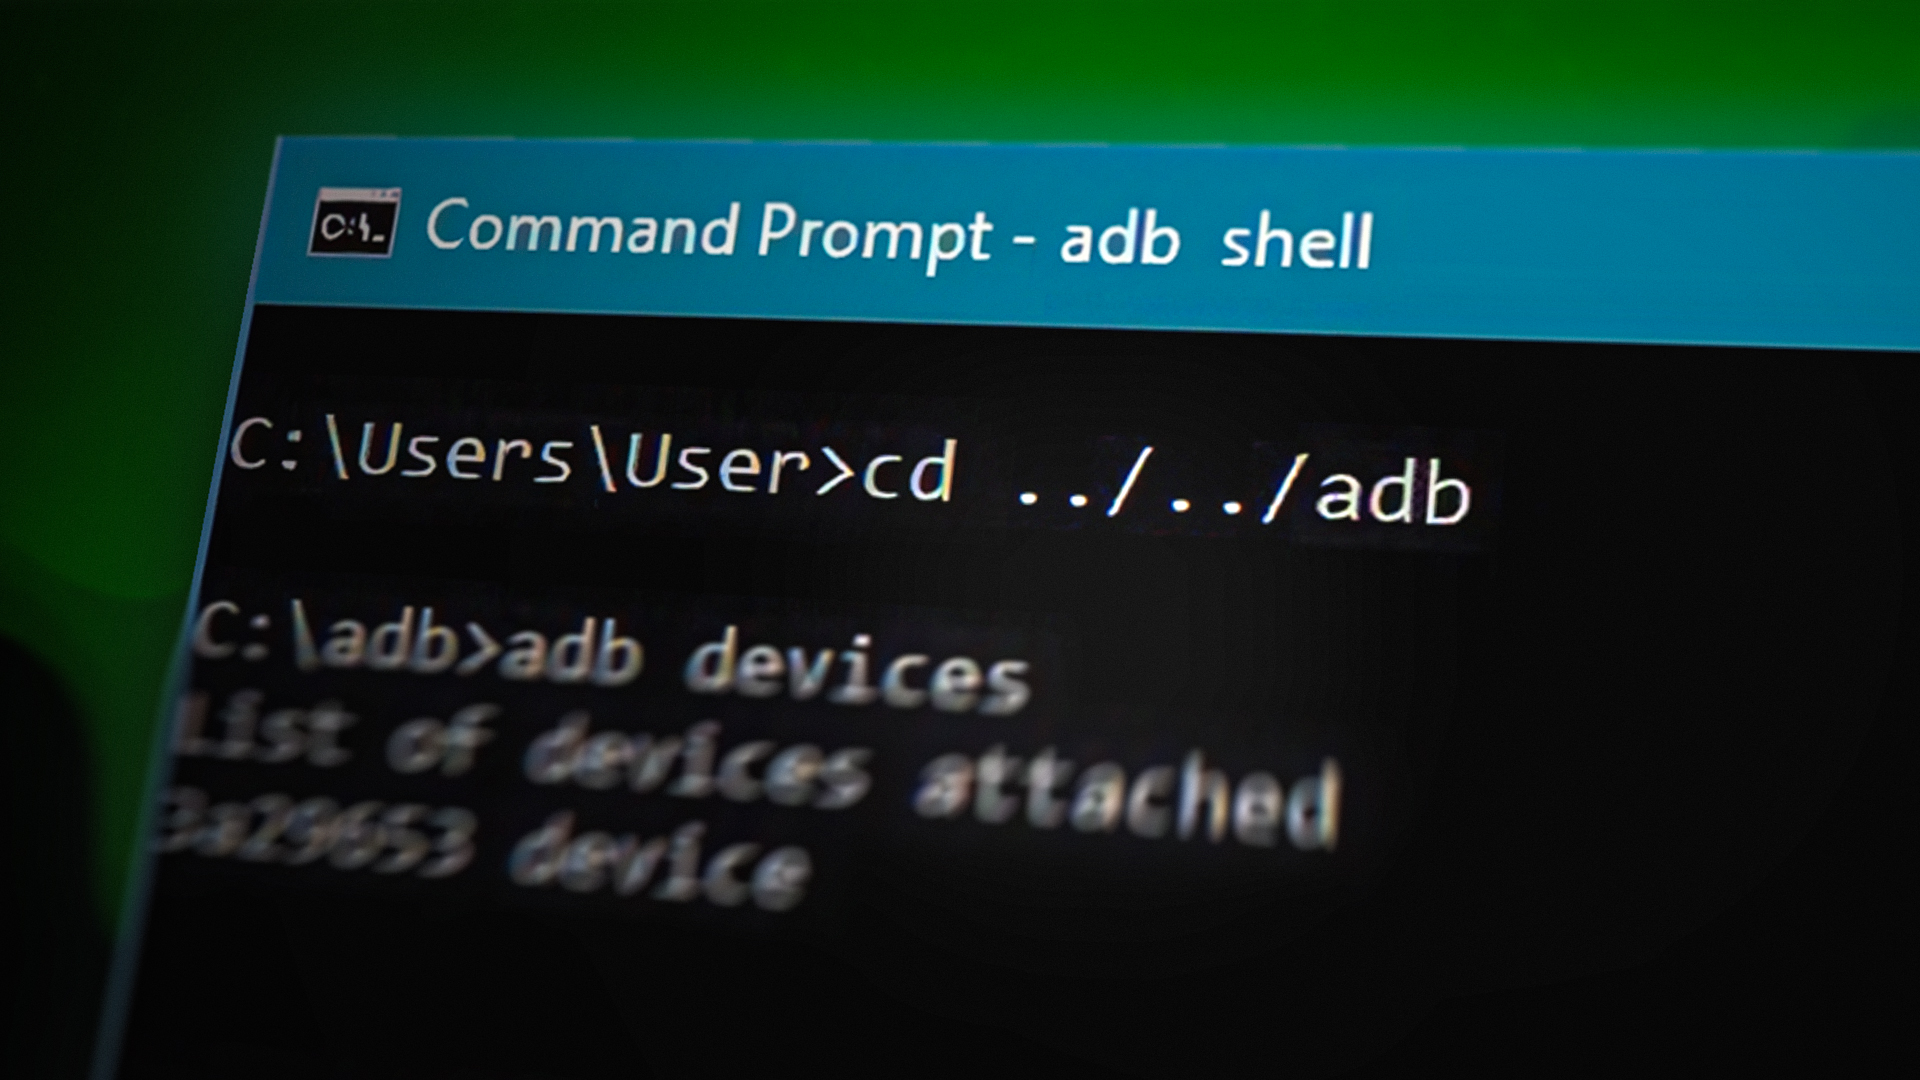
- Open a command prompt or terminal on your computer and navigate to the folder where the ADB executable file is located.
(On Windows, press Windows Key + X and select Command Prompt. On macOS or Linux, open Terminal.) - Once the command prompt or terminal is open, type cd followed by the path to the folder where the ADB executable file is located.
- For example, if the ADB executable file is located in the platform-tools folder of the Android SDK installation directory, you can type cd C:\android-sdk\platform-tools (for Windows) or cd /android-sdk/platform-tools (for macOS or Linux) to navigate to that folder.
- Press Enter to execute the command. You should now be in the folder where the ADB executable file is located.
- Enter the following command to check if your device is connected and recognized by ADB: adb devices
- Once your device is recognized, run the following command to make a backup of your device’s data: adb backup -f backup.ab -all
This command will create a backup file named backup. ab in the folder where the ADB executable is located. You can change the file name and location as needed. - After the backup is completed, run the following command to extract the backup file: dd if=backup.ab bs=1 skip=24 | python -c “import zlib,sys;sys.stdout.write(zlib.decompress(sys.stdin.read()))” > backup.tar
This command will extract the backup file to a backup.tar file in the folder where the ADB executable is located. - Once the backup is extracted, use a tool like SQLite Database Browser to open the file mmssms.db located in the folder apps/com.android.providers.telephony/databases/.
- In the mmssms table, you will be able to find the deleted text messages. Export them as needed.
After performing these steps, you will be able to recover your deleted messages.
In addition to the steps outlined above, it is important to remember that prevention is key when it comes to protecting your important data. To minimize the risk of losing your text messages, you should regularly back up your device to the cloud, avoid deleting messages unnecessarily, and exercise caution when updating or resetting your device. By taking these steps, you can ensure that your text messages and other important data remain safe and secure.
Note: Keep in mind that this method may not work in all cases, and there is no guarantee that you will be able to retrieve all deleted text messages. Additionally, this method can be time-consuming and requires technical expertise, so it may not be suitable for everyone


