How to Troubleshoot Low Audio Volume Issues on Windows 11
We’ve been noticing an increasing number of reports about Windows 11 issues, particularly users complaining that the overall PC audio volume is unusually low. This affects both system sounds and audio in native and third-party applications.
Upon investigating the issue, we discovered that several potential causes could lead to unusually low volume output on Windows 11:
- Common inconsistency – Often, problems responsible for the low audio issue on Windows 11 are covered by automated fixes available via the Windows Audio troubleshooter. Thus, the ideal starting point for troubleshooting is running the Audio troubleshooter and applying the recommended fixes.
- Outdated audio driver – Not updating your audio driver for an extended period, especially if Windows Update is not configured to update it, can lead to this problem. To resolve this, you can manually update the driver through the Device Manager.
- Generic driver partially incompatible – Using a generic driver updated during the upgrade to Windows 11 can cause low volume. If this is the case, installing the dedicated sound card driver that matches your motherboard could rectify the issue.
- Dedicated audio driver update pending for Windows 11 – If you’re using a dedicated driver without full compatibility updates for Windows 11, the best fix is to uninstall the current driver and opt for a generic driver instead.
- Interfering audio enhancements – Software simulated audio enhancements can also cause low volume outputs on Windows 11, particularly when using speakers. To remedy this, disable all software simulated enhancements via Sound Properties.
- Incompatible BitRate sound format – Setting a high BitRate format as the default for your audio device can result in lower volume when playing sounds of lesser quality. Change the BitRate sound format in your Sound settings to avoid this issue.
- Recent driver or app conflict – Operating systems have numerous components that could interfere with sound output. If the low volume issue began recently, consider using a recent System Restore snapshot to return your PC to a state before the problem started.
- System file corruption – Some users claim to have resolved their audio issues by running SFC and DISM scans in quick succession, suggesting system file corruption as a potential root cause.
- Lack of a compatible audio driver for Windows 11 – If all else fails, you might be dealing with a legacy sound card that lacks compatibility with Windows 11. Unfortunately, in this case, the only solution might be to revert to Windows 10.
With the potential causes outlined, let’s move on to the solutions that have helped other users resolve low volume issues on Windows 11.
1. Run the Audio troubleshooter
Troubleshooting this issue should begin with testing whether Windows 11 can automatically fix the problem.
Microsoft has acknowledged this issue, and their engineers have rolled out automated fixes aimed at resolving the low volume problem on Windows 11.
To utilize these automated fixes, run the Audio troubleshooter and apply the recommended fix. This has been confirmed effective by many users, especially those who upgraded to Windows 11 from Windows 10 instead of performing a clean installation.
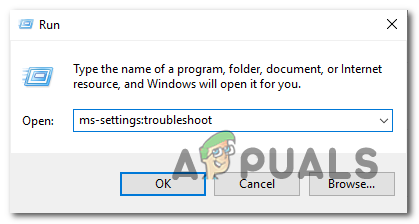
- Press Windows key + R to open a Run dialog box.
- Type “ms-settings:troubleshoot” and press Enter to open the Troubleshooting tab in the Settings app.
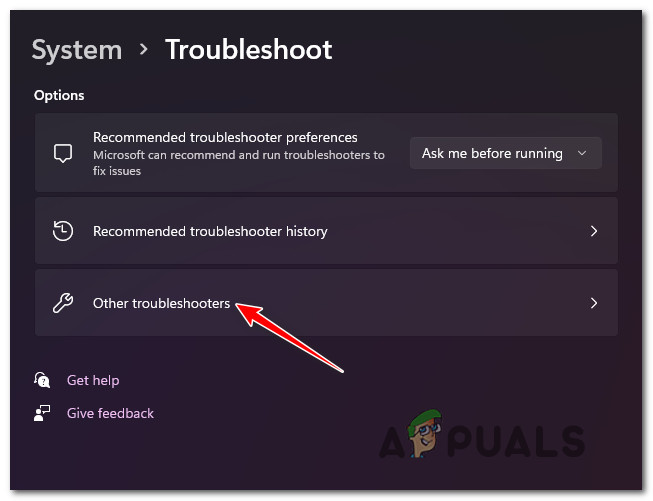
Accessing the Troubleshooting tab - In the Troubleshoot tab, move to the right-hand section and click on Other Troubleshooters (under Options).
Accessing the Other Troubleshooters tab - From the next menu, under Most frequent, click on the Run button associated with Playing Audio.

Running the Audio Troubleshooter - Wait patiently until the initial investigation phase is complete.
- Select the device you’re using as the default audio device.
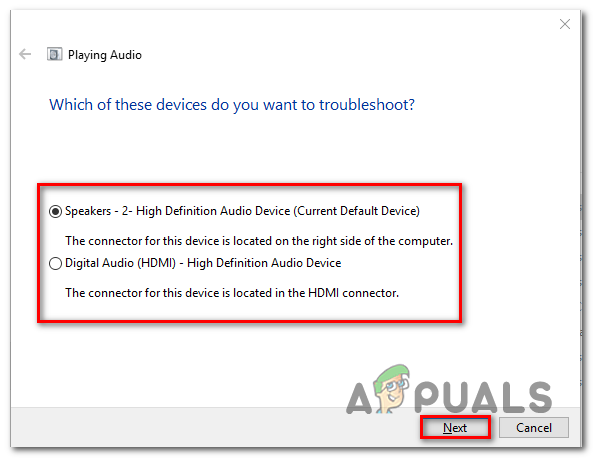
Selecting the default audio device - Wait until the utility analyzes your Audio device for problems.
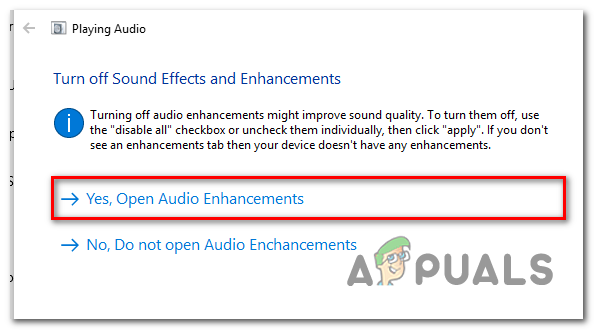
- If a problem is identified, you will be recommended a repair strategy. Follow the on-screen prompts (click ‘Yes, Apply fix‘ or ‘Yes, Open *menu‘) and comply with the recommendations.
Applying the recommended fix - Restart your computer to see if the error has been resolved after the next startup.
2. Update the Audio driver
Generally, Windows Update should maintain your driver up to date automatically. However, sometimes you might find yourself stuck with an older version not compatible with your operating system.
A number of users who faced this problem reported fixing it by using the Device Manager to force an update of the driver from the Properties screen of the High Definition Audio Device.
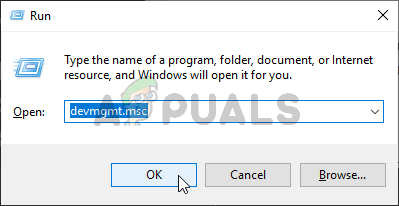
- Press Windows key + R to open a Run dialog box. Next, type ‘devmgmt.msc’ and press Enter to open the Device Manager.
Accessing the Device Manager tab - If prompted by the User Account Control prompt, click Yes to grant administrative access.
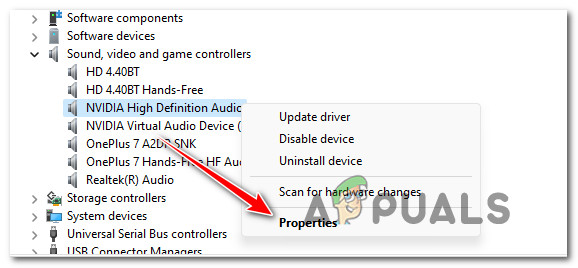
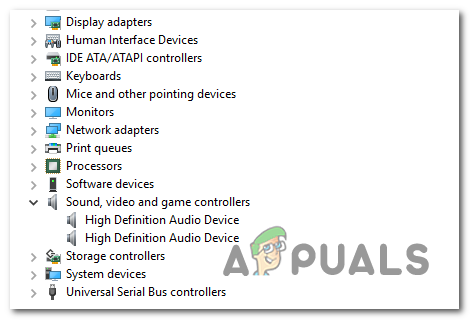
- Within Device Manager, scroll down through the list of devices and expand the drop-down menu for Sound, video, and game controllers.
- Right-click on your high-definition audio driver.
- From the context menu, select Properties.
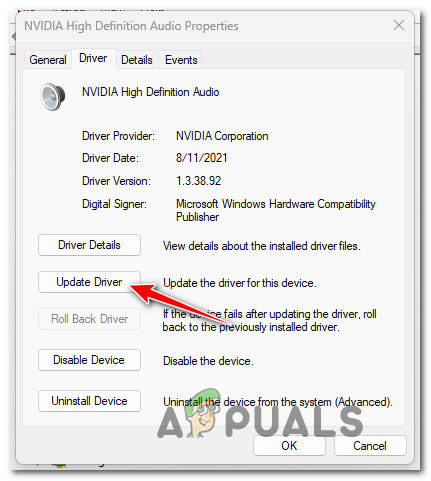
Accessing the properties menu - On the Properties screen, navigate to the Driver tab at the top, then click Update Driver.
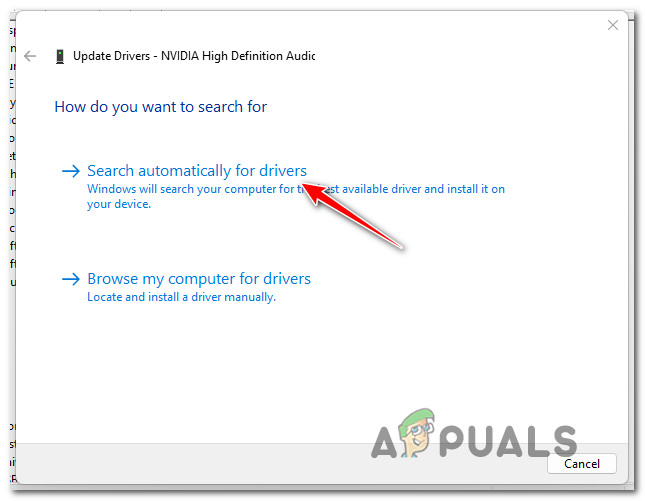
Updating the driver - On the next screen, select Search automatically for drivers.
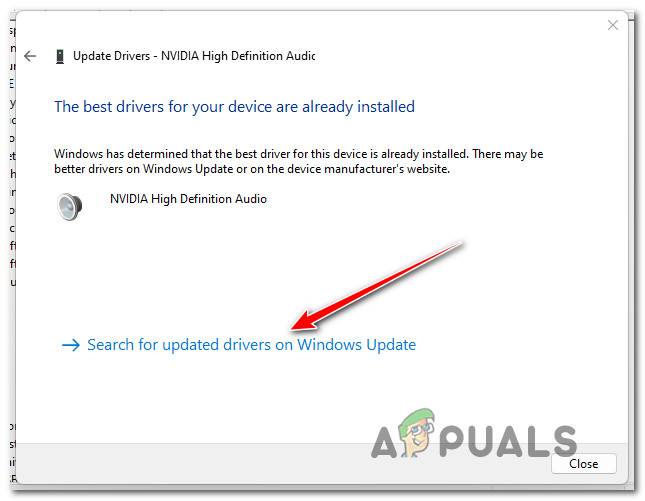
Searching automatically for drivers - Wait to see if a new audio driver version is identified. If found, follow the on-screen instructions to install it.Note: If Device Manager fails to identify a new driver, click on “Search for updated drivers on Windows Update,” as this could yield different results.
Search for updated drivers - Restart your PC to check if the issue has been fixed post-reboot.
3. Install the dedicated Sound Card driver
If you’re using a generic driver, you should install the dedicated sound card driver from your PC or motherboard’s manufacturer’s website.
This is particularly recommended if you’re using a laptop from brands like MSI or Lenovo, as they often utilize proprietary audio hardware that may not perform optimally with generic drivers.
Note: Avoid generic drivers if you’re using a dedicated sound card.
Be aware that the process of finding and installing the appropriate sound card driver will vary based on the specific manufacturer of your device.
- Open your preferred browser and visit your manufacturer’s driver download page.
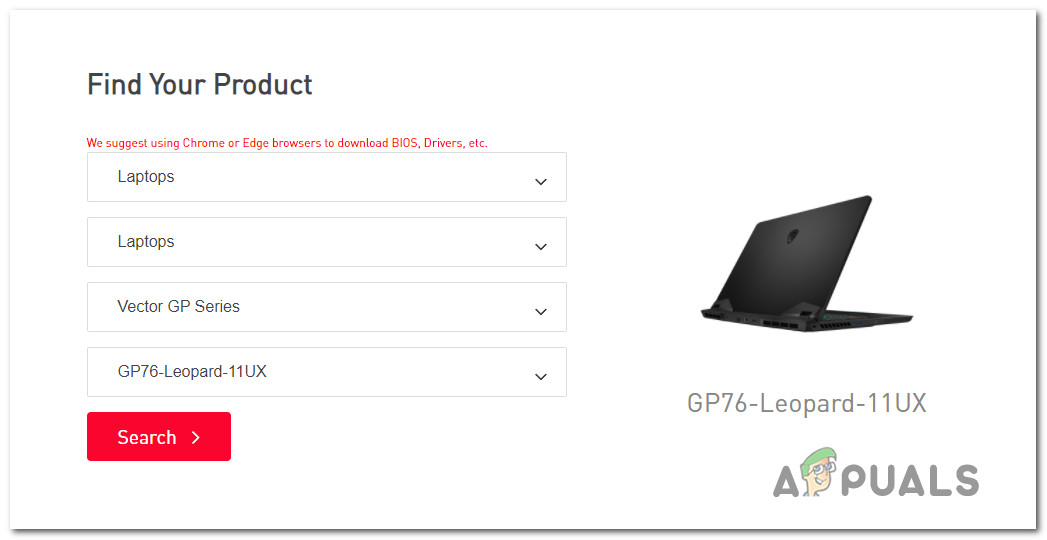
Searching for compatible laptop drivers Note: For laptops, head to the manufacturer’s download page and look up your specific model.
- On the download page for your laptop or motherboard model, head to the Driver section and download the suggested audio driver.

Downloading the smart sound technology driver - Once downloaded, extract the driver and proceed with the installation.Note: The instalation method depends on the file type: right-click and choose Install for INF files or double-click for executable (.exe) files.
- Complete the installation by following on-screen instructions, then reboot your PC and check if the low volume issue has been resolved.
4. Uninstall audio driver (use a generic equivalent)
Another scenario that might cause low audio volume on Windows 11 involves using a dedicated audio driver that was ported from Windows 10 or Windows 8.1 following an OS upgrade.
In such cases, your dedicated driver might not be fully compatible with Windows 11. To solve this, uninstall the current dedicated driver and switch to a generic audio equivalent.
- Press Windows key + R to open a Run dialog box.
- Type ‘devmgmt.msc’ and press Ctrl + Shift + Enter to open Device Manager with administrator privileges.
Accessing the Device Manager tab - At the User Account Control (UAC) prompt, click Yes for admin access.
- In Device Manager, scroll down to Sound, video, and game controllers and expand the menu.
Accessing your Audio adapter Device Manager listing - Right-click on your dedicated audio driver and select Properties from the context menu.
- Navigate to the Driver tab in the Properties menu and click on Uninstall Device.
- At the confirmation prompt, check Attempt to remove the driver for this device and click Uninstall.
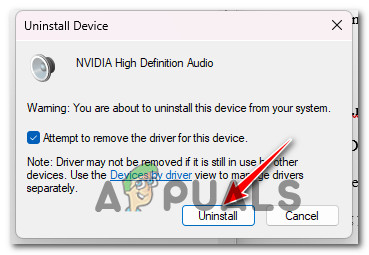
Uninstalling the audio driver - Once the driver is uninstalled, reboot your PC. During the subsequent startup, Windows 11 will identify the absence of an active driver, automatically installing a generic equivalent.
- After the reboot, verify if the low audio problem has been rectified.
In case the issue continues, move on to the next suggested fix.
5. Disable all enhancements from Sound Properties
If your problem hasn’t been solved thus far, the next step is to look at the Sound Enhancements you currently have active.
Several Windows 11 users who experienced low audio volume reported that they resolved the issue by disabling all audio enhancements.
Note: If you’re using a dedicated audio card, it likely comes with its own audio enhancement options. In this case, disable them from the dedicated utility, as disabling the Windows settings won’t remedy the issue.
Note 2: Users of SRS Premium Sound or SRS Premium Sound should uncheck the box next to Audio Enhancement within the dedicated application to resolve the issue.
- Press Windows key + R to open a Run dialog box.
- Type “control” in the box and press Enter to open the Control Panel.
- In the Control Panel, use the search function at the top-right to find Sound.
- Click on Sound in the results.
- Within the Sound screen, ensure the Playback tab is active, right-click your problematic playback device, and choose Properties.
- In the device Properties, select the Enhancements tab and check the box next to Disable all enhancements.
- Press Apply to save the changes.
- Restart your PC and see if this has fixed the issue after the boot process.
Continuing to experience low-volume audio despite the deactivation of all virtual enhancements means you should try the next potential fix.
6. Change the BitRate sound format
If you’ve yet to find a successful fix and you’re using a premium sound system or headset, the low-volume audio might be due to inadequate Windows settings related to stream format quality for the active playback device.
You can likely solve the problem by heading to the Sound settings and altering the Default format to use the highest sample rate available (24 bit, 48000 Hz, Studio Quality).
Many users encountering this issue after updating to Windows 11 from Windows 10 reported resolving it as soon as they increased the default stream format to Studio Quality.
- Press Windows key + R to open a Run dialog box.
- Type ‘mmsys.cpl’ into the text box and press Enter to open the Sound settings.
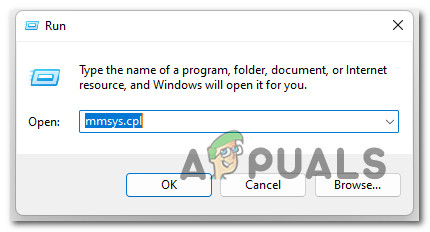
Accessing the Sound Settings on Windows 11 Note: If confronted by the User Account Control (UAC) prompt, click Yes to grant administrative access.
- Within the Sound settings, ensure the Playback tab is selected.
- Right-click on the audio device you’re currently using and select Properties from the context menu.
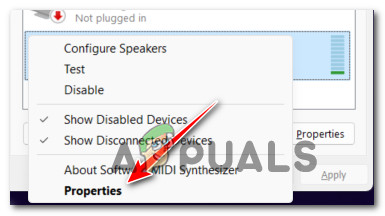
Accessing the Properties menu of your Sound device - In the Speaker Properties menu, navigate to the Advanced tab.
- Under Default format, change the selection in the dropdown menu to 24 bit, 48000 Hz (Studio Quality).
- Click on Apply to save the changes.

Changing the sound quality - After adjusting the sound quality setting, reboot your PC to check if the low-volume sound issues on Windows 11 have been resolved.
If the problem continues despite trying the above instructions, consider the next potential solution.
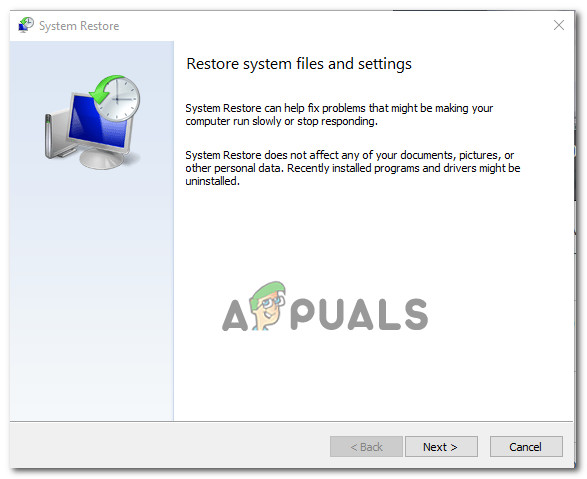
7. Use a System Restore point
If you suspect the issue is due to a recent change (new driver installation, app update, etc.), using System Restore could revert your computer to a state before the issue began.
Note: System Restore typically stores snapshots at critical system events. Unless you altered the default settings, you should have several to choose from.
For instructions on how to use System Restore, follow this guide on accessing previously saved System Restore points. This process will allow you to turn back the clock to a point when the low volume issue was not present.
After restoring your PC using the above guide, check if the low volume issue persists on Windows 11.
If the problem is still unresolved, proceed to the next method.
8. Deploy SFC and DISM scans
If all else fails, consider that system file corruption might be affecting your computer’s audio outputs. When faced with such issues, two built-in tools—System File Checker (SFC) and Deployment Image Servicing and Management (DISM)—can often help.
These utilities can fix common corruption issues that potentially interfere with Windows Update’s functionality.
Ideally, start with an SFC scan, which doesn’t require an internet connection.
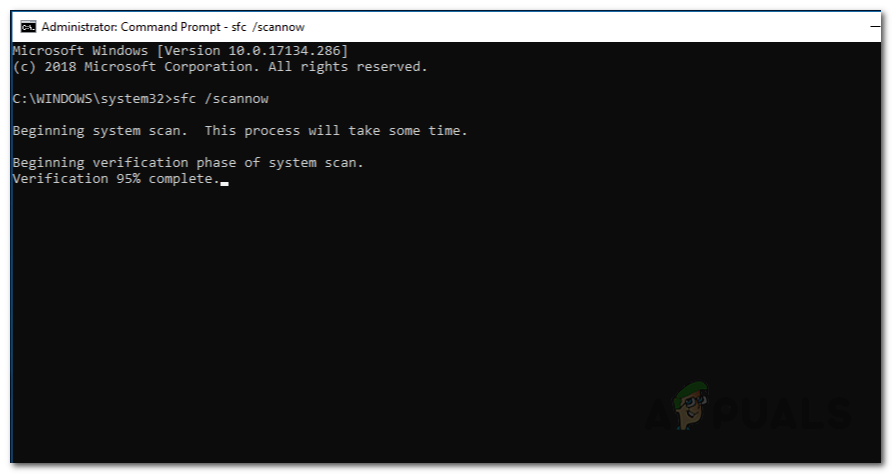
Note: The SFC tool uses a locally stored cache to replace corrupted files with intact ones. Let this process complete fully to avoid additional complications.
SFC scans can take a while, especially on HDDs, so exercise patience during this process.
Important: If the SFC scan seems to freeze, wait for the tracking to resume instead of closing the window.
Once the SFC scan is complete, reboot your PC and check for the low audio issue.
Should the issue persist, proceed with a DISM scan.
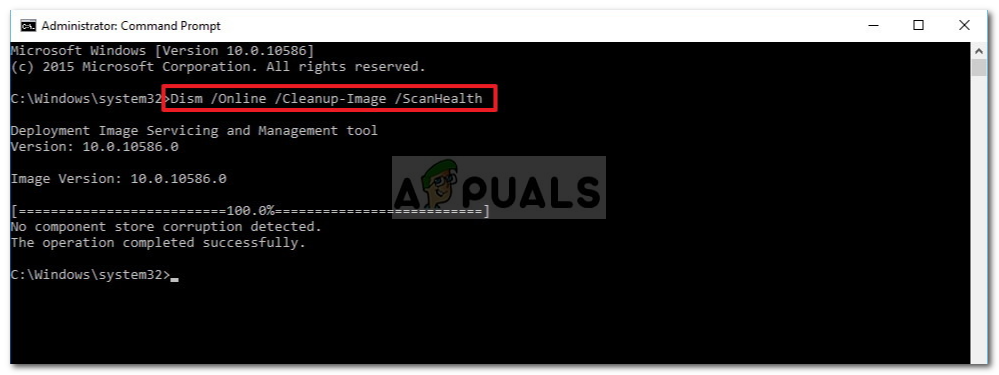
Note: DISM relies on Windows Update to replace damaged files with clean versions. Thus, ensure a stable internet connection before starting this operation.
After completing both the SFC and DISM scans, restart your PC and assess if the audio issues with your Windows 11 computer have been addressed.
9. Revert back to Windows 10
If you’re within the 10-day rollback period, you can easily downgrade to Windows 10 by following this guide: reverting to Windows 10.
If reverting isn’t an option, enhancing audio volume on Windows 11 might be impossible with your current hardware configuration.