Troubleshoot LoadLibrary Error 1114: 5 Solutions
The LoadLibrary Error 1114 is an Error associated with the Dynamic link library (DLL) initialization routine. When the initialization routine fails, it will prevent you from opening certain game files, Adobe Lightroom/Photoshop, and Windows File Explorer. The major cause of this error is conflicting graphics drivers.
In this guide, we will be showing how the methods you must perform to fix the following error.
Prerequisites: Check the System Requirements
One of the reasons why this error has occurred is that your system doesn’t meet the requirements to run programs like Adobe Lightroom and Photoshop. Therefore, before using the programs, you must check your system specifications. Below is how you can check your system specifications:
- Open the Run Command by pressing the Win + R keys together.
- Type “dxdiag” in the search box and click OK.
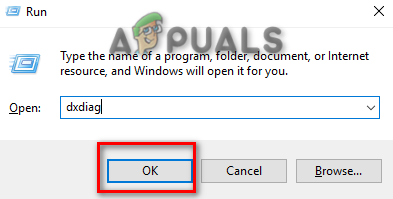
Opening the DirectX Diagnostics Tool - Click on the “System” tab to check your system specifications under “System Information.

Checking System Specifications on the Diagnostics Tool - Click on the “Display” tab to check your Display specifications.
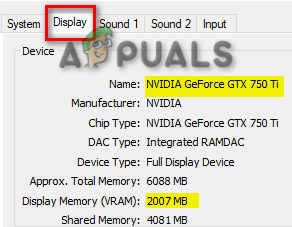
Checking Display Specifications on the Diagnostics Tool
Minimum Display Requirement
- Windows 10 (1909 64-bit) or later
- DirectX 12-capable GPU.
- Intel GPUs: Skylake or later.
1. Set Global Settings to Maximize Performance
This error is most commonly caused by the use of the wrong Global Settings of the graphics card. The error occurs due to issues with the graphics. So, you must change the Global Settings to “Maximize-performance” to enhance the overall performance of the system. Below we have given the steps to set the Global Settings to a Maximize-performance:
- Open the Run Command by pressing the Win + R keys together.
- Type “control panel” in the search box and click OK.
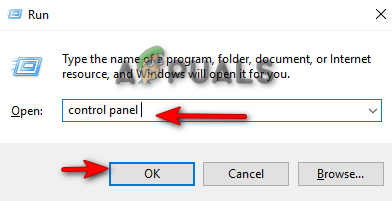
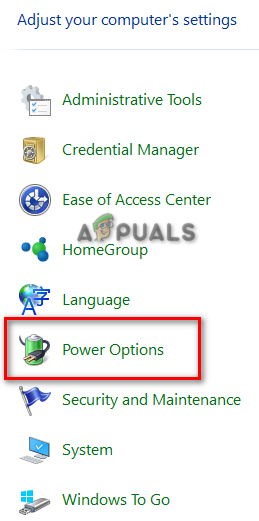
Opening the Control Panel - Click on the drop menu of “view by” and select “Large icons.”

Settings Icons at Large Font Size - Open the Power Options settings.
Opening Power Options - Click on the “Change plan settings” of the Preferred Plans.
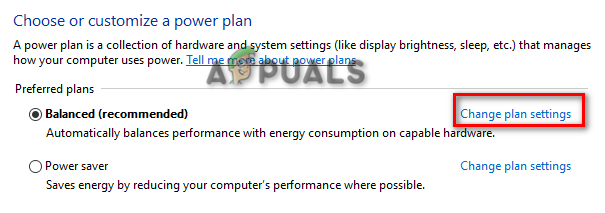
Changing Plan Settings of Preferred Plans - Open the advanced power settings by clicking on the “Change advanced power settings” option.
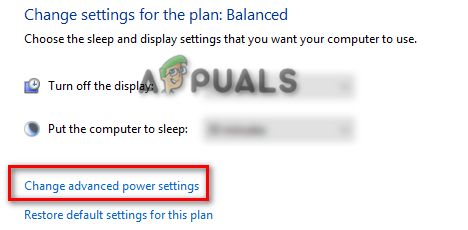
Changing Advanced Power Settings - On the Advanced Settings Box, scroll down and click on the ” Switchable Dynamic Graphics” option.
- Select the “Global Settings” and change both “On battery and “Plugged in” settings to “Maximize-performance”
- Make the changes by clicking Apply and OK.
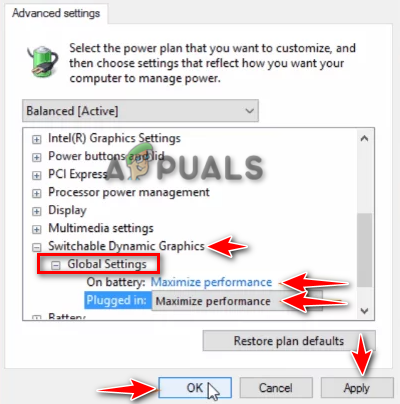
Setting Global Settings to Maximize performance - Now, open the Windows Start Menu by pressing the Win key.
- Restart your computer by clicking on the Power option and selecting “Restart”
Restarting the Windows computer
2. Run the System Scans
Having corrupted system files will prevent you from accessing certain programs and files on the system. Therefore, you must make sure to perform System Scans that will detect and repair any corruption found in the system files. Perform the System Scans by following the steps listed below:
- Open the Windows Start Menu by pressing the Win key.
- Type “cmd” in the Windows Search bar.
- Right-click on it and select the “Run as an administrator” option.
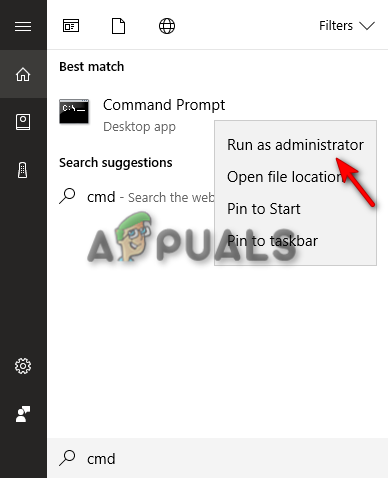
Running the Command Prompt as an administrator. - Ru the system file checker by typing the following command in the Command Prompt while giving a space between “sfc” and “/.”
sfc /scannow
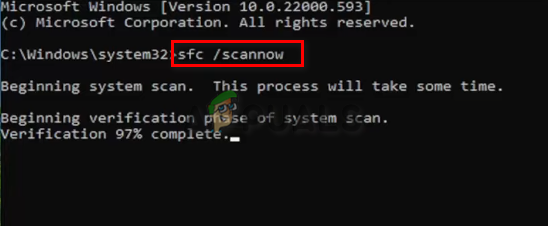
Running system file checker on the command prompt. - After completing the scan, the file checker will automatically repair the defective files.
- Run the DISM command with the following commands while making sure to press the Enter key after each command:
Dism /Online /Cleanup-Image /CheckHealth
Dism /Online /Cleanup-Image /ScanHealth
Dism.exe /online /cleanup-image /restorehealth
- Restart your computer to make the necessary changes.
3. Set Diagnostic Policy Service Startup to Automatic
A disabled Diagnostic Policy Service Startup is also known to cause this error. This service helps to detect the problems and repairs programs at fault. Therefore, you must enable the Diagnostic Policy Service Startup by setting it to Automatic. You can enable the Diagnostic Policy Service Startup with the instructions below:
- Open the Run Command by pressing the Win + R keys together.
- Type “services.msc” in the search box and click OK.
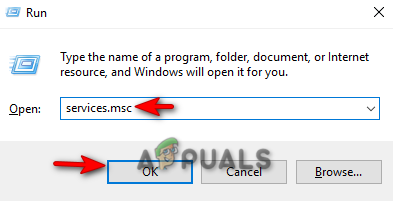
Opening Windows Services - Find the “Diagnostics Policy” service by scrolling down the page.
- Right-click on the Service and select the “Properties” option.
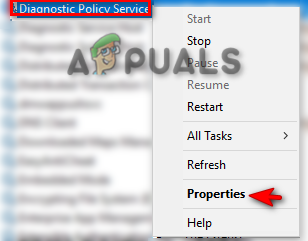
Opening the Diagnostic Policy Service Properties - Set the Startup to Automatic by clicking on the “Startup type” drop-down menu and selecting the “Automatic” option.
- Make the necessary changes by clicking on Apply and OK.
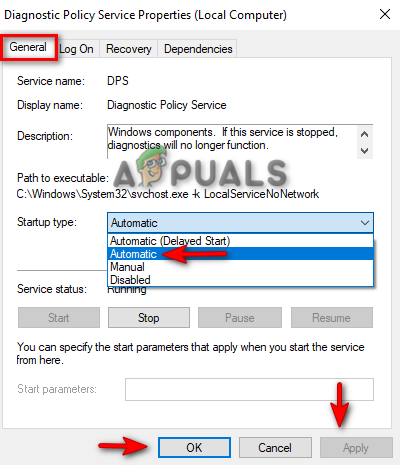
Setting Diagnostic Policy Service to Automatic - Restart your computer to make the changes.
- Run the program at fault.
4. Download and Install the Display Driver Uninstaller
An outdated display driver interferes with the function of certain programs and prevents them from starting. So, you can uninstall your current Display driver and manually reinstall the latest version on your system. These are the steps to use the Display Driver Uninstaller:
- Open the Display Driver Uninstaller Website.
- Download the Zip file by scrolling down to the bottom and selecting the Download Location as per your choice.
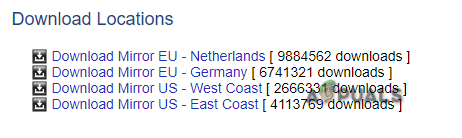
Downloading the latest Display Driver Uninstaller - Select the location where you want to download the file and click the Save option.
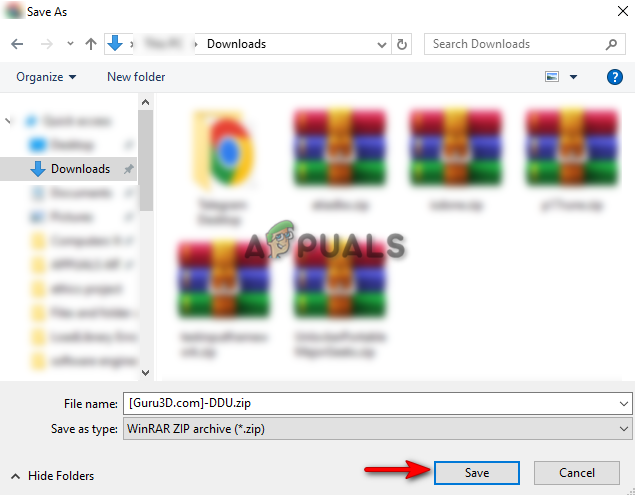
Selecting Download Location - Click on the three dots on the browser and open the “Downloads” page.
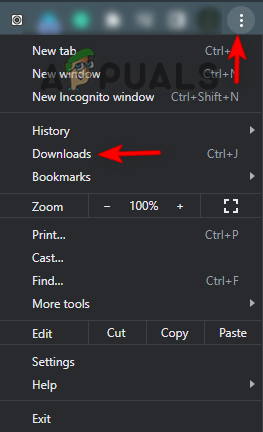
Opening the Downloads tab - Locate the file with the “Show in Folder” option.

Showing zip file in the folder - Right-click on it and select the “Extract here” option.
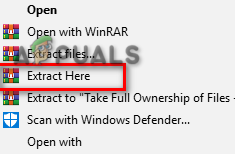
Extracting the File
After Extracting the file, disable the automatic Windows Update and reboot the system in Safe Mode.
Disabling the automatic Windows Update
- Open the Run Command by pressing the Win + R keys together.
- Type “control panel” in the search box and click OK.
Opening the Control Panel - Click on the drop menu of “view by” and select “Large icons.”
Settings Icons at Large Font Size - Navigate to System > Advanced system settings.
- On the System Properties page, click on the Hardware tab and open the Device Installation Settings.
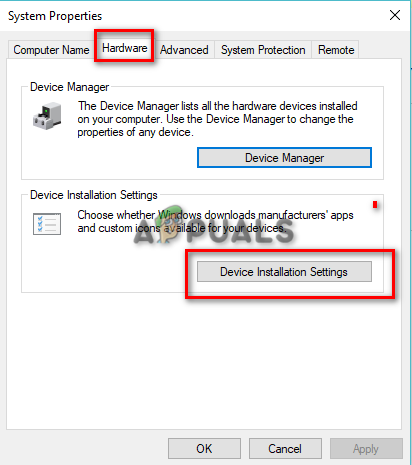
Opening Device Installation Settings - Disable Automatic Windows updates by selecting No and Save Changes.
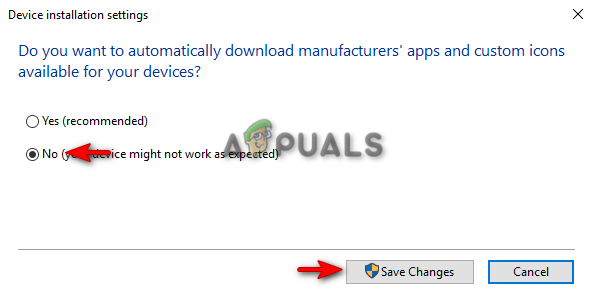
Disabling Automatic Windows Updates
Rebooting in Safe Mode
- Now, you must Reboot the system on Safe Mode.
- Open the Run Command by pressing the Win + R keys together.
- Type “msconfig” in the search box and click OK.
Opening System Configuration - Open the Boot tab and check the “Safe Mode” box.
- Click and select the “Minimal” option under Safe Mode.
- Set the “Timeout” as per your preference.
- Make the changes by clicking Apply and OK.
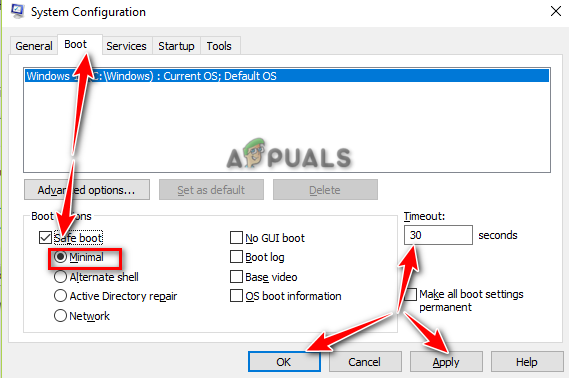
Booting System on Safe Mode - Restart your computer by selecting the “Restart” option on the System Configuration Prompt.

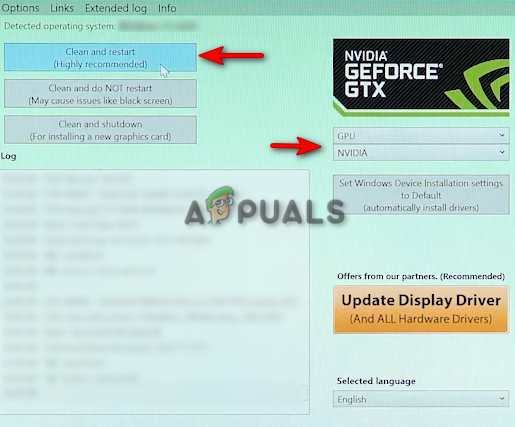
Restarting computer - On Safe Mode, open the Display Driver Uninstaller and select your GPU Type.
- Uninstall the driver by clicking on Clear and Restart.
Cleaning and Restarting
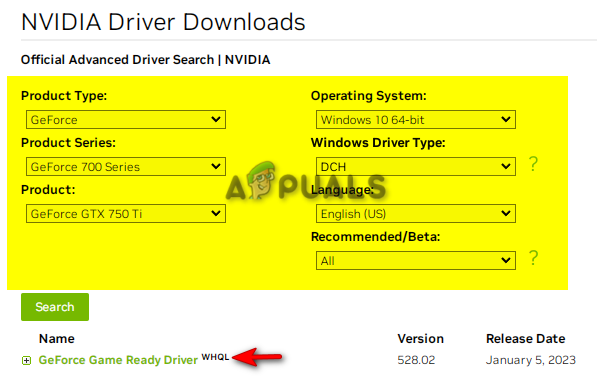
- Open the Official NVIDIA Drivers Website.
- Select the product type installed on your system.
- Search for the latest display driver by clicking on the Search Option.
- Download the Driver by clicking on the top search.
Manually searching the latest Display Driver - Start installing the Driver by double-clicking on the EXE file.
- After the Driver has been installed, restart your computer.
5. Perform a Clean Boot
If the error still occurs in the Normal State, then as a last resort, you must Perform a Clean Boot on your system. This is a built-in feature that boots the system on a minimal set of drivers and startup programs. However, do note that, in case your data gets deleted, you must have a backup copy of your files on the system.


