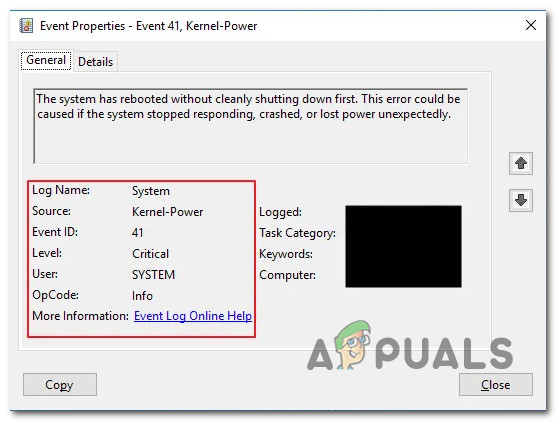
How to Fix ‘Kernel-Power 41’ Error on Windows 11?
Windows 11 is widely considered way more stable than the older iteration where back when they first launched. But for all the stability that Microsoft managed to achieve with Windows 11, there’s one ongoing error that seems to affect a lot of early adopters – Kernel-Power 41.
This is a critical error that can also be observed on older Windows versions and now it has made its way onto Windows 11.
Note: If you’re experiencing the kernel power 41 error on an older Windows version than Window 11, follow this troubleshooting article instead.
We’ve investigated this particular issue thoroughly on Windows 11 and even if some of the potential causes of this error are similar to the older Windows version, there are some entirely new potential culprits that you should be aware of.
Here’s a list of potential culprits that might be responsible for this problem:
- Latest Windows hotfixes are not installed – Just a few days after Windows 11 officially launched, Microsoft released a hotfix aimed at resolving those issues where people with older motherboard models were experiencing serious instability issues. To make sure that you’re already taking advantage of this hotfix, you’ll need to install every pending Windows 11 update that is currently waiting to get installed.
- 3rd party interference – There are a lot of potential 3rd party culprits that might contribute to a critical crash of this kind. From overprotective AV suites to system optimizing tools that end up meddling with kernel processes, you should investigate the culprit by clean booting your PC.
- Common power-related inconsistency – If the problem is related to your PSUs inability to supply power to the essential components of your PC, running the Power Troubleshooter and applying the recommended fix along with the removal of every-non essential peripheral should take care of the issue for you. Another viable fix is to buy a more powerful PSU.
- Unstable component frequency or voltage – If you recently overclocked some of your internals or you adjusted some voltages and you started to experience these types of crashes immediately, chances are you’re dealing with an unstable configuration. If you’re a newbie at overclocking, the most sensible approach would be to revert every overclocked component and see if the critical error stops occurring.
- System File Corruption – In more serious circumstances, you can expect to see this issue occurring due to some kind of system file corruption that ends up affecting the stability of your PC. In this case, you should start by running SFC and DISM scans in quick succession before going for a repair install in case things still don’t improve.
Now that you are aware of every potential culprit that might be responsible for this problem, let’s go over some of the most effective fixes that other affected users have successfully used to troubleshoot the Kernel-Power 41 critical error on Windows 11.
Install latest pending updates on Windows 11
Before you try any of the other fixes below, the first thing you should do is make sure that every pending Windows Update is installed. This is an essential step because Microsoft has already released a couple of hotfixes aimed at improving the stability of Windows 11 for certain configurations that are prone to the 41 Kernel error.
Start this troubleshooting guide by accessing the Windows Update component and installing every pending Windows update before moving to the other potential fixes below.
Note: If there are a lot of pending Windows updates waiting to be installed, you might be prompted to restart before you get the chance to install every pending update. In this case, you need to restart as instructed, but make sure to return to the same Windows and resume the installation of the remaining updates until your Windows 11 PC is up to date.
Follow the instructions below to install every pending Windows update on Windows 11:
- Open up a Run dialog box by pressing Windows key + R. Next, type ‘ms-settings:windowsupdate’ and press Enter to open up the Windows Update menu from the Settings app.
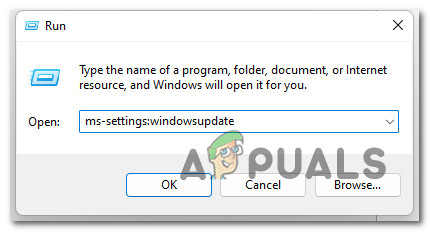
Open up the Windows Update screen - Once you’re inside the Windows Update screen, move over to the right-hand section of the screen and click on Check for Updates to see if any new updates are pending on your Windows 11 computer.
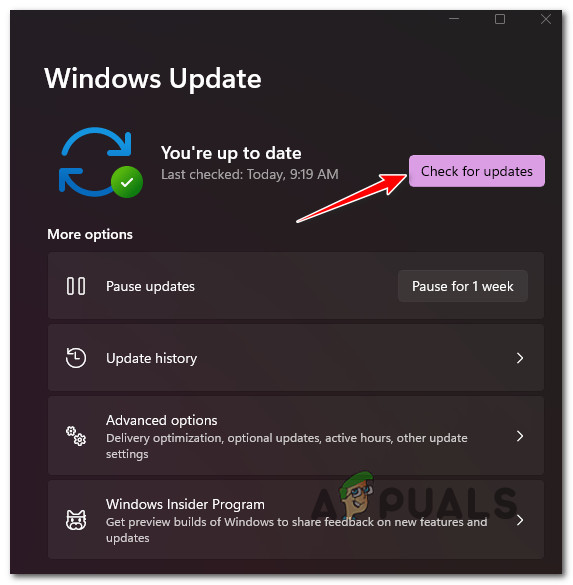
Check for Updates - If any new updates are discovered, click on Install Now and wait until every pending update is downloaded and installed.
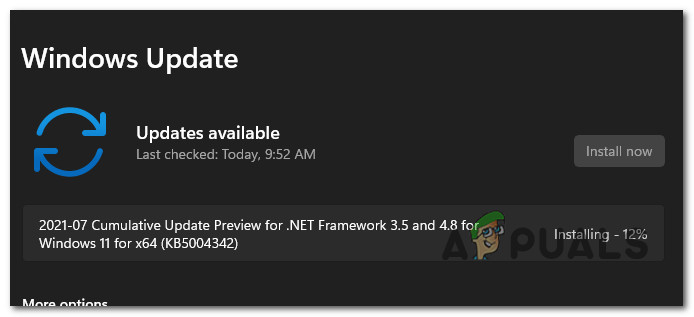
Installing the updates Note: When prompted to reboot, do so, then return to the Windows Update menu to confirm that all the pending Windows Updates are installed.
- Once every pending Windows update is installed, utilize your PC normally and see if the same kernel power error 41 is still occurring.
If the same kind of problem is still occurring even after updating (or you already had the latest updates installed), move down to the next potential fix below.
Run the power troubleshooter
Once you’ve made sure that you’re using the latest Windows 11 build available, the next thing you should do is troubleshoot for a potential power-related issue.
It’s not uncommon to deal with the Kernel 41 error in a situation where your PSU is not really powerful enough to accommodate your current PC configuration. In a scenario like this, the easiest solution would be to upgrade to a more powerful PSU.
However, before doing this, you should at least confirm that the PSU is actually responsible for this issue.
Start by disconnecting every non-essential peripheral – this includes printers, headsets, external webcams and anything else connected via USB that might draw power via your computer’s PSU.
Once you’ve done this, follow the instructions below to run the Power Troubleshooter to further optimize the use of power on your PC:
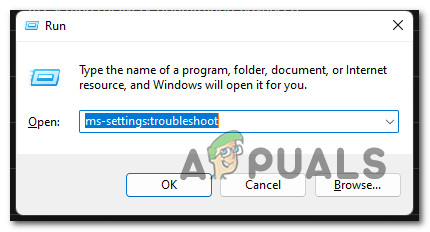
- Press Windows key + R to open up a Run dialog box. Next, type ‘ms-settings:troubleshoot’ inside the Run text box and press Enter to open up the Troubleshooting tab.
Opening up the Troubleshoot tab - Once you’re inside the Troubleshoot tab of the Settings app, move over to the right-hand section of the screen and click on Other Troubleshooters.
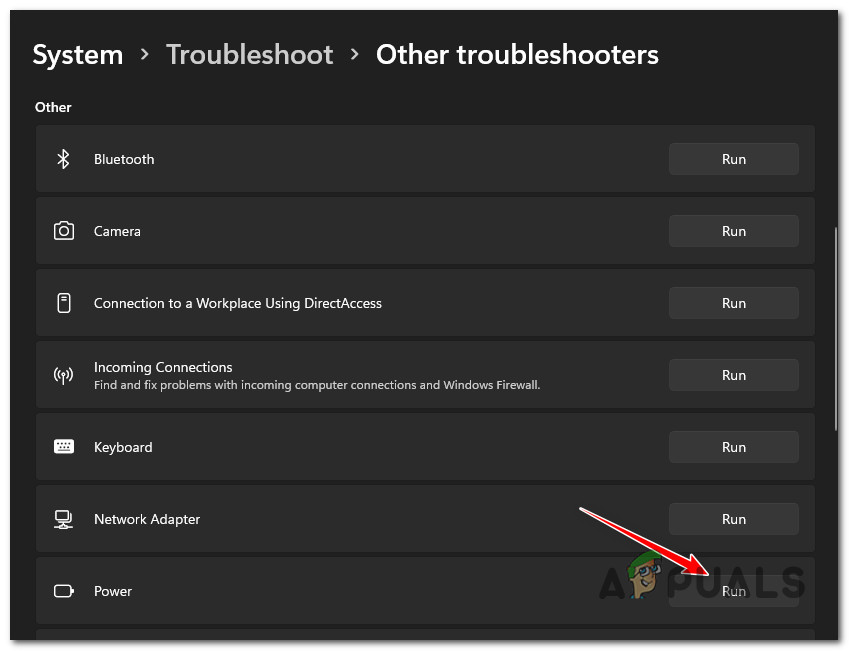
- From the next menu, scroll all the way down to the Others section, then click on the Run button associated with Power.
Open up the Power Troubleshooter on Windows 11 - Once you start the troubleshooter, wait until the initial scan is complete. If the fix is not automatically applied, click on Apply this fix and wait until the repair strategy is deployed (in case a viable scenario is identified).
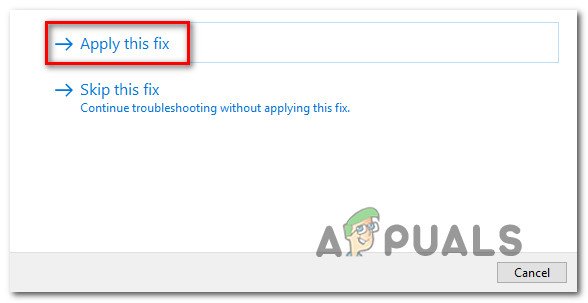
Apply the recommended fix - Restart your PC at the end of this procedure and see if the problem is fixed once the next startup is complete.
If you’re still experiencing the same Kernel 41 power error even after running this troubleshooter, move down to the next potential fix below.
Perform a clean boot operation
If you’ve come this far without a viable solution, you should start turning your attention towards a potential 3rd party culprit that might contribute to the instability of your Windows 11 computer.
According to other affected users, you can expect to deal with this type of issue due to an overprotective security suite or due to a system optimizer app that ends up affecting the power-related Kernel processes.
If you’re dealing with the 31 Kernel-Power errors consistently, you should perform a clean boot procedure and check if the same kind of critical crashes is still occurring.
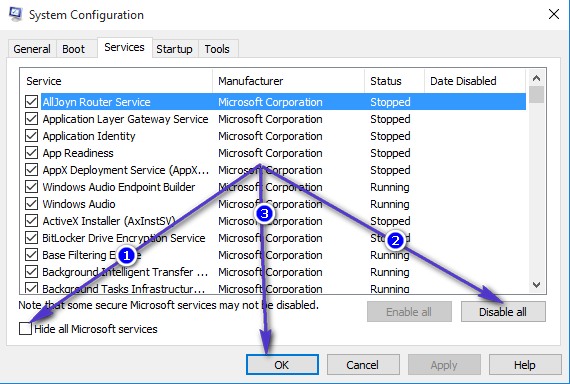
If you achieve a clean boot state and you notice that the same error stops occurring, it’s clear that a third-party processor startup service is causing the issue. Now it’s just a matter of identifying the culprit – you can do this by gradually re-enable every previously disabled item until you notice the error returning.
On the other hand, if the same kind of issue is still occurring even in a clean boot state, move down to the next potential fix below.
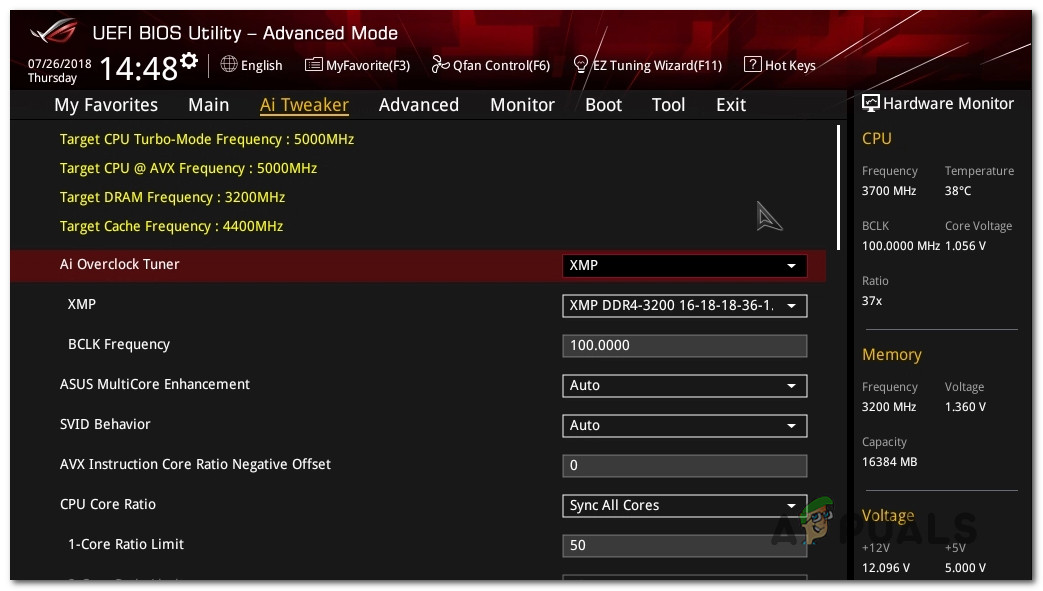
Disable active overclocking (if applicable)
If you’re currently booting up with any overclocked frequencies or voltages affecting your CPU, GPU, or RAM sticks, chances are the current configuration makes your PC unstable and produces this error.
The number one cause of this sort of situation is overheating. One quick way to confirm if your overclocked components are causing the Kernel-Power 41 error is to revert any overclocked frequency and voltage and boot up with the stock values.
Note: While reverting the overclock, you should also take the time to check all your fans and re-apply thermal paste on your CPU if necessary. Dusting your airflow also helps.
Once you have reverted any overclocked frequency, boot your PC normally and see if the problem is now fixed.
In case you’re still dealing with the same kind of issue, move down to the next potential fix below.
Perform SFC and DISM scans
If you’ve come this far without a viable fix, the problem is likely caused by some kind of system file corruption (if it’s not hardware-based).
Most cases of system file corruption can be resolved swiftly by running SFC (System File Checker) and DISM (Deployment Image Servicing and Management) scans from an elevated CMD prompt.
These utilities work in similar ways, but they’re different enough to be worth utilizing them in tandem.
Start by deploying an SFC scan from an elevated CMD prompt and wait until the operation is complete.
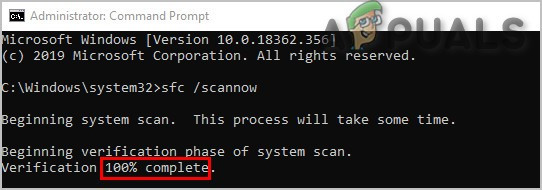
Note: Upon starting this scan, don’t interrupt it until it’s complete as you run the risk of causing additional logical errors.
Once the SFC scan is complete, restart your PC and wait until the next startup is complete before initiating a DISM scan.

Note: Keep in mind that DISM uses a sub-component of Windows Update in order to download healthy files in case it needs to replace file corruption. It’s important to have a stable Internet connection before deploying a DISM scan.
Once the DISM scan is complete too, reboot your PC one final time and see if the problem is now fixed.
If you’re still dealing with the same power kernel 41 error, move down to the final fix below.
Perform a repair install
If none of the methods above have proven to be effective in your case, one last thing that you should do to fix this particular issue is to go for a repair install procedure.
This operation will take care of more advanced cases of system file corruption while allowing you to keep your personal files, games, and applications that are currently stored on the same partition as your operating system.
Note: This operation should be preferred over clean installing if you have important data on the OS drive. The only drawback is that you will need to use compatible Windows 11 installation media.


