How to Install Windows 10 in Oracle VM VirtualBox
In this article, we will show how to download Windows 10 from Microsoft Evaluation Center and how to install in on the virtual machine. This article has two parts. In the first part, we will download Windows 10 and in the second part, we will install it on the virtual machine.
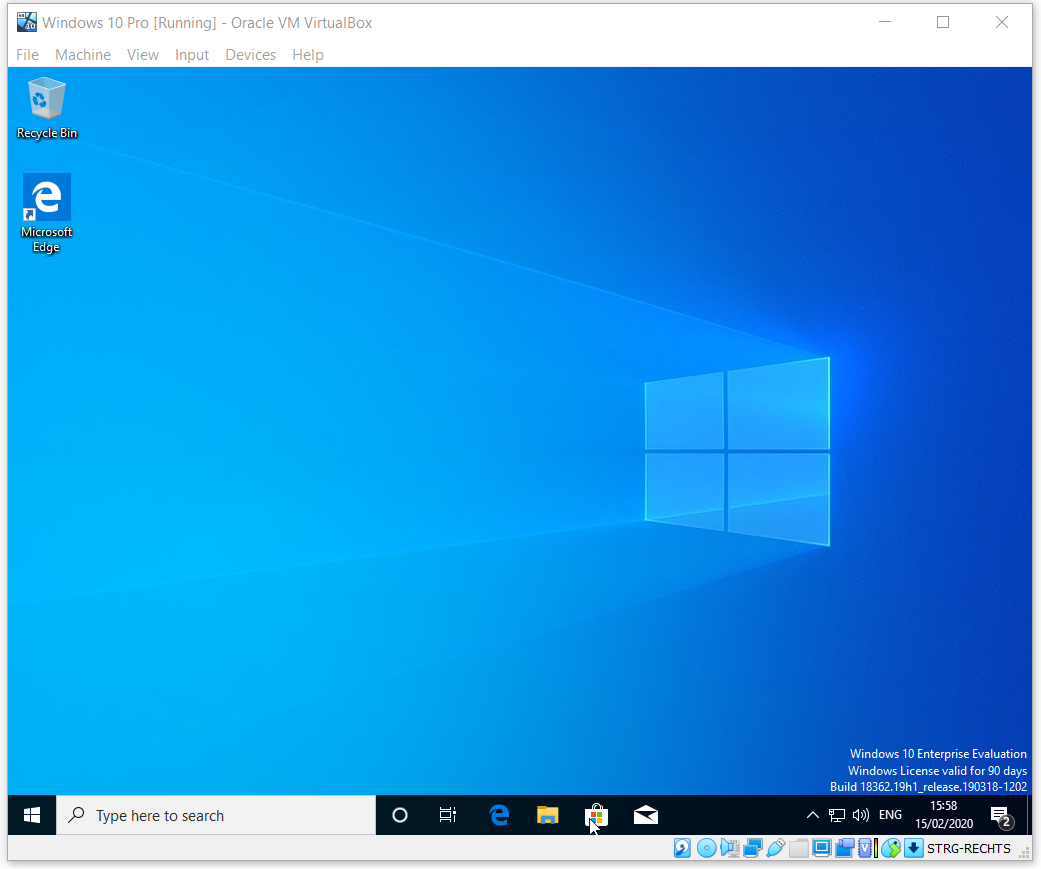
- Log on the Windows 10
- Open Internet browser (Google Chrome, Mozilla Firefox, Edge or others) and open Microsoft Evaluation Center on the link
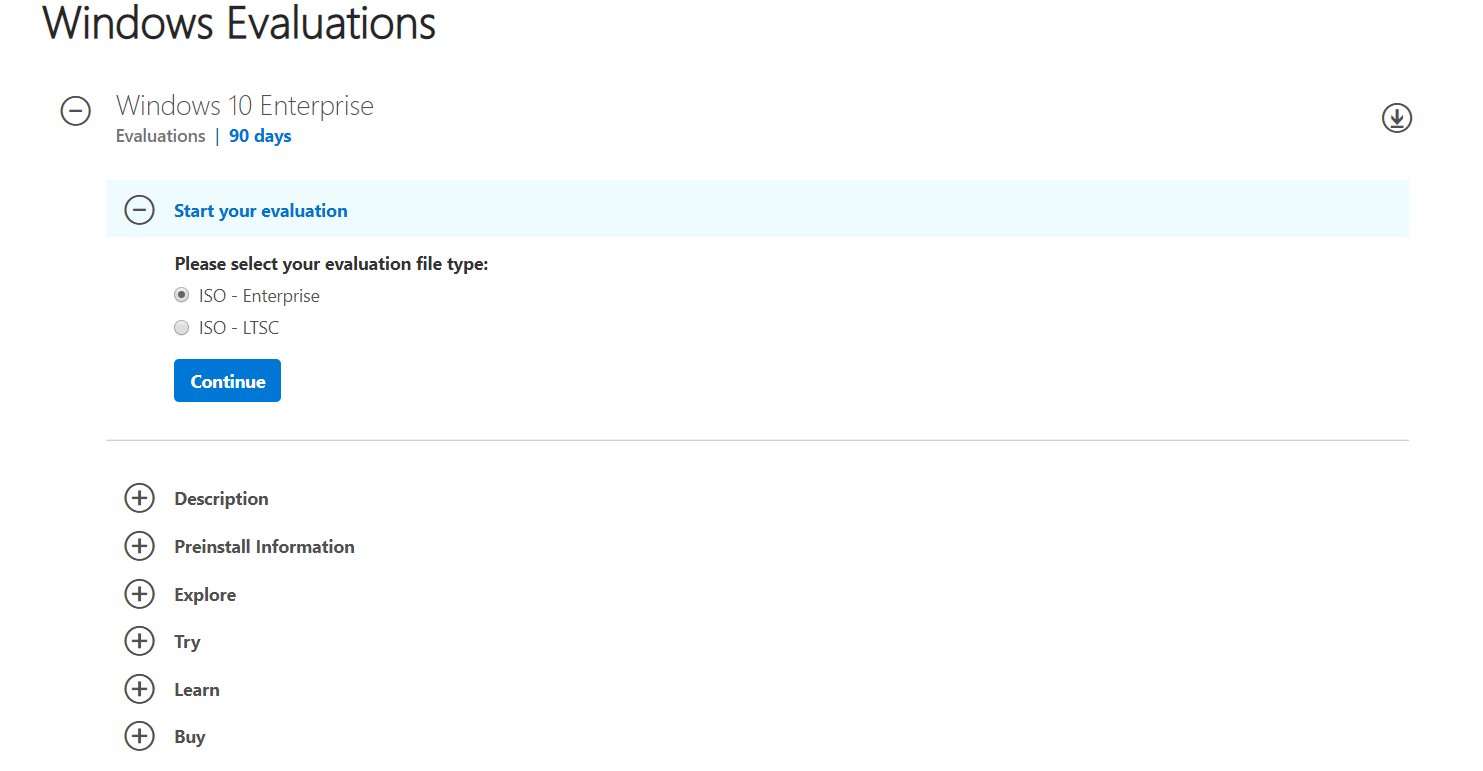
- Select the ISO – Enterprise and click Continue
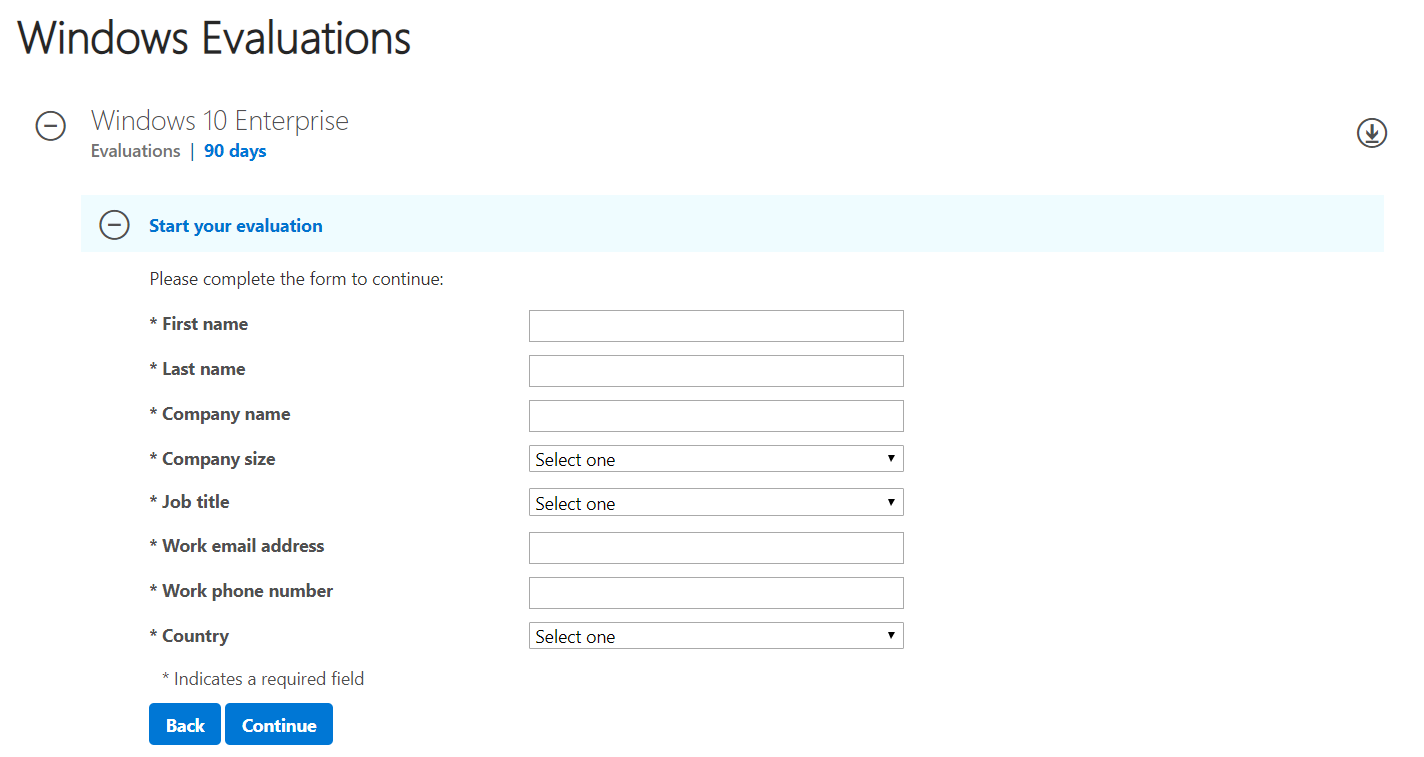
- Fill out the form in the screenshot below and then click Continue
- Under Please select your platform choose 64 bit and then select your language: English, and then click on Download.
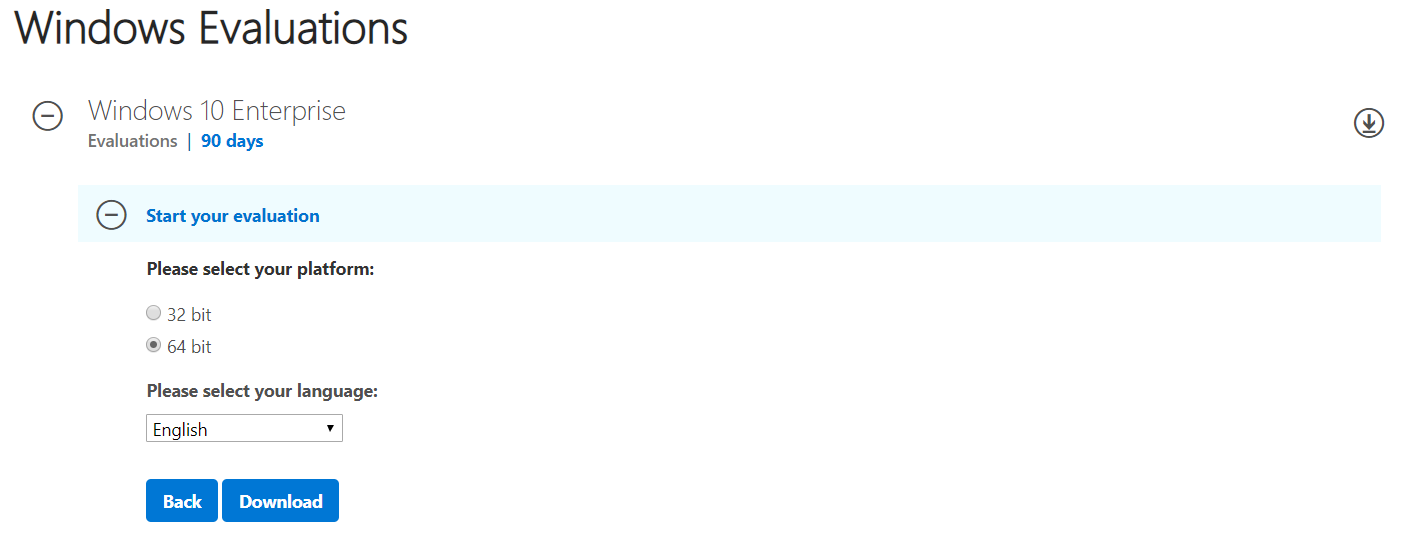
- It will download the file that is approximately 4.6 GB. The default name of the file is 418.191007-0143.19h2_release_svc_refresh_CLIENTENTERPRISEEVAL_OEMRET_x64FRE_en-us.
In the second part, we will install Windows 10 on the virtual machine that we created.
- Open Oracle VM VirtualBox
- Select the virtual machine. In our case, it is Windows 10 Pro.
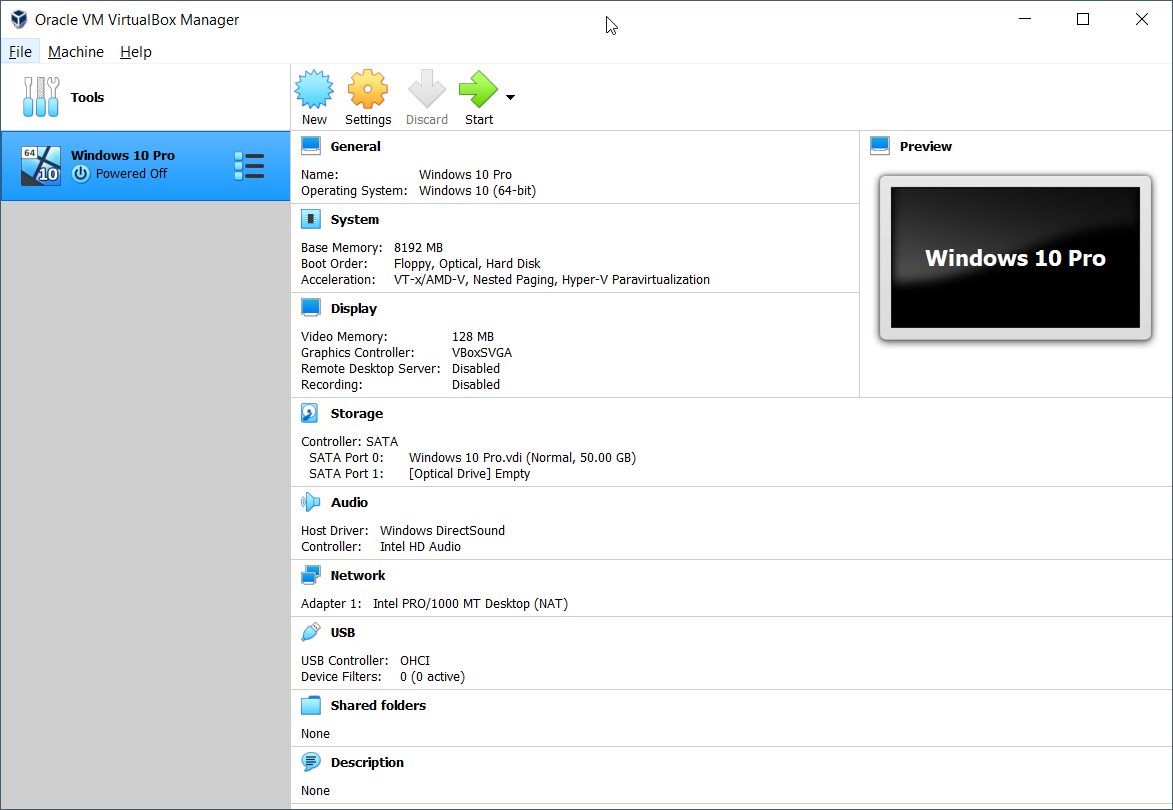
- Under the Storage > SATA Port 1: click on [Optical Drive] Empty and choose Choose a disk file…
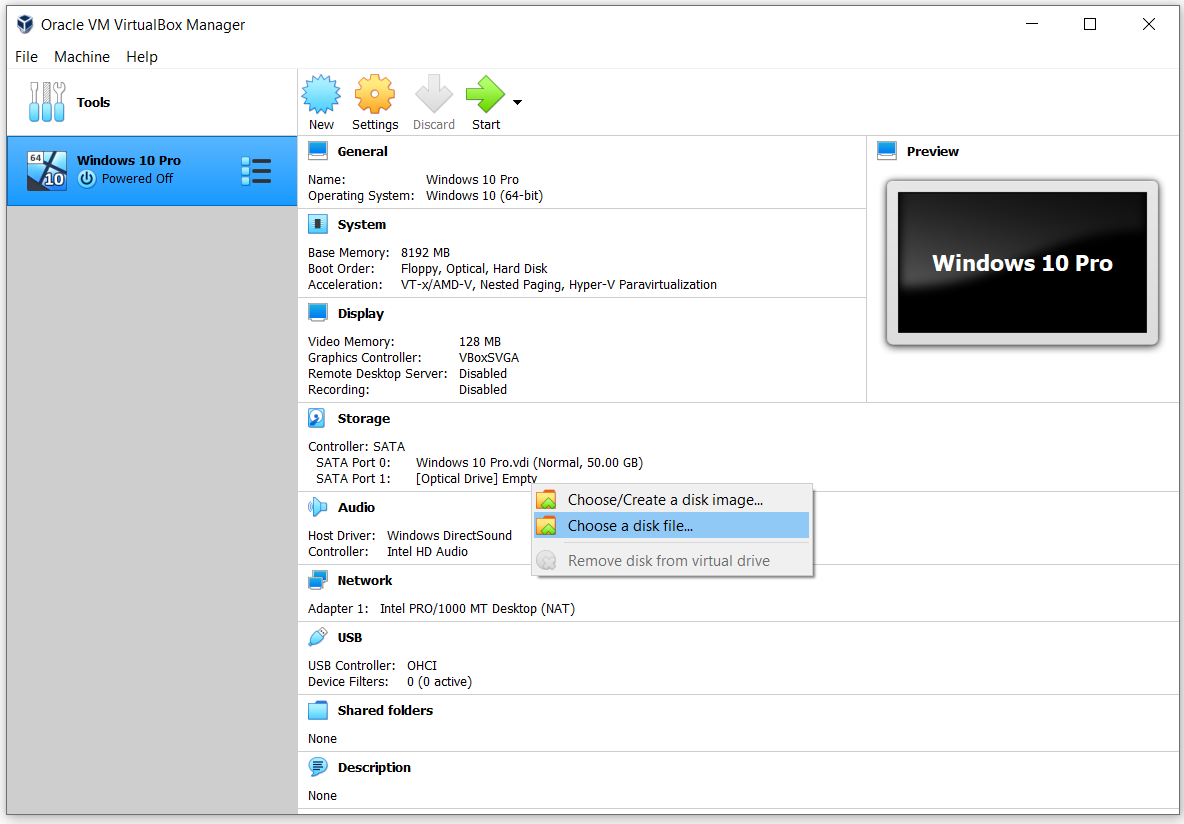
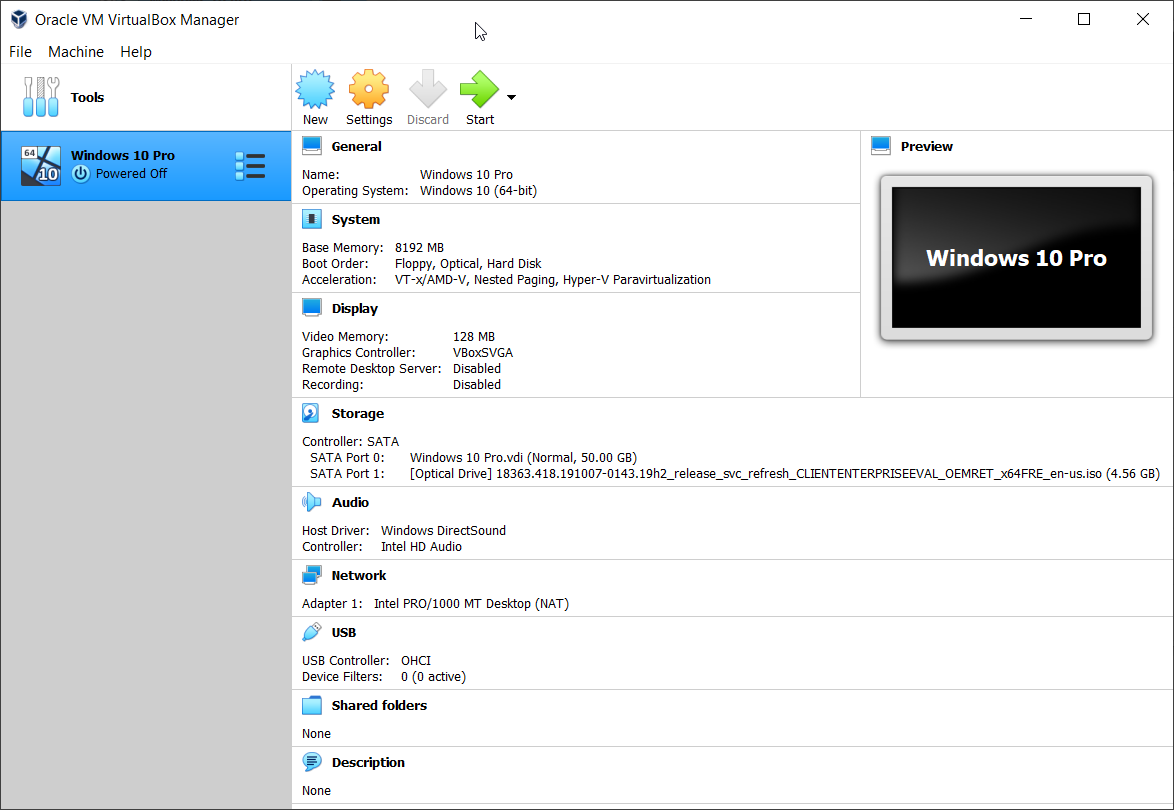
- Choose the .iso file we downloaded in the first part of this article. This means that we will use the .iso file to install Windows 10 on the virtual machine. You can see under SATA Port 1: the .iso file that we have selected for installation.
- Select the virtual machine and click on the
 button at the top of the window to start the virtual machine
 - Select language to install, time and currency format and keyboard and then click Next
- Click Install Now
- Under Applicable notices and license terms select I accept the license terms and then click Next
- Under Which type of installation do you want to select Custom: Install Windows only (advanced)
- Under Where do you want to install Windows, select partition and then click New to create a partition
- Click OK to confirm creating additional partitions for system files
- Click Next
- Wait until Windows finishes installation of the operating system
- Under Let´s start with the region. Is this right? Select your region and then click Yes
- Under Is this the right keyboard layout select the keyboard and then click Yes
- Under Want to add a second keyboard layout click Skip
- Wait until Windows finishes some setup
- Under Account select Domain join instead at the bottom left side of the window
- Under Who´s going to use this PC type the name of the user account and then click Next
- Under Create a super memorable password type the password you want to associate with the account and then click Next
- Under Confirm your password, type your password again and click Next
- Under Create security questions for this account choose the security question and type your answer and then click Next. You will need to select three security questions.
- Under Do more across devices with activity history click No
- Under Get help from your digital assistant click Decline
- Under Do more with your voice click Don’t use online speech recognition and then click Accept
- Under Let Microsoft and apps use your location select No and then click Accept
- Under Find my device select No and then click Accept
- Under Send diagnostic data to Microsoft select Basic and then click Accept
- Under Improve inking and typing select No and then click Accept
- Under Get tailored experiences with diagnostic data select No and then click Accept
- Under Let apps use advertising ID select No and then click Accept
- Wait until Windows finishes the installation
- Congratulation. You have successfully installed Windows on your virtual machine