Hyper-V 2019 Core Remote Management
In first two parts, we explained how to install Hyper-V 2019 Core Server on the physical server machine and how to do an initial configuration, so that Hyper-V 2019 Core Server can host virtual machines and communicate with other network devices. If you have missed these articles, please check the following articles: Part 1: How to install Hyper-V 2019 Server Core? and Part 2: Hyper-V 2019 Core Server – Initial Configuration
In this article, we will walk you through the process of doing remote management of your Hyper-V 2019 Core Server from Windows 10 machine.
In order to manage Hyper-V 2019 from Windows 10, there are few requirements that have to be in place, including Windows 10 Professional or Enterprise edition, x64 CPU that supports SLAT (Second Level Address Translation), minimum 4 GB RAM memory and Virtualization Support. If all of these requirements are fulfilled, we can step up to enabling Hyper-V Client within the Windows 10. We already covered all the steps that are necessary to enable Hyper-V Client. Please refer to the article “How to Create and Run a Virtual Machine With Hyper-V”.
In case that you would like to manage Hyper-V 2019 Core Server from the virtual machine, you will need to enable nested virtualization by following instructions on the article How to run Hyper-V in a Virtual Machine with Nested Virtualization?
After we have successfully completed previous steps, the next step includes adding Hyper-V 2019 Server to Hyper-V Manager on Windows 10. In order to do so, please follow the instruction below.
Step 1: Edit hosts file (Optional if you don’t have DNS server in the network)
As we don’t have DNS server in our lab, we will edit the host file on the machine from which we are trying to connect to Hyper-V 2019 Core Server. In our case, we will edit the host file on Windows 10 Pro machine.
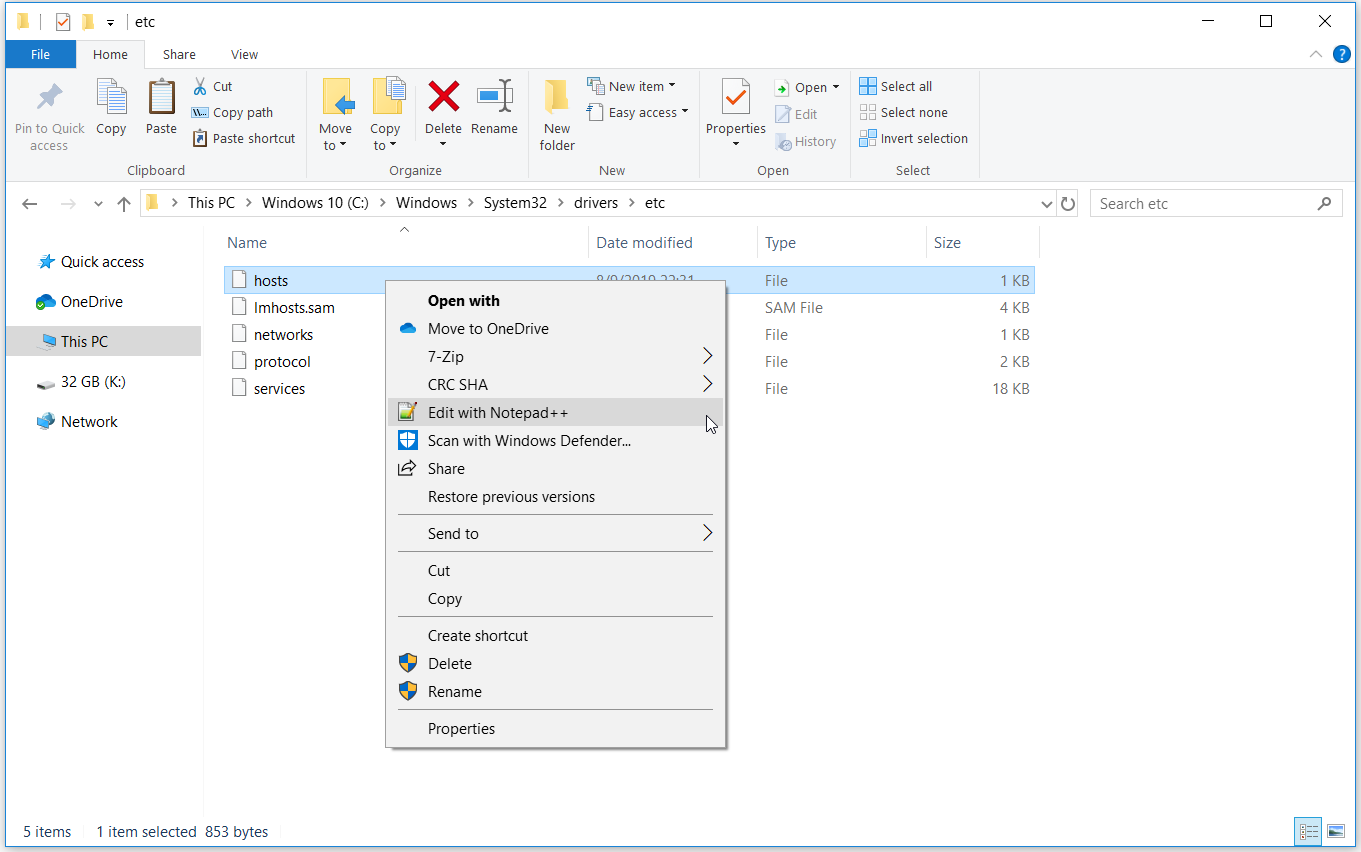
- Open File Explorer
- Navigate to following location C:\Windows\System32\drivers\etc
- Right click on file hosts and edit it by using any of Text Editors. In our case, we are using Notepad++
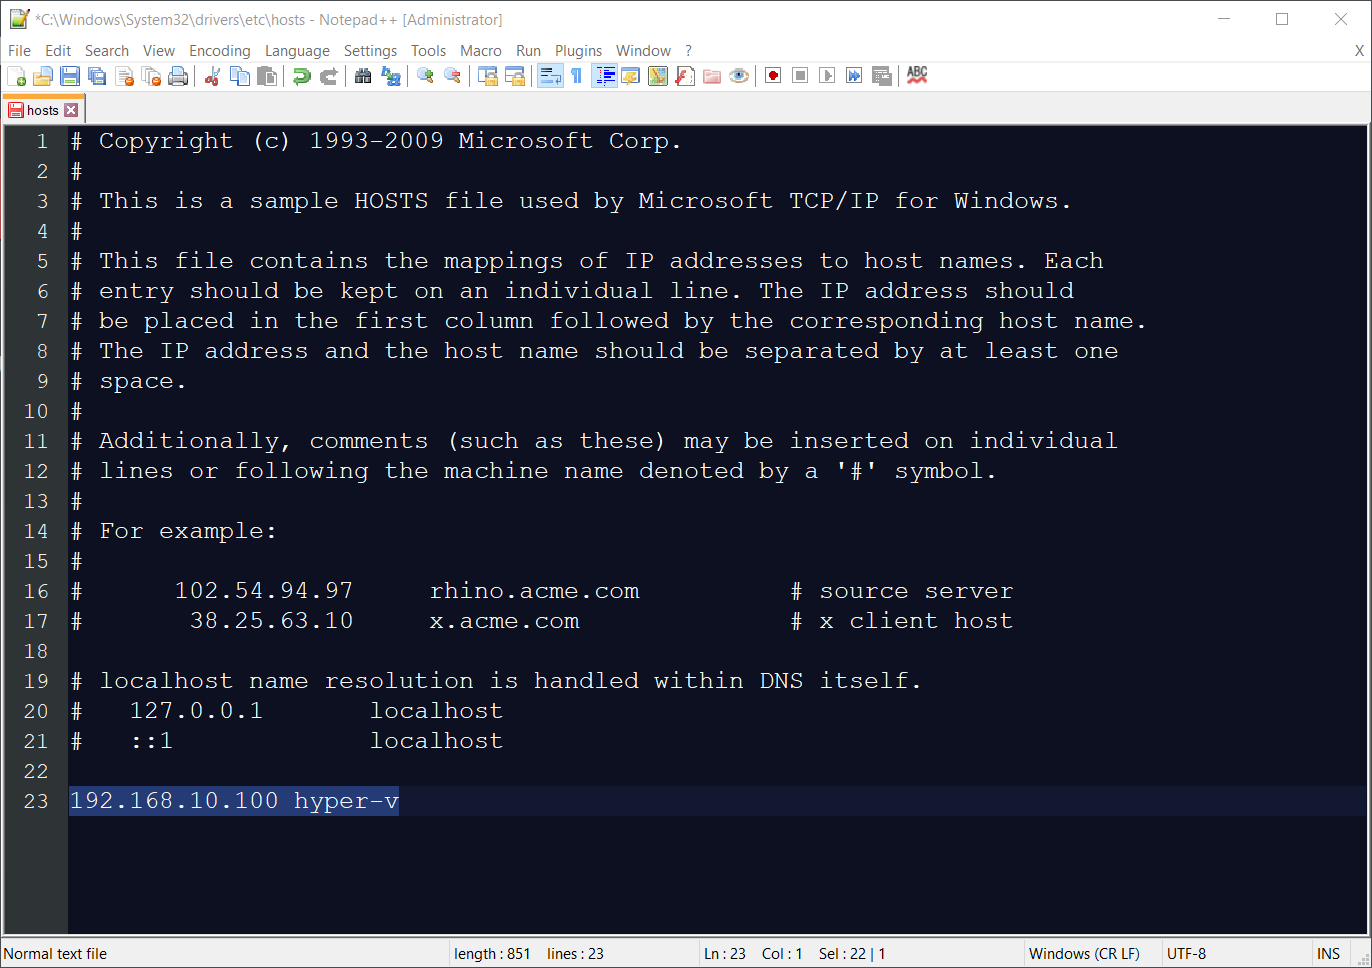
- Type the IP address and computer/server name associated with that IP address. In our case, the IP address of Hyper-V 2019 Core Server is 168.10.100 and computer/server name is hyper-v. According to this, we will need to add 192.168.10.100 hyper-v, as shown in the screenshot below.
- Save the file. In case you are using Notepad++ it will ask you to save the file in Administrator mode. Please confirm it by clicking OK.
Step 2: Add Hyper-V 2019 Server to Hyper-V Manager in Windows 10
This step explains the procedure of adding Hyper-V 2019 Server to Hyper-V Manager in Windows 10. The same procedure is compatible with Windows 8, Windows 8.1, Windows Server Edition 2012 R2, Windows Server 2016 and Windows Server 2019.
- Click on Start Menu and type Hyper-V Manager
- Open Hyper-V Manager
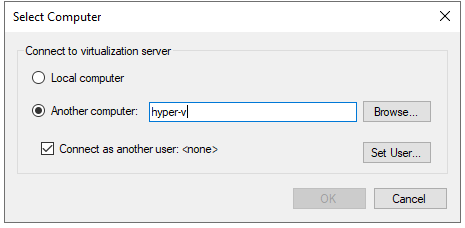
- Click on Connect to Server… on the right side of the window
- Select Another computer and type Hyper-V 2019 name. In our case it is hyper-v
- Click on Connect as another user: <none> and then click Set User…
- Type username and password. The username has to be in a format Computer Name\User. In our case the username is hyper-v\Administrator
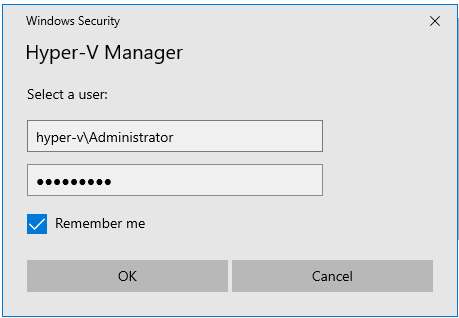
- Select Remember me and then click OK
- Congratulations. Your Hyper-V 2019 Core Server is successfully added to Hyper-V Manager.
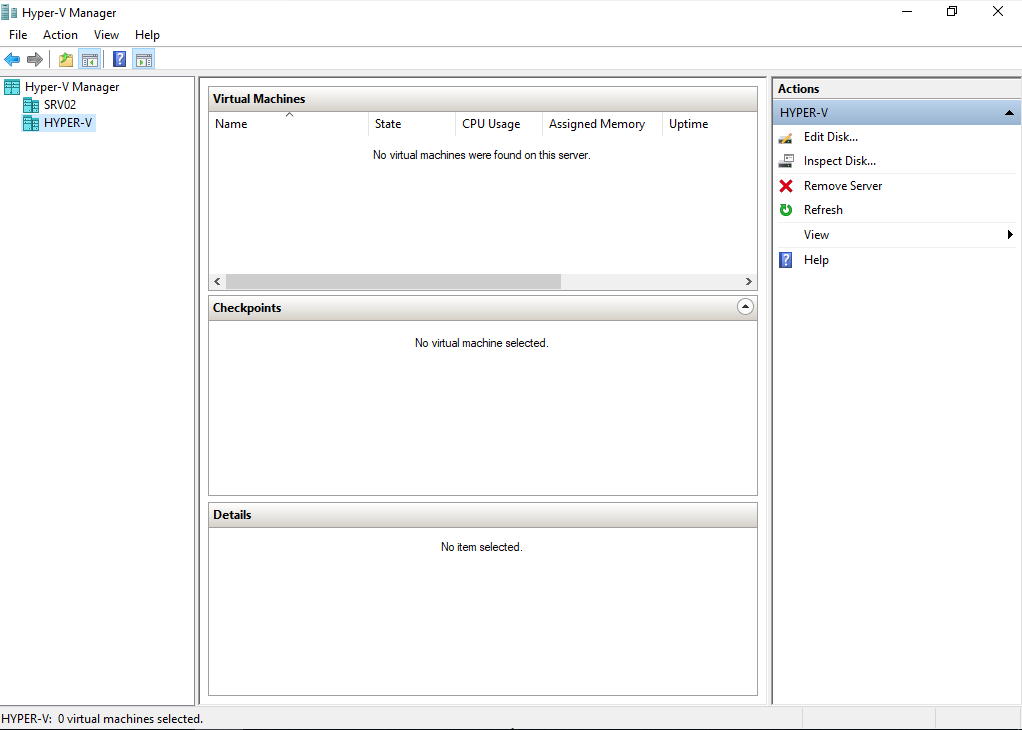
In the next article, we will show you how to install and configure your first virtual machine.


