How To Set Up Your Mesh WiFi Network
So, you have gone out, hopped on the bandwagon, and gone ahead and purchased yourself a Mesh WiFi network. You are now here trying to figure out how to install it which is what brings you here. Well, firstly, congratulations. You made one of the smartest internet investments you could. Now, let’s discuss how to get this investment up and running so that you can enjoy seamless and high-speed internet connectivity in every inch of your home (or school or workplace or wherever it is you would like to put these bad boys up).
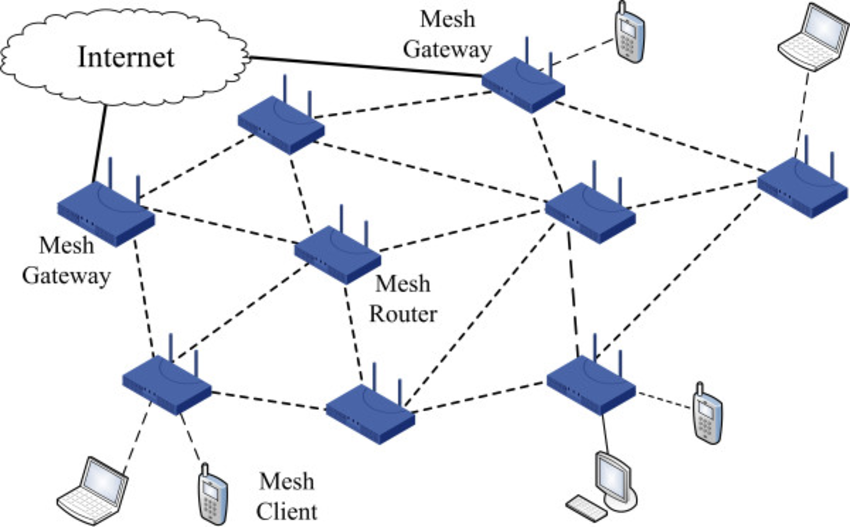
First of all, let’s understand how your new Mesh WiFi network actually works. Understanding its core principle will go a long way in setting it up just right so that you can capitalize on its capabilities and get the most out of it. To begin with, understand two things. One, your Mesh WiFi network has one central primary router and several satellite nodes that are extensions of that router as if it were the router itself placed in those satellite locations. Two, your network bounces off of the nodes that come along the way until it reaches the node nearest to you; this is how its data transfer and signal transfer takes place. From these two things, you can conclude that connectivity will not drop as you switch from one area to another as long as there is another node nearby for you to connect to (you will not have to disconnect and reconnect each time you move across your space and reenter passwords for extenders and boosters as you would in a traditional setup). You can also conclude that spacing these nodes out strategically will go a long way in ensuring that you do not have any dead zones in your space and that you also do not have too many nodes that your signal needs to jump across until it reaches you.
With the fundamentals out of the way, know that setting up a Mesh WiFi network is designed to be easy as these devices are specifically engineered to be user friendly and easy to work with. There are a few things to assess before setting them up to ensure that you place them ideally and use the right Mesh routers to meet your needs.
Step 1: Set Up The Application
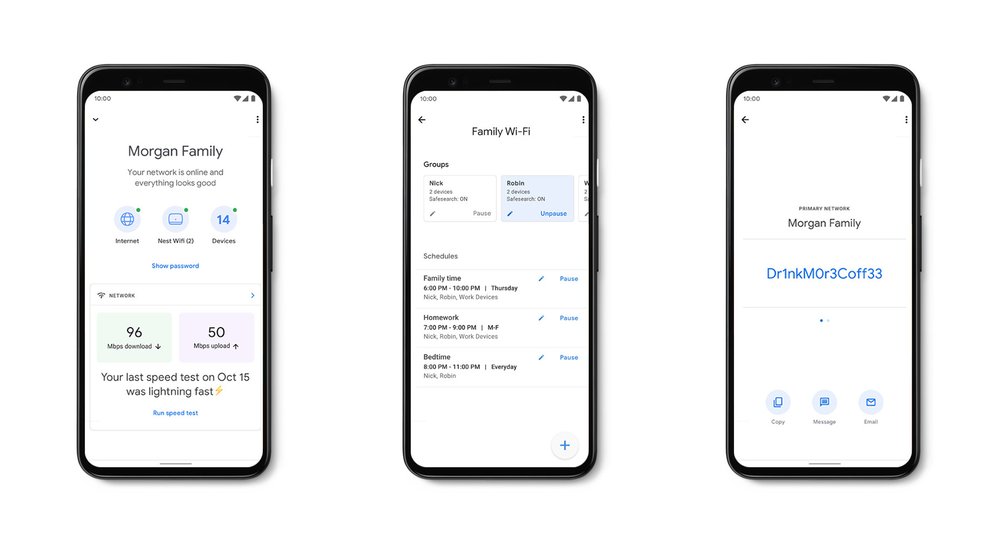
Each Mesh WiFi network comes with its own distinctive software application. To start your setting up procedure, find your product’s application on the app store or google play store, and hit download. You may be able to find a QR code on the product’s box or on the leaflet that comes inside it. You can scan this to direct your phone to the application’s download page.
Once you have downloaded the application, launch it, and create your account. Set your username and administrator password (and note it down somewhere so that you do not forget it because all of your internet connectivity will be controlled by this one password).
Step 2: Position Your Primary Mesh Node

Your Mesh network will have a main router node and multiple satellite nodes. Your main router node should be placed close to where your previous traditional router was placed as it will be feeding off of the main traditional modem you already have through a LAN connection. This is done so that it can extract the main line signal that is supplying your space with internet connectivity. Do not place this central primary router node in any closed space such as a closet or drawer. Keep it out in the open so that it is able to communicate well with all of its satellite nodes.
Step 3: Integrate The Primary Mesh Node With Your Modem
Disconnect your modem from the power plug to give it a chance to reset. This will allow it to assign the Mesh nodes you connect a fresh and valid IP address each. Now use a LAN cable to connect your central primary router node to your old modem router. Power up both devices.
Launch the Mesh network application you just installed and follow the on-screen instructions to configure your primary node with your Wireless router. The instructions vary from manufacturer to manufacturer but are simple and easy to follow. This will assign the main IP address to your central primary node and you will be able to set your Wireless connection’s name and password at this point as well.
Some Mesh networks let you only use a single SSID for both radio bands, but others allow you to set individual names for the 2.4 GHz and 5 GHz ones. If your Mesh network caters to this, you will be able to set those names through the application at this point as well.
Step 4: Position Your Satellite Nodes
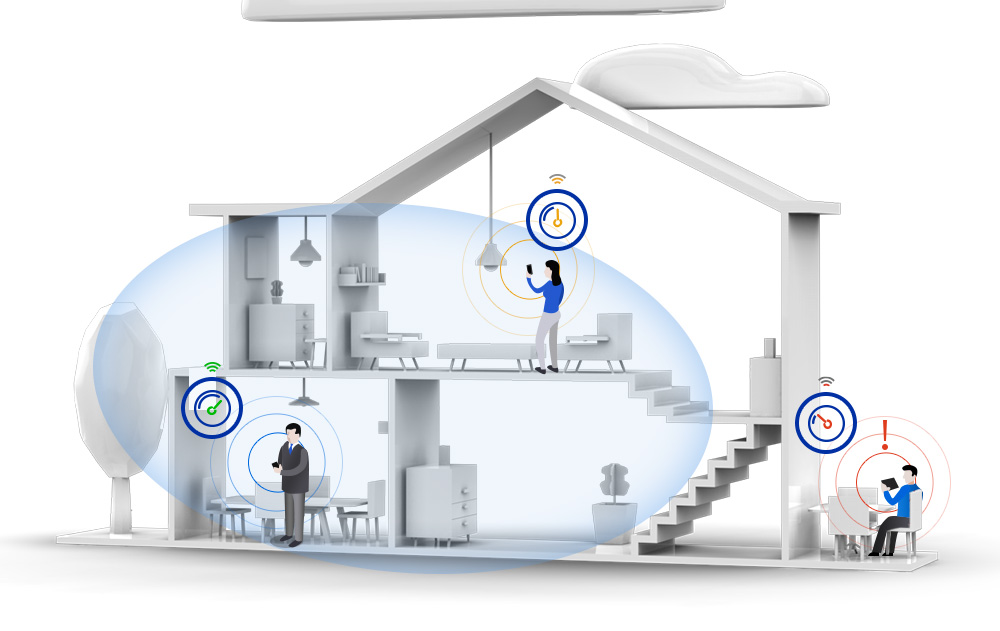
Place your satellite nodes across the space you are trying to cover, evenly spacing them out so that they cover optimal area and prevent any dead zones in your space. This will ensure that you have a satellite node access point close to you no matter where you go and will help in the process of bouncing off one another as well to seamlessly get your data signal to you.
The general principle in node placement is to identify a potential dead zone you would like to extend your WiFi signal till and place a node halfway between the central primary Mesh router and that dead zone. If that dead zone is far away, then consider dividing the distance into thirds and place two nodes along the way to that potential dead zone. Do not let a node span over two rooms or over 30 feet in general. Check the specific guidelines and range of the nodes you have purchased to account for their unique range specifications as well. Most Mesh WiFi node-setups show you whether your placement is good through an LED indicator on the node. As you move further away into an unpleasant area, the node will light up with a red led to let you know that this is not a good placement.
Once you have placed your nodes in decent proximity, launch your Mesh application, and search for the nodes. Your application will automatically search for and connect to them as long as they are in range wherever you have placed them across your space. The Mesh WiFi network applications also provide signal strength measurements and let you know whether your node is placed well or not. You can perform the in-app signal tests to determine whether your placement is good and move the nodes and repeat the tests until the placement is satisfactory.
Keep in mind that your nodes will be able to provide wired connection to your consoles and televisions so it is a good idea to keep them in close proximity to these devices so that they can easily be wired together. Most nodes have at least one LAN port that allows you to connect a device, but some come with multiple. Gauge your device integration needs and place your nodes considering this factor as well.
Step 5: Decide Between Wired & Wireless Backhaul
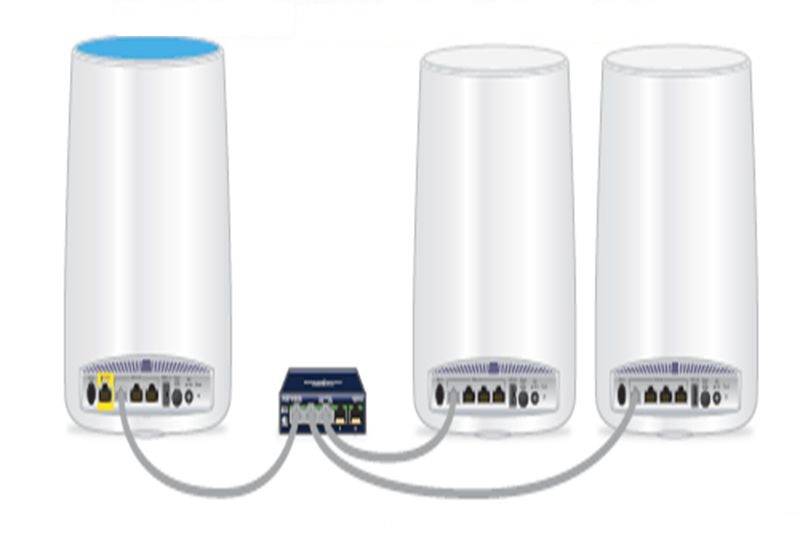
Wireless backhaul is the ability of your Mesh nodes to return data received through them to the central primary Mesh WiFi router. Based on your Mesh network’s specifications, it may use both the radio bands (2.4 GHz and 5 GHz) for the wireless backhaul or it may just use a dedicated 5 GHz stream. Some Mesh setups provide the option to wire the connection between nodes as well. The wired connection will provide better performance so if you hare able to configure it and have the wires to do so then this is recommended. You may want to consider the appearance of these wires and perhaps install concealed conduits for your home’s WiFi wiring.
Step 6: Set Up Special Controls
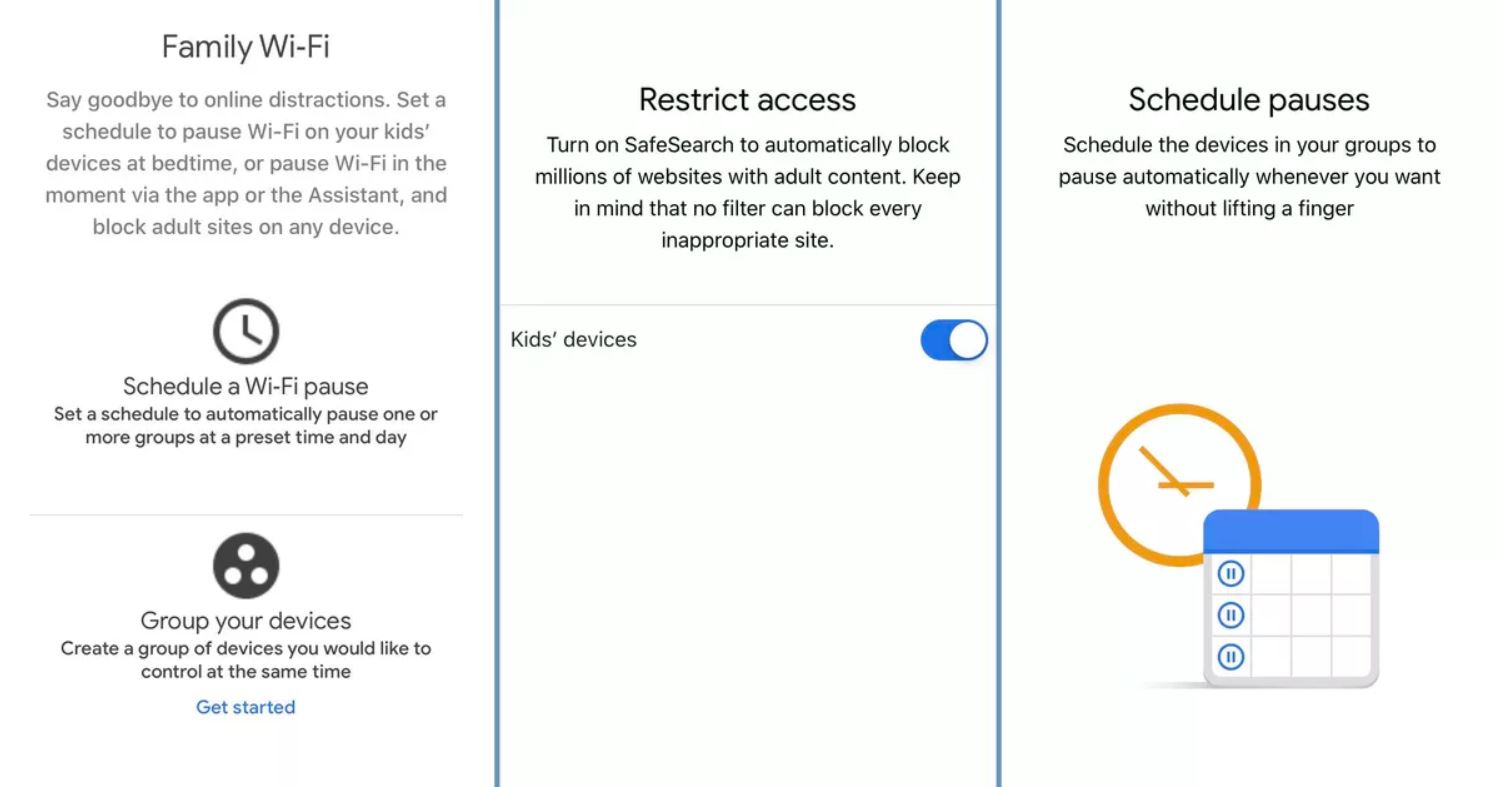
Through your Mesh network’s application, you will be able to set up parental controls, block certain content or websites, and assign device priority as well. To do this, you can create distinct profiles for the devices you connect to your system to tailor their internet exposure. For example, if you have two adults, one teen, and one baby in the house, you can create profiles for each of them that associate with their particular devices at home (i.e. their laptops, phones, tablets, and other devices) and set content restrictions and allowances. The baby profile could be limited to only under age 7 content. This will not allow access to social media websites or adult sites. The teen profile could be limited to PG-13 content. This will also limit exposure to adult content and adult online activities. The adult profiles can be kept open. The choice is yours to set these profiled to what you consider to be age-appropriate. A general profile for the common use of home devices such as televisions can also be created that allows for general audience content.
Through this application, you can keep an eye on your space’s internet activity and usage. You can see which sites are accessed when they are accessed, and how much data is consumed. Most Mesh WiFi networks come with built-in antivirus and malware protection to safeguard your devices from it before it even reaches you.
Final Thoughts
Setting up Mesh WiFi networks is an easy process because they are especially designed to be easy to use. The software applications that come with them make the entire set up process far easier, giving you pointers, indicators, and instructions along the way. The applications come equipped with troubleshooting algorithms and help centers as well, making the entire process easy and hassle-free. The toughest and most time-consuming portion of this setup will be the placement of your satellite nodes but if you follow the pointers given above, you’ll place them in the most strategic locations that cater well to all of your devices and your space’s internet needs.